


Project RC BMW ///M3
 11-21-2014, 10:06 PM
#271
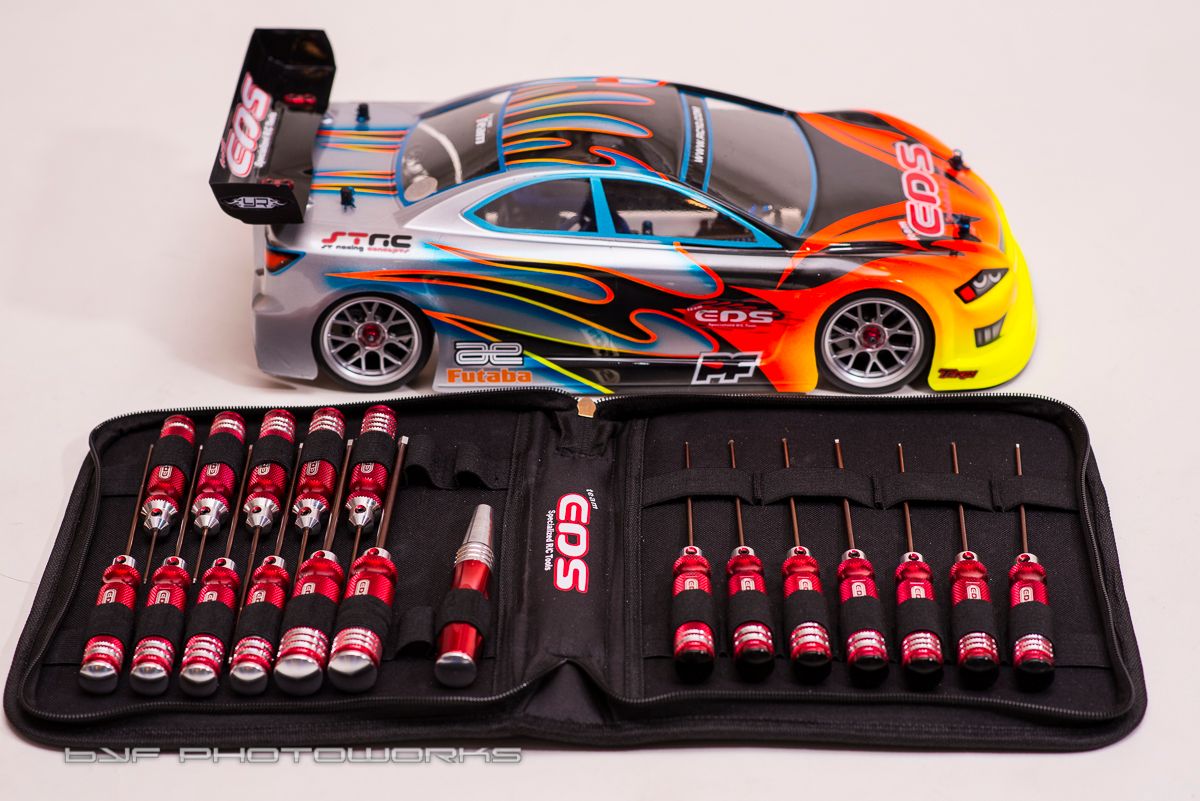
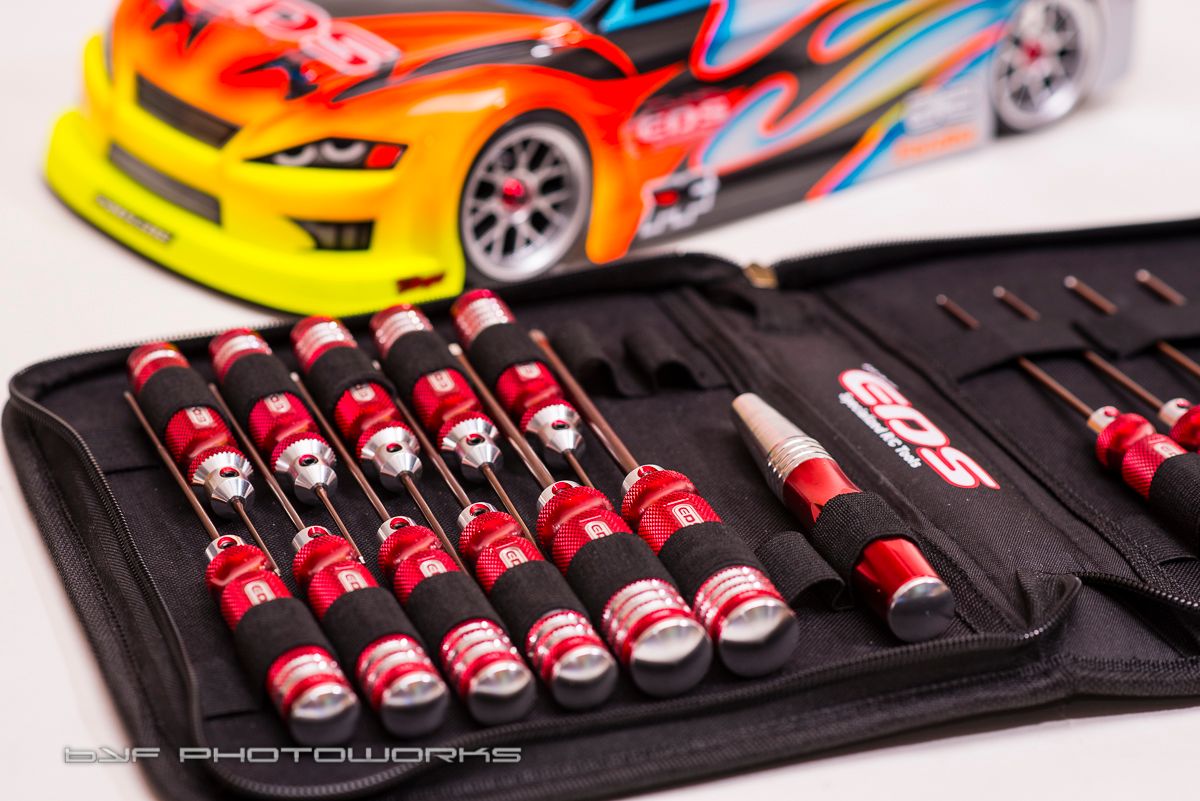
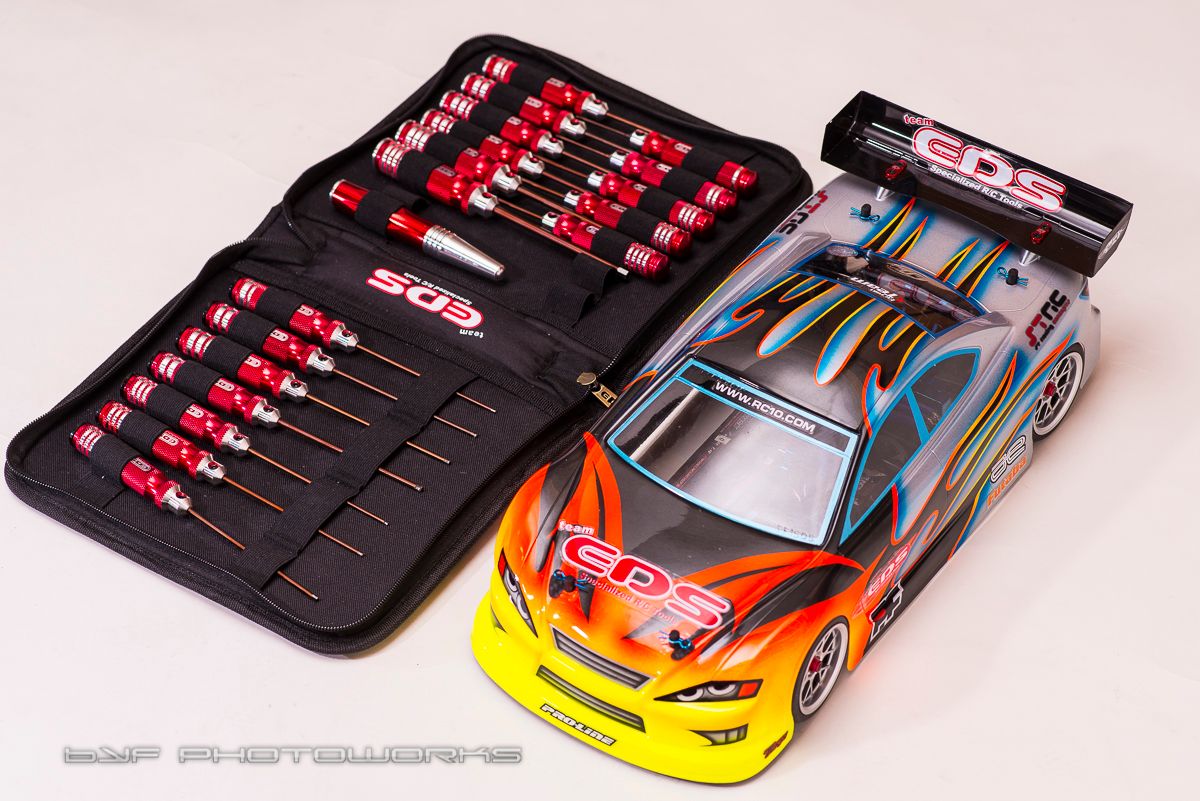
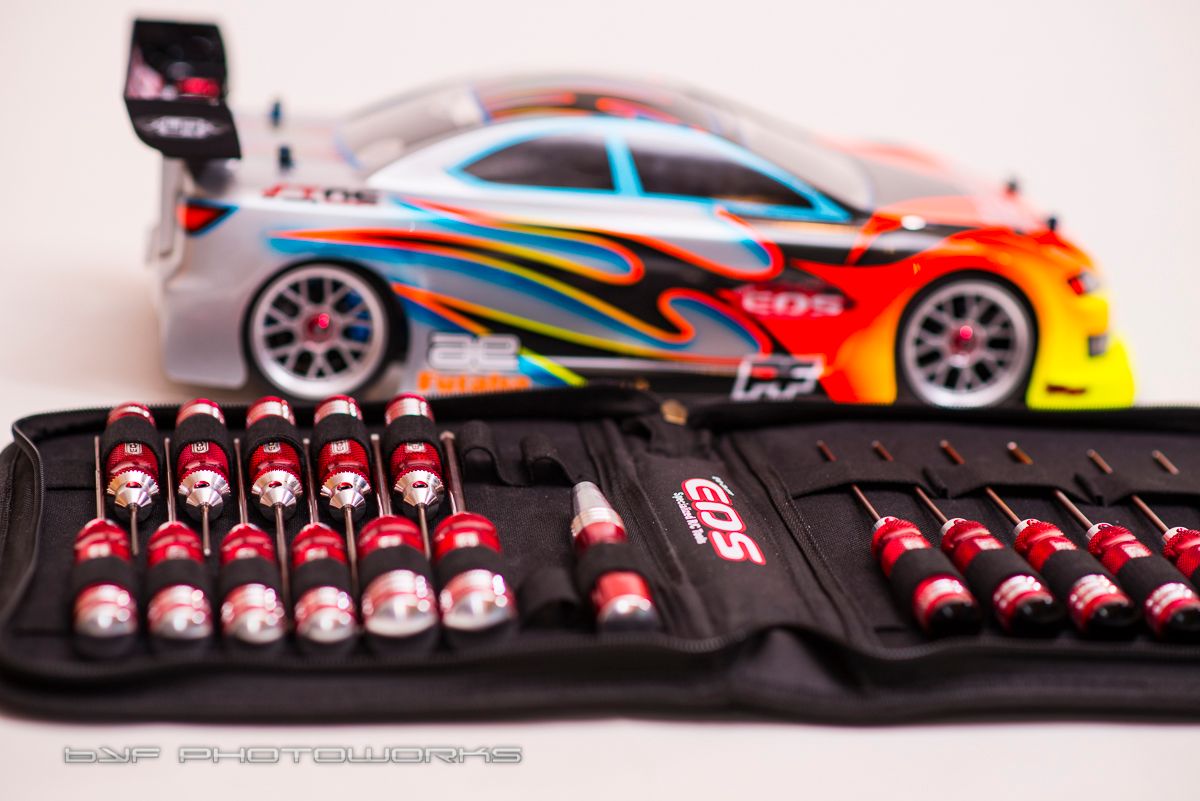
I mounted up my Franksbodies LTR-C... I decal-ed it out with the EDS stickers I received with all my tools. Added to maintain the theme are the red anodized Protoform wing mounts and red Tuning Haus wheel nuts.
Faux Pas.. These bodies are so generic I forgot what it was and placed a Mazda badge on the trunk I notice when I published the pictures, and have since removed it
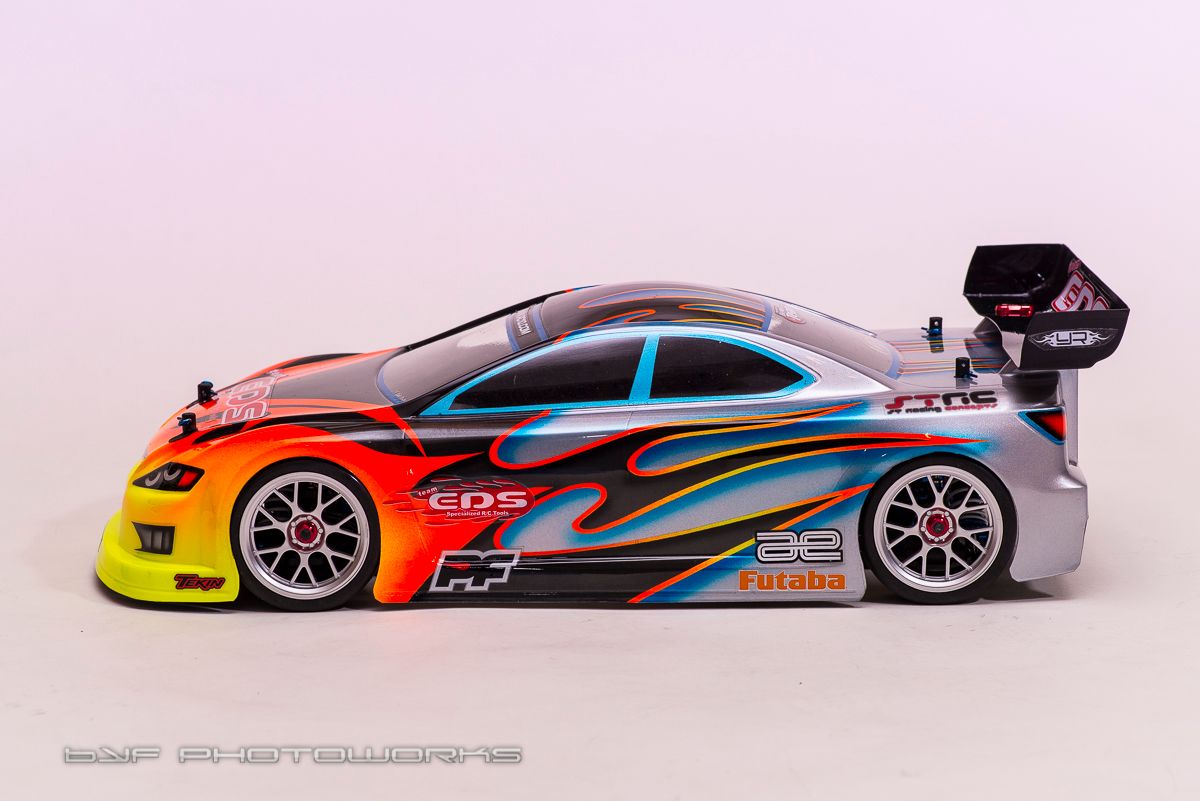
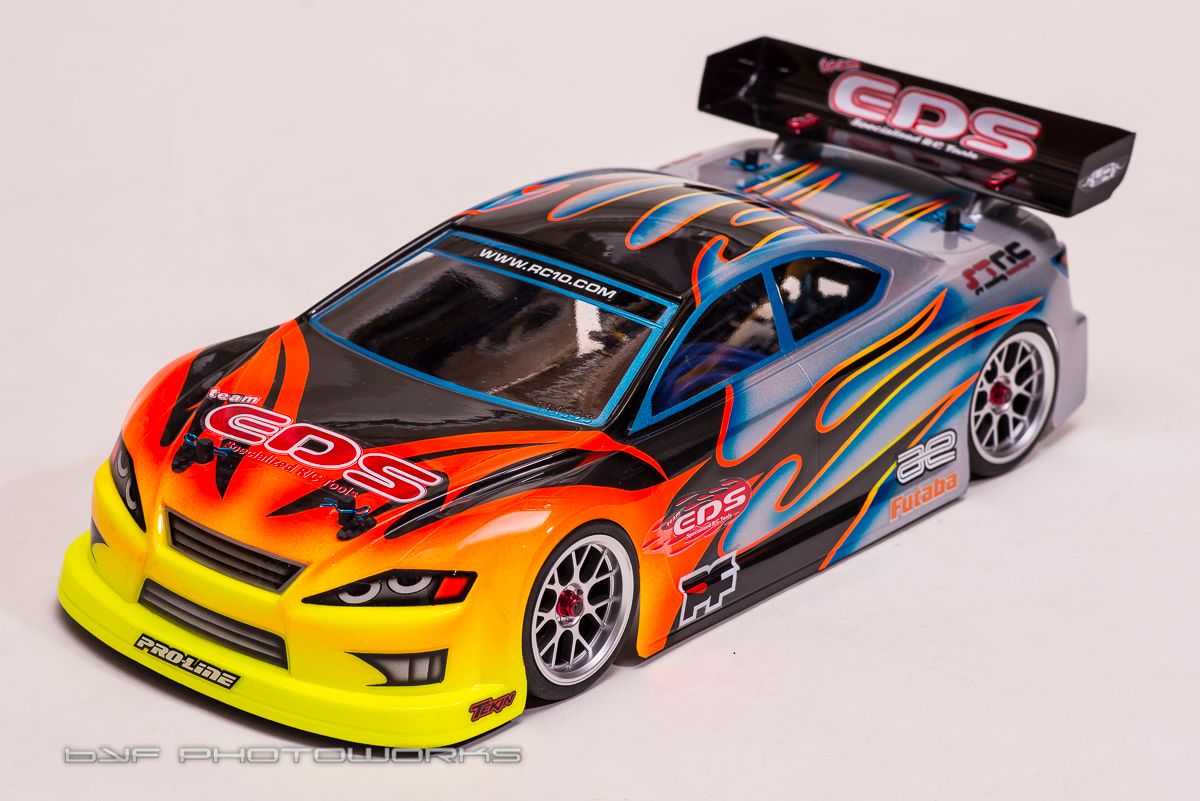
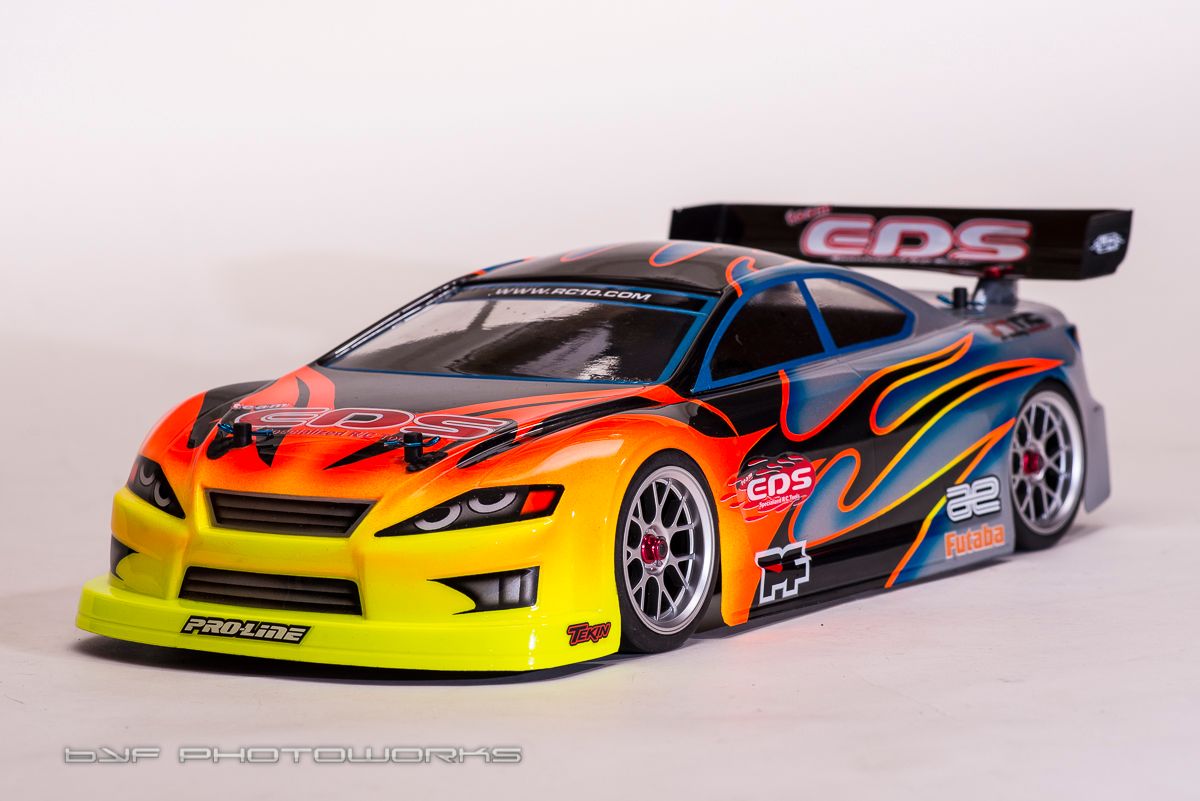
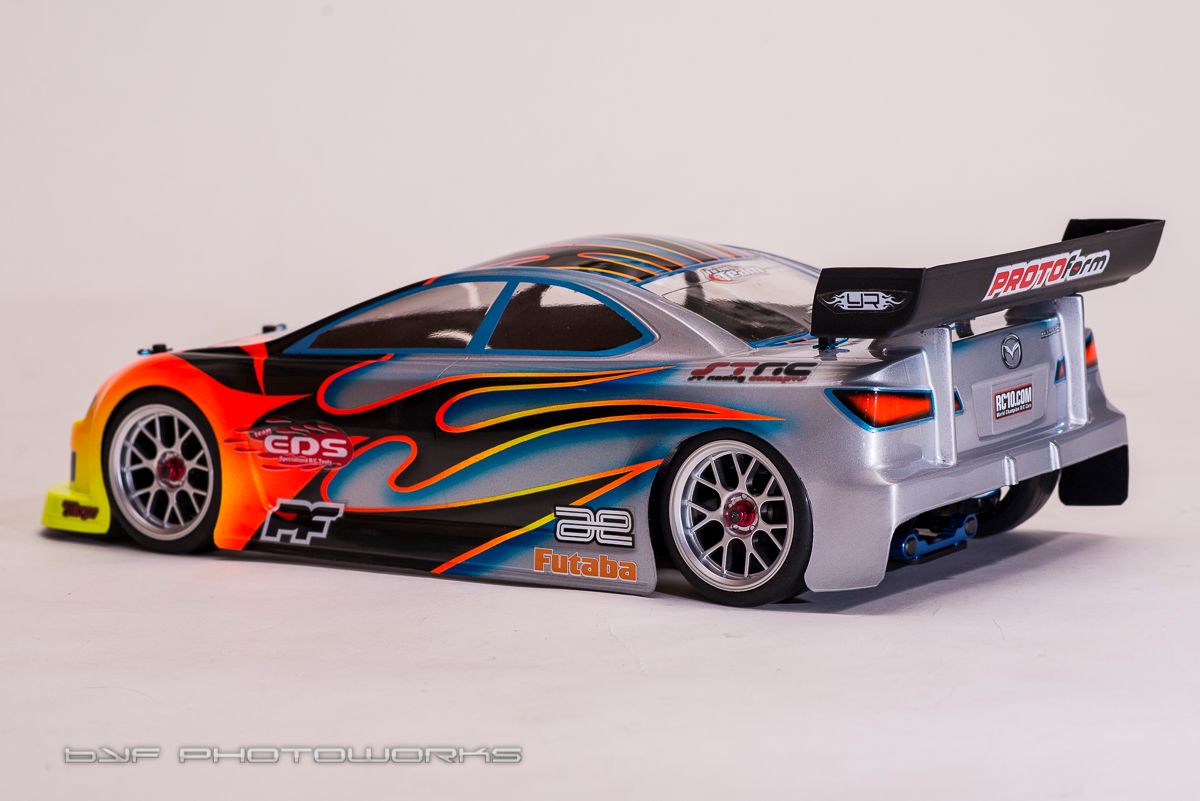
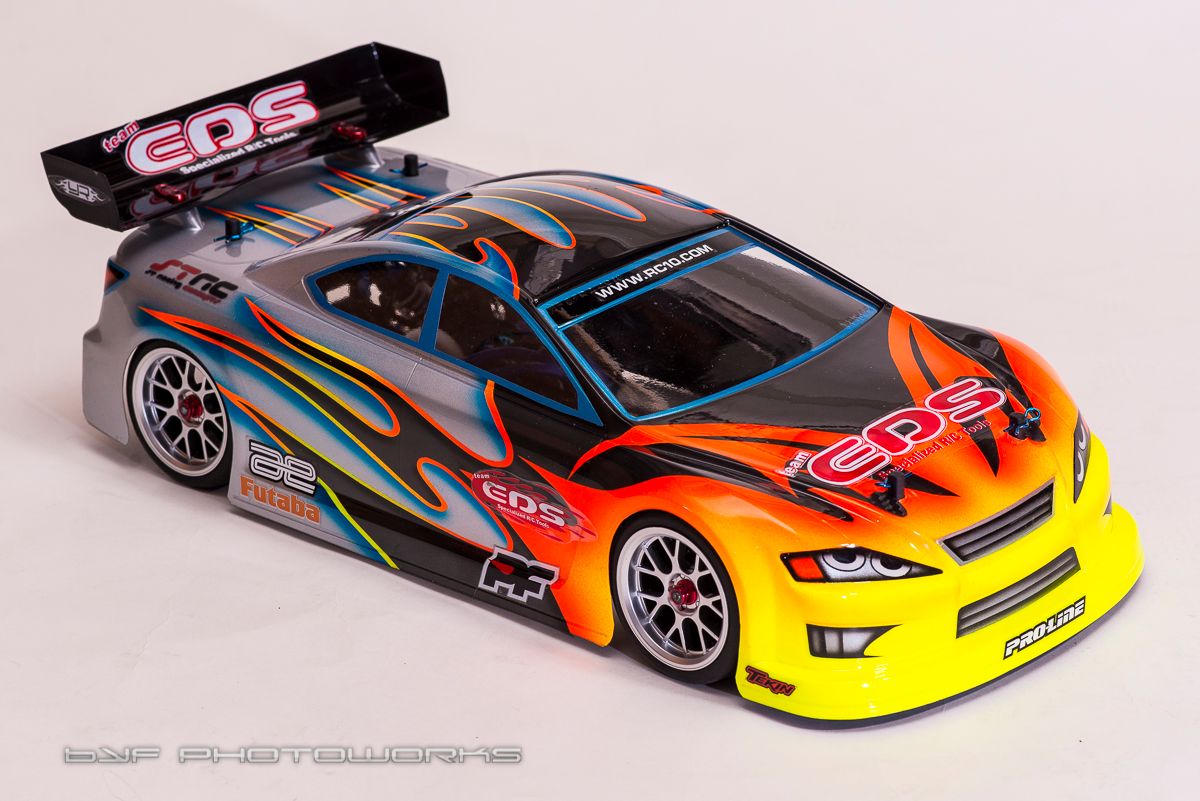
Faux Pas.. These bodies are so generic I forgot what it was and placed a Mazda badge on the trunk
I notice when I published the pictures, and have since removed it 


 11-26-2014, 07:02 PM
#272
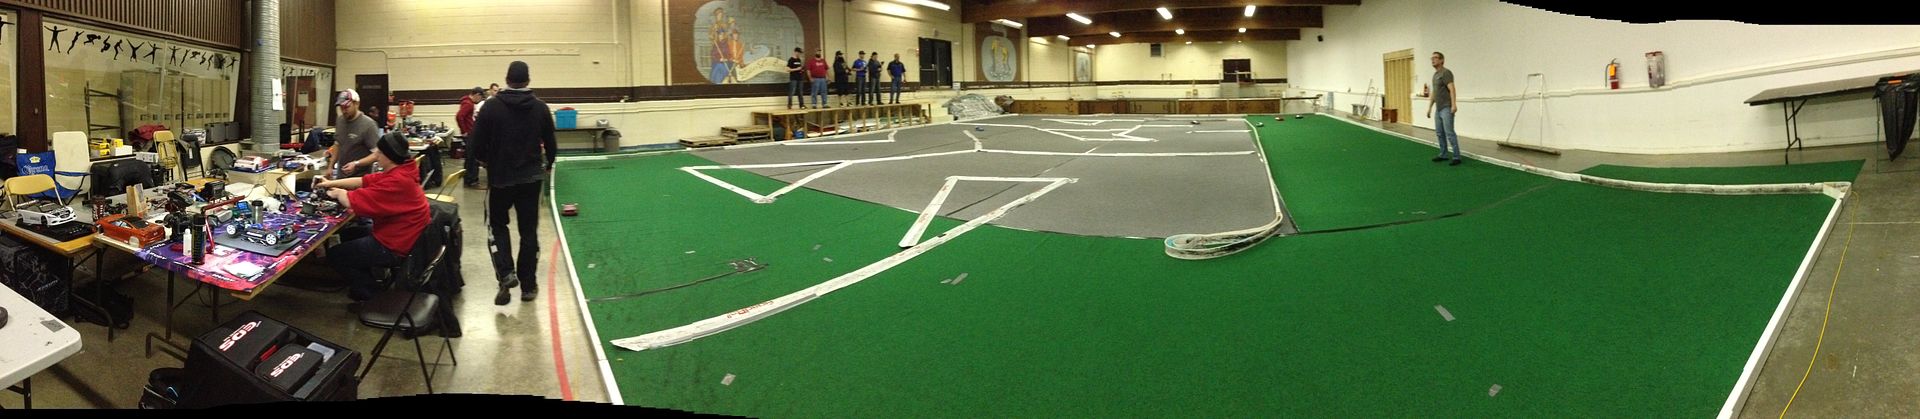
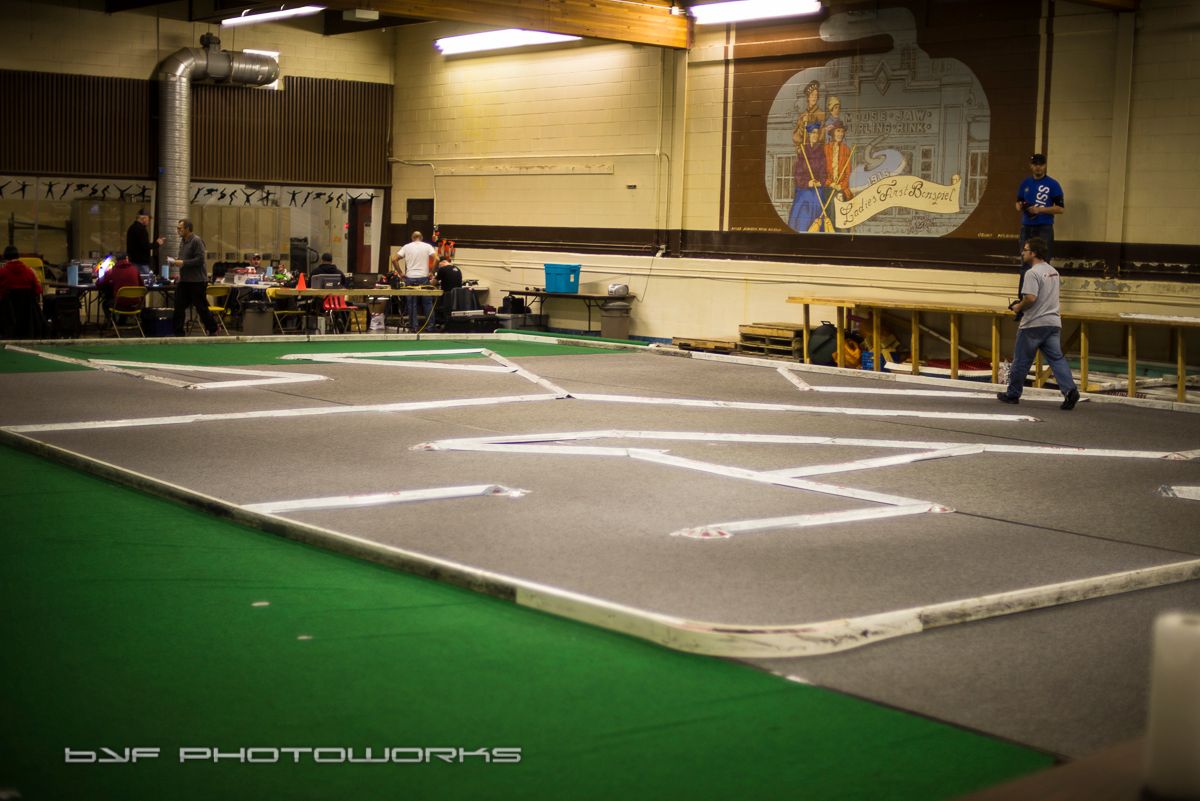
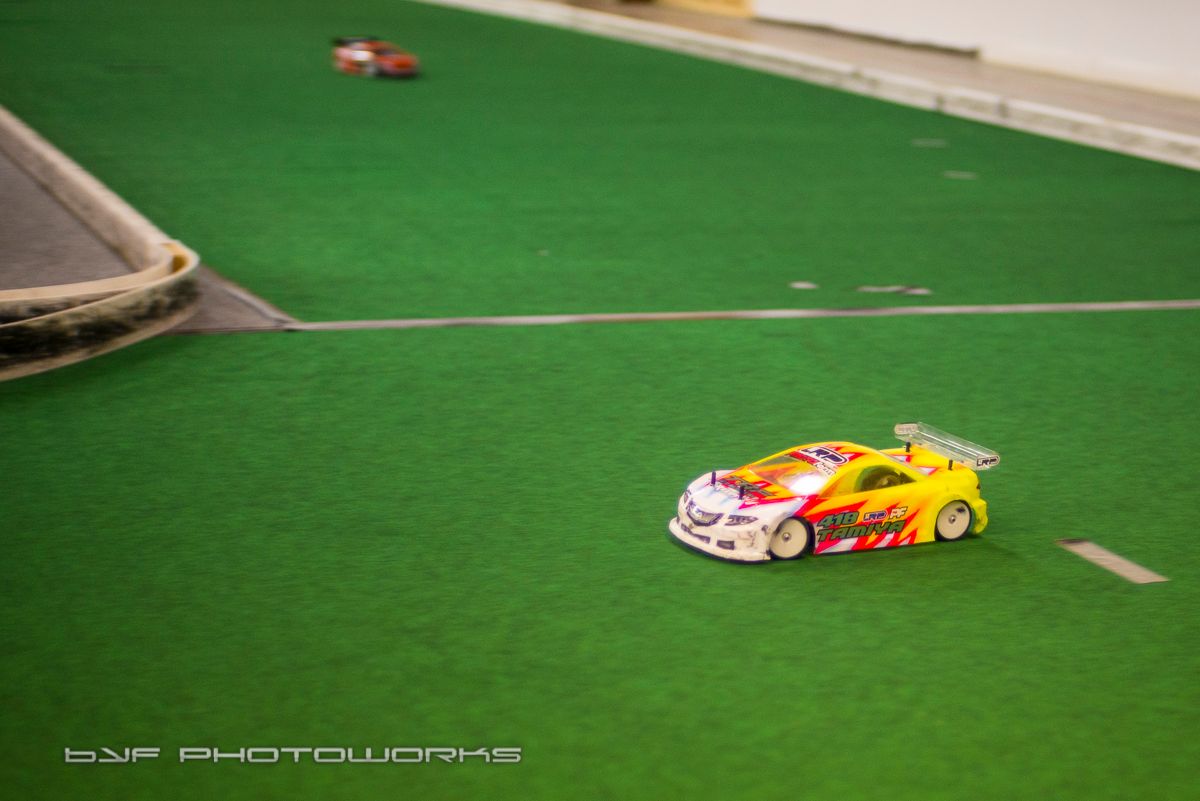
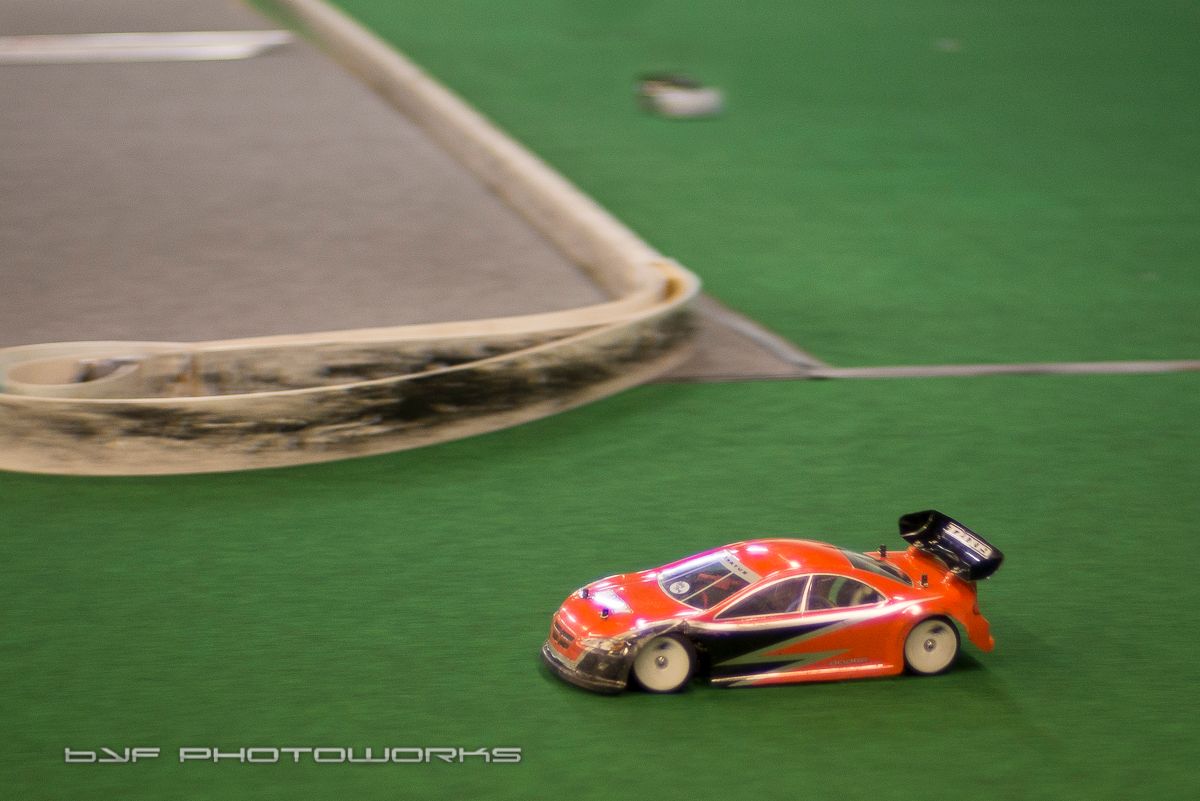
Went racing on the weekend with the Regina Fastraxx RC Club. Their track is in Moose Jaw, another city just a few minutes away from them. The track is said to be 60' x 50'. It had a nice and challenging infield, that was a great driving and learning experience for me. I also had the pleasure of picking the brain of our local hotshot Danny, all about RC set-ups and driving tips on the way down, during racing and driving back home 
I learnt a lot this weekend!
I'm running zero drag brake now, which is sort of nice, it allowed me to pick up consistently 1 lap on the track. Also I have just set my shocks to be zero rebound based on my learnings. Next up I'll switch over to the Sweep WCICS Spec tires. I thought best to get use to their handling and set-up my car with them if they are the typical spec tire for our races here.
The Regina Fastraxx RC Club's Track
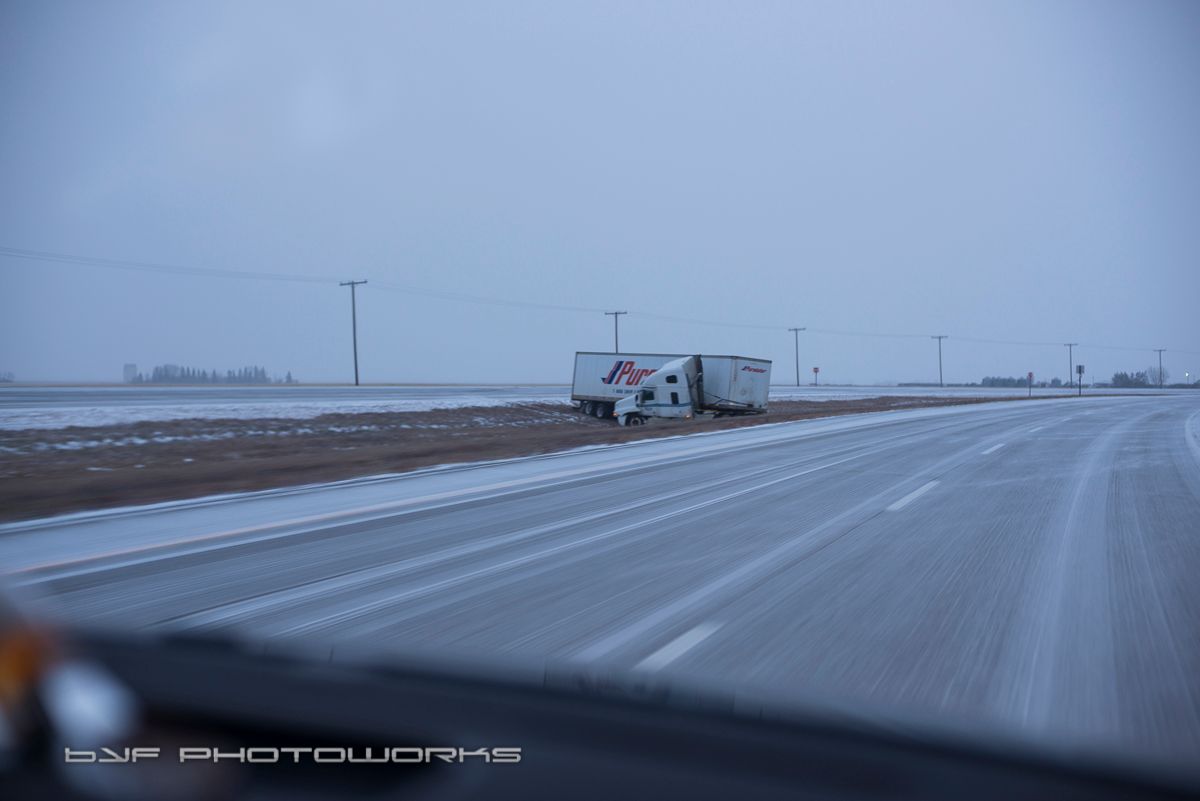
The roads were slippery on the way down
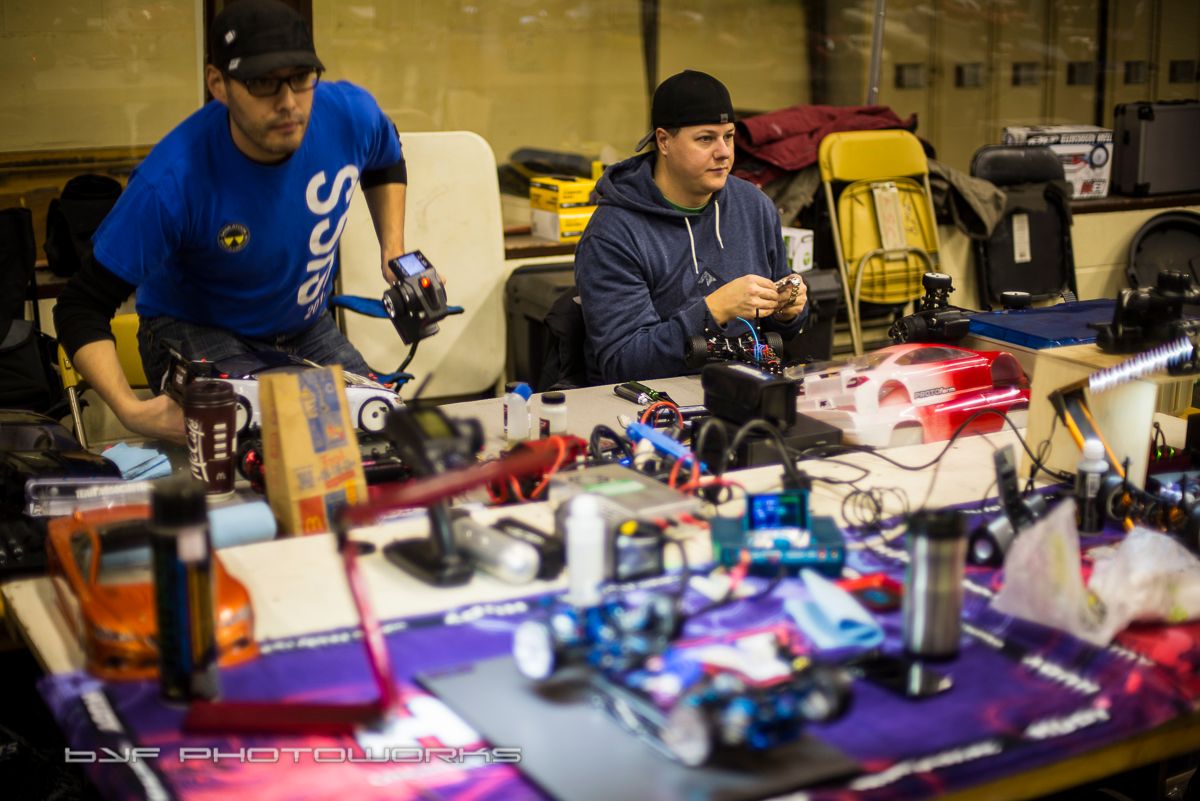
My fellow Saskatoon SARCAR club members who also made the trip
The track
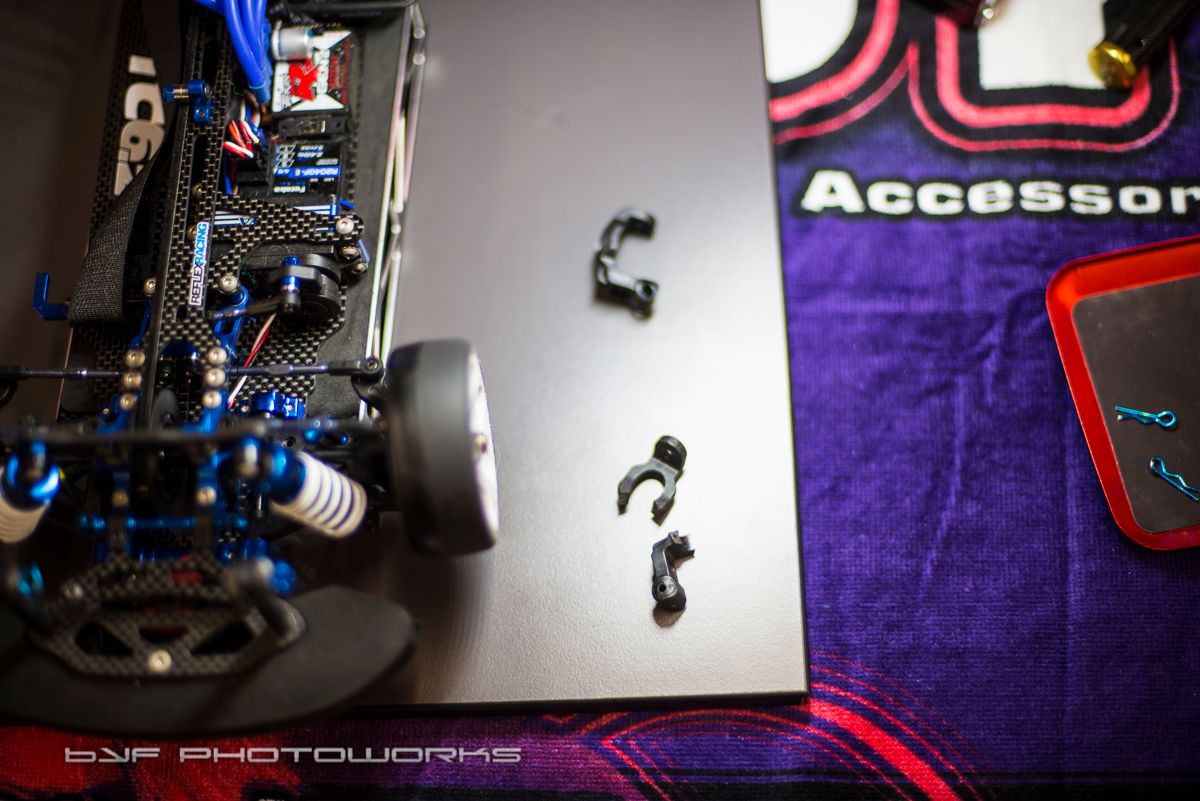
I broke a C-Hub in a collision with another car. I never even notice until I pitted and was cleaning the car
Danny, my mentor for the day

Lunch in the pits
Lance, a Regina club member gave me this Associated RC10L, said it needed a home! I use to race one of these back in the day!
Drilling out the tops of my shock caps to make them zero rebound
RSD Bladders
Rebuilt and readjusted
I learnt a lot this weekend!
I'm running zero drag brake now, which is sort of nice, it allowed me to pick up consistently 1 lap on the track. Also I have just set my shocks to be zero rebound based on my learnings. Next up I'll switch over to the Sweep WCICS Spec tires. I thought best to get use to their handling and set-up my car with them if they are the typical spec tire for our races here.
The Regina Fastraxx RC Club's Track

The roads were slippery on the way down

My fellow Saskatoon SARCAR club members who also made the trip

The track

I broke a C-Hub in a collision with another car. I never even notice until I pitted and was cleaning the car


Danny, my mentor for the day

Lunch in the pits

Lance, a Regina club member gave me this Associated RC10L, said it needed a home! I use to race one of these back in the day!

Drilling out the tops of my shock caps to make them zero rebound


RSD Bladders

Rebuilt and readjusted


 12-06-2014, 10:59 AM
#275
Wheels and tires are by Solaris, these are the 35s.
12-06-2014, 03:48 PM
#276

Thanks!
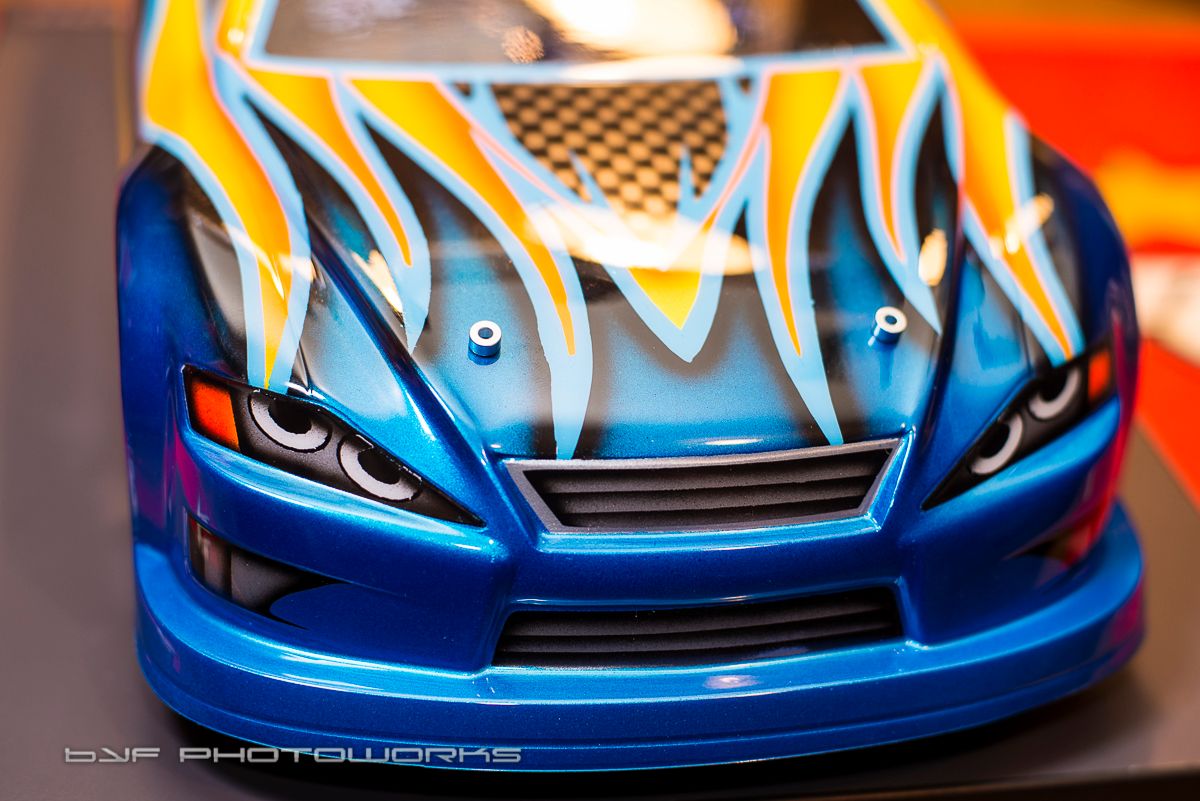
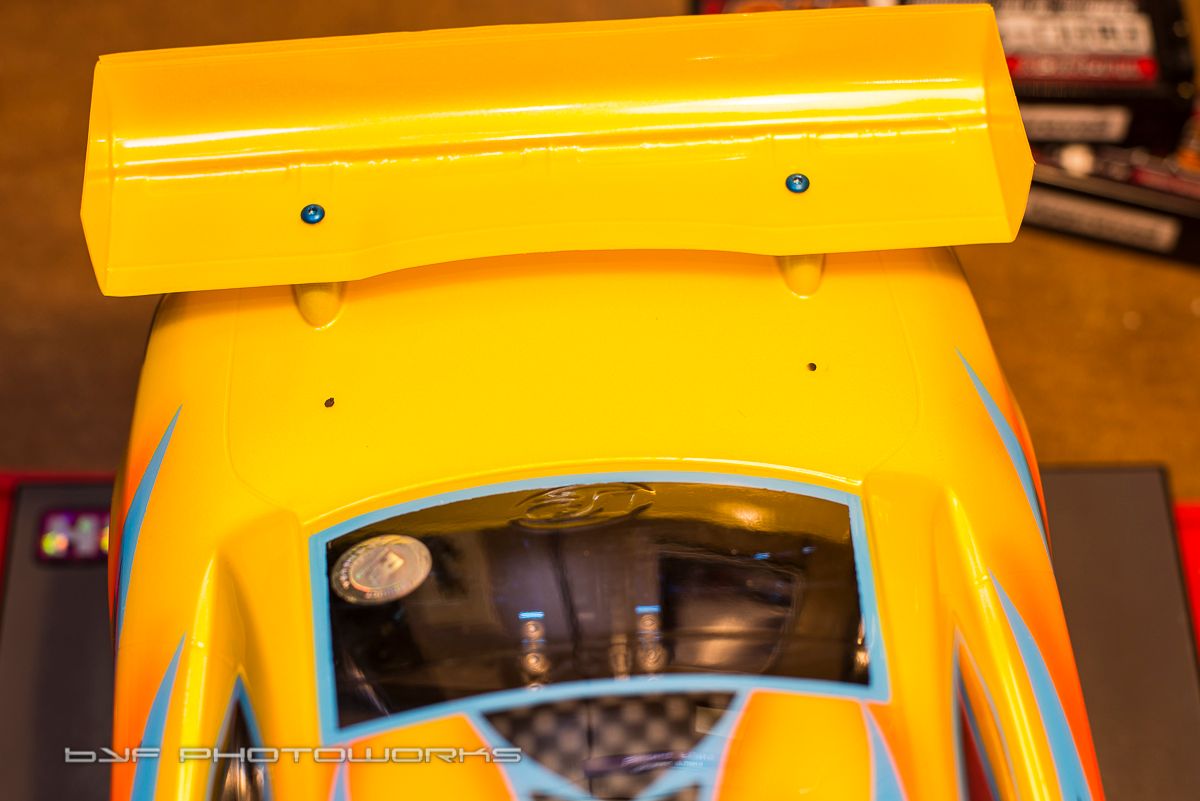
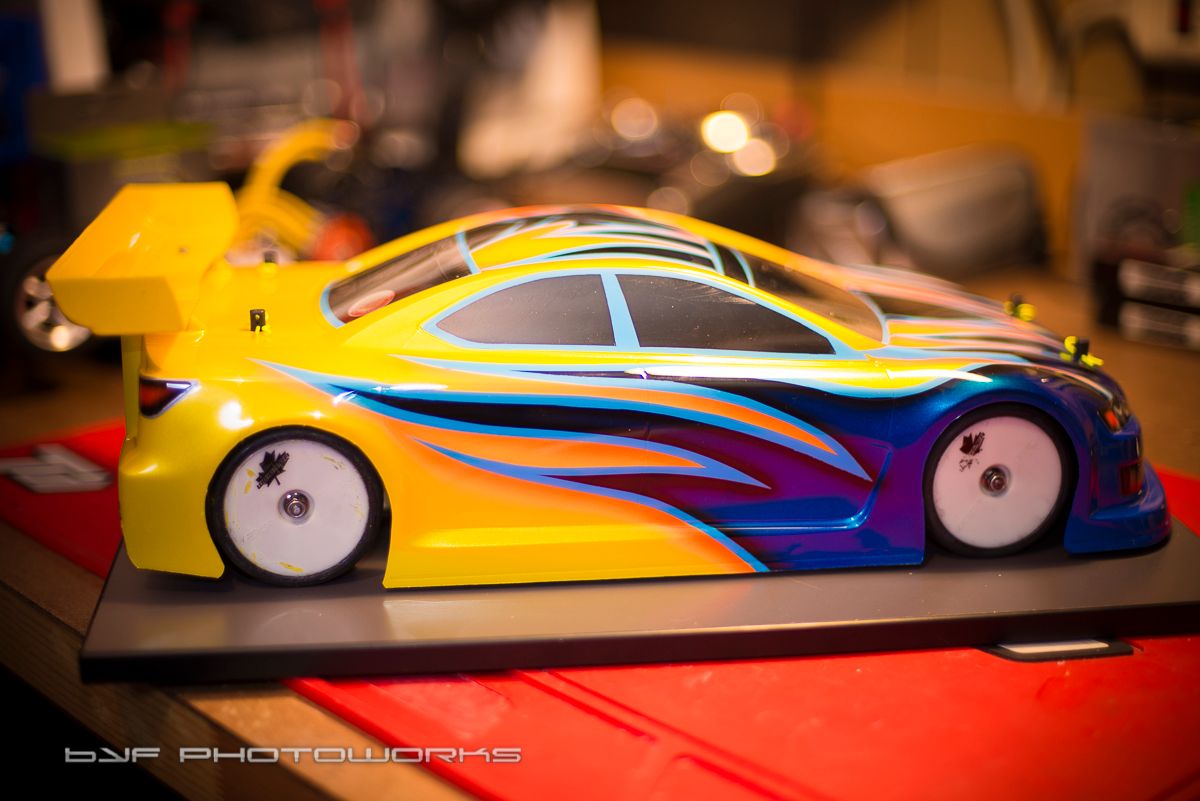
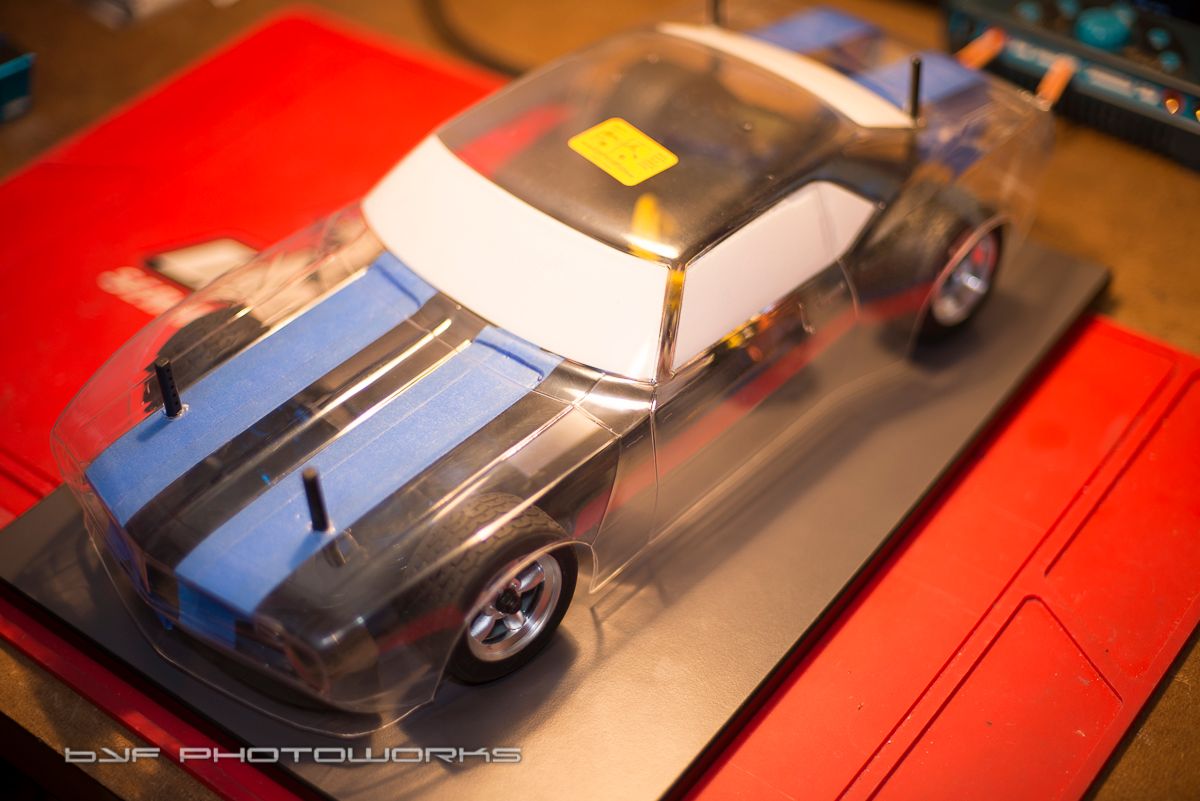
So it was time to paint up a new club bashing body. The boards and my driving style is hard on the bodies
 I wanted something that looks nice, but not spend too much time as they will get beat down very quickly. I've been wanting to try a LTC-R, seeing as I've been collecting a few of these bodies. Everyone seems to indicate its a very aggressive body with lots of steering. I have lots of steering with my Mazda GX, so this seems a bit counter productive, however a person doesn't know until he tries it for himself.
I have been running the WCICS Sweep spec tires from the Jacos and they seem to give the car better overall balanced grip, so hopefully this LTC-R doesn't foul too much up. I do have a GX ready to be painted, and should just paint it up to be ready.
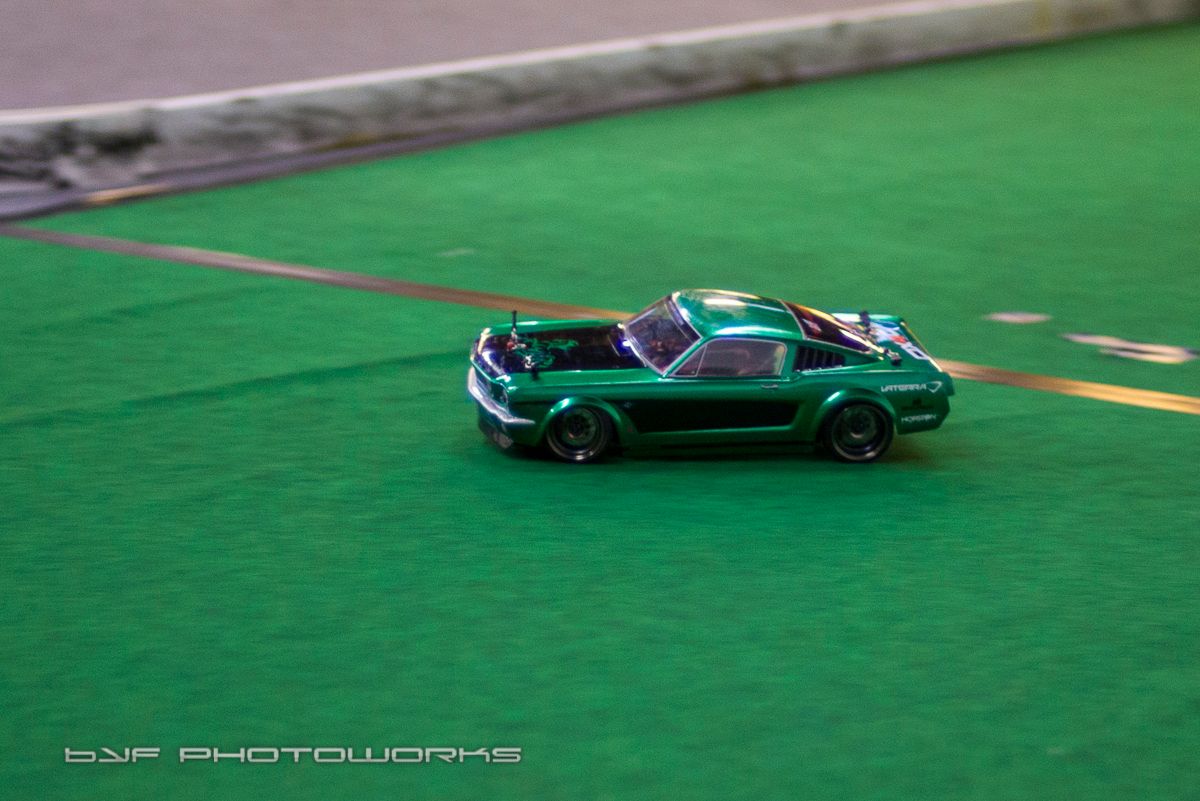
Also I've been testing my VTA car, and its been fun! I have just been running a new Mustang body on it from my Sprint 2 Flux, just to test the chassis. I will start to work on the regulation VTA body real soon.
My battle worn GX


My New LTC-R


My VTA car with the out of spec Mustang body

 12-07-2014, 12:49 PM
#279
Anybody from the SARCAR Club have a pinion gear puller?
I think Gary Lanzer would be one of the few to know what one of those are. I snapped the 1.5 mm ball end of my driver off in the grub screw of my pinion, so the least intrusive way I can think of is to pull the pinion with a puller, which would then allow the set screw to be removed with out a lot of fuss.
Either that or I try drilling it which would require full removal of the motor, and then could get ugly
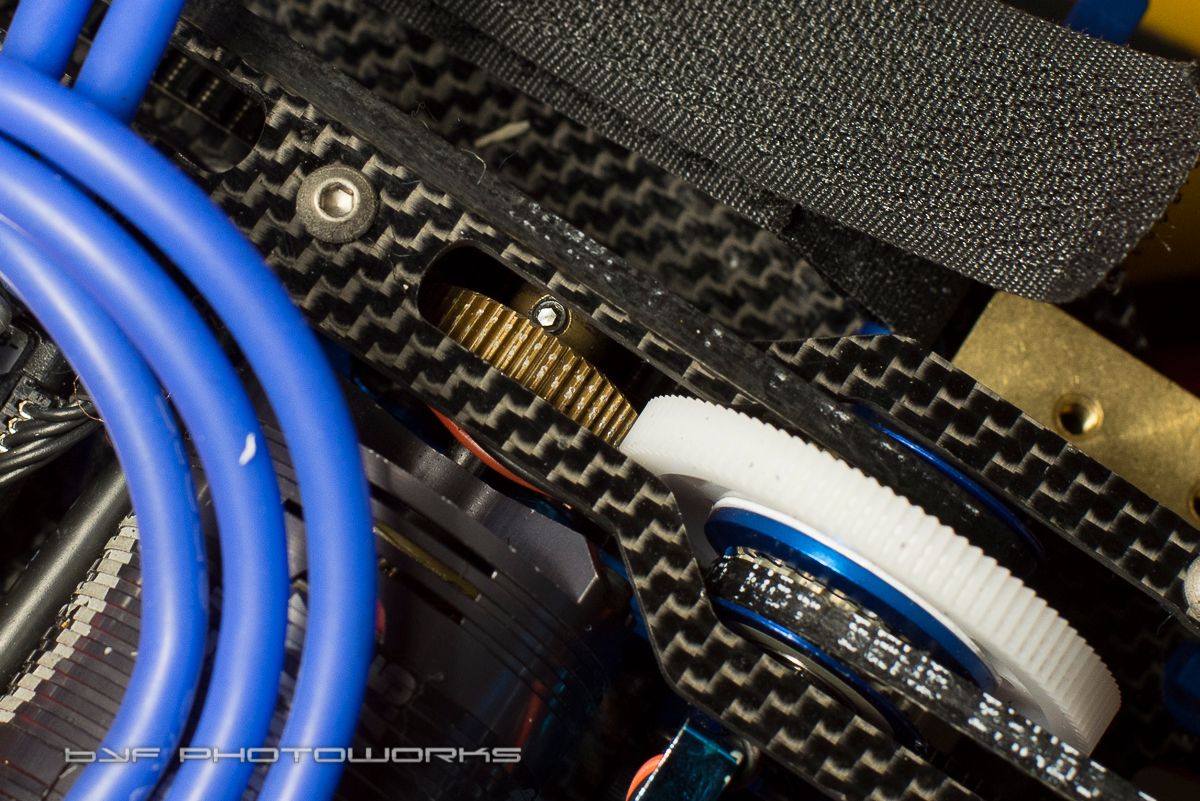
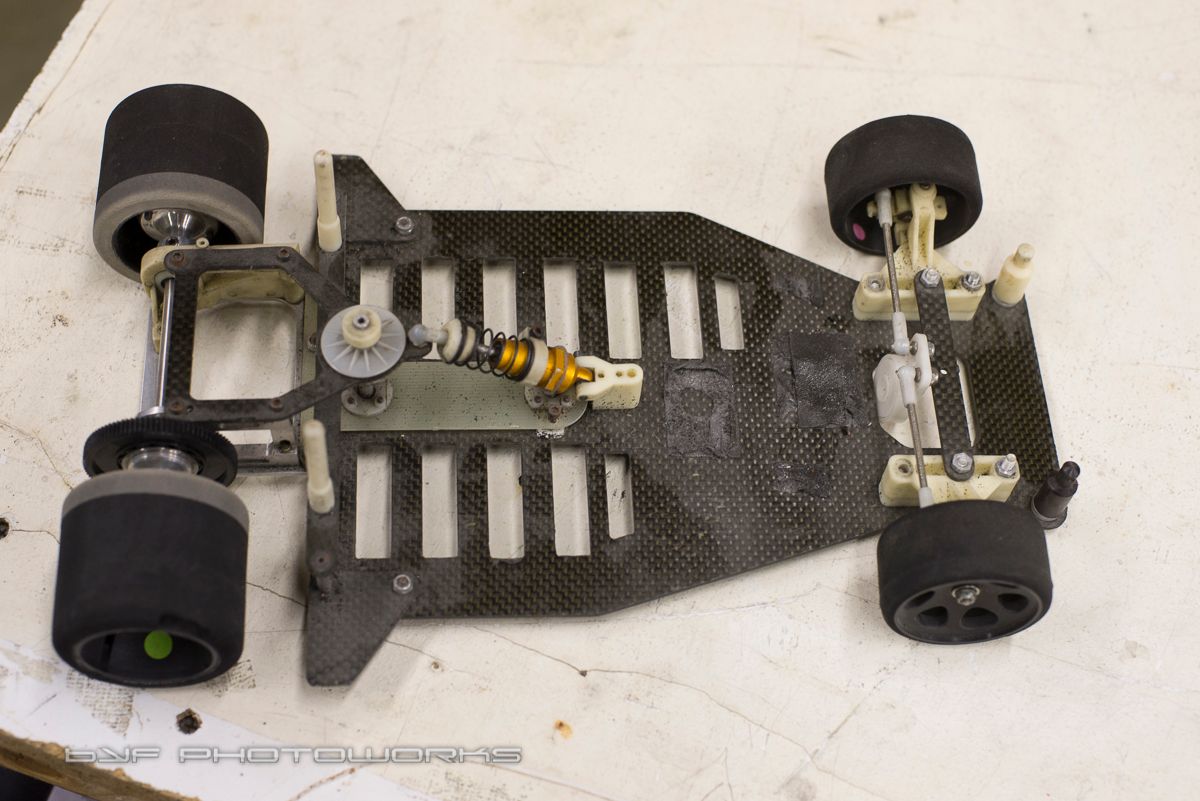
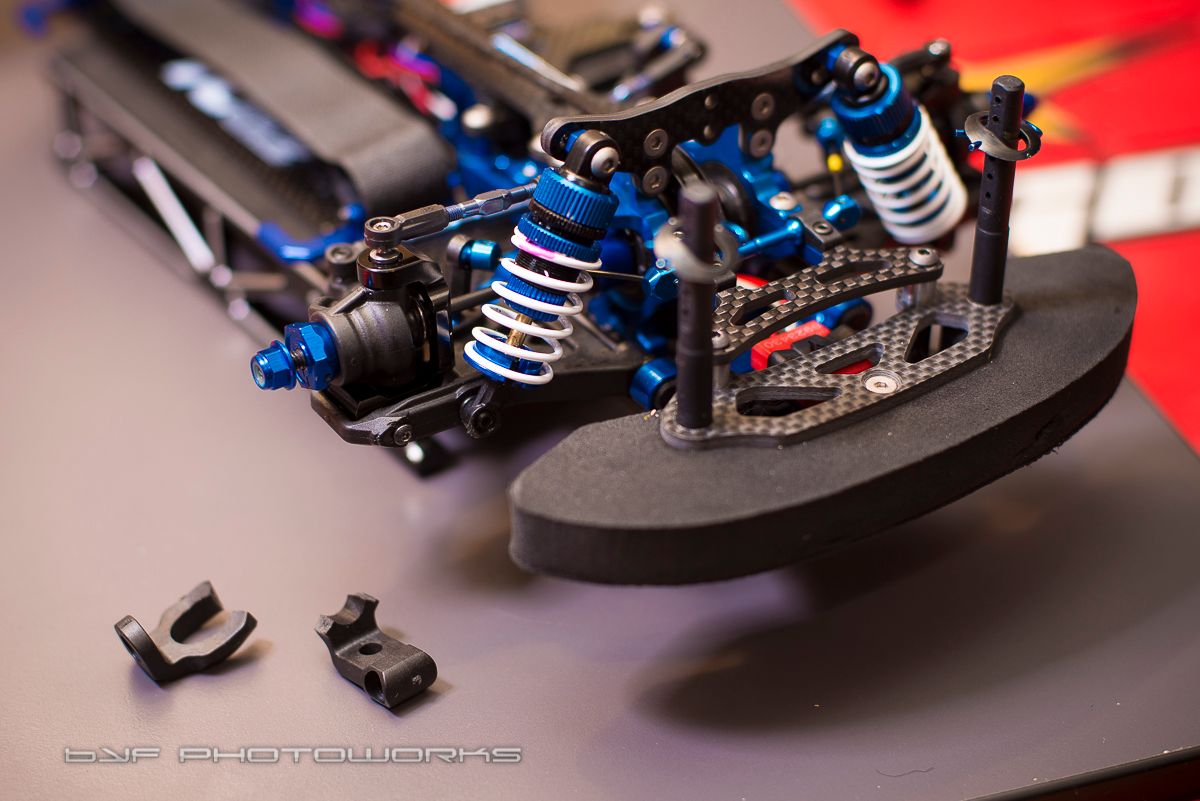
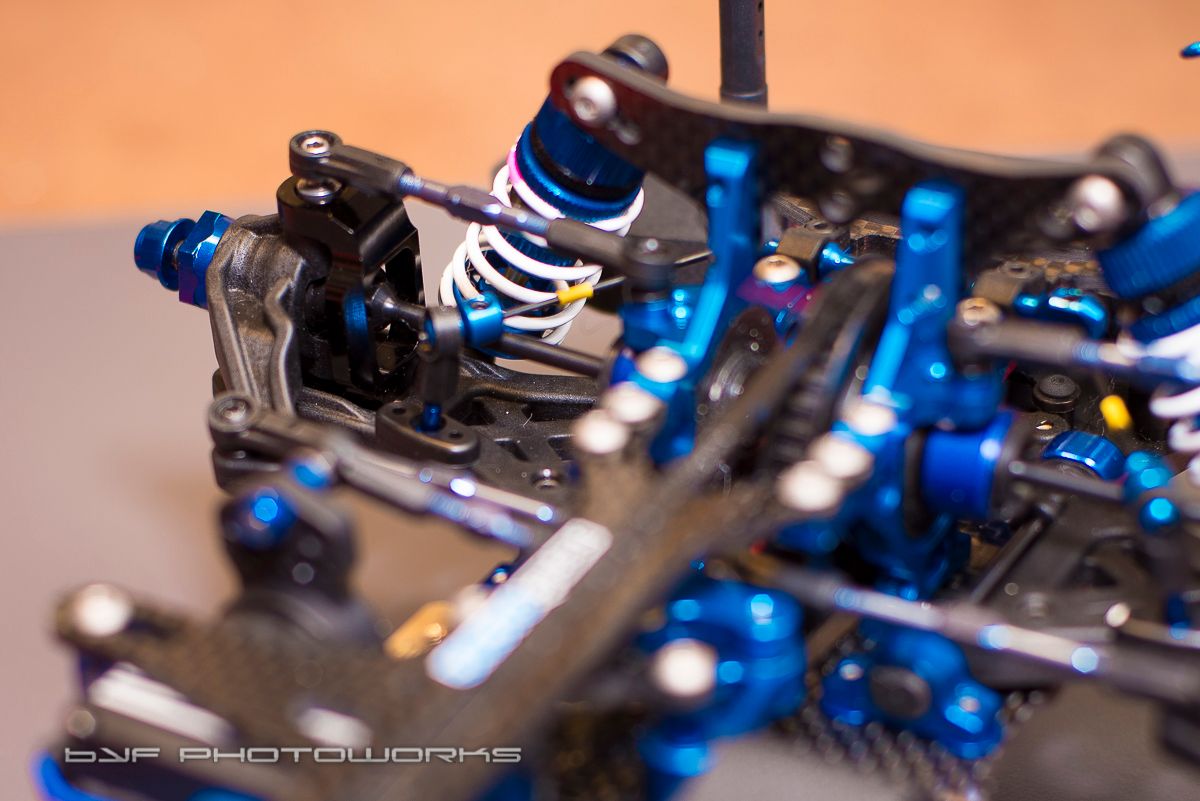
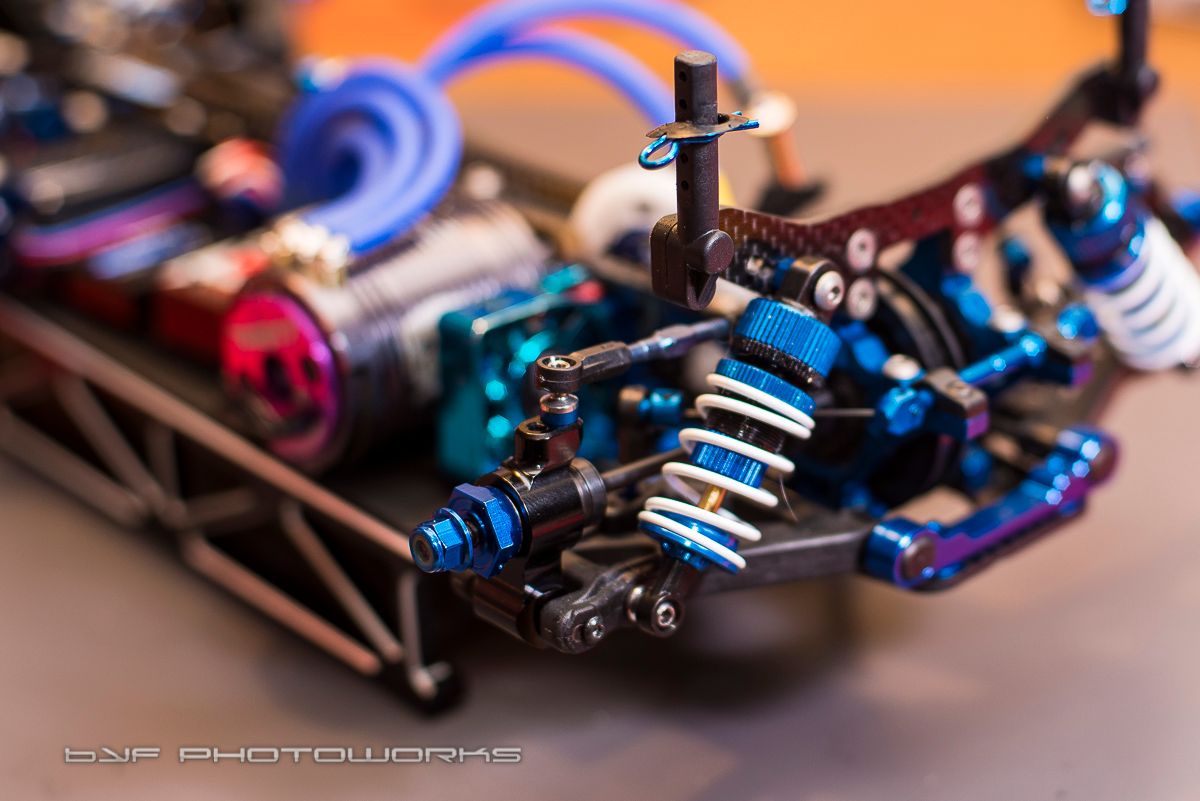
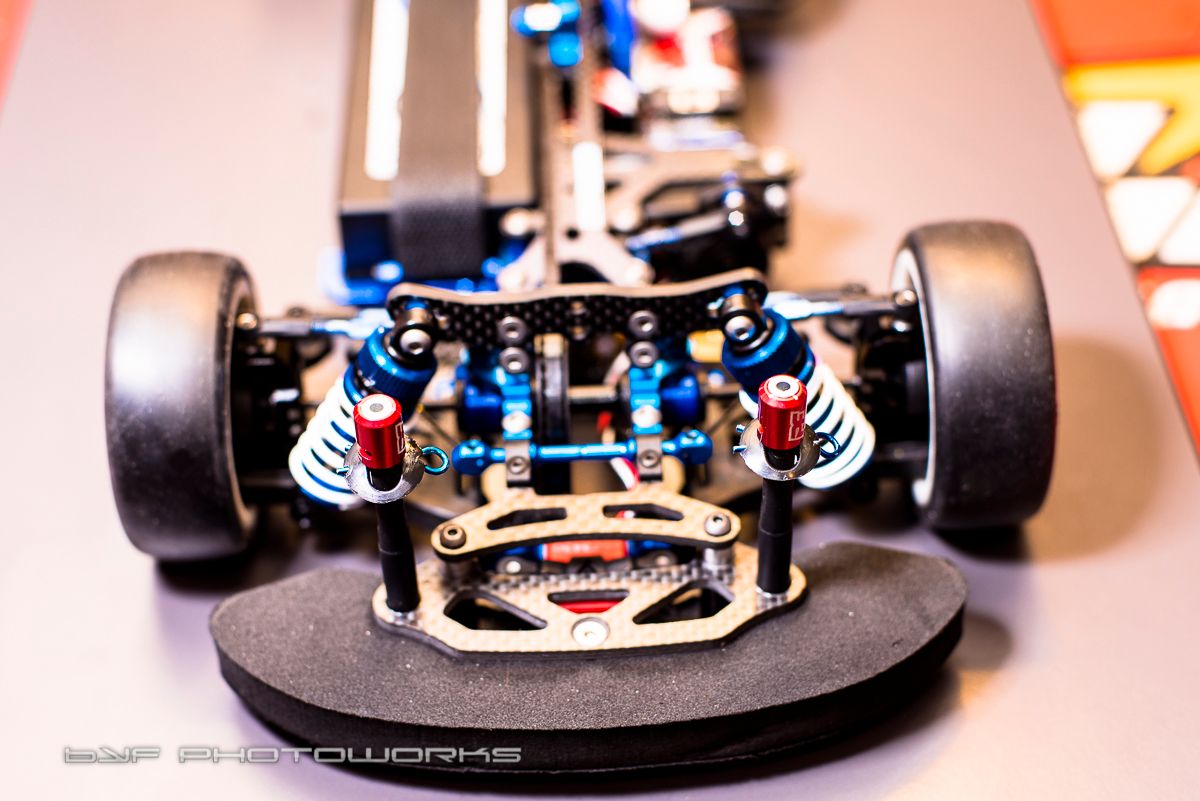
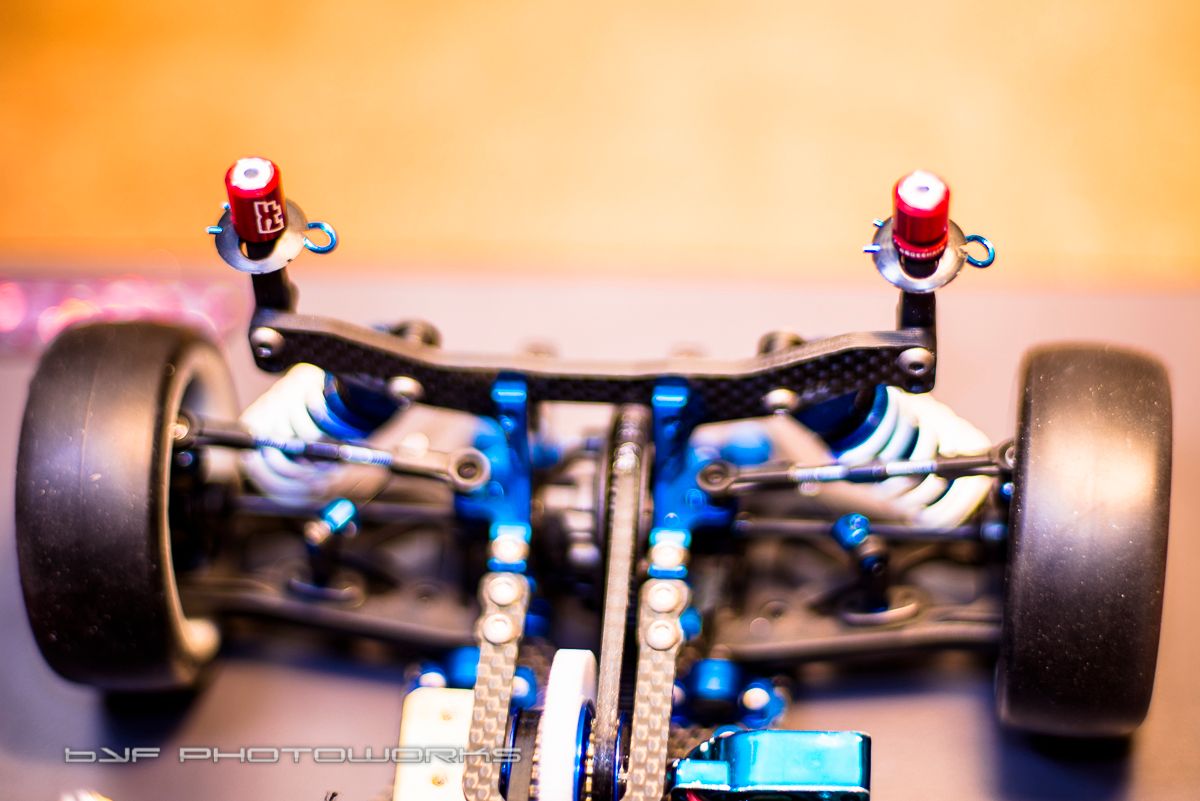
I got my Tuning Haus Aluminum C-Hubs and Rear Carriers installed... I have been breaking plastic C-Hubs of late, have ran out of spares, and needed to press these into action. I hope I didn't shift the break point down the line.
The hole for the hinge pin was undersized and too tight. As well the lower hole where the kingpin bolt bolts in against the flanged bushing was too shallow, allowing the bolt to tighten up against the C-Hub rather than the bushing. This caused binding when the bottom bolt was tightened.
To fix those 2 issues, I reamed out the holes on the C-Hubs with a reamer in my dremel. this solved that issue. For the binding on the lower bolt, rather than remove metal, I decided to just run the bolt looser. The required me to use CA glue in the hole of the steering block so the bolt would be tight, even when loose. I think this should fix that.
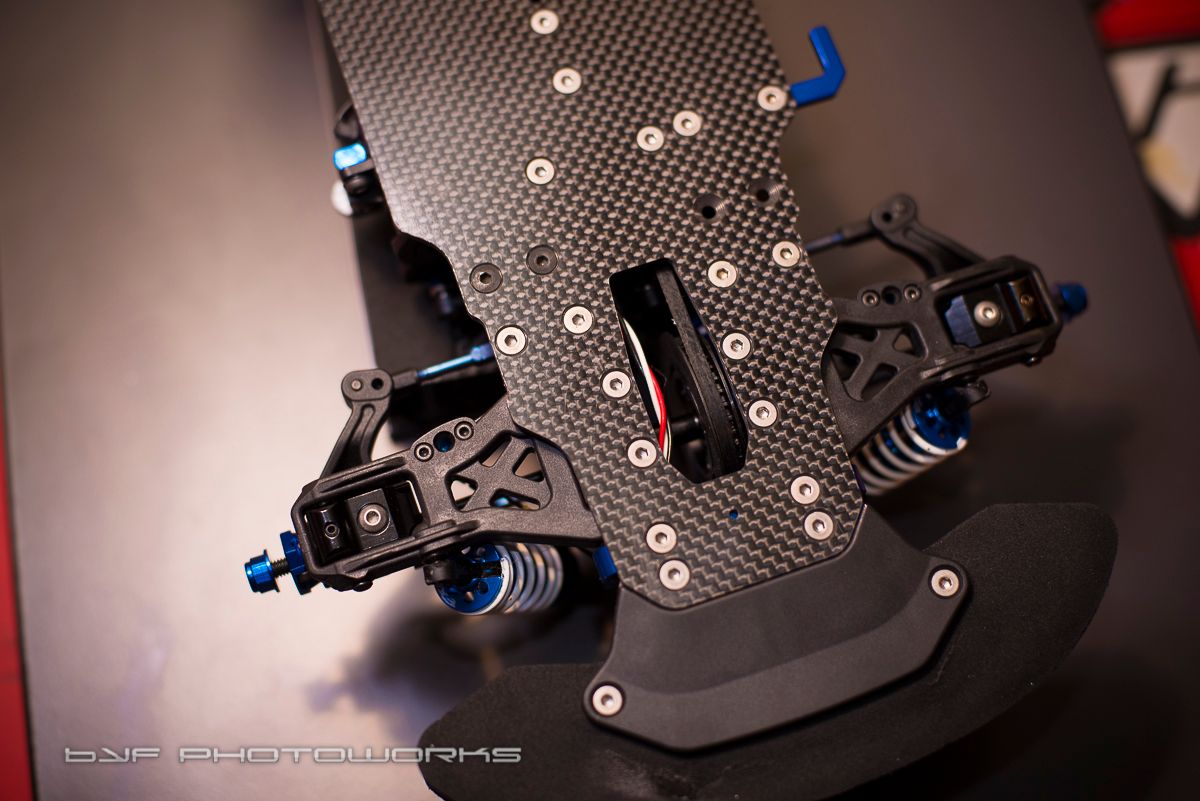
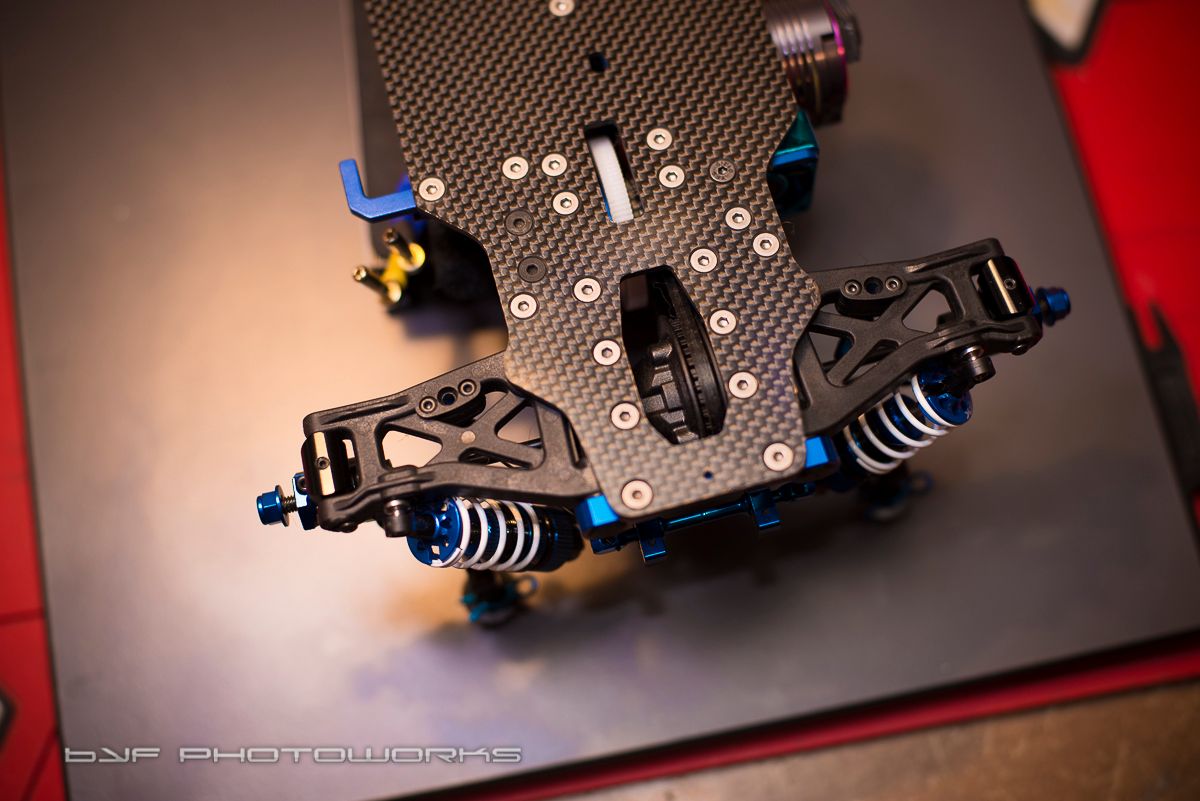
The rear carriers have no issues as the hinge pin hole was the right size, and they bolted right up.
I have to say after these tweaks, and with the kit installed, the steering system is a lot tighter with out much play between the C-Hub and the A-Arm. The Rear carriers have a lot less play as well. What really makes the difference is the grub screw in each aluminum block, that tightens down on the swivel pin, taking out any play... I have to say I'm impressed in spite of my problems. I can't wait to see the effects of this tighter suspension set.
My 3rd C-Hub in the last few weeks. The Aluminum Tuning Haus ones are installed
Tuning Haus Aluminum on the Right, OEM plastic on the left
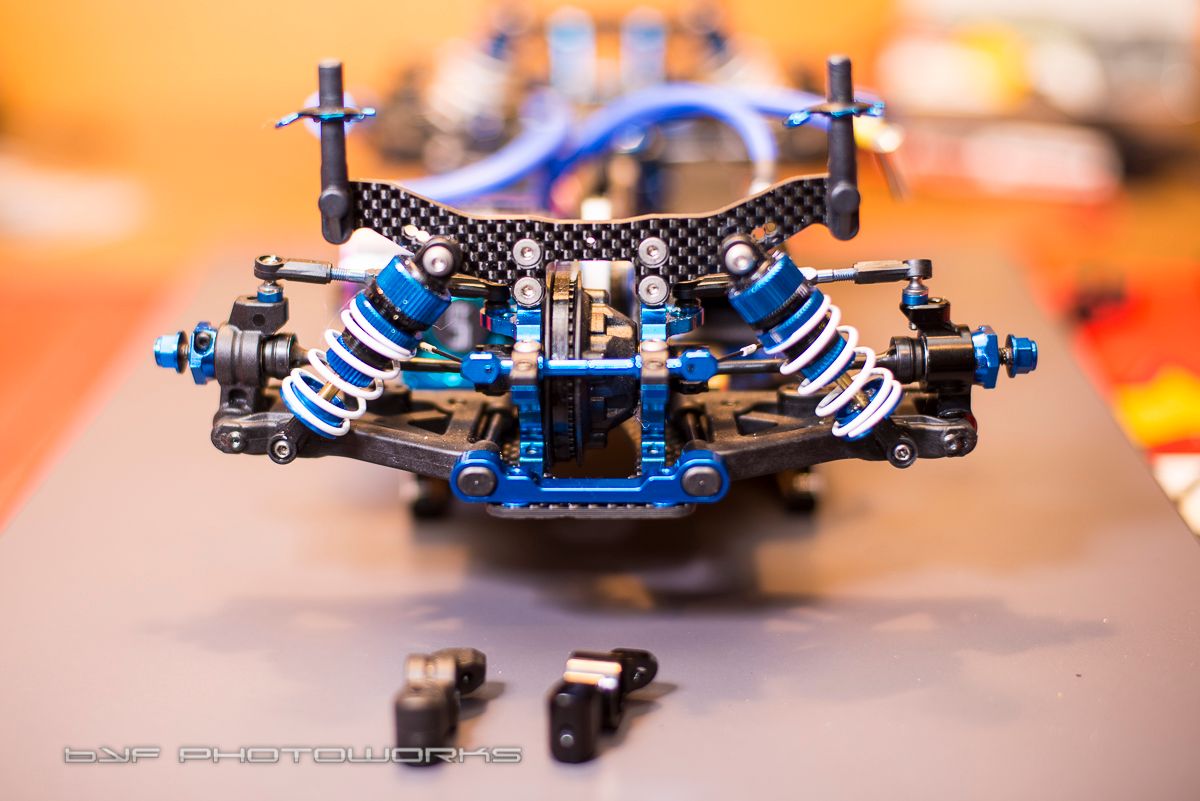
Both fronts installed
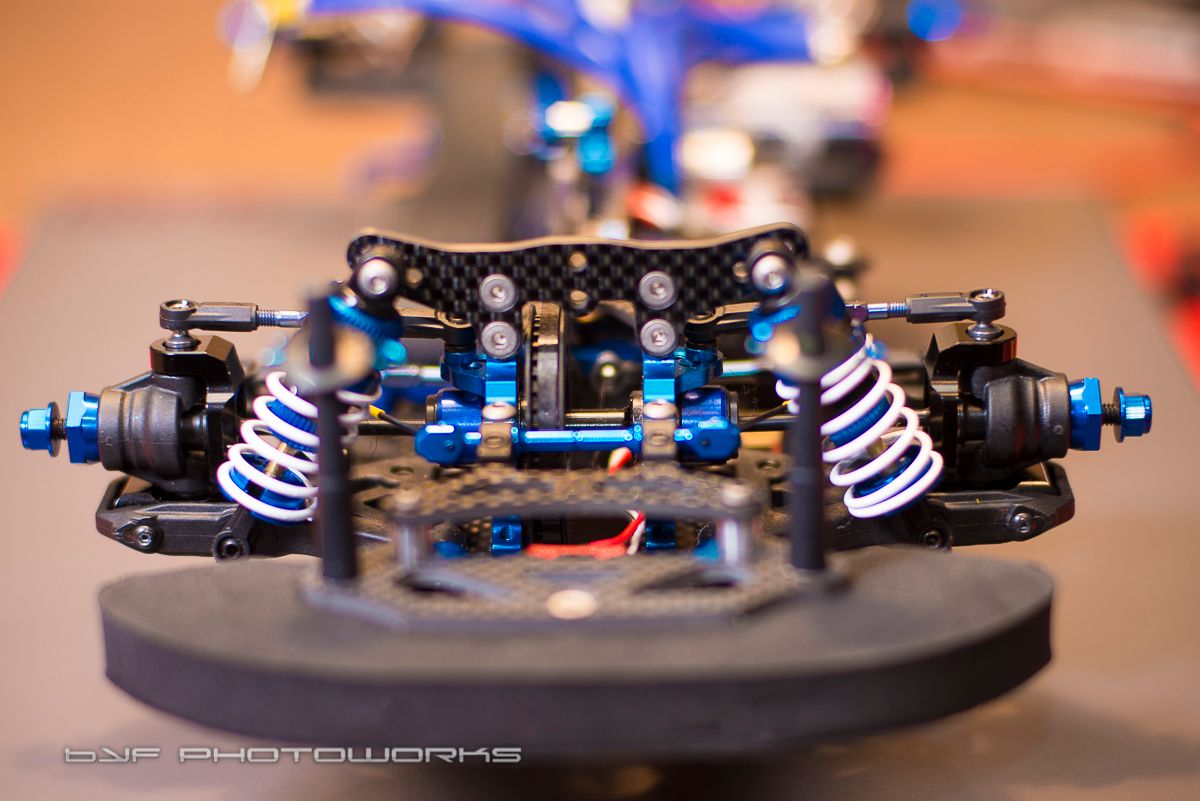
The setscrews to lock down on the swivel pin on each corner is key to the systems tightness
 [/QUOTE]
I think Gary Lanzer would be one of the few to know what one of those are. I snapped the 1.5 mm ball end of my driver off in the grub screw of my pinion, so the least intrusive way I can think of is to pull the pinion with a puller, which would then allow the set screw to be removed with out a lot of fuss.
Either that or I try drilling it which would require full removal of the motor, and then could get ugly

I got my Tuning Haus Aluminum C-Hubs and Rear Carriers installed... I have been breaking plastic C-Hubs of late, have ran out of spares, and needed to press these into action. I hope I didn't shift the break point down the line.
The hole for the hinge pin was undersized and too tight. As well the lower hole where the kingpin bolt bolts in against the flanged bushing was too shallow, allowing the bolt to tighten up against the C-Hub rather than the bushing. This caused binding when the bottom bolt was tightened.
To fix those 2 issues, I reamed out the holes on the C-Hubs with a reamer in my dremel. this solved that issue. For the binding on the lower bolt, rather than remove metal, I decided to just run the bolt looser. The required me to use CA glue in the hole of the steering block so the bolt would be tight, even when loose. I think this should fix that.
The rear carriers have no issues as the hinge pin hole was the right size, and they bolted right up.
I have to say after these tweaks, and with the kit installed, the steering system is a lot tighter with out much play between the C-Hub and the A-Arm. The Rear carriers have a lot less play as well. What really makes the difference is the grub screw in each aluminum block, that tightens down on the swivel pin, taking out any play... I have to say I'm impressed in spite of my problems. I can't wait to see the effects of this tighter suspension set.
My 3rd C-Hub in the last few weeks. The Aluminum Tuning Haus ones are installed


Tuning Haus Aluminum on the Right, OEM plastic on the left


Both fronts installed

The setscrews to lock down on the swivel pin on each corner is key to the systems tightness

 [/QUOTE]
Last edited by ViperZ; 12-07-2014 at 04:31 PM.
12-13-2014, 09:38 PM
#280
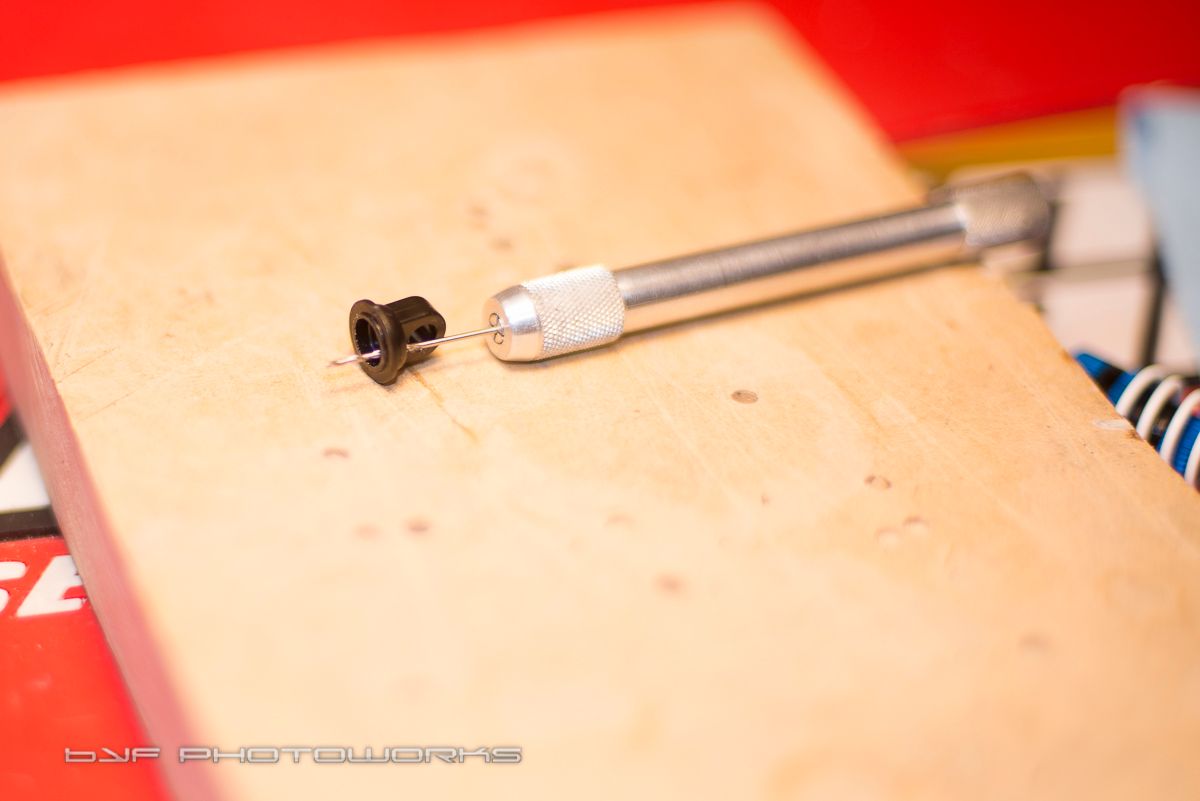
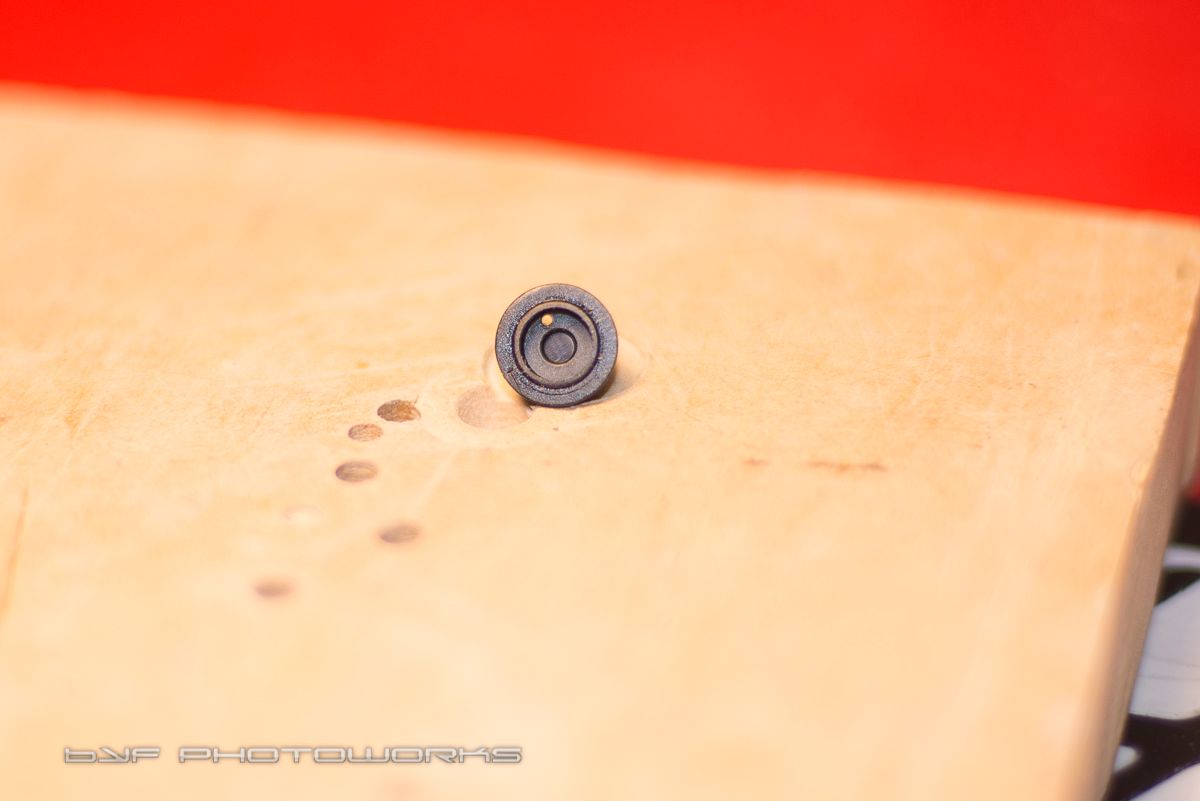
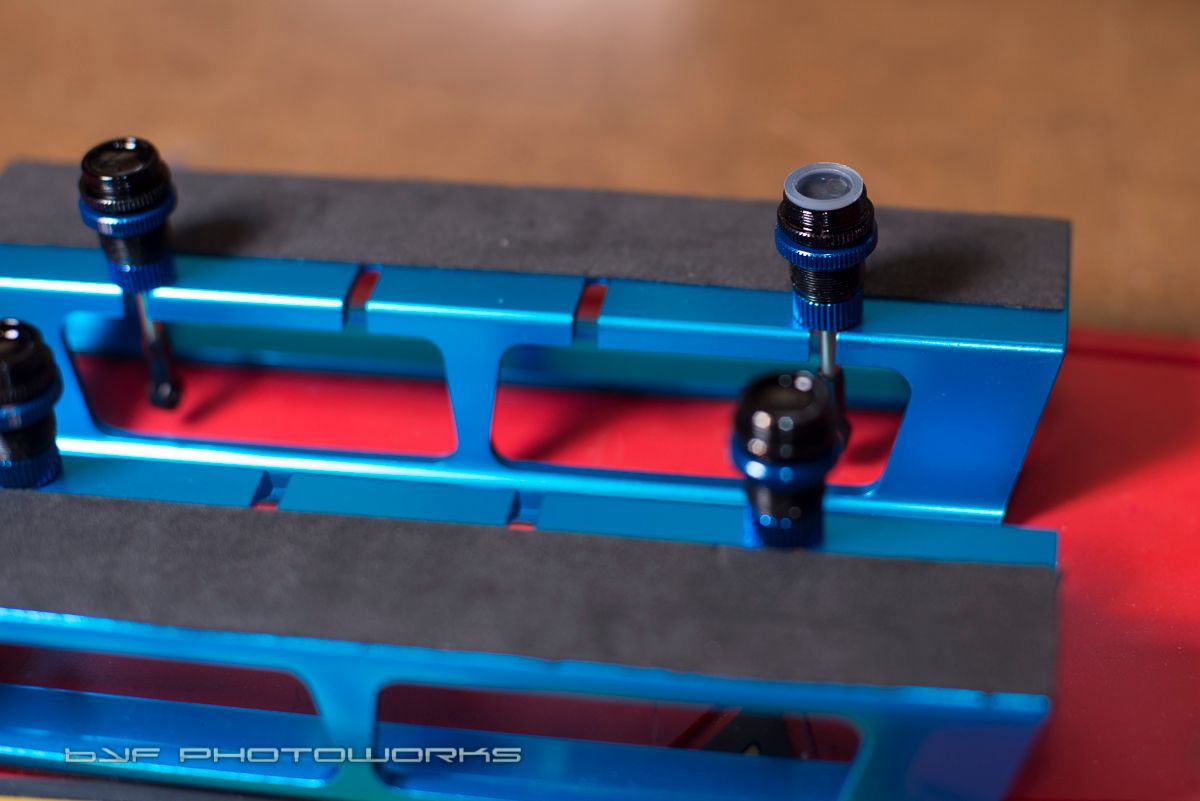
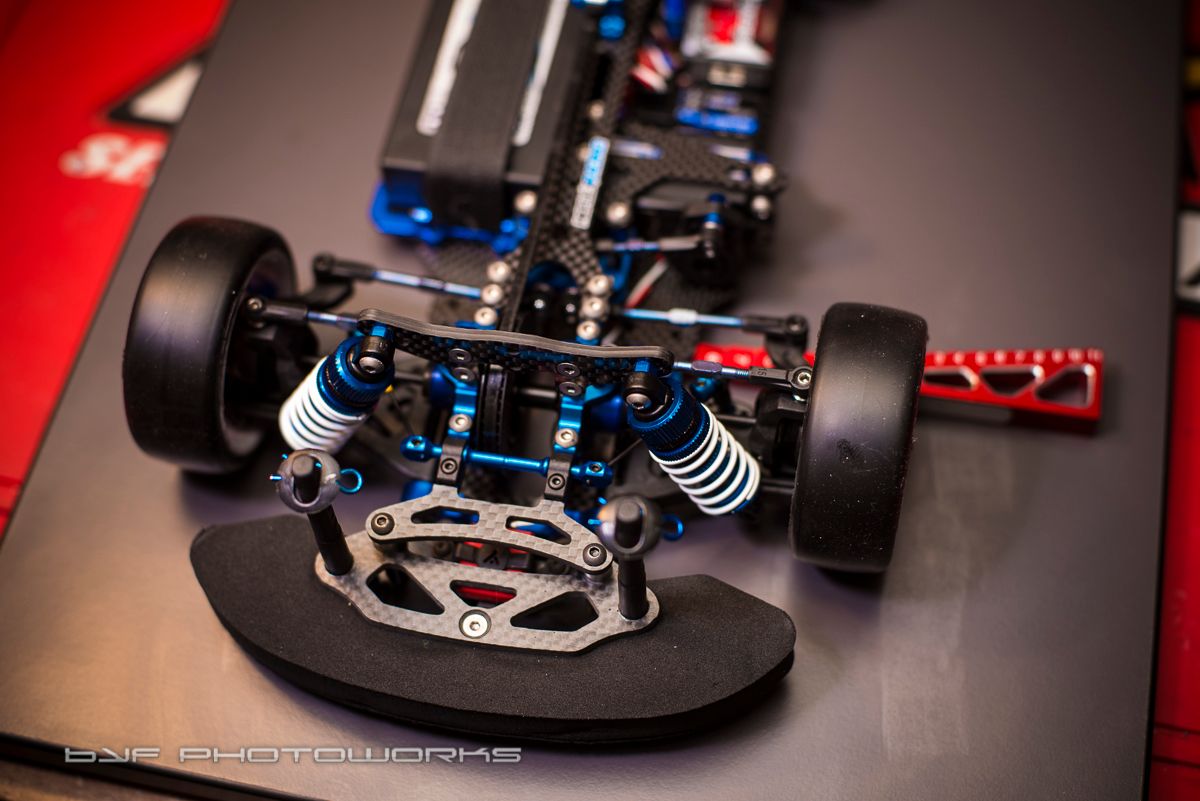
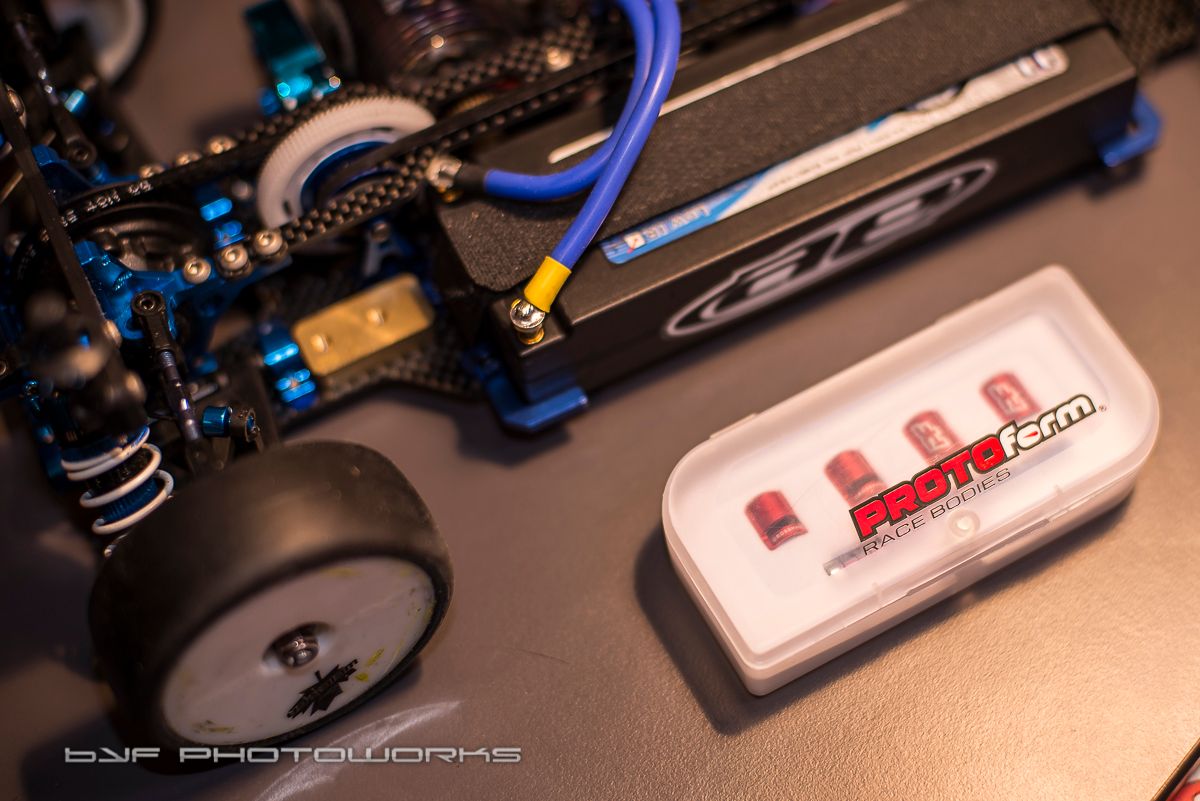
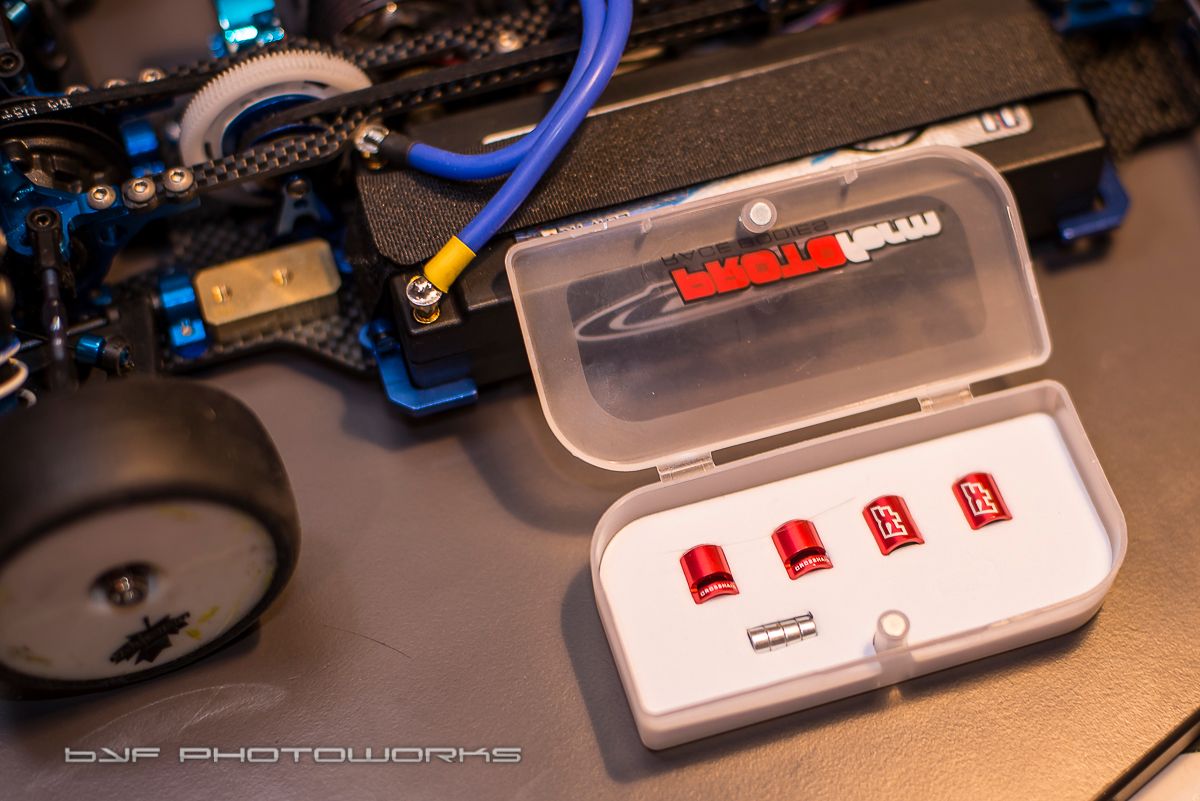
I got this Protoform Cross Hair body mounting kit and have to say its such a simple idea, yet excellent in execution and effectiveness. The kit uses magnets to position and locate the mounting holes for the body. What's really cool is the watching the outside magnets slide around the body as you position it to you liking.
The was so much easier and better than the last time I mounted my pre painted body using grease marks. Of course I mainly cut and mark out my bodies before I paint them, but this kit is great for the pre paints. Highly recommended.
The kit
Slide the inner magnets on your posts
Place the outside magnets on and position the body
Mark the locations

Quick and easy
Excellent results!
The was so much easier and better than the last time I mounted my pre painted body using grease marks. Of course I mainly cut and mark out my bodies before I paint them, but this kit is great for the pre paints. Highly recommended.
The kit


Slide the inner magnets on your posts


Place the outside magnets on and position the body

Mark the locations

Quick and easy

Excellent results!
 12-19-2014, 08:27 AM
#281
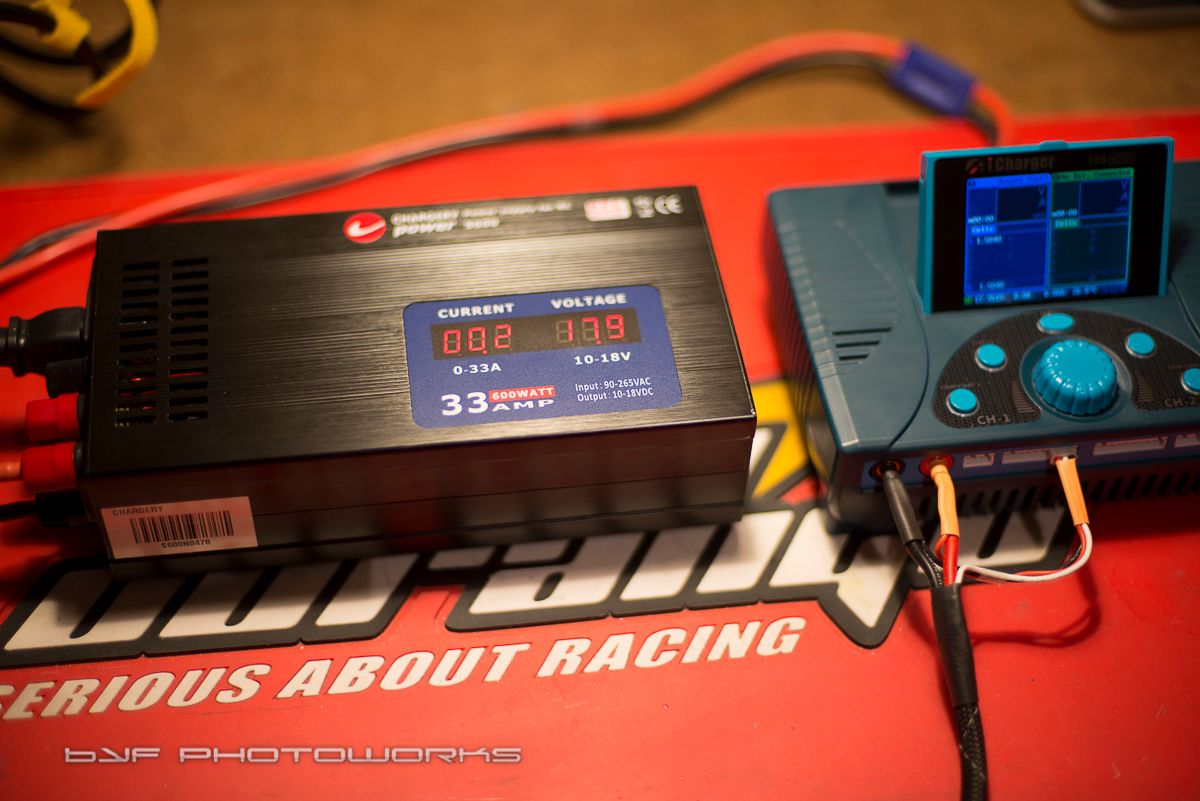
My trusty RC Buddy modified Meanwell power supply has been blowing fuses of late, so I had to put it to rest and get a new power supply. This one will do for the time being. Its a Chargery 600w/33A unit.
Picked up some parts for the WGT car, however the servos don't quite fit as they are slightly bigger. They are the same size as the one sin my TC6.1 and 6.2, but they just don't fit this 10 R5. Oh well, I can always use one as a spare and for the next project.
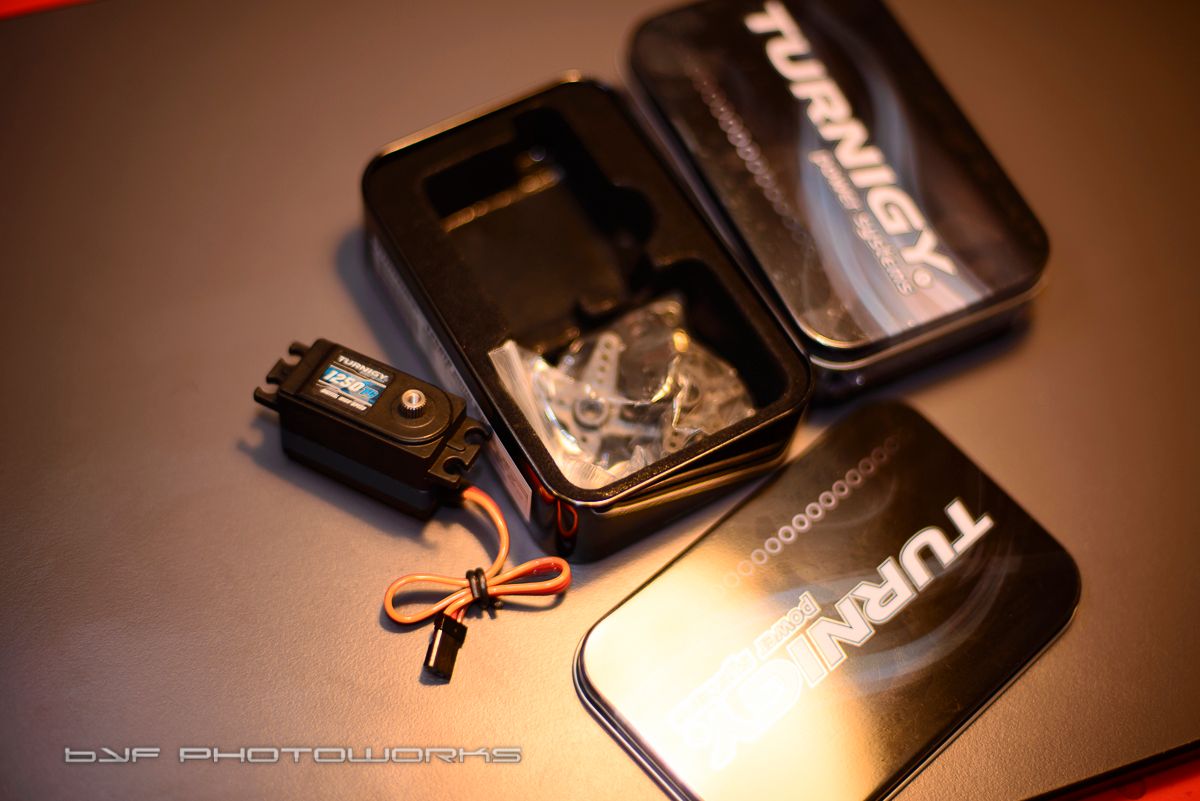
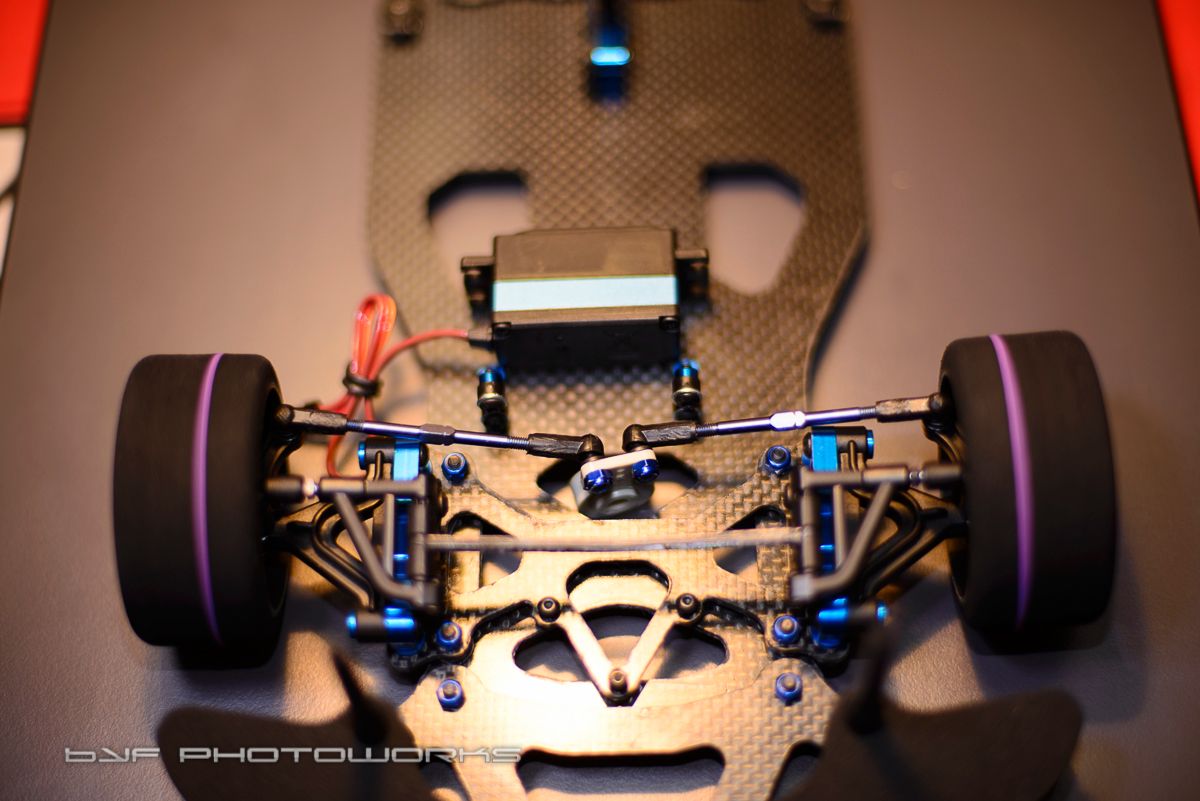
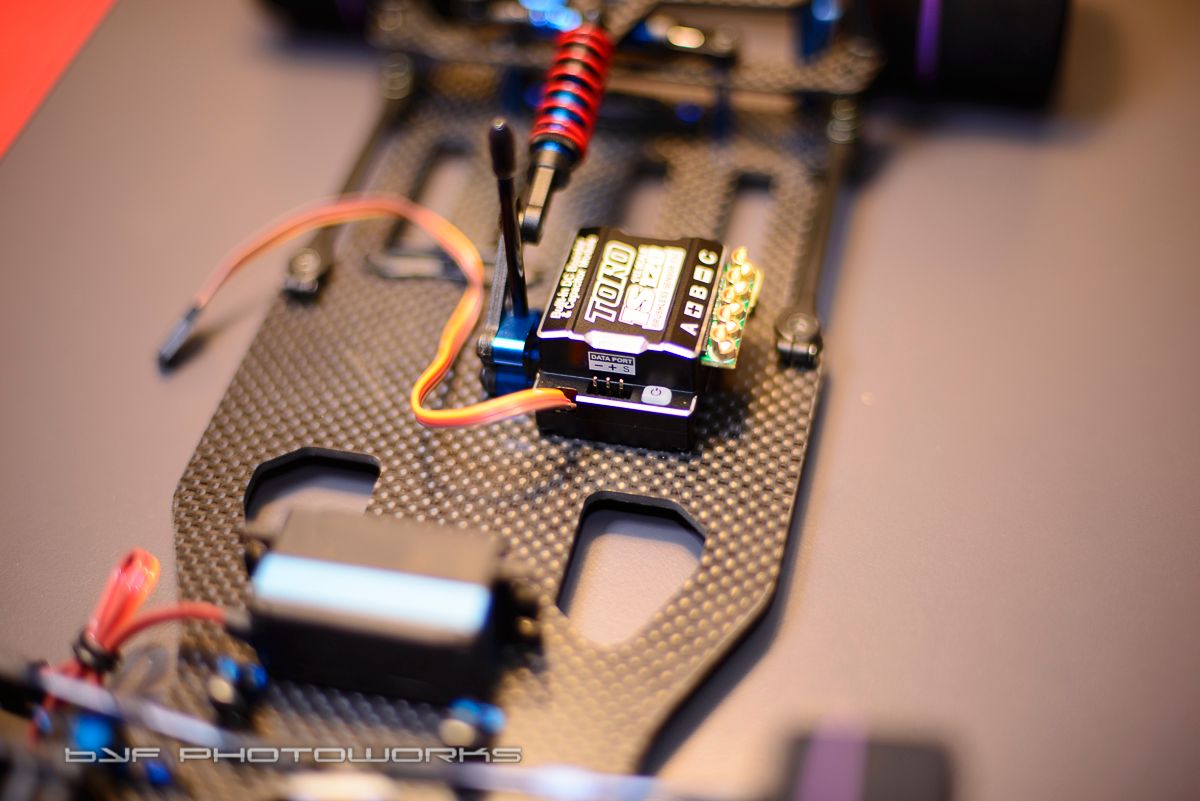
Got a nice looking Toro 1s ESC for the 10 R5. Comes with the Skylink kit
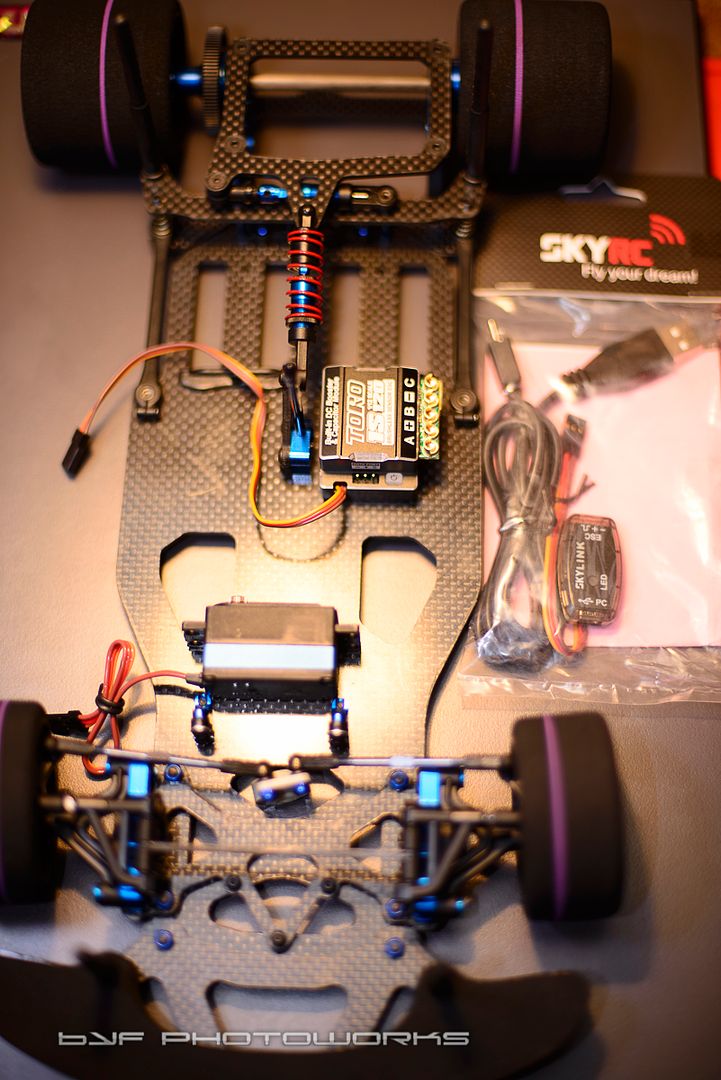
I'm not sure why I bought this other than the color and it was on sale as a Cyber Monday deal, So I added it to pad my cart. Its a 17.5 motor that I was thinking could be used in my Cup Racer project.

And I've started to maybe paint my VTA car

Picked up some parts for the WGT car, however the servos don't quite fit as they are slightly bigger. They are the same size as the one sin my TC6.1 and 6.2, but they just don't fit this 10 R5. Oh well, I can always use one as a spare and for the next project.


Got a nice looking Toro 1s ESC for the 10 R5. Comes with the Skylink kit


I'm not sure why I bought this other than the color and it was on sale as a Cyber Monday deal, So I added it to pad my cart. Its a 17.5 motor that I was thinking could be used in my Cup Racer project.

And I've started to maybe paint my VTA car


