


Another pit trailer build thread!


 09-23-2011, 06:57 AM
#47

My new trailers first road trip may be to NC! Awesome looking place.
09-23-2011, 08:28 AM
#48
I'm trying to find ideas for my 6X10 trailer build as well. I bought it earlier this year setup for the previous owner. Now I want to gut it and re-do it myself. Always fun right? So I'm following your build pretty close as my trailer is @ the same size....only 2 feet longer with no V-Nose.
09-23-2011, 08:35 AM
#49
Yeah it a very sweet looking track.
Glad you're enjoying the build so far and good luck with yours. All the guys at the track have been giving me a hard time for the past two months because I haven't finished the trailer yet. I've just been doing it slow and trying to plan out any issues I may have ahead of time. Like you, I have looked at a lot of the trailer builds on here but in most cases the details just weren't there. I've tried to explain a lot of what I have done and why hoping that it will make somebody elses build go smoother.
Glad you're enjoying the build so far and good luck with yours. All the guys at the track have been giving me a hard time for the past two months because I haven't finished the trailer yet. I've just been doing it slow and trying to plan out any issues I may have ahead of time. Like you, I have looked at a lot of the trailer builds on here but in most cases the details just weren't there. I've tried to explain a lot of what I have done and why hoping that it will make somebody elses build go smoother.
09-23-2011, 08:50 AM
#50
Yeah it a very sweet looking track.
Glad you're enjoying the build so far and good luck with yours. All the guys at the track have been giving me a hard time for the past two months because I haven't finished the trailer yet. I've just been doing it slow and trying to plan out any issues I may have ahead of time. Like you, I have looked at a lot of the trailer builds on here but in most cases the details just weren't there. I've tried to explain a lot of what I have done and why hoping that it will make somebody elses build go smoother.
Glad you're enjoying the build so far and good luck with yours. All the guys at the track have been giving me a hard time for the past two months because I haven't finished the trailer yet. I've just been doing it slow and trying to plan out any issues I may have ahead of time. Like you, I have looked at a lot of the trailer builds on here but in most cases the details just weren't there. I've tried to explain a lot of what I have done and why hoping that it will make somebody elses build go smoother.
09-23-2011, 10:15 AM
#51
really one of my first concerns was how to hide the wiring the walls and not have conduit and outlets boxes hanging on the wall everywhere. I found low profile outlet boxes at Lowes that fit perfect. Look for those if you want to hide the plugs.
09-25-2011, 05:55 AM
#52
Ok guys I need some help/suggestions. I'm about ready to start building my work bench and can't decide what to make the top of the table with. First off let me say I plan to have a 5' wide by 2' deep table and a peg board on the wall in front of me.
I either want to lay down the plywood and cover it with a low profile gray carpet or use the same white shinny tile board that I have on the walls and ceiling. I feel like the tile board will give it that nice clean look for a while but I feel like over time the scratches and dirt will really start to wear down the finish and look of the table. I plan to use a couple of pit towels if I go this way.
If I use the gray carpet I won't really need the pit towels on the table but I'm just not sure if thats the look I want....any suggestions???
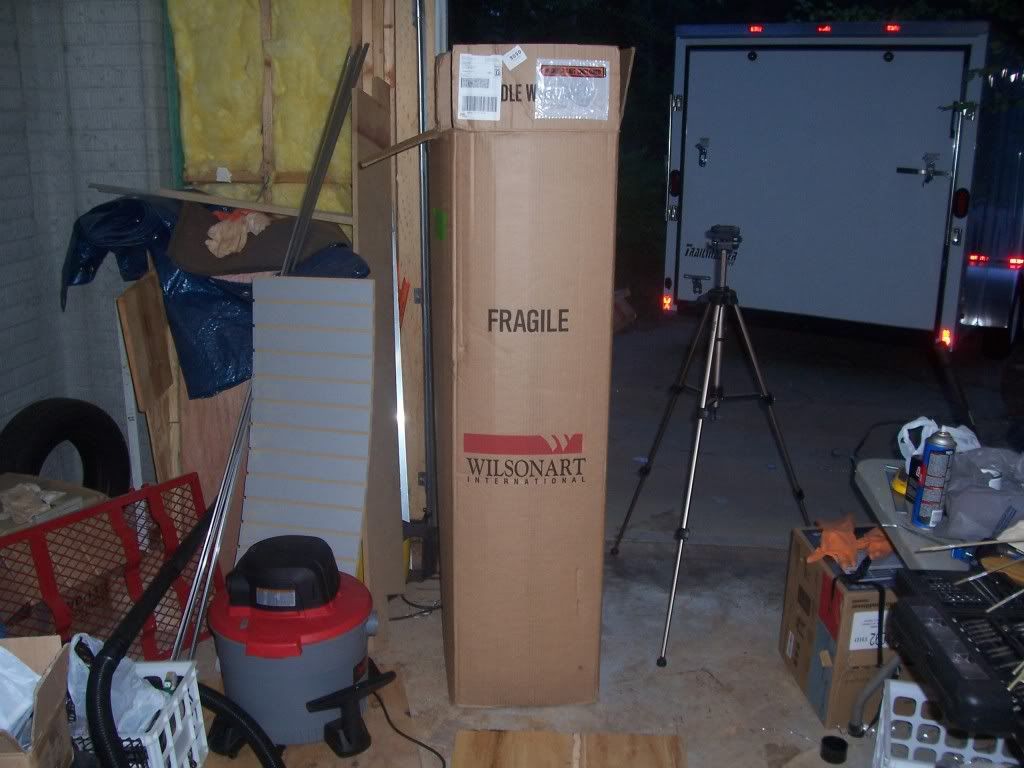
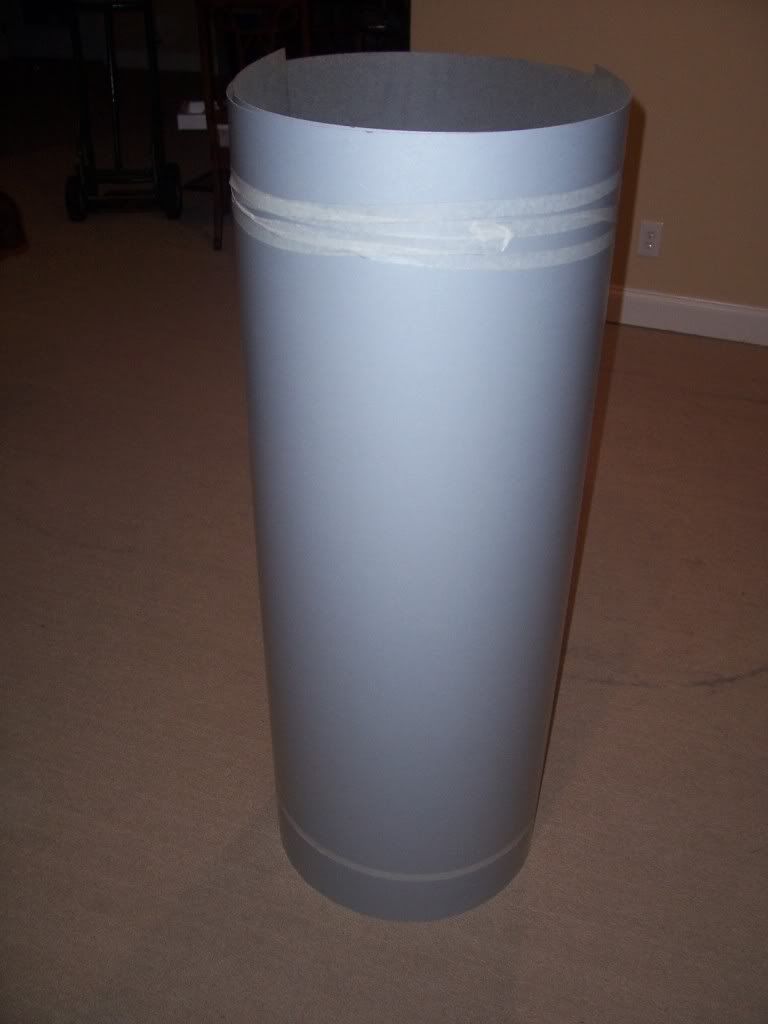
It's called Satin Silver and looks like brushed aluminum except it's more pimp cause it has "Satin" in the name. A 5x12 sheet and 4x8 sheet ran me $224
Below is the "before" shot of the plywood countertops before I layed the laminate
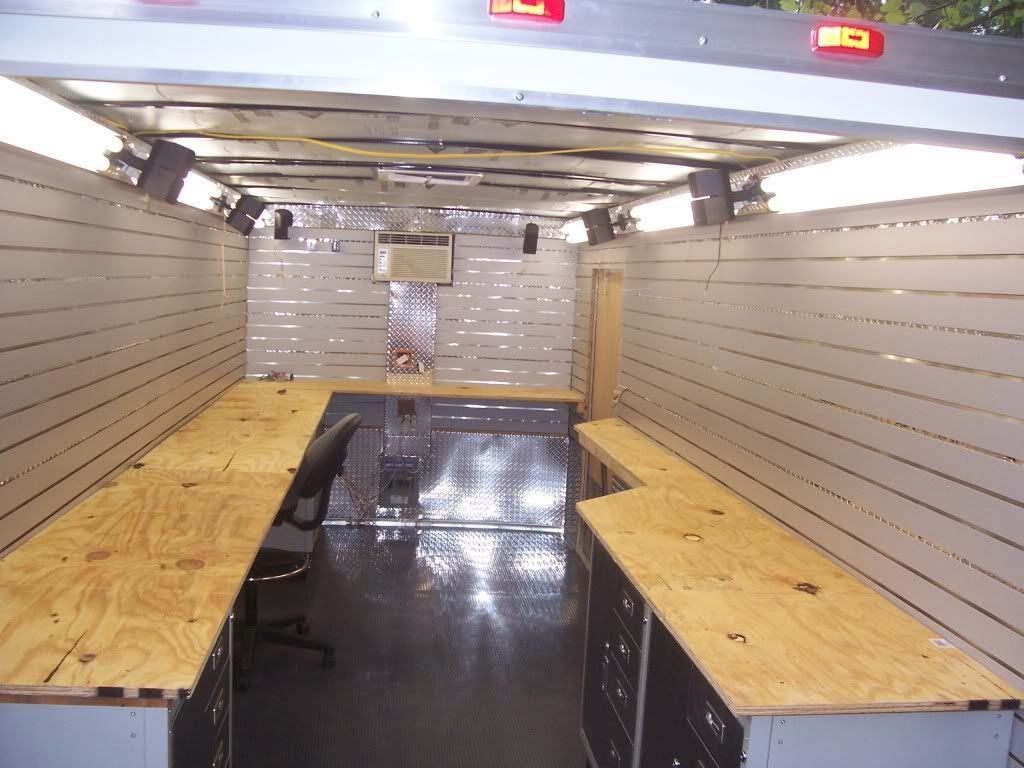
Below are some after shots
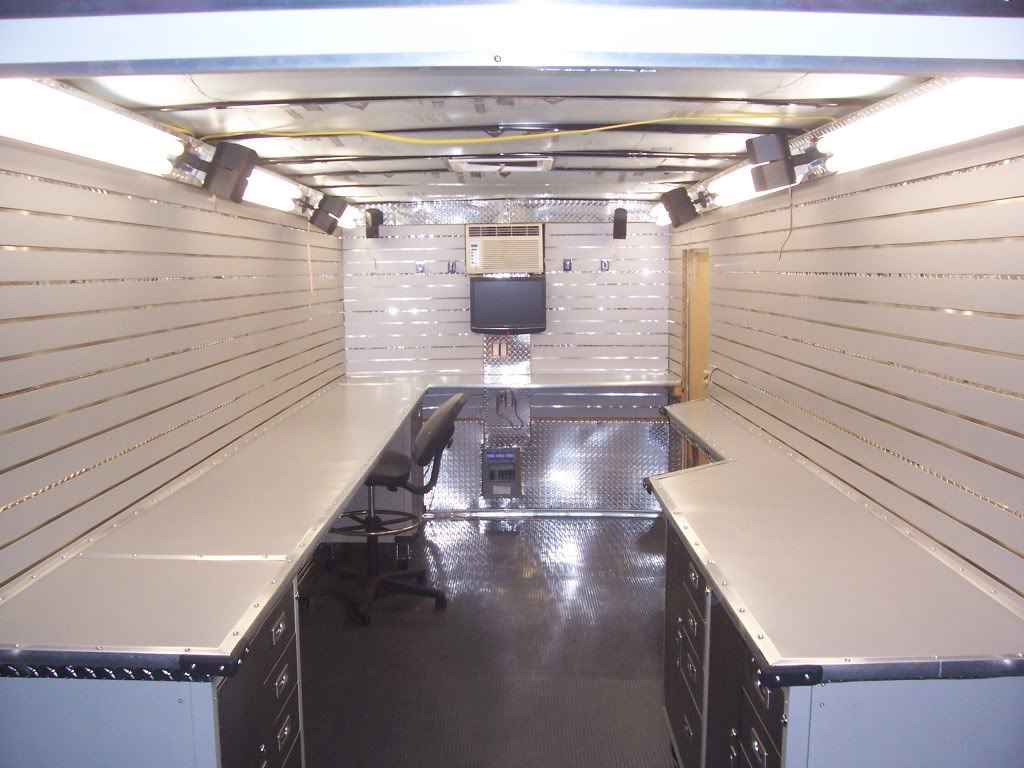
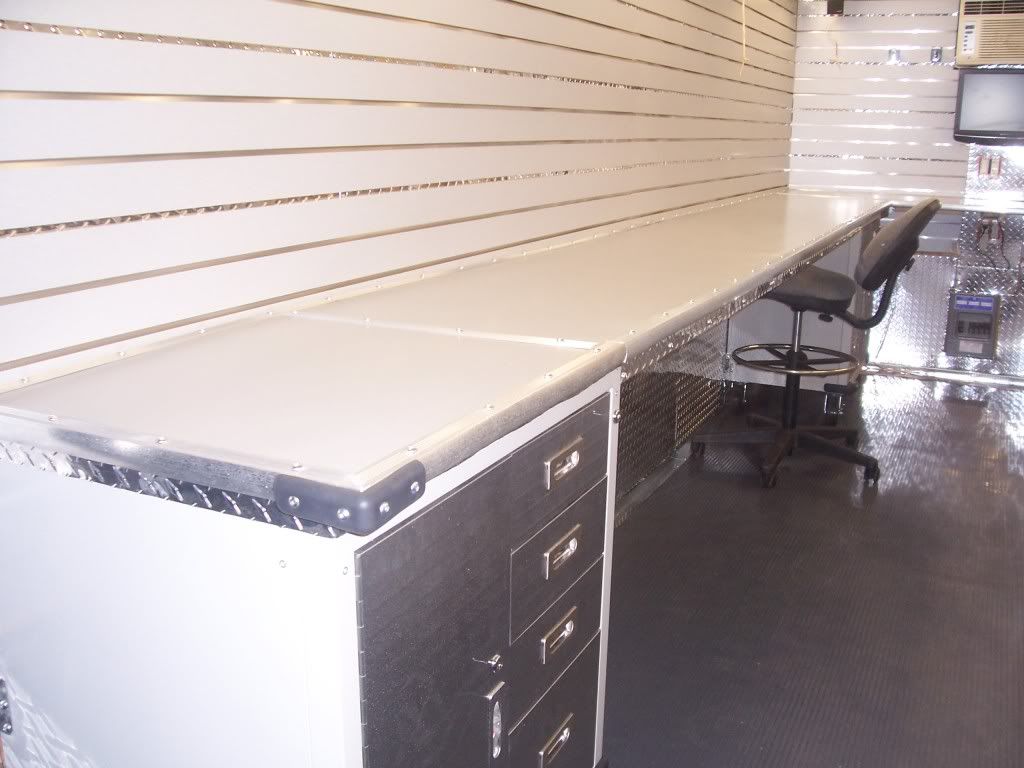
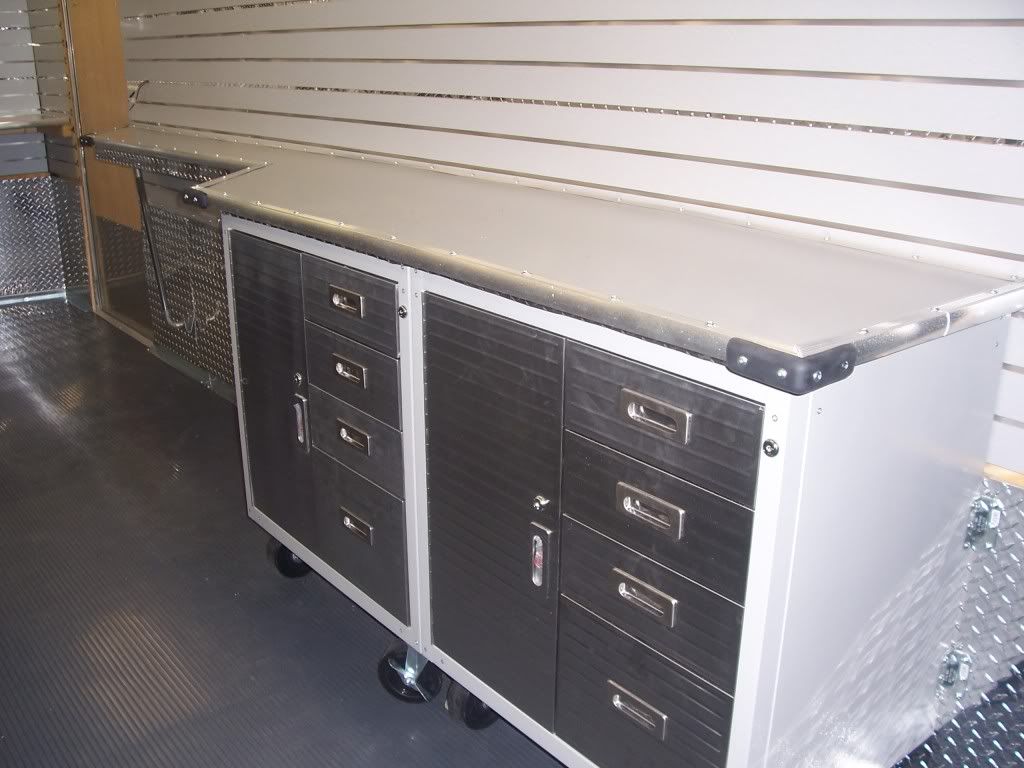
After a year and a half of use the countertops still look great. They are scratch resistant and oil resistant so shock and diff oil will not cause any discoloration. After a race the counters are normally dirty with mud, oil smudges, fluids, and whatever else. I spray the counters down with Simple Green wipe off and I'm done.
Last edited by El Tigre; 09-25-2011 at 06:19 AM.
09-26-2011, 09:34 AM
#53
Thats a sweet rig there man...
thanks for the tips.
thanks for the tips.
09-26-2011, 10:51 AM
#54
Thanks. The advice I would give at this point is be careful how much you put into it. My first trailer was a 6x12 and I eventually outgrew it for my current trailer which is a 7x16 and now I'm toying with selling it and going BIGPIMPIN and tricking out a 8.5 x 20.
It's like a frigging drug, once you trick out one pit trailer you want to go bigger and better.
It's like a frigging drug, once you trick out one pit trailer you want to go bigger and better.
09-26-2011, 11:03 AM
#55
Well I'm hoping to keep it simple for a while. My kids are still young and only one is racing with me and he is hit or miss if he even goes. I'm hoping to get 4 or 5 years from this one before I need/want something bigger.
09-26-2011, 11:23 AM
#56
Dude, I said the same thing and I traded up a 1 1/2 later. Your rig is looking good. Enjoy racing in style.
09-26-2011, 12:37 PM
#58
 10-01-2011, 07:56 PM
#59
Got a few more things done today during all this great weather we had today.
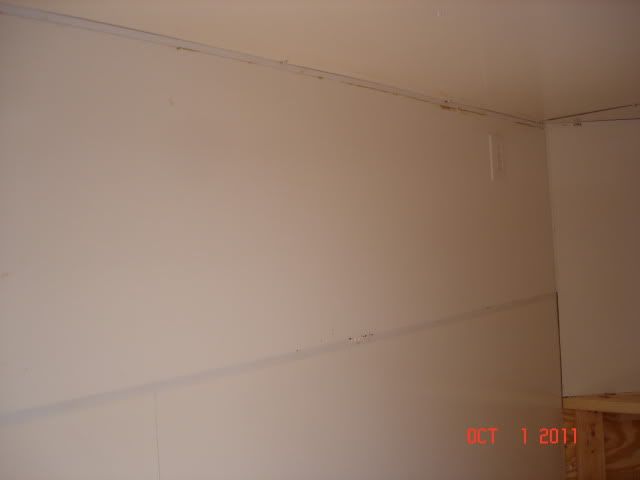
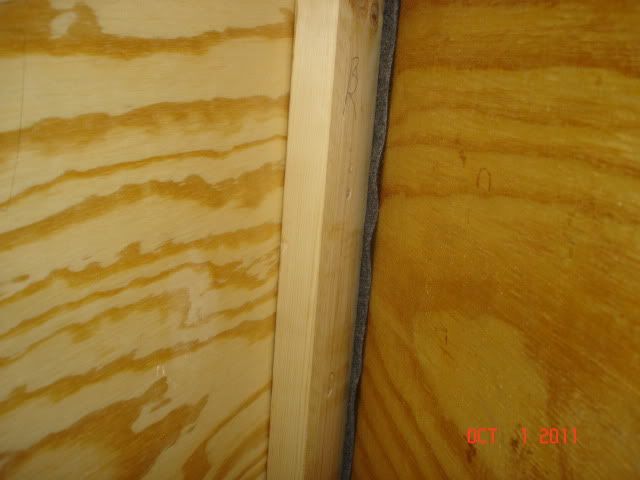
I finally got my last piece of white board up a few days ago and it was a royal pain in the butt. The PVC trim pieces fit very snug and when trying to get a very close fit with very little tolerance, that snugness can lead to major headaches. It did finally go in to the divider piece of trim but it put it a fight! I did have a bit of glue seep out the top but once it dries and hardens I can pull it off fairly simple,
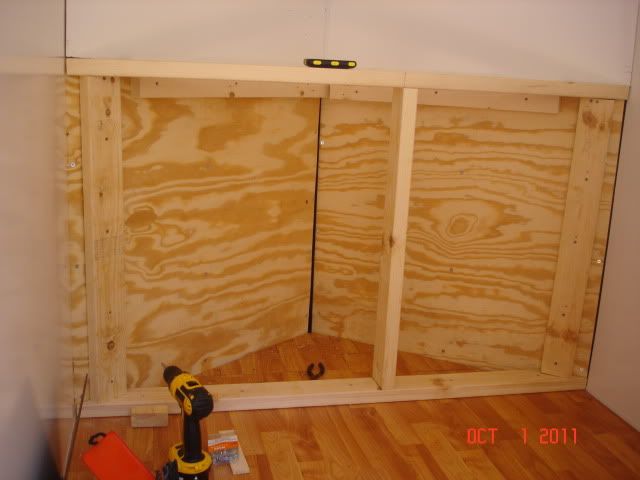
Once all the walls were up I was ready to start building my cabinet in the nose. I cut a 2x4 with angles to fit the nose and made another just like it to go on top. Just another tip, any time you need to cut an angle that will also be needed later, make sure it fits as you need then use it as a templete for the second or third pieces. Either way I used some good size screws to fasten it to the floor, then I cut and mounted my uprights and then squared everything up before adding my top rail. I also went ahead and mounted two 2x4's to the wall horiziontally to help support my counter top later. I added my upright support in the center as well and will help serve as my door frame.

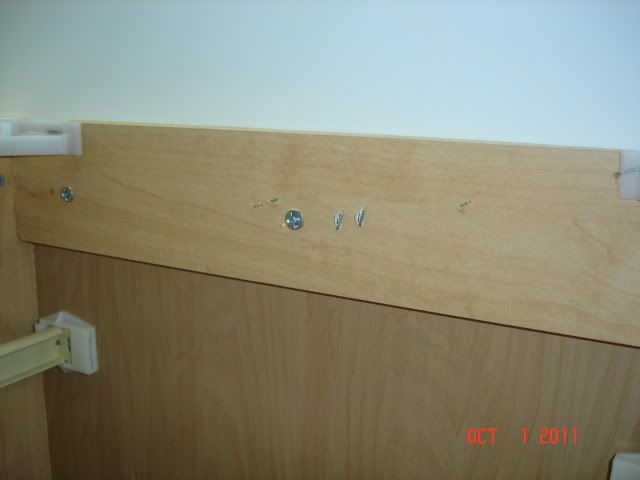
Now that my nose frame was built it was time to mount and install my four drawer cabinet. I made all my measurements and had to make some cuts to my trim piece that was on the floor just so the cabinet would fit flush against the wall.
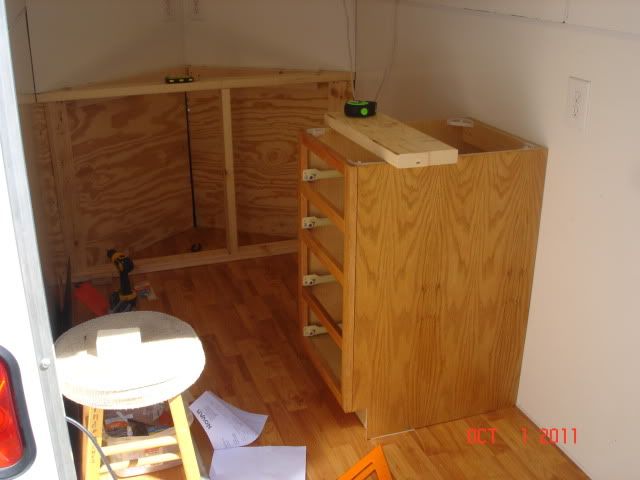
My reason for mounting the cabinet this soon was for counter top width. I wanted my table top to end at the same line vertically as my small cabinets.
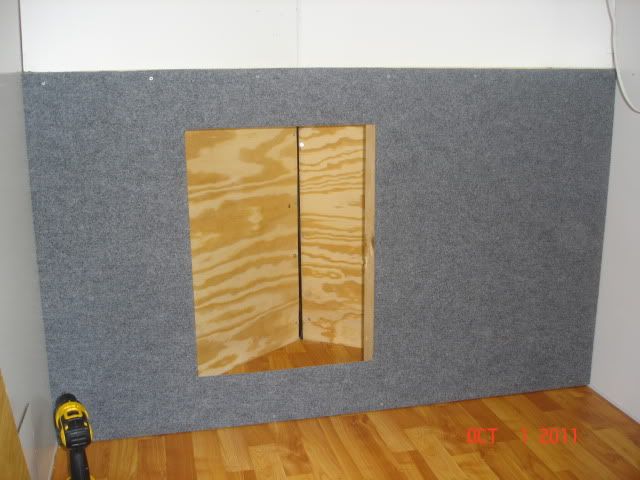
I lined up the cabinet and mounted it then allowing me to get an accurate measurement between my nose cabinet and four drawer cabinet. Remember if you are trying to keep your lines clean and straight, do not forget about your overhang on the actuall table top. I'm planning on a 1" overhang to my four drawer cabinet is actually 1" closer to the nose then is the end of my smaller overhead cabinets. My last step before building my work bench frame was to put up my plywood on the nose cabinet. I measured length and width and determined where I wanted to put my door. After the piece was cut and the door was out, I covered it with low pile carpet, wrapedaround the side and stappled it on the back side. Now it was time to mount up the cover and build my next frame.
I finally got my last piece of white board up a few days ago and it was a royal pain in the butt. The PVC trim pieces fit very snug and when trying to get a very close fit with very little tolerance, that snugness can lead to major headaches. It did finally go in to the divider piece of trim but it put it a fight! I did have a bit of glue seep out the top but once it dries and hardens I can pull it off fairly simple,
Once all the walls were up I was ready to start building my cabinet in the nose. I cut a 2x4 with angles to fit the nose and made another just like it to go on top. Just another tip, any time you need to cut an angle that will also be needed later, make sure it fits as you need then use it as a templete for the second or third pieces. Either way I used some good size screws to fasten it to the floor, then I cut and mounted my uprights and then squared everything up before adding my top rail. I also went ahead and mounted two 2x4's to the wall horiziontally to help support my counter top later. I added my upright support in the center as well and will help serve as my door frame.
Now that my nose frame was built it was time to mount and install my four drawer cabinet. I made all my measurements and had to make some cuts to my trim piece that was on the floor just so the cabinet would fit flush against the wall.
My reason for mounting the cabinet this soon was for counter top width. I wanted my table top to end at the same line vertically as my small cabinets.
I lined up the cabinet and mounted it then allowing me to get an accurate measurement between my nose cabinet and four drawer cabinet. Remember if you are trying to keep your lines clean and straight, do not forget about your overhang on the actuall table top. I'm planning on a 1" overhang to my four drawer cabinet is actually 1" closer to the nose then is the end of my smaller overhead cabinets. My last step before building my work bench frame was to put up my plywood on the nose cabinet. I measured length and width and determined where I wanted to put my door. After the piece was cut and the door was out, I covered it with low pile carpet, wrapedaround the side and stappled it on the back side. Now it was time to mount up the cover and build my next frame.
10-01-2011, 08:10 PM
#60
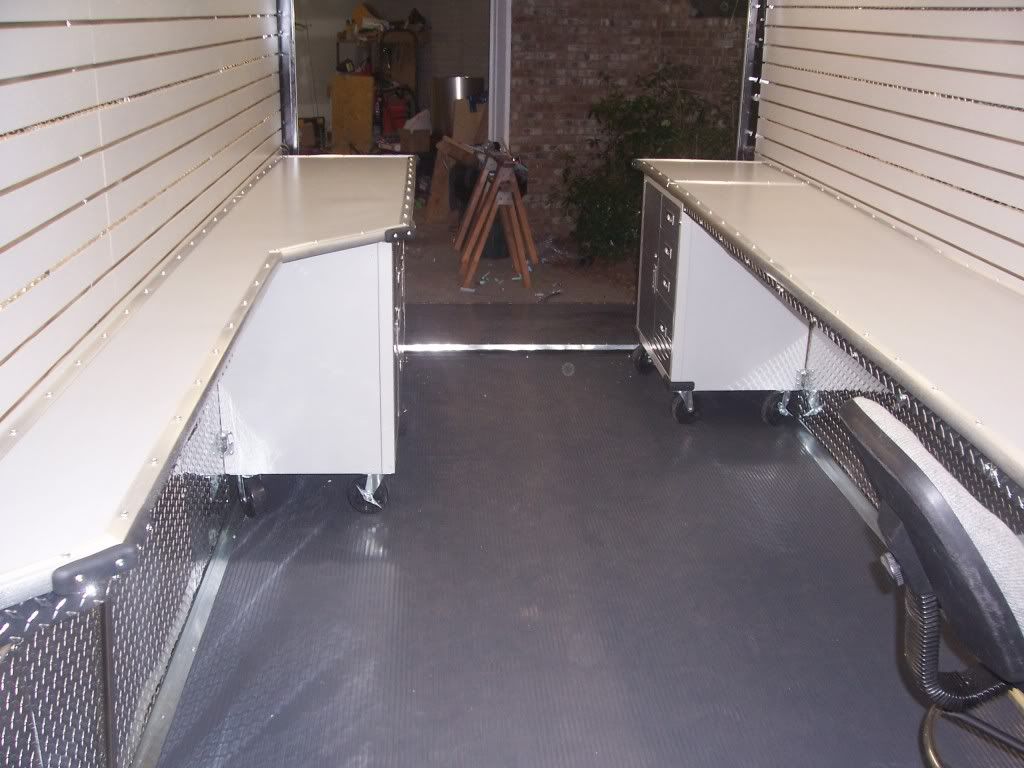
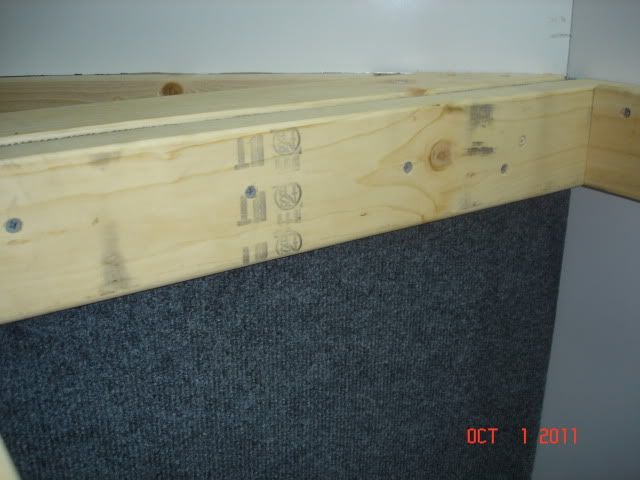
Another key to this build for me was to not have any legs on my table. To make this happen took a bit of planning and using my two existing anchor points, my nose cabinet and my floor mounted cabinet. To do this my first step was to firmly anchor my nose cabinet, screwed to the floor and the wall
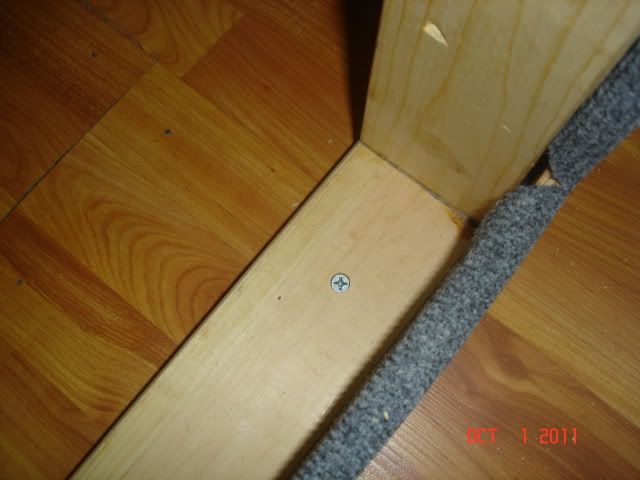
Made sure my floor cabinet was firmly secured to the wall.
Next I made sure my fram fit sungly between the two, I screwed my table top frame to both cabinets and the wall.

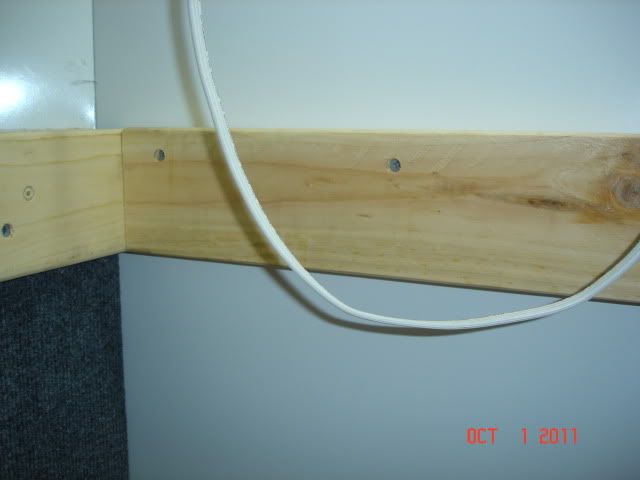
By the time I got this far it was time to come in and watch the game so I forgot to get a picture of the finished frame work but thats just something to keep you guys interested....
Made sure my floor cabinet was firmly secured to the wall.
Next I made sure my fram fit sungly between the two, I screwed my table top frame to both cabinets and the wall.
By the time I got this far it was time to come in and watch the game so I forgot to get a picture of the finished frame work but thats just something to keep you guys interested....