


Another pit trailer build thread!
 08-29-2011, 06:26 PM
#1
Ok guys, just like many of you I have watched, wished and drooled over these enclosed pit trailers some of these guys have. I decided it would be much eaiser to pit and store my race gear in a trailer and not have to unload the garage, load the truck, get to the track and unload it all again, pack it all up, go home, unload the truck and get everything set up in the garage again.
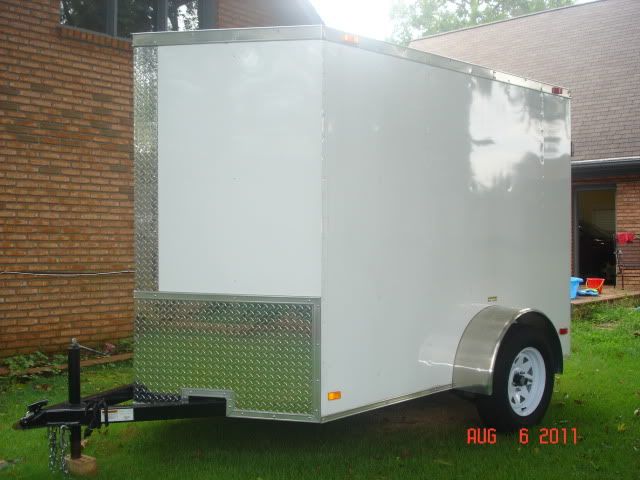
With that in mind I set out to find a trailer to fit my needs. I'm about 6'2" so a trailer with a 6' height was a must. In my search I found that the width of a trailer was also usually the height. Therefore a 5'x8' trailer is usually only 5' tall. A 6'x10' trailer is usually 6' tall. After reading a lot of other topics I also decided a V-nose was what I wanted. With a 6x10 v-nose in mind I set out on my search.
After looking at 6x10 v-nose trailers I also decided I wanted a ramp door and a side door. The side door was so I could leave the ramp closed and have easy access to the inside. I wanted a ramp door incase I ever wanted to use the trailer for other purposes. I figured the ramp would allow better access for ATV's mowers, furniture or anything else I wanted to haul and keep dry.
I searched here, ebay and craigslist everyday for the deal I wanted. I found a lot of trailers that was the price I wanted but were either junk or not the configuration I wanted. I also found trailers that were exactly what I wanted but waaaayyyy more money than I wanted to spend. After about 6 months of looking I finally found a nice trailer that would fit my needs, and it wasn't anything that I thought I wanted! LOL. While searching craigslist one day I came across a "used" 5'x8' enclosed trailer that was 6' tall and it had a v-nose. It looked brand new from the pictures so I gave the guy a call. Turns out his dad had bought it to haul a motorcycle in and never used it.
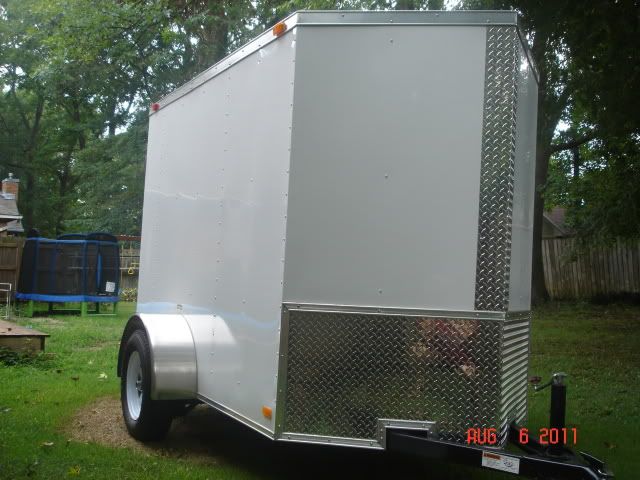
I pondered a few days on if a trailer this small would fit my needs. After much thought I bit the bullet and made the purchase. Now for why I made the compromise from a 6'x10' to a 5'x8'....I already have a nice utility trailer to haul mowers ATV's and other items, once I get the trailer set up for racing I'm probably not going to pul it all out just to haul something in the dry. This trailer also had two swinging doors rather than a ramp and also did not have a side door. But.. since it has two doors I can leave one shut and put up a strip curtain on the other side to keep in the cool/heat and the dust out.
So heres what I brought home...

I have big plans for the little trailer so stay tuned for more progress pics and tips from leasons I learn along the way.
With that in mind I set out to find a trailer to fit my needs. I'm about 6'2" so a trailer with a 6' height was a must. In my search I found that the width of a trailer was also usually the height. Therefore a 5'x8' trailer is usually only 5' tall. A 6'x10' trailer is usually 6' tall. After reading a lot of other topics I also decided a V-nose was what I wanted. With a 6x10 v-nose in mind I set out on my search.
After looking at 6x10 v-nose trailers I also decided I wanted a ramp door and a side door. The side door was so I could leave the ramp closed and have easy access to the inside. I wanted a ramp door incase I ever wanted to use the trailer for other purposes. I figured the ramp would allow better access for ATV's mowers, furniture or anything else I wanted to haul and keep dry.
I searched here, ebay and craigslist everyday for the deal I wanted. I found a lot of trailers that was the price I wanted but were either junk or not the configuration I wanted. I also found trailers that were exactly what I wanted but waaaayyyy more money than I wanted to spend. After about 6 months of looking I finally found a nice trailer that would fit my needs, and it wasn't anything that I thought I wanted! LOL. While searching craigslist one day I came across a "used" 5'x8' enclosed trailer that was 6' tall and it had a v-nose. It looked brand new from the pictures so I gave the guy a call. Turns out his dad had bought it to haul a motorcycle in and never used it.
I pondered a few days on if a trailer this small would fit my needs. After much thought I bit the bullet and made the purchase. Now for why I made the compromise from a 6'x10' to a 5'x8'....I already have a nice utility trailer to haul mowers ATV's and other items, once I get the trailer set up for racing I'm probably not going to pul it all out just to haul something in the dry. This trailer also had two swinging doors rather than a ramp and also did not have a side door. But.. since it has two doors I can leave one shut and put up a strip curtain on the other side to keep in the cool/heat and the dust out.
So heres what I brought home...
I have big plans for the little trailer so stay tuned for more progress pics and tips from leasons I learn along the way.
 08-29-2011, 06:46 PM
#2
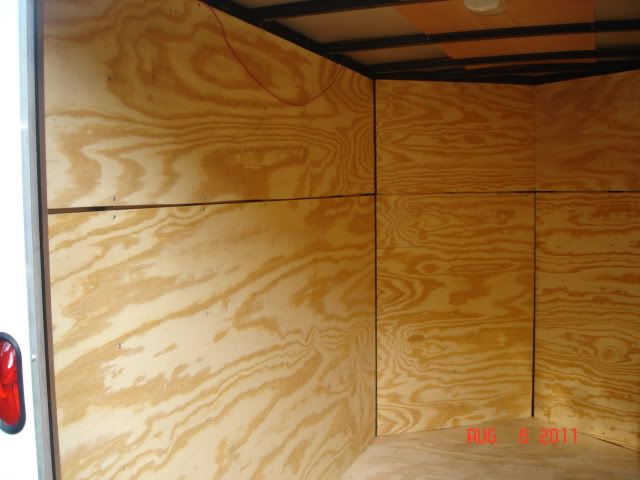
Inside..
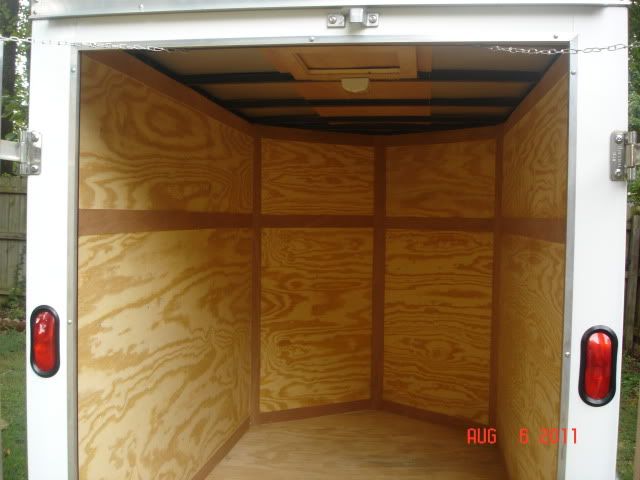
As you can see it is very clean..the newest looking used trailer I found
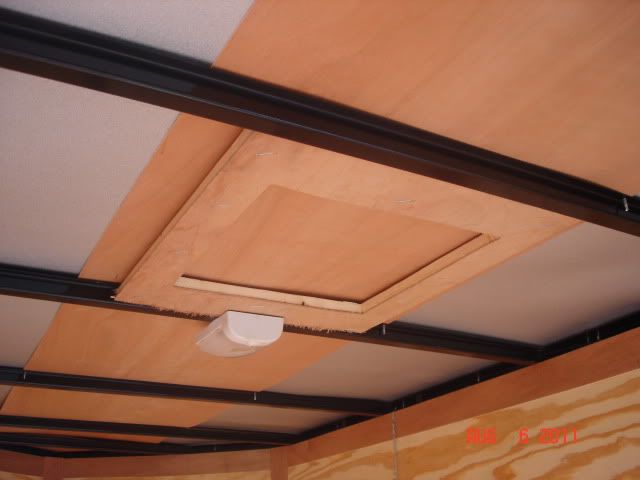
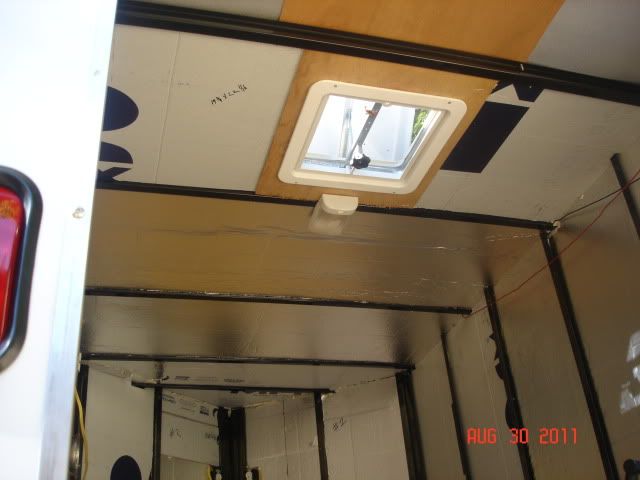
One of the first things I wanted to do was get a vent in the roof. It was already framed but the roof wasn't cut. I plan to add A/C one day but until then a vent will help. I found a nice one on ebay for $30 shipped, brand new.
My first step was to drill out the corners and a couple of alignment holes in the roof for the vent.
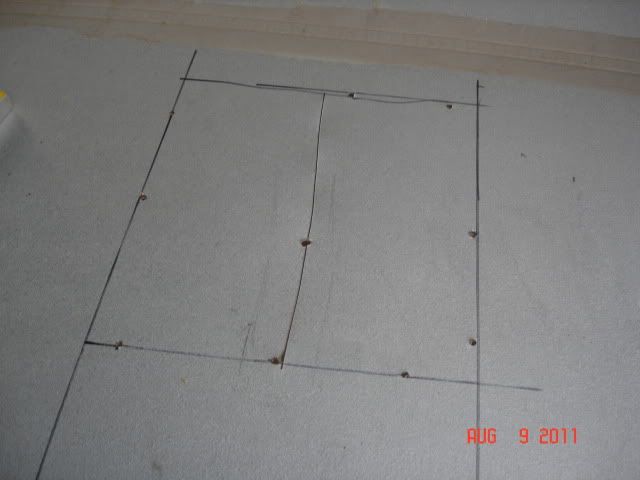
Cut the hole with a jig saw.
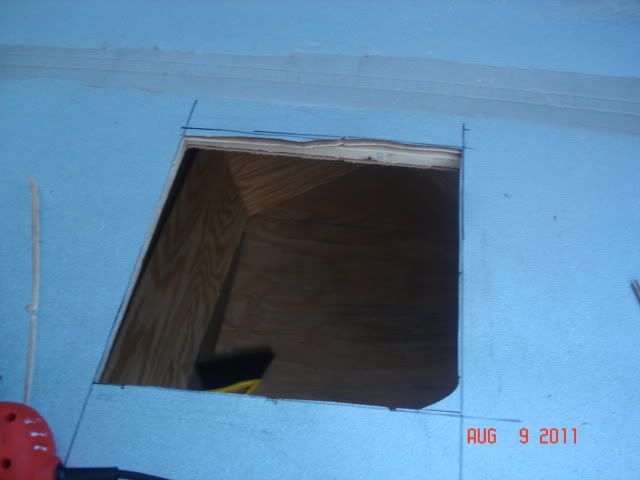
Insert the vent from the roof, screw it down with stainless screw and put clear sealant around the frame and over all the screw heads.
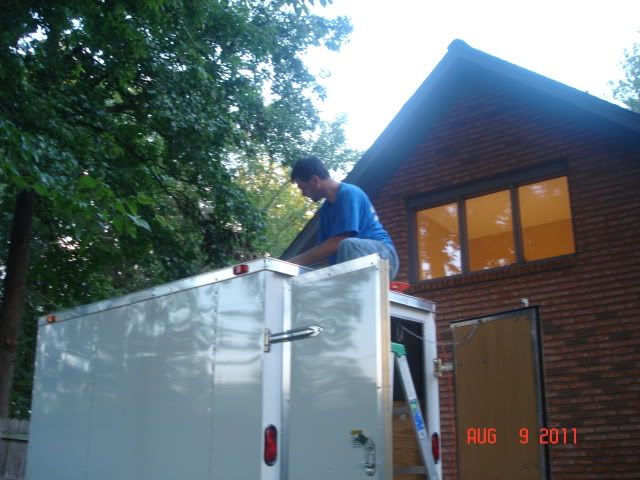
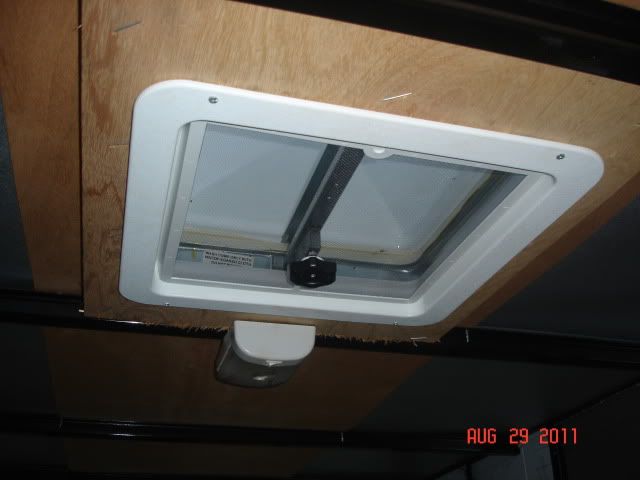
Insert the cover ring in the inside and your ready to vent.
As you can see it is very clean..the newest looking used trailer I found
One of the first things I wanted to do was get a vent in the roof. It was already framed but the roof wasn't cut. I plan to add A/C one day but until then a vent will help. I found a nice one on ebay for $30 shipped, brand new.
My first step was to drill out the corners and a couple of alignment holes in the roof for the vent.
Cut the hole with a jig saw.
Insert the vent from the roof, screw it down with stainless screw and put clear sealant around the frame and over all the screw heads.
Insert the cover ring in the inside and your ready to vent.
08-29-2011, 07:20 PM
#4
My next step was to spend many hours just sitting in the trailer pondering how I wanted everything set up, where I wanted plugs, lights, cabinets and what I wanted on my pit table. This is the step where you can't spend too much time. The last thing you want to spend weeks or months building a trailer just to regret half you build decisions the first time you go to the track.
My approach was to first decide what all I wanted in my trailer, where to put it all, how I wanted to store it and then what did I need to do to make it happen. With a v-nose you need to decide what you want to store/install in the nose. My plans are for three shelves, one up top to store a radio and sattelite receiver.
Directly under that will be a second shelf to hold a small flat screen tv.
Under that I plan to have about 14"-15" of open area before the next shelf that will actually be an extension of my pit table. That shelf will be the top of a 36" wall in the nose that I plan to put a door in and use for storage of those things you need every so often but mostly just want out of sight and out of the way.
I plan to put my table on the right side of the trailer because with thw two swinging doors, the right side can be closed and latched but also allow you to see out the other door while you work. I plan to have two 12"x30" cabinets overhead with a small light mounted underneath. I also plan to put a peg board on the wall in front of my table to keep my tools and other items that you want close at hand. I only plan to use about 5' of the 8' length for my table so I plan to use the other 3' for truck/car storage hanging on the wall. With my limited width I don't want to put too many things on the wall behind me. Don't want to be bumping my head coming in or out
I'm also planning on a four drawer cabinet under the table for more storage.
With these main components in mind, I needed to decide on where I wanted plugs and switches. So while sitting in the trailer for hours I would take a pencil and mark on the walls where i wanted them. If I changed my mind I could scratch it out and start over. Cost me nothing and I didn't have to re-do anything!
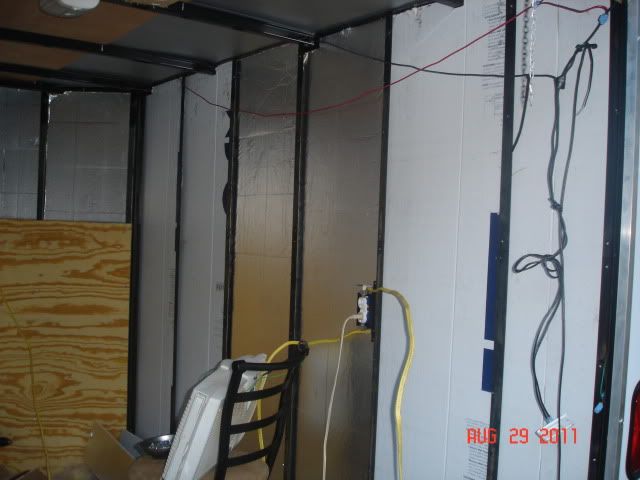
Once I had all my ideas finalized and on paper it was time to get to work. The first step was to take down all the plywood on the walls so my wiring can be in the walls and so I can insulate the walls.
First step: Remove 8,427,364 staples that was holding up the thin strips of luan that covers the gaps in the plywood.

Don't plan on keeping that crap either. I tried to be careful and not break it just incase I could reuse it for something, after about 30 minutes of picking staples I decided it just wasn't worth it.
Next was to remove all the self tapping screws that were holding up the walls.
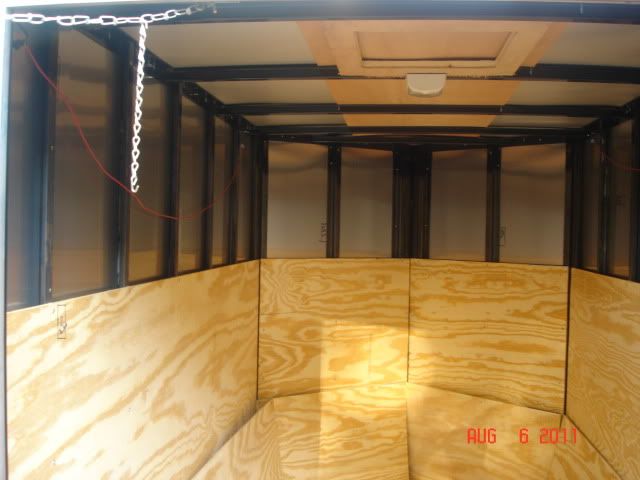
Notice the bottom pieces in the nose didn't come out?? for whatever reason the stone guard in the bottom was screwed in with really long screws that went into the wood on the inside. I didn't have the right size torx bit to remove the screws from the stone guard so I just left them and was still able to pull the wood out far enough to wire and insulate behind them.
My approach was to first decide what all I wanted in my trailer, where to put it all, how I wanted to store it and then what did I need to do to make it happen. With a v-nose you need to decide what you want to store/install in the nose. My plans are for three shelves, one up top to store a radio and sattelite receiver.
Directly under that will be a second shelf to hold a small flat screen tv.
Under that I plan to have about 14"-15" of open area before the next shelf that will actually be an extension of my pit table. That shelf will be the top of a 36" wall in the nose that I plan to put a door in and use for storage of those things you need every so often but mostly just want out of sight and out of the way.
I plan to put my table on the right side of the trailer because with thw two swinging doors, the right side can be closed and latched but also allow you to see out the other door while you work. I plan to have two 12"x30" cabinets overhead with a small light mounted underneath. I also plan to put a peg board on the wall in front of my table to keep my tools and other items that you want close at hand. I only plan to use about 5' of the 8' length for my table so I plan to use the other 3' for truck/car storage hanging on the wall. With my limited width I don't want to put too many things on the wall behind me. Don't want to be bumping my head coming in or out
I'm also planning on a four drawer cabinet under the table for more storage.
With these main components in mind, I needed to decide on where I wanted plugs and switches. So while sitting in the trailer for hours I would take a pencil and mark on the walls where i wanted them. If I changed my mind I could scratch it out and start over. Cost me nothing and I didn't have to re-do anything!
Once I had all my ideas finalized and on paper it was time to get to work. The first step was to take down all the plywood on the walls so my wiring can be in the walls and so I can insulate the walls.
First step: Remove 8,427,364 staples that was holding up the thin strips of luan that covers the gaps in the plywood.
Don't plan on keeping that crap either. I tried to be careful and not break it just incase I could reuse it for something, after about 30 minutes of picking staples I decided it just wasn't worth it.
Next was to remove all the self tapping screws that were holding up the walls.
Notice the bottom pieces in the nose didn't come out?? for whatever reason the stone guard in the bottom was screwed in with really long screws that went into the wood on the inside. I didn't have the right size torx bit to remove the screws from the stone guard so I just left them and was still able to pull the wood out far enough to wire and insulate behind them.
08-29-2011, 07:32 PM
#5
Tech Regular
Its probably better to have a single door. That way you limit access from thieves. You always hear about people getting things taken out of trailers. Sometimes on those over night races.
Good luck on the build looks nice so far.
Good luck on the build looks nice so far.
08-29-2011, 07:47 PM
#6
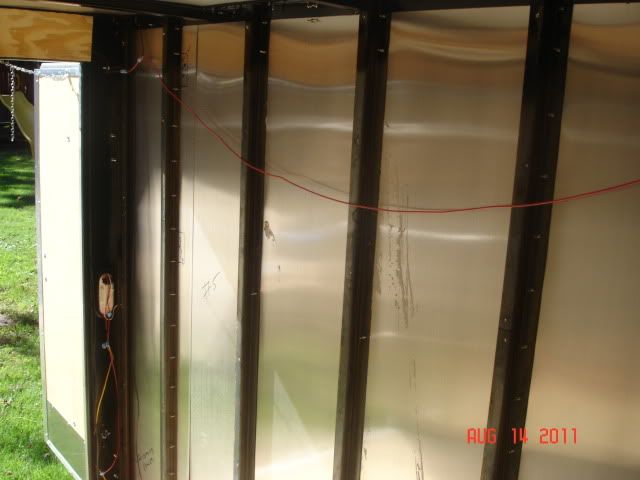
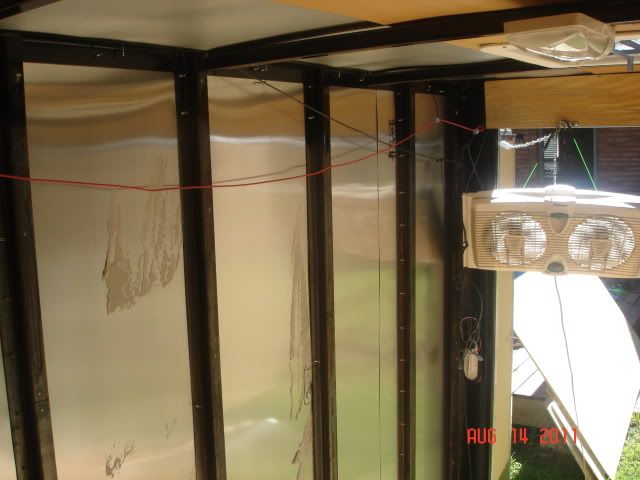
My next step was wiring and insulating. Still need to get some more pictures of that but here are a few tips I learned while wiring and insulating.
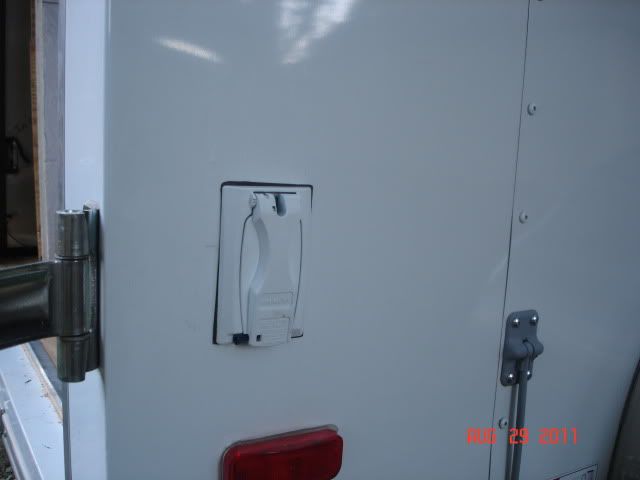
First of all, If you plan to put plugs on the outside, use a saw-zall type saw. If you use a jig saw you will scratch the exterior as your cutting the hole. Needless to say this wasn't something I realized until it was too late. The scratches aren't bad but if I had taken a few more minutes to think about it I would have done something differant. When I did the other side, I covered the saw plate with electrical tape. This allowed me to keep from scratching the outside and the electrical tape slid along very well. You may be asking why I cut the holes from the outside rather then the inside....well to screw a low profile outlet box to the frame walls in the area I wanted you had to cut from the outside.
Secondly: plan out your wiring schematic carefully. It sucks to have to repull wire through your boxes. If you plan to add roof air at a later time, go ahead and run a power wire to the opening now while your walls are open and accessable.
When choosing insulation do not go with panels that are the same thickness as your walls. For instance my walls are 1" but i went with 1/2" insulation.
3/4" would probably work too but fitting it in the walls would be tight. My walls are all on 16" center and installation is fairly easy. My only problem was trying to fit the insulation into the areas where both sides needed the insulation to go behind the metal. My solution to that was to take and cut the piece to the width I needed and then cut that piece in half. This would allow me to slide one piece in behind the metal on both sides but not break and crush the edges. Pictures to come.....
08-30-2011, 07:52 PM
#7
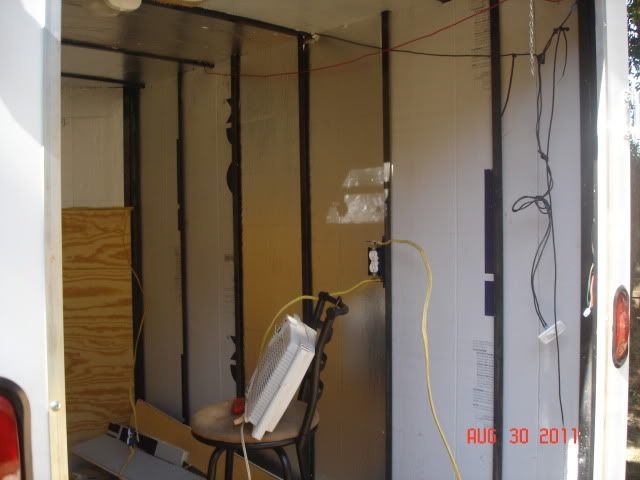
Got a couple of things done today. Completed the walls and ceiling insulation today except for the one area were I still need to tie in my incoming power line.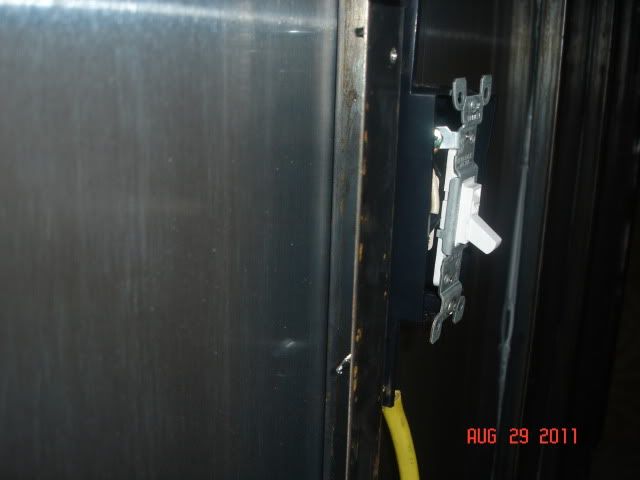

Got all this done with the help of my chief mechanic, gopher, flash light holder, tool getter, tell mom we'll be in later and my best buddy..
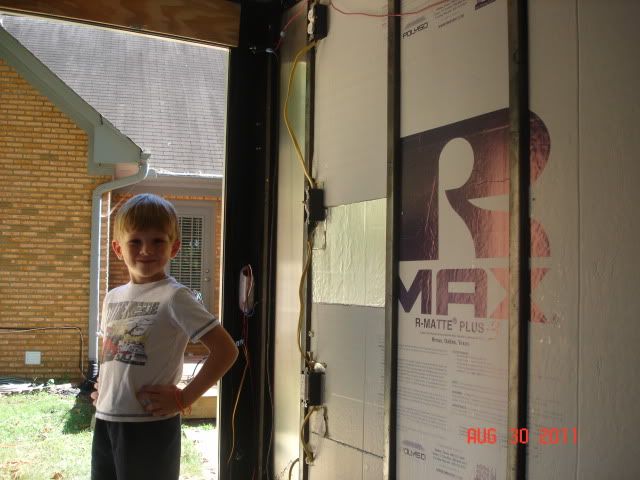
Got all this done with the help of my chief mechanic, gopher, flash light holder, tool getter, tell mom we'll be in later and my best buddy..
Last edited by R6cj69; 08-31-2011 at 06:24 AM.
08-30-2011, 08:07 PM
#8
After the insulation was all installed, the plywood went back up in the nose and on the bottom of the right wall. Need to finish up the wiring so I can finish the insulation and get the wood back on the wall everywhere else.
I did manage to get to Lowes and pick up my cabinets today. Been looking at these for a while now and Lowes decided to clearance them out so they were on sale plus they were taking 20% off all in stock cabinets. Picked up two 12"x30" overhead cabinets
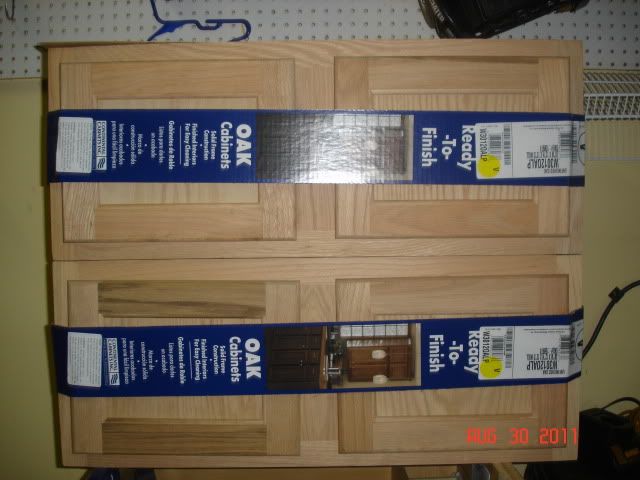
and one 18"x34" four drawer cabinet.
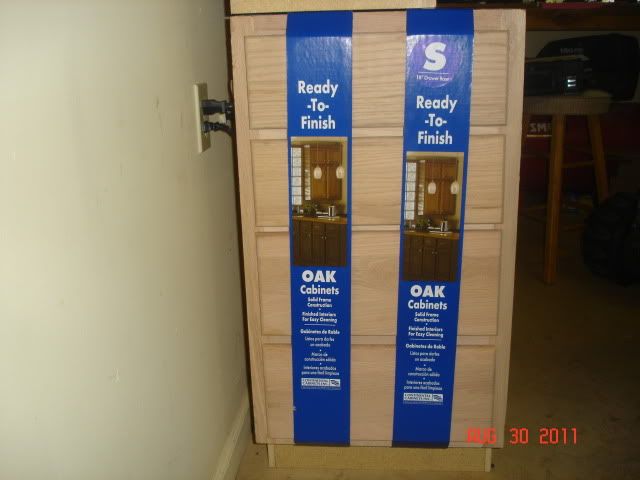
Got the overheads for $37 each and the drawer unit for $87
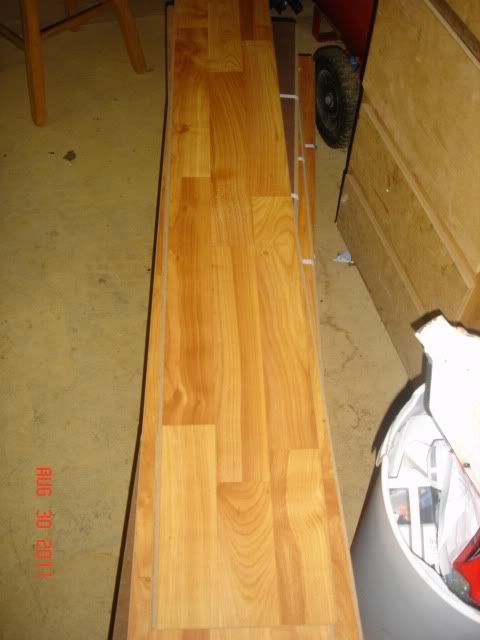
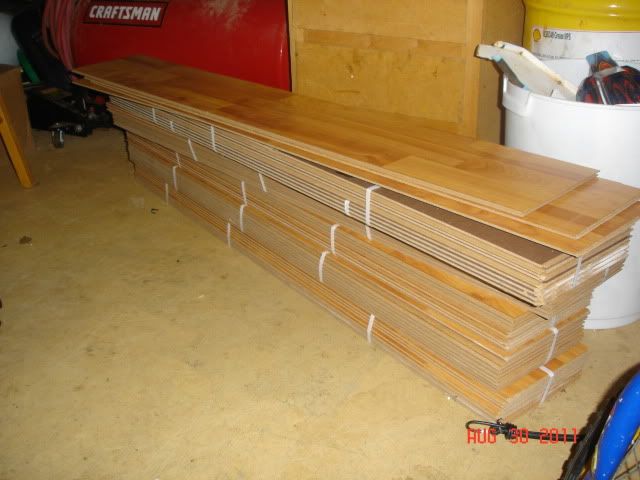
Not long after I got the trailer I was in Lowes and found a nice stack of flooring that had busted boxes and was marked $10 per bundle. After talking with the associate, I got the whole stack for $24.
All in all this build is coming along nicely. My next steps are to finish the wiring, insulation and then lay the flooring. Next I plan to put up white tile board on the walls and ceiling, hang my cabinets, build my work bench and put in some shelves..
I did manage to get to Lowes and pick up my cabinets today. Been looking at these for a while now and Lowes decided to clearance them out so they were on sale plus they were taking 20% off all in stock cabinets. Picked up two 12"x30" overhead cabinets
and one 18"x34" four drawer cabinet.
Got the overheads for $37 each and the drawer unit for $87
Not long after I got the trailer I was in Lowes and found a nice stack of flooring that had busted boxes and was marked $10 per bundle. After talking with the associate, I got the whole stack for $24.
All in all this build is coming along nicely. My next steps are to finish the wiring, insulation and then lay the flooring. Next I plan to put up white tile board on the walls and ceiling, hang my cabinets, build my work bench and put in some shelves..
08-30-2011, 10:06 PM
#9
yaaaa this is rad keep it coming
08-31-2011, 06:35 AM
#12
Thanks guys. There are times early in the build where you question your sanity and ask yourself why you did this but then a couple steps later you see things starting to come together.
The biggest thing I wanted to cover in my build were some of the specifics. I have read a few of the other build topics and always found myself having even more questions after I was finished.
My biggest suggestion to anybody building a trailer is to take your time and plan out the smallest details. Those are the things that will drive you nuts!
 08-31-2011, 09:49 AM
#15
Tech Master
iTrader: (15)
Looking good!
My only "concern" is that wood floors become seriously slippery once they get wet (if you ever race or are at the track on a damp or rainy day (plus what happens when they get damp, then dry, dampen again then dry over & over). you may want to install some of that rough "skate boarder tape" in your higher traffic areas
My only "concern" is that wood floors become seriously slippery once they get wet (if you ever race or are at the track on a damp or rainy day (plus what happens when they get damp, then dry, dampen again then dry over & over). you may want to install some of that rough "skate boarder tape" in your higher traffic areas