


 18Likes
Xray NT1
 02-25-2008, 03:24 PM
#2731
I had one of the first production kits with the same type of problem.
Until I found out that I had to re-adjust the two speed shoe set screws to just the right amount of space in between both shoes and the outer aluminum housing.
Once I learned how to set that right, the original XRAY 2 speed springs have always worked consistently and with longevity.
Until I found out that I had to re-adjust the two speed shoe set screws to just the right amount of space in between both shoes and the outer aluminum housing.
Once I learned how to set that right, the original XRAY 2 speed springs have always worked consistently and with longevity.
 02-25-2008, 03:27 PM
#2732
that's odd, Picco's are generally high revving motors, while Novarossi's have more torque.

 rookies
 lol
02-26-2008, 01:18 AM
lol
02-26-2008, 01:18 AM
#2734
i think it's the other way around. engines such as nova are usually more revvy, whilst the picco is a torque engine so naturally, it produces power in the lower revs, hence is not a rev engine.
obviously it all depends on the internal porting and stroke, long or short.
02-26-2008, 02:44 AM
#2735
02-26-2008, 09:09 AM
#2736
Tech Regular
02-26-2008, 09:23 AM
#2737
Setting up 2speed ideally need two person, one is driving the car, and one is in the pit.
1). Set the gap ( 0.2mm ) between the clutch shoes by turning the middle screw. Make sure the 2speed clutch can rotate freely inside the 2nd gear housing.
2). Start adjusting the left & right 2speed screws equally by 15minutes increments. You want the first gear to scream for about 2 seconds long, and then switch into second gear. The switch should not happening when you are about to enter a corner.
02-26-2008, 12:40 PM
#2738
Here is how I set the 2 speed shoe gap:
1. Place the car (with wheels mounted on the left side only) on its left side. The gears should be facing up.
2. Take the clip, 1st gear assembly, 2nd gear assembly and 2 speed shoe off of the layshaft
3. Use a sharpie to mark each half of the shoe (I label them A and B)
4. Loosen the set screws on each half until there is no gap in between each halve of the shoe
5. Place the 2nd gear assembly housing on the layshaft upside down so that you can see the inside of the aluminum housing
6. Place the shoe on the layshaft. It should slide into the 2nd gear aluminum housing.
7. Lightly spin the 2nd gear. The shoe should not spin at all and you should be able to see the gap between it and the aluminum housing.
8. Now, repeat the following for each shoe half one at a time:
-- a) Take the 2nd gear assembly and shoe off of the layshaft
-- b) Tighten the set screw 1/4 turn on the shoe half that you are working on
-- c) Place the 2nd gear assembly housing on the layshaft upside down and then the shoe again
-- d) Spin the 2nd gear. If the shoe doesn't move, then repeat steps a) thru d). If the shoe does move, then go on to step e)
-- e) Take the 2nd gear assembly and shoe off of the layshaft
-- f) Loosen the set screw 1/8 turn and repeat steps a) thru d). However, this time the shoe should not move and the gap should be close to .2mm. This is what you want. Make sure that both shoe halves are set to have approximately .2mm gap and that the shoe does not move when you spin the 2nd gear assembly as above.
9. Take the upside down 2nd gear assembly and shoe off of the layshaft and re-install everything correctly.
02-27-2008, 07:26 AM
#2739

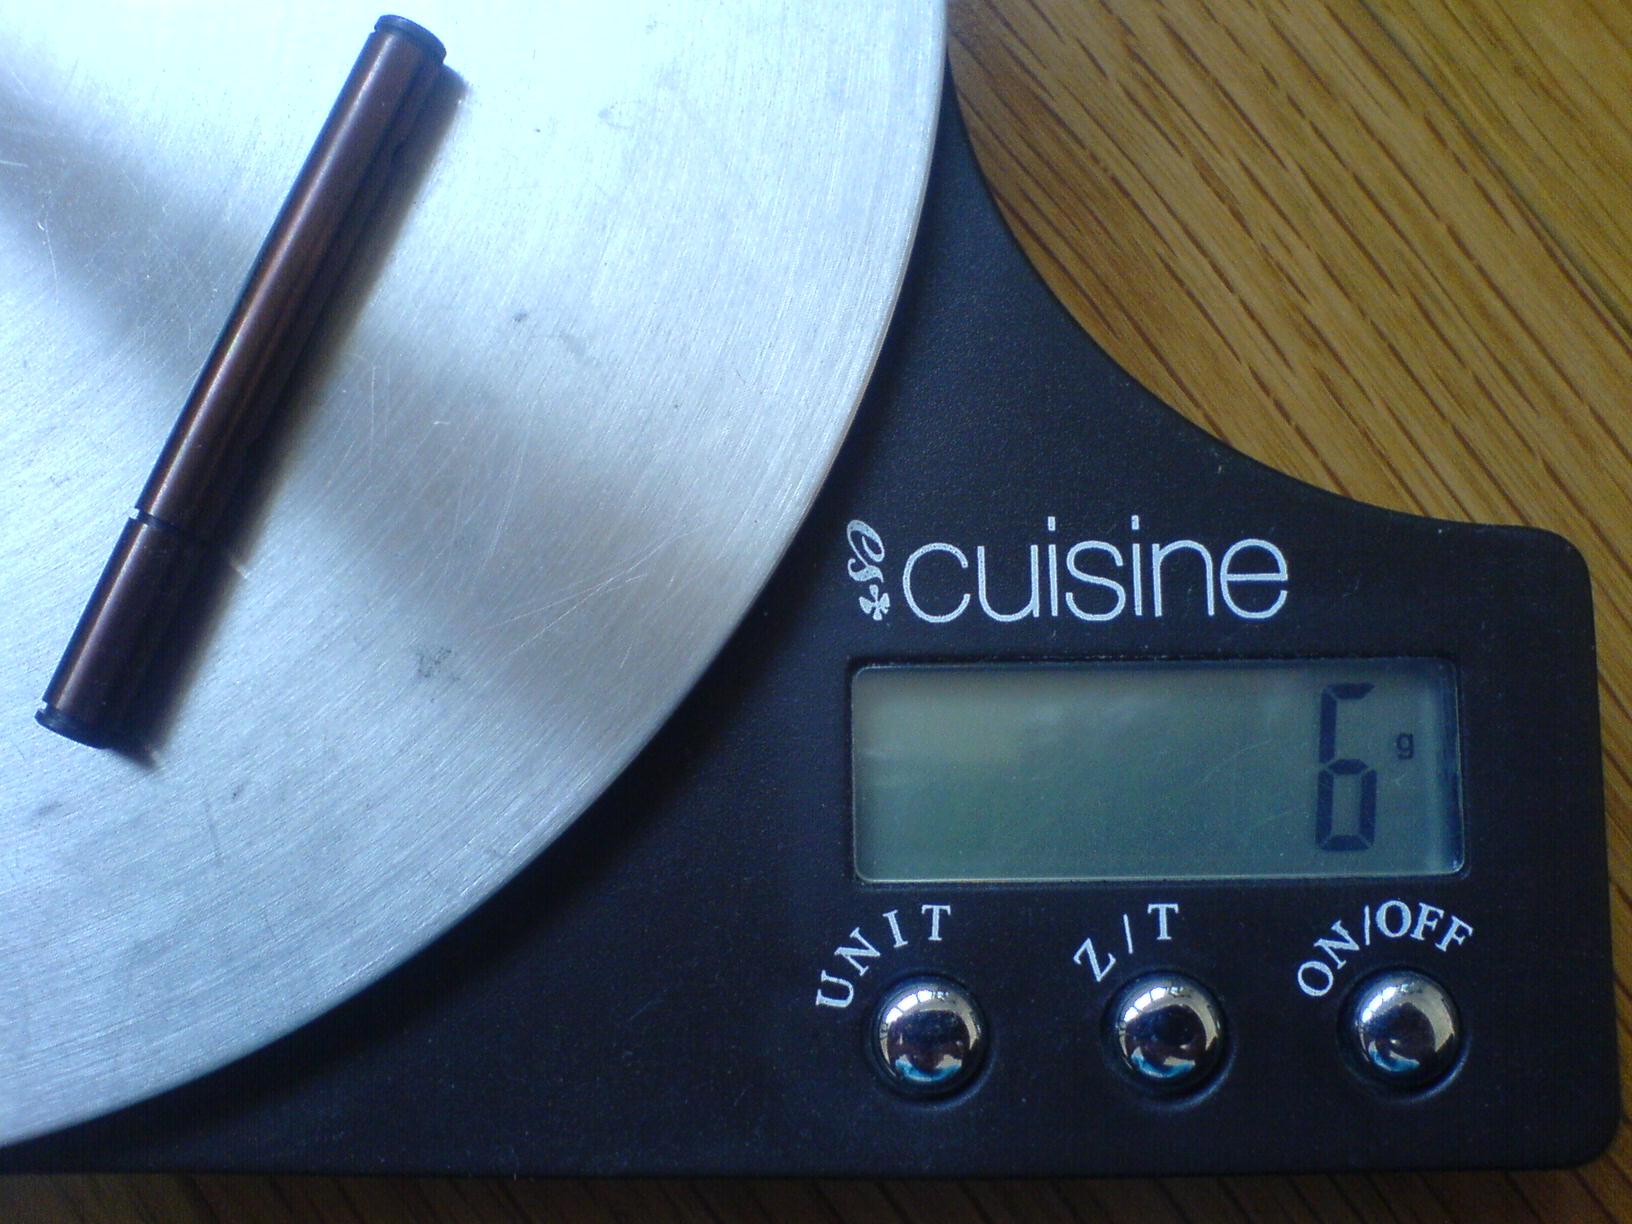
The new opt. middle shaft with ultra low weight...
 02-27-2008, 10:05 AM
#2740
ybslow middle shaft weighs 3 grams
02-27-2008, 10:16 AM
#2741
Tech Fanatic
02-27-2008, 12:43 PM
#2742
Tech Regular
Here is how I set the 2 speed shoe gap:
1. Place the car (with wheels mounted on the left side only) on its left side. The gears should be facing up.
2. Take the clip, 1st gear assembly, 2nd gear assembly and 2 speed shoe off of the layshaft
3. Use a sharpie to mark each half of the shoe (I label them A and B)
4. Loosen the set screws on each half until there is no gap in between each halve of the shoe
5. Place the 2nd gear assembly housing on the layshaft upside down so that you can see the inside of the aluminum housing
6. Place the shoe on the layshaft. It should slide into the 2nd gear aluminum housing.
7. Lightly spin the 2nd gear. The shoe should not spin at all and you should be able to see the gap between it and the aluminum housing.
8. Now, repeat the following for each shoe half one at a time:
-- a) Take the 2nd gear assembly and shoe off of the layshaft
-- b) Tighten the set screw 1/4 turn on the shoe half that you are working on
-- c) Place the 2nd gear assembly housing on the layshaft upside down and then the shoe again
-- d) Spin the 2nd gear. If the shoe doesn't move, then repeat steps a) thru d). If the shoe does move, then go on to step e)
-- e) Take the 2nd gear assembly and shoe off of the layshaft
-- f) Loosen the set screw 1/8 turn and repeat steps a) thru d). However, this time the shoe should not move and the gap should be close to .2mm. This is what you want. Make sure that both shoe halves are set to have approximately .2mm gap and that the shoe does not move when you spin the 2nd gear assembly as above.
9. Take the upside down 2nd gear assembly and shoe off of the layshaft and re-install everything correctly.
1. Place the car (with wheels mounted on the left side only) on its left side. The gears should be facing up.
2. Take the clip, 1st gear assembly, 2nd gear assembly and 2 speed shoe off of the layshaft
3. Use a sharpie to mark each half of the shoe (I label them A and B)
4. Loosen the set screws on each half until there is no gap in between each halve of the shoe
5. Place the 2nd gear assembly housing on the layshaft upside down so that you can see the inside of the aluminum housing
6. Place the shoe on the layshaft. It should slide into the 2nd gear aluminum housing.
7. Lightly spin the 2nd gear. The shoe should not spin at all and you should be able to see the gap between it and the aluminum housing.
8. Now, repeat the following for each shoe half one at a time:
-- a) Take the 2nd gear assembly and shoe off of the layshaft
-- b) Tighten the set screw 1/4 turn on the shoe half that you are working on
-- c) Place the 2nd gear assembly housing on the layshaft upside down and then the shoe again
-- d) Spin the 2nd gear. If the shoe doesn't move, then repeat steps a) thru d). If the shoe does move, then go on to step e)
-- e) Take the 2nd gear assembly and shoe off of the layshaft
-- f) Loosen the set screw 1/8 turn and repeat steps a) thru d). However, this time the shoe should not move and the gap should be close to .2mm. This is what you want. Make sure that both shoe halves are set to have approximately .2mm gap and that the shoe does not move when you spin the 2nd gear assembly as above.
9. Take the upside down 2nd gear assembly and shoe off of the layshaft and re-install everything correctly.
Great explaining!
It seems to me you just make the gap as small as possible! thanks for the pointers!
02-27-2008, 02:40 PM
#2743
 02-27-2008, 08:38 PM
#2745
Tech Regular
Are they any good hobby shops in the San Francisco area that sell hopups for the NT1? I'll be passing through for a few days next week. Be great to pick up a few goodies for the NT1.