


 18Likes
Veteran TAMIYA TA03 fans!
 08-28-2005, 08:45 AM
#931
Tech Legend

iTrader: (51)
Join Date: Sep 2001
Location: Castle Mamba Max Pro. Feel its power!!!!!!!!!!
Posts: 21,220
Trader Rating: 51 (100%+)
Originally Posted by carfreak33
wow! it's my first time to see this thread
really feels at home here... hehehe fellow ta03 owners!
i own a raybrig nsx '99 with the limited ed. chassis
anyone has an frp/graphite chassis converson for sale for the 03r?
thanks!!!!!
really feels at home here... hehehe fellow ta03 owners!
i own a raybrig nsx '99 with the limited ed. chassis
anyone has an frp/graphite chassis converson for sale for the 03r?
thanks!!!!!
 08-28-2005, 06:46 PM
#932
about how much would the graphite cost?
what about the frp, are you planning on selling that as well?
thanks!
what about the frp, are you planning on selling that as well?
thanks!
08-28-2005, 07:20 PM
#933
Tech Legend
iTrader: (51)
Join Date: Sep 2001
Location: Castle Mamba Max Pro. Feel its power!!!!!!!!!!
Posts: 21,220
Trader Rating: 51 (100%+)
Originally Posted by carfreak33
about how much would the graphite cost?
what about the frp, are you planning on selling that as well?
thanks!
what about the frp, are you planning on selling that as well?
thanks!
08-29-2005, 06:43 AM
#934
Originally Posted by wyd
The FRP chassis is on my car right now. The graphite chassis I would sell for 25. Let me dig it out and check over it and I will post some pics of it plus some of my TAO3R-S TRF.
thanks again man!
08-29-2005, 06:54 AM
#935
Tech Legend
iTrader: (51)
Join Date: Sep 2001
Location: Castle Mamba Max Pro. Feel its power!!!!!!!!!!
Posts: 21,220
Trader Rating: 51 (100%+)
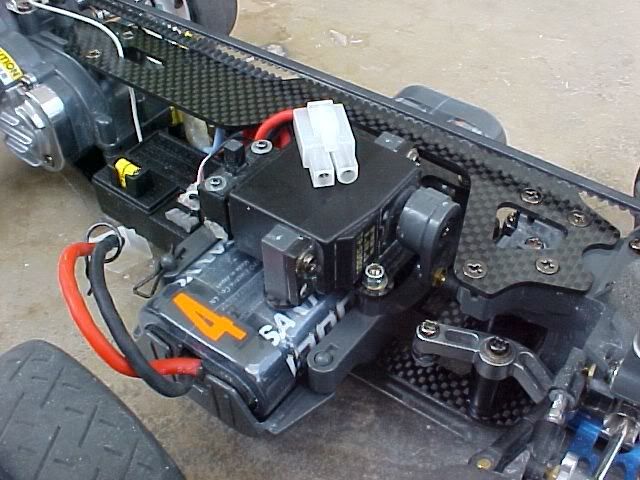
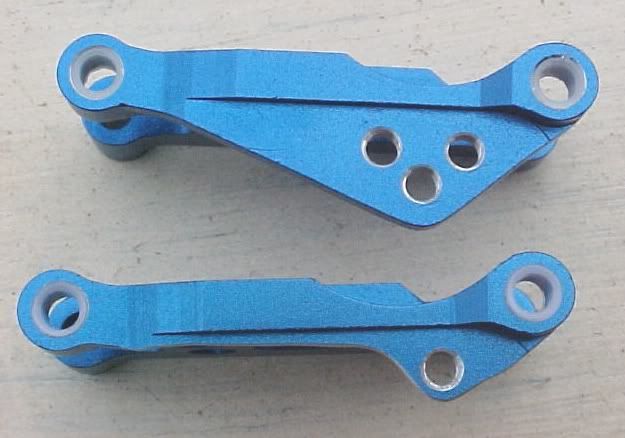
25 bucks shipped to your door. I will look at the chassis when I get home from work today and get a pic of it and my 03 car.
09-05-2005, 03:31 AM
#936
Rough:
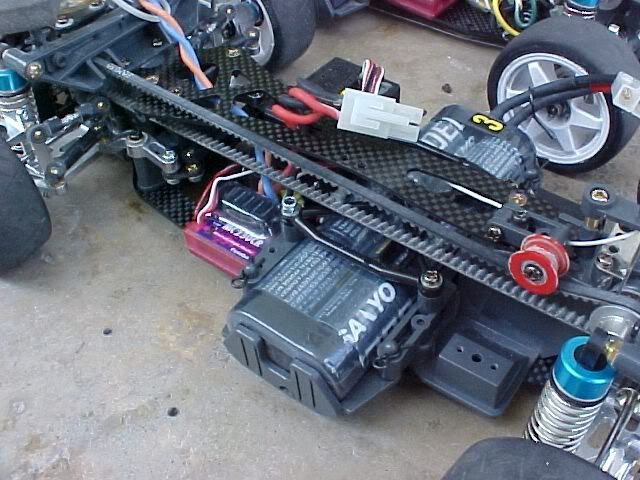
Check this out, looks like I'm starting all over again.....
Check this out, looks like I'm starting all over again.....
09-05-2005, 04:48 AM
#937
Originally Posted by Dongskie
Rough:
Check this out, looks like I'm starting all over again.....
Check this out, looks like I'm starting all over again.....
 . I need to find a real front "R" gear case. I'm using an "F" rear gear case in front and it's ugly.
  I'll post my pics tommorow
I'm using the finer teeth gears. I also need to find smaller belts as I shortened my 03 to the RS specs.
09-05-2005, 07:12 AM
#938
Originally Posted by rough512
Looking good. What upgrades are you planning to install? That kit looks new, where did you find the good deal . I need to find a real front "R" gear case. I'm using an "F" rear gear case in front and it's ugly. I'll post my pics tommorow
I'm using the finer teeth gears. I also need to find smaller belts as I shortened my 03 to the RS specs.
. I need to find a real front "R" gear case. I'm using an "F" rear gear case in front and it's ugly. I'll post my pics tommorowI'm using the finer teeth gears. I also need to find smaller belts as I shortened my 03 to the RS specs.
I'll stick to the basic upgrades. As of now I have ball-diffs in front and rear, 16t aluminum belt pulleys front and rear, one-way front countershaft. Aluminum front C-hubs and knuckles, thats about it.
I think I'll stay with the stock pinion module... I'll see if I can find you that front gearcase for the R model..

 09-07-2005, 09:13 PM
#940
ROUGH512 Thanks for the countershaft!! i owe you one 
09-19-2005, 10:27 PM
#941
Tech Rookie
well...here are the pics of my R and FS.....
these are both being used for off road rally use so they have total coverage from the lexan sheild to protect the carbon chassis....
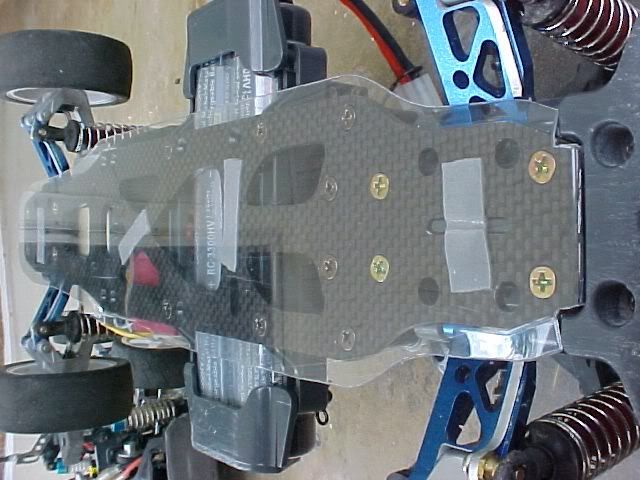
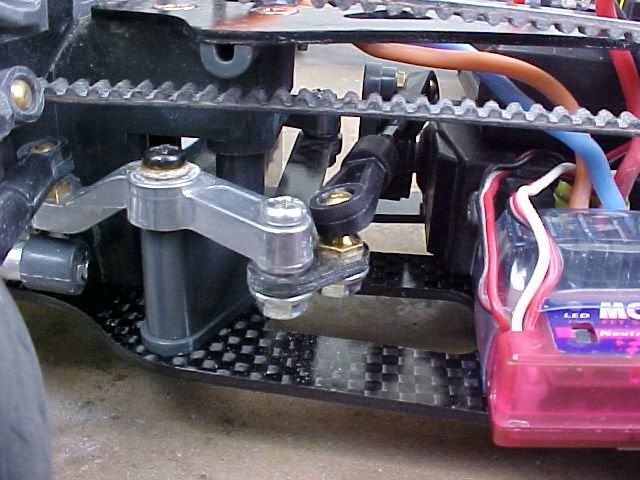
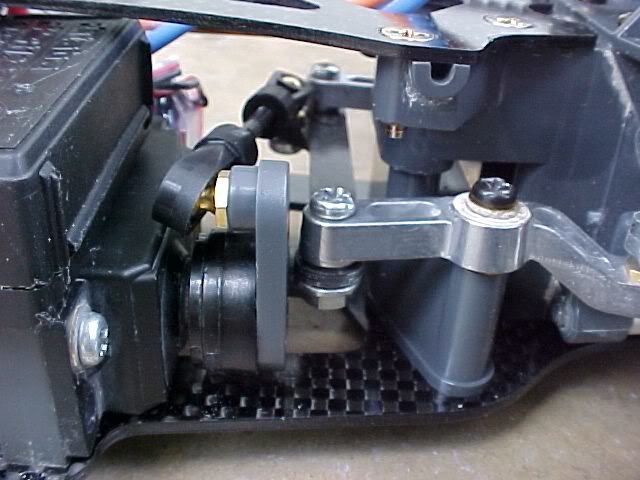
these are both being used for off road rally use so they have total coverage from the lexan sheild to protect the carbon chassis....
09-23-2005, 10:07 PM
#943
thesuper: Nice one!
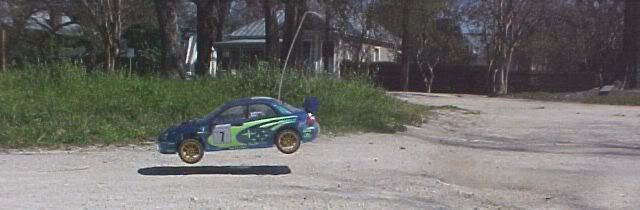
Rough512: I've completed my 03R and I did some testing last Wednesday at the speedzone rc track.
I used a 27t/64pitch pinion and a Tamiya TYPE R motor, a Novak ATOM esc and a GP3300mah stick pack.
I did a consistent 17.75sec and lower laptimes..
I guess our plans to join it on the 23turn class is feasible..
I'll post pics soon..
09-24-2005, 10:11 PM
#944
TA-03 Suspension R&D
Hello TA-03 owners!
I recently restored my TA03R and did some lap timings in my local track. The best laptimes for our track on a 23turn motor is about 16 and 17 seconds. I was happy to find out that my 03R was doing 17 lows consitently using a Tamiya Type RR motor. Traction was a bit short in the corners so decided to research on my 03R's suspension which I ended up modifying the lower shock mounts.
Here are few pics while I worked on the suspension:

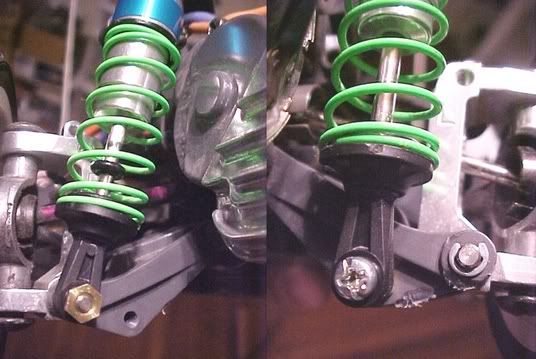
As you can see, this is the original settings for the lower shock mounts of the TA03 series, well yes I see no other option to mount your shocks, thus giving you no variance in performance unless you change springs.
Changing springs will give you alot of difference right away, inhibiting you of the minute changes (either better or worse) compared to the benefits of changing shock positions which can give little increments of variance in suspension performance.

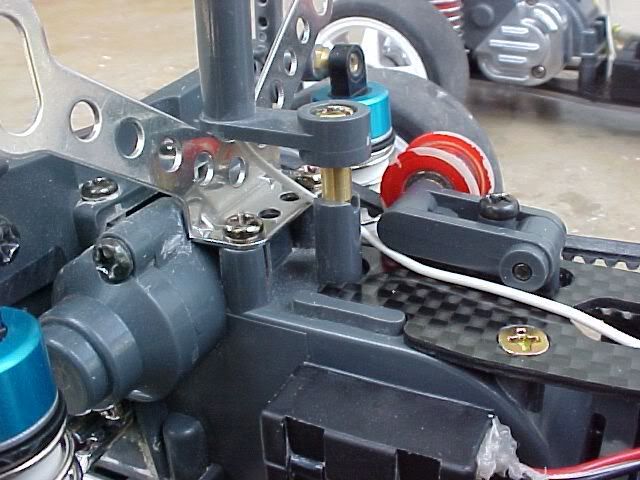
Here is the material I used to change the shock mount location of the TA03 lower arm. It is a carbon fiber lower shock mount plate from an HPI R40 Rear Carbon Shock Tower upgrade.
I found the use of this item for the purpose of relocating the lower shock mounts for the 03 on a wider geometry, hoping to give the suspension more bite.
Note that I did some modification on the 03's lower arm and on the CF shock mount itself. Here are the details:
- First you will have to cut-out a few plastic parts on th lower suspension arm to give-way to the CF plate.
- As you can see the CF plate, there are 2 countersunk holes on the middle and right side of the plate and a normal hole on the left... take note of the difference in length of the holes from the center hole.
- I mounted the CF plate with the farther hole on the inside of the suspension, to avoid the wheels touching the shocks during full turn of the steering.
- I also dremelled of a few parts of the normal hole (to make it countersunk) on the opposite side of the 2 countersunk holes, to facilitate a countersunk screw so as not to protrude and be mounted flat on the suspension arm.
- After dremelling a few on the CF plate, I now mounted a 3x4mm countersunk screw mated to a ball that holds the shock mount.
- Afterwhich I then mounted the CF plate into the lower suspesion arm. Use a countersunk screw about 3x6mm long. It is your prerogative to CA glue it to add strength.

- As for the rear suspension you may do the same modification, or simply mount the lower shock mounts on the hinge pin of the rear uprights by simply replacing it with a longer bolt that will extend beyond the lower arms and mounting a ball-nut on the thread.
Here is the finished product I have yet to test it and find out how it will perform and will post results soon:


Hello TA-03 owners!
I recently restored my TA03R and did some lap timings in my local track. The best laptimes for our track on a 23turn motor is about 16 and 17 seconds. I was happy to find out that my 03R was doing 17 lows consitently using a Tamiya Type RR motor. Traction was a bit short in the corners so decided to research on my 03R's suspension which I ended up modifying the lower shock mounts.
Here are few pics while I worked on the suspension:
As you can see, this is the original settings for the lower shock mounts of the TA03 series, well yes I see no other option to mount your shocks, thus giving you no variance in performance unless you change springs.
Changing springs will give you alot of difference right away, inhibiting you of the minute changes (either better or worse) compared to the benefits of changing shock positions which can give little increments of variance in suspension performance.
Here is the material I used to change the shock mount location of the TA03 lower arm. It is a carbon fiber lower shock mount plate from an HPI R40 Rear Carbon Shock Tower upgrade.
I found the use of this item for the purpose of relocating the lower shock mounts for the 03 on a wider geometry, hoping to give the suspension more bite.
Note that I did some modification on the 03's lower arm and on the CF shock mount itself. Here are the details:
- First you will have to cut-out a few plastic parts on th lower suspension arm to give-way to the CF plate.
- As you can see the CF plate, there are 2 countersunk holes on the middle and right side of the plate and a normal hole on the left... take note of the difference in length of the holes from the center hole.
- I mounted the CF plate with the farther hole on the inside of the suspension, to avoid the wheels touching the shocks during full turn of the steering.
- I also dremelled of a few parts of the normal hole (to make it countersunk) on the opposite side of the 2 countersunk holes, to facilitate a countersunk screw so as not to protrude and be mounted flat on the suspension arm.
- After dremelling a few on the CF plate, I now mounted a 3x4mm countersunk screw mated to a ball that holds the shock mount.
- Afterwhich I then mounted the CF plate into the lower suspesion arm. Use a countersunk screw about 3x6mm long. It is your prerogative to CA glue it to add strength.
- As for the rear suspension you may do the same modification, or simply mount the lower shock mounts on the hinge pin of the rear uprights by simply replacing it with a longer bolt that will extend beyond the lower arms and mounting a ball-nut on the thread.
Here is the finished product
I have yet to test it and find out how it will perform and will post results soon:
09-27-2005, 10:05 AM
#945
Tech Rookie
Dongskie......i've done this before....moved the lower damper mount further outboard. it worked well but the only problem was, in order to get the car to sit in some of the travel of the damper, you have to use really, really soft springs. softer than the tuned spring set red ones.
i ended up having to use a set of silver springs from the Tamiya F-150 kit. those springs are SUPER soft.
i used a damper shaft for mine. put an e-clip at one end as usual and then used the threaded end, where the ball connector usually sits, and threaded a ball stud on there. in the picture it's backwards to protect the ball connector since this was going to be used for offroad rally.
i'm not sure how long the mount you made will hold on to the soft plastic BUT....if you need a set of arms with some options...GPM makes a set that's quite nice.
here is the stock arm....the one below had material removed for offroad rally.