


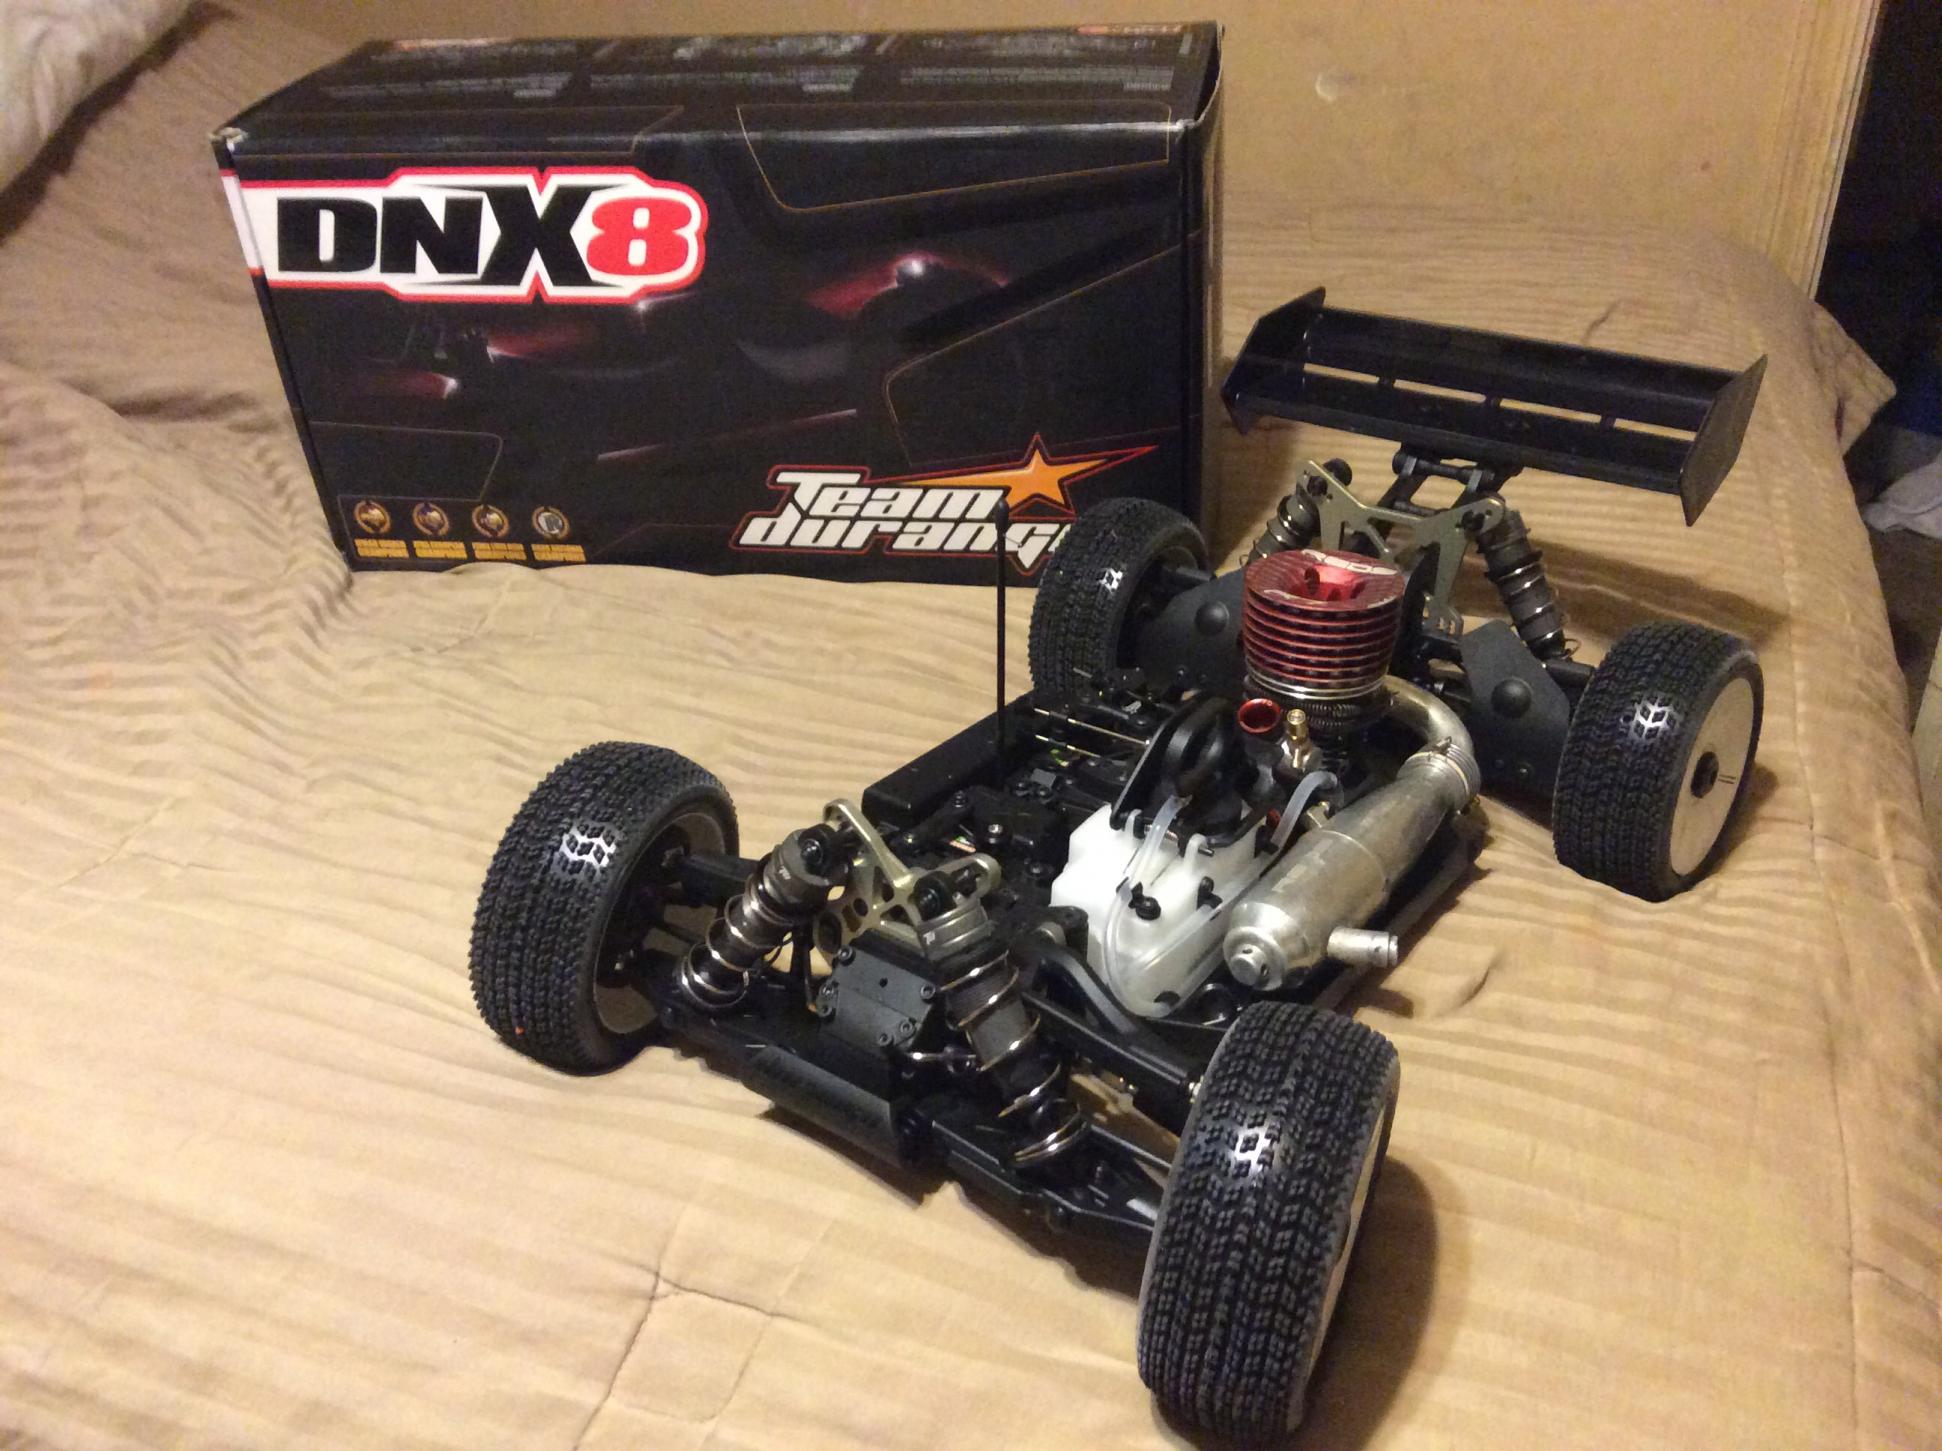
Team Durango DNX8 1/8th Nitro Buggy

 11-11-2016, 07:23 AM - Wikipost
|
|||
|
|||


 04-19-2015, 05:45 PM
#92
Pleased to see a pretty standard 34mm flywheel.
Had to re-seat the lower brake cam as the pre-built version touched the center spur.
Had issues with one of my front shock rods also.
Overall pretty nice build.
04-19-2015, 06:12 PM
#93
That was kinda my gut feeling also. I left mine in. Just finished the build. Driveline is tight. But will likely free up.
Pleased to see a pretty standard 34mm flywheel.
Had to re-seat the lower brake cam as the pre-built version touched the center spur.
Had issues with one of my front shock rods also.
Overall pretty nice build.
Pleased to see a pretty standard 34mm flywheel.
Had to re-seat the lower brake cam as the pre-built version touched the center spur.
Had issues with one of my front shock rods also.
Overall pretty nice build.
04-19-2015, 09:31 PM
#94
my front end pinion gear feels like it has a snag in it?
I left my front Diff out untill i was done with the entire buggy. the rear pinion and Diff
(though tight because new) rotates with Zero issues. But my front just doesn't feel right?
half of a rotation.... fine
other half of the rotation catch & slight snag...
any help here??
any one else experiance this?
04-19-2015, 09:44 PM
#96
If the 4 diff screws are slightly loose, does it spin completely free? I should say the 4 screws on the actual diff... Not the 4 screws to remove the diff from the bulkhead. I used to have that problem on my TLRs if I over tightened the diff screws then it would warp the housing and cause a bind in one spot.
04-19-2015, 09:51 PM
#97
If the 4 diff screws are slightly loose, does it spin completely free? I should say the 4 screws on the actual diff... Not the 4 screws to remove the diff from the bulkhead. I used to have that problem on my TLRs if I over tightened the diff screws then it would warp the housing and cause a bind in one spot.
I have the 4 Actual diff screws "snug" tight. just as i have them on the center diff and the rear diff.
But since the DNX8 does have easy access to the diffs, I'll go try that...lol
But, i am kinda pissy now... I let my better judgement get the best of me..
I was going to leave the 2 Large shims in the center diff. Because something like that has Always free'ed up and gotten looser with wear. not tighter..
So....
instead of draing the diff for the 2nd time. I'm just going to let it ride and see how it does without the 2 large shims.
I've already ordered a complete center diff set, just out of habbit anyways...lol


 04-20-2015, 03:58 AM
#101
04-20-2015, 04:07 AM
#102
Wanna share with you guys a easy modification I've done for all the guys that prefer a KO type switch. Here are some photos:


04-20-2015, 11:48 AM
#103

Now I feel bad for getting the Answer RC Lipo switch.
I think I might just get another KO switch, and copy you on this one...

On a couple side notes though:
I'm not happy with the spring cups for the front and rear shocks, there is too much play & they don't hold snugly...
So, I'm going to be looking to replace those. (just for me)
Also, Kinda sucks I couldn't get my Light Blue Kyosho springs to fit either front or rear. So I'm using the Kit springs.
I am using the IMBUE V2 Brass pistons in my shocks
Imbue V2 Brass pistons 16mm 3.4 mounting hole.
I used AE Slime for the O-Rings, & Losi 35wt Front Losi 32.5wt rear
SO BUTTERY SMOOTH!!!!!!!!!!!

The kit went together with super ease, other than a slight hickup with the front Diff and pinion gear. All went great...
04-20-2015, 12:25 PM
#104
I ran about 10 tanks on DNX8 yesterday and was pretty pleased with the results.
As far as pinions feeling notchy make sure when you build all the diffs the conicals are completely flush to the diff case so that the conical treks straight on the pinion.
The drivetrain is super free no complaints just more testing.
As far as pinions feeling notchy make sure when you build all the diffs the conicals are completely flush to the diff case so that the conical treks straight on the pinion.
The drivetrain is super free no complaints just more testing.
