


Project: Traxxas Zero (true 1/10th revoflux)
 07-31-2011, 02:59 PM
#31
looks great, cant wait to see how the chassis will look when its all completed!
 07-31-2011, 09:12 PM
#32
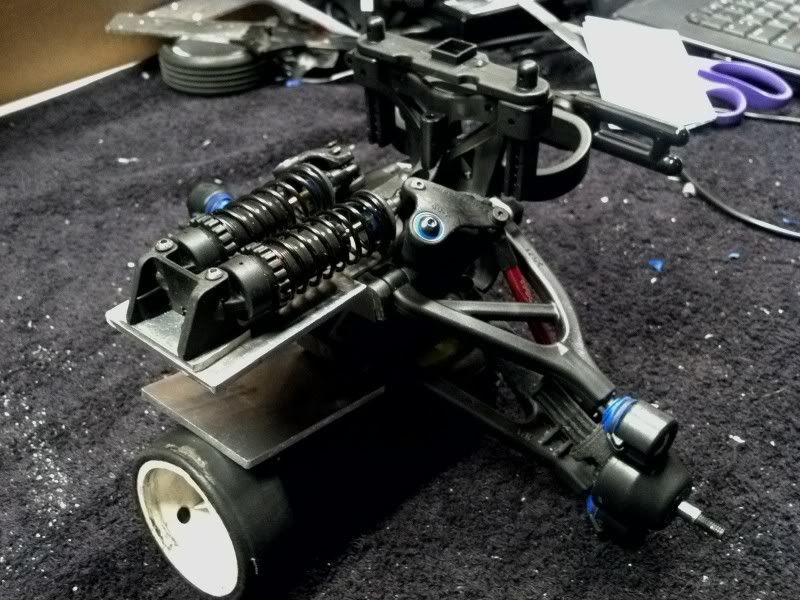
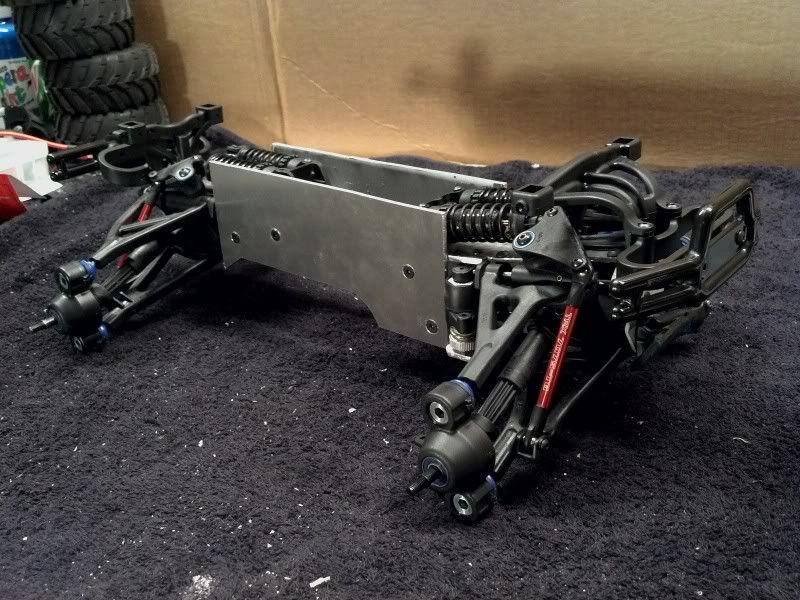
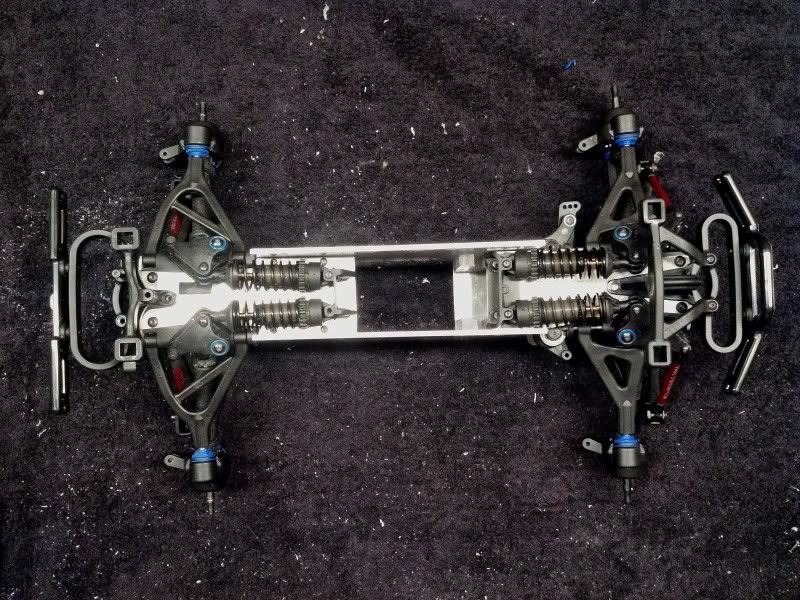
I finally got the front chassis braces done and mounted today. These parts took some time because I had to make sure that I had the holes in exactly the right spots so that that the center differ would be straight and would spin freely. I also had to make sure the tops and bottoms where completely flat and that my cuts where straight so that these parts would fit flush and weren't crooked.
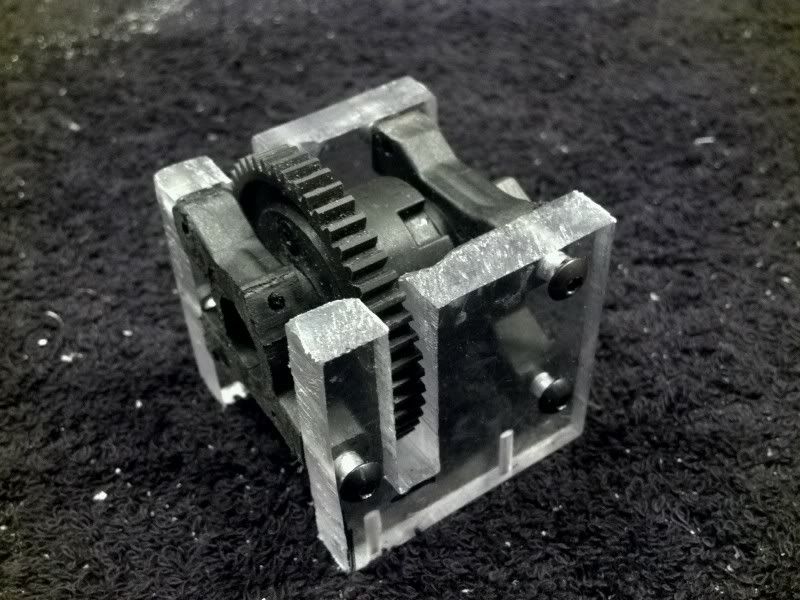
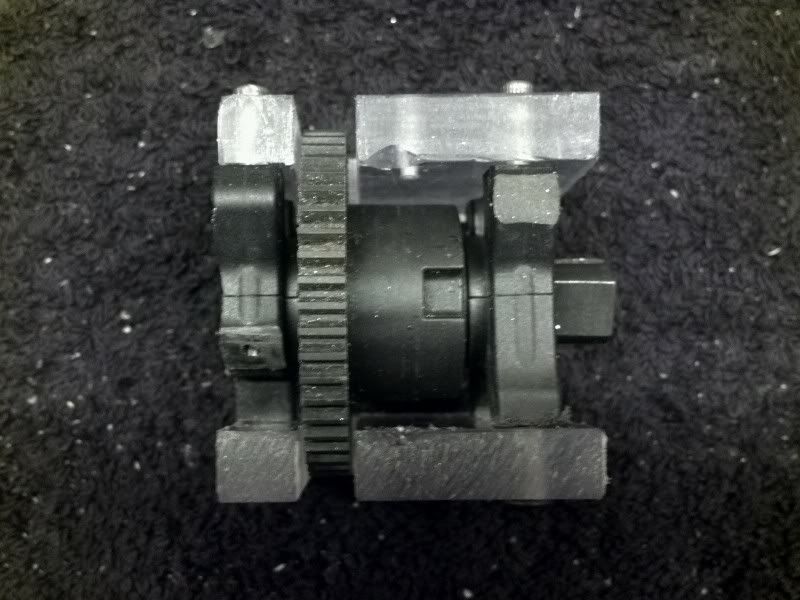
Once I got the pieces cut and drilled then it was another challenge to mount them to the upper and lower chassis. These parts have to be square and straight so that the TVP's will be parallel and won't be crooked.
I think I ended up doing a pretty good job considering that I'm useing hand tools and I'm happy with how it fits together. I think it will prove to be very durable
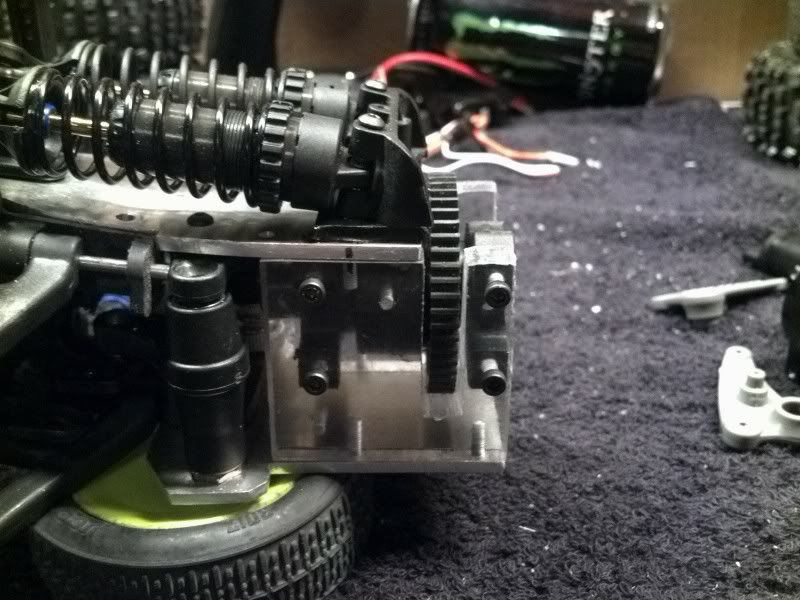
I also discovered today that Long Travel Rockers fit the front of the Slayer but will NOT fit the rear becuase the push-rods interfere with upper a-arm. So I will be have to use P2 rockers on the front and back.
The front clip as it stands..
Now that I have the majority of the front clip completed I'm going to start working on the rear clip. Once I get the rear clip done I will finally be able to design and fabricate the chassis plates!
Once I got the pieces cut and drilled then it was another challenge to mount them to the upper and lower chassis. These parts have to be square and straight so that the TVP's will be parallel and won't be crooked.
I think I ended up doing a pretty good job considering that I'm useing hand tools and I'm happy with how it fits together. I think it will prove to be very durable
I also discovered today that Long Travel Rockers fit the front of the Slayer but will NOT fit the rear becuase the push-rods interfere with upper a-arm. So I will be have to use P2 rockers on the front and back.
The front clip as it stands..
Now that I have the majority of the front clip completed I'm going to start working on the rear clip. Once I get the rear clip done I will finally be able to design and fabricate the chassis plates!
08-04-2011, 12:10 AM
#33
Tech Adept
lol i want one. nice work mate.
08-04-2011, 09:49 PM
#34
Thanks!
Today I started off the day by a nice trip to the hobby shop. Knowing that I couldn't move on with the project until I knew how far from the rocker posts the shock mounts were placed on a Revo or Slayer. So I picked up a Revo rear bulkhead. Took it out of the package and measured it. I was talking to my girlfriend about how I just bought this part for $15 and won't even be using it on my project..and that I just needed it to get the measurement. She was like " Uh...Ethan why didn't you just measure the part at the store and not wasted $15?" I responded.."umm I didn't think of that" haha Since I had opened the package I wasn't able to return the part..she thought it was hilarious.
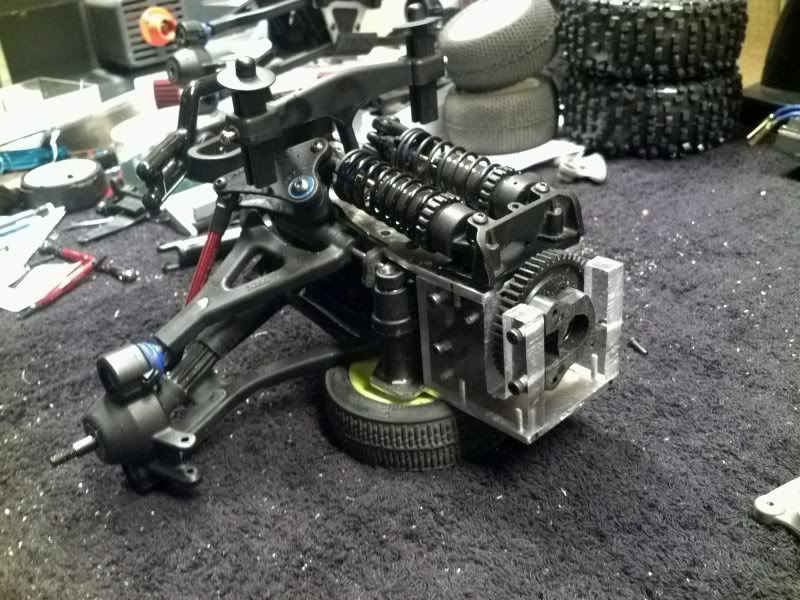
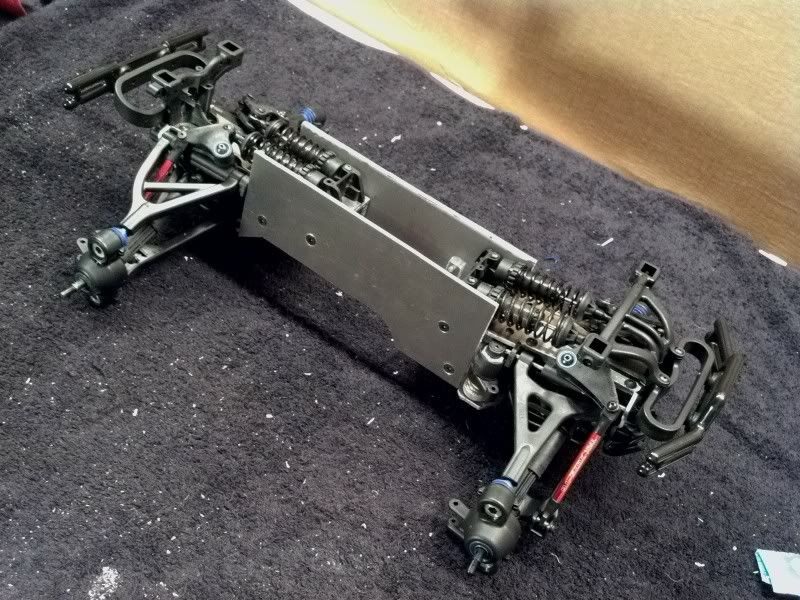
Anyway..knowing the distance of how far I should mount the shock mount from the rock posts on the rear and I got to work and mounted the rear shock mount along with the shocks, rockers, and Push rods. I also put the a-arms on and the hubs. Then, I bent the rear lower skid plate up to allow for better ground clearance to finish the day off.
The rear clip as it stands...
The front and rear clips..
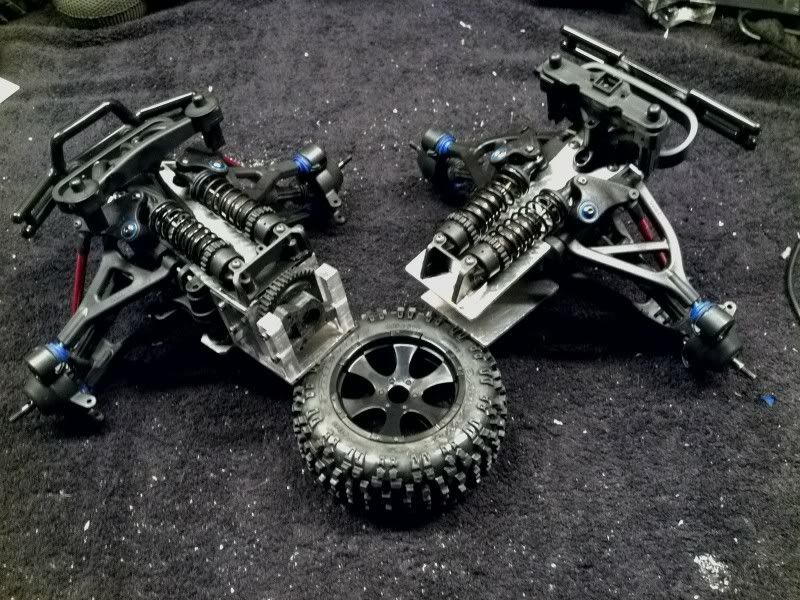
Tomorrow my goal is to get the rear chassis braces drawn up , cut out, filed/sanded, and mounted. Once I do that....I can FINALLY start designing the TVP's.
Today I started off the day by a nice trip to the hobby shop. Knowing that I couldn't move on with the project until I knew how far from the rocker posts the shock mounts were placed on a Revo or Slayer. So I picked up a Revo rear bulkhead. Took it out of the package and measured it. I was talking to my girlfriend about how I just bought this part for $15 and won't even be using it on my project..and that I just needed it to get the measurement. She was like " Uh...Ethan why didn't you just measure the part at the store and not wasted $15?" I responded.."umm I didn't think of that" haha
Since I had opened the package I wasn't able to return the part..she thought it was hilarious. Anyway..knowing the distance of how far I should mount the shock mount from the rock posts on the rear and I got to work and mounted the rear shock mount along with the shocks, rockers, and Push rods. I also put the a-arms on and the hubs. Then, I bent the rear lower skid plate up to allow for better ground clearance to finish the day off.
The rear clip as it stands...
The front and rear clips..
Tomorrow my goal is to get the rear chassis braces drawn up , cut out, filed/sanded, and mounted. Once I do that....I can FINALLY start designing the TVP's.
08-05-2011, 08:19 PM
#35
Tech Adept
getting closer.well done
08-05-2011, 10:33 PM
#36
Thanks..yep its coming together slowly..
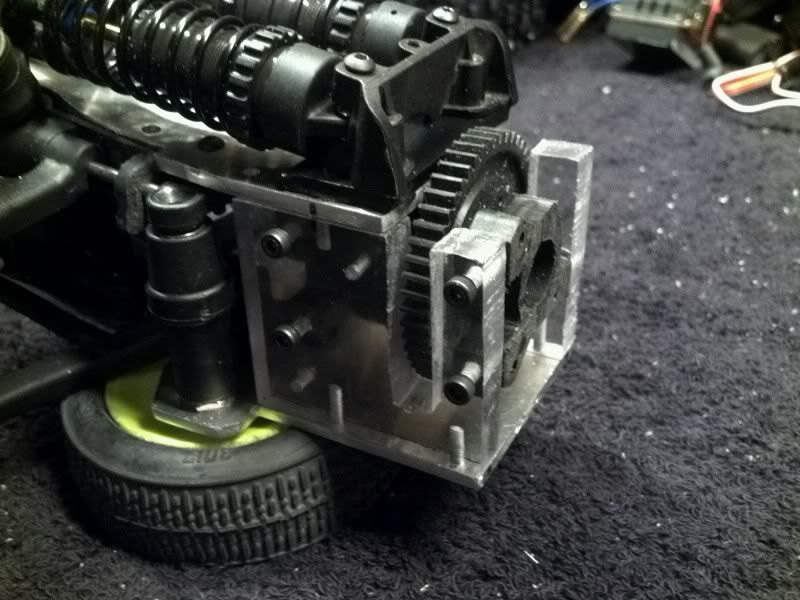
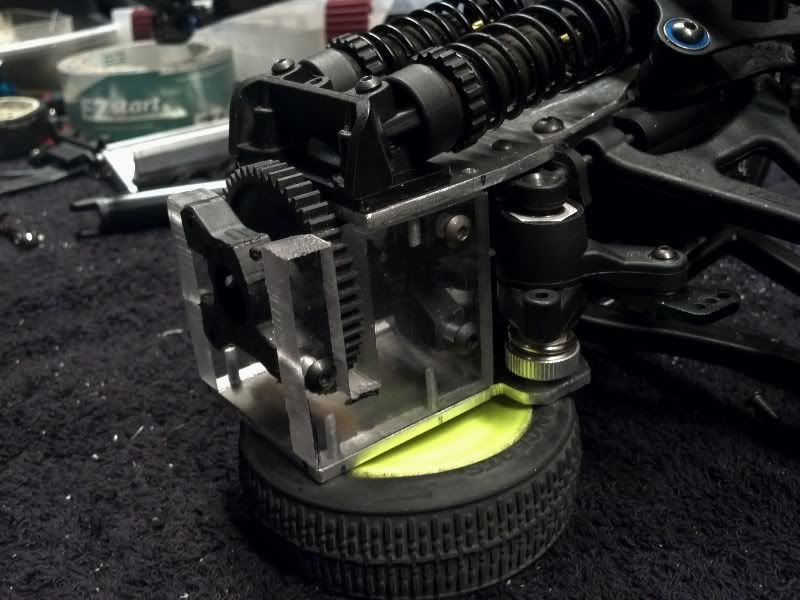
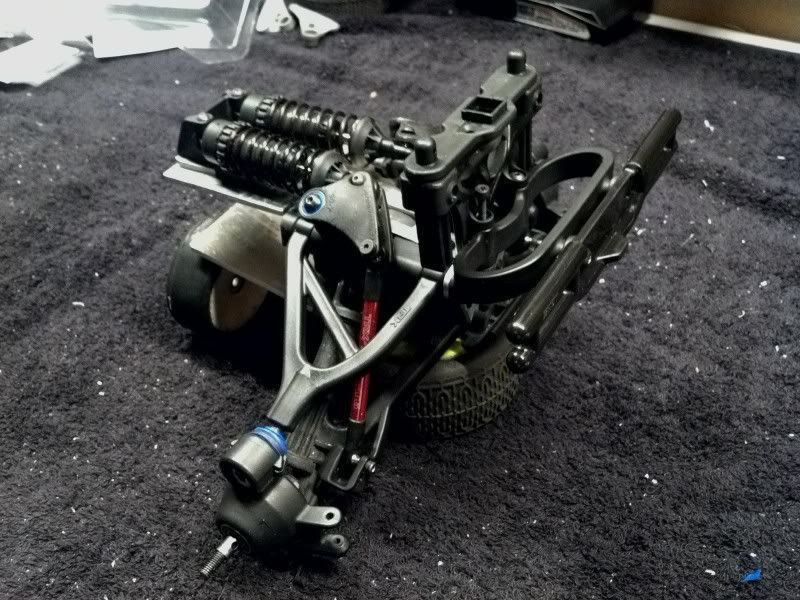
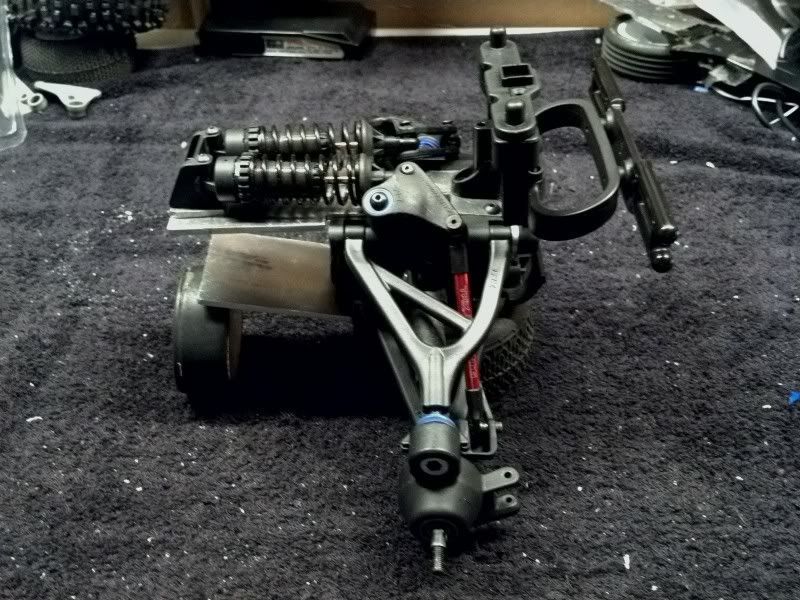
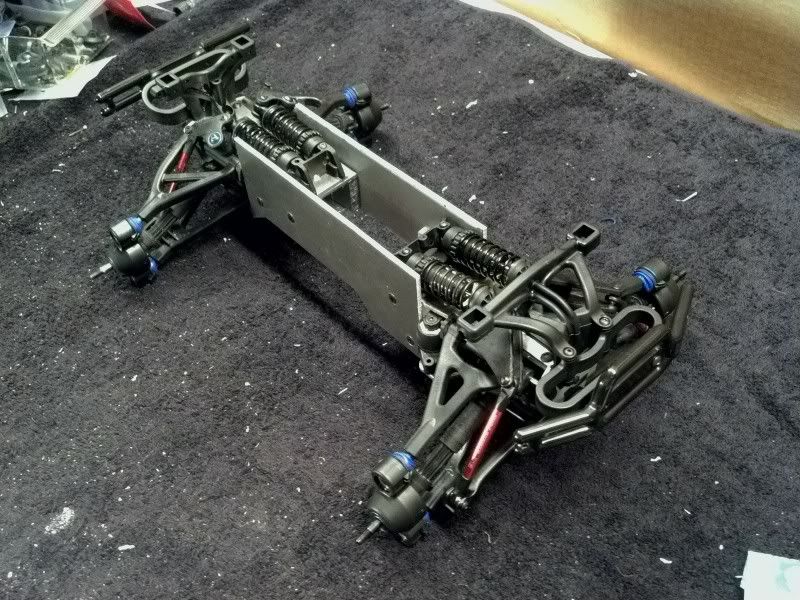
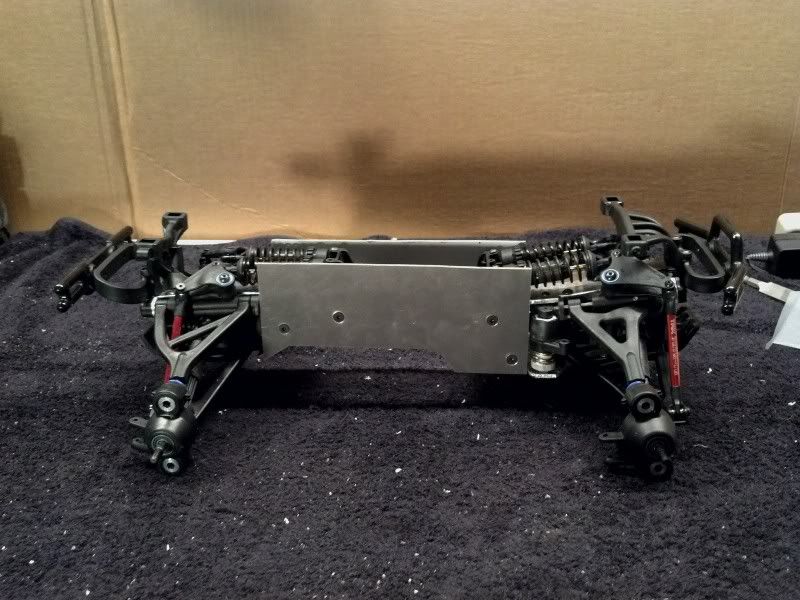
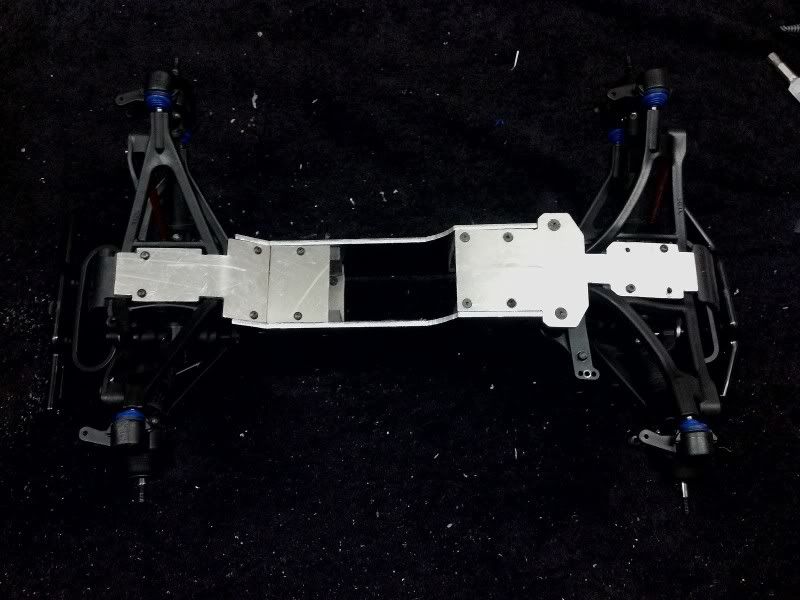
Another small update today. I got the rear chassis braces designed, cut, and mounted just as I had wanted to. I bent the rear skid-plate up dramatically to increase the ground clearance. I then cut the skid-plate and bolted the other end to the brace. The pieces aren't the best looking because in order for the lexan and aluminum to be flush I had to file the aluminum while the lexan was mounted. It doesn't matter though since the lexan parts will be covered by the Tvp's
Here's a of pictures of the rear chassis braces.
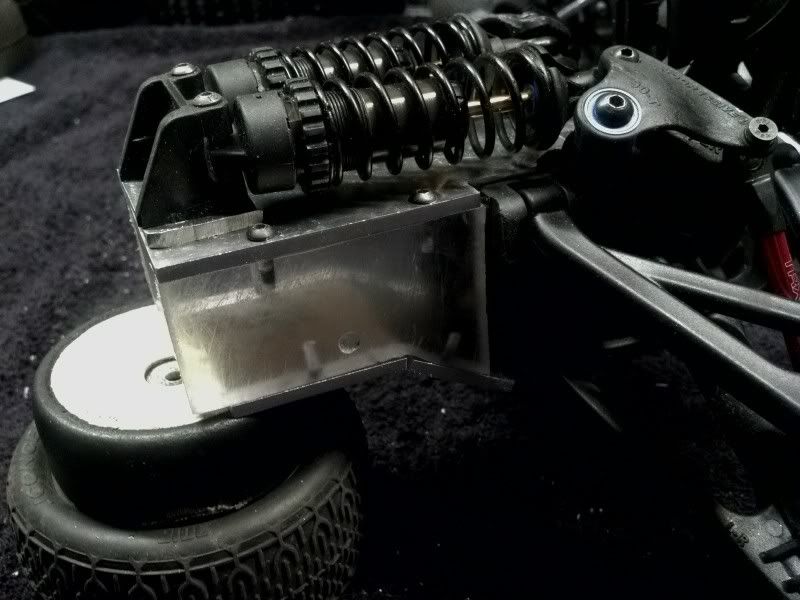
The front and rear clips in there respected positions..
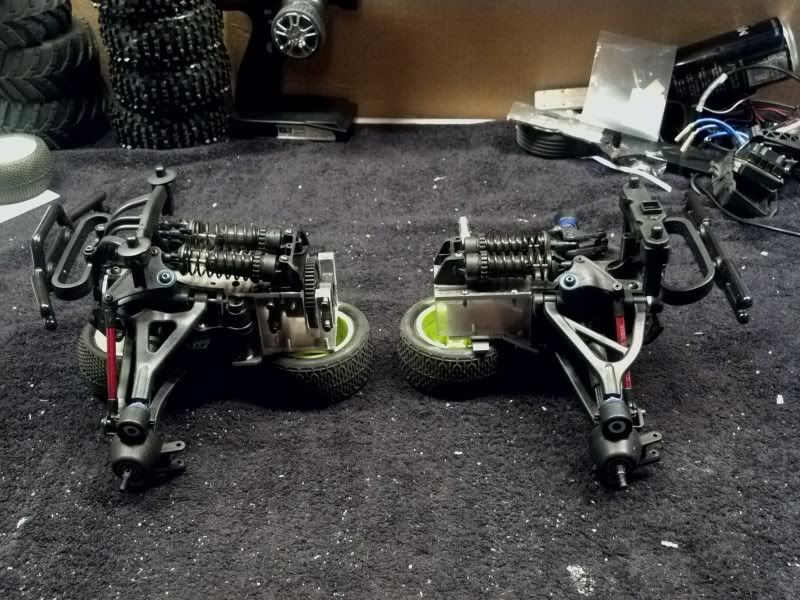
The picture makes the truck look pretty short but in reality I am shooting for a wheelbase around 12 inches. Considering that the Stampede 4x4 has a wheelbase of 10.83 in. I believe that 12 inches should be perfect.
I'm currently designing the TVP's as we speak. I'm not sure when I will be able to work on them but it should be in the next few days.
Stay tuned..once I get the TVP's done..this thing will really start to come together quickly.
Another small update today. I got the rear chassis braces designed, cut, and mounted just as I had wanted to. I bent the rear skid-plate up dramatically to increase the ground clearance. I then cut the skid-plate and bolted the other end to the brace. The pieces aren't the best looking because in order for the lexan and aluminum to be flush I had to file the aluminum while the lexan was mounted. It doesn't matter though since the lexan parts will be covered by the Tvp's
Here's a of pictures of the rear chassis braces.
The front and rear clips in there respected positions..
The picture makes the truck look pretty short but in reality I am shooting for a wheelbase around 12 inches. Considering that the Stampede 4x4 has a wheelbase of 10.83 in. I believe that 12 inches should be perfect.
I'm currently designing the TVP's as we speak. I'm not sure when I will be able to work on them but it should be in the next few days.
Stay tuned..once I get the TVP's done..this thing will really start to come together quickly.
Last edited by eds24; 08-05-2011 at 10:43 PM.
08-08-2011, 07:20 PM
#37
Over the past couple days I have been gradually working on the Twin Verticle Chassis Plates (TVP's). I started out with a basic drawing with dimensions I knew the Tvps had to fit into. I then made a couple copies of that drawing and taped them to the 3mm (1/8") 6061-T6 Aluminum sheet I bought off of ebay.
Once I got the basic rectangles cut out with the ol' reliable jigsaw , I drew the cut at the bottom of the plates that increase the ground clearance. At this point I was ready to mount them to the lexan pieces. I won't explain the boreing and lengthly method I used to get all the holes in the right places and to make sure they line up..so i will skip to the pictures...
*Keep in mind that these Tvp's aren't even close to being finished.. once I get the motor, battery, servo,etc mounted I will take everything back off and finish the design, shorten them, cut sections out to reduce weight, and file the pieces*
The next task on the list is to cut a section out of the left TVP for the motor to fit through and also get the motor mounted up.
08-09-2011, 02:13 AM
#39
Tech Adept
NICE bro... you might like to perforate the tvps to get rid of a bit of weight up high...
 08-09-2011, 10:25 AM
#41
Just sayn!
08-09-2011, 10:28 AM
#42
Tech Adept
yeah 'scuse me i just noticed that now...
MY BAD BRO!
MY BAD BRO!
08-10-2011, 01:49 AM
#44
Tech Adept
This should be pretty bloody awesome by the time you're done...
Don't suppose you could hook me up with that article you wrote for that mag a whiles back?
Don't suppose you could hook me up with that article you wrote for that mag a whiles back?
08-11-2011, 09:51 AM
#45
jaw wide open... beyond words man! keep it up