


 3Likes
Team Associated TC6.2 Touring Car
 12-04-2014, 11:52 AM
#1621
Tech Apprentice
Also, couldn't be happier to announce that I've signed with Team Associated for 2015! I had taken roughly a 5 year hiatus from TC but when they announced the Reedy Race was going to be held at Tamiya America again I couldn't resist coming out of retirement for that race. I missed finishing where I wanted by 1 spot but it was still enough for me to catch the racing bug again and I'm excited to see what I can do in 2015 with some amazing sponsors backing me!
Although I've only got a couple club races under my belt with the 6.2 I feel like it really fits my driving style very well. I'm still learning the car and have yet to nail my setup but I will still be on here often to answer any questions I can!
Although I've only got a couple club races under my belt with the 6.2 I feel like it really fits my driving style very well. I'm still learning the car and have yet to nail my setup but I will still be on here often to answer any questions I can!
congrats Randy!!!!!!
btw...... when u coming back out to TQ?
be interested in the setup u run over here.


 12-05-2014, 05:14 PM
#1624
Tech Adept
Sorry for the rookie question:
When looking at the castor blocks; how is the little number supposed to be. I know when looking at the front (if you were standing at the hood of the car) the number should be pointed up.
I thought the other side (if you were sitting in the car) the number should be at the bottom; we'll in this case the number would be upside down.
I was re-looking at the directions and get confused all over again. To make matters worse; the TC6.1 directions I looked up for additional clarification say the number should be at the top and never mentions the number should be at the bottom on the other side of the castor block;
so which is it?
12-07-2014, 04:05 PM
#1626
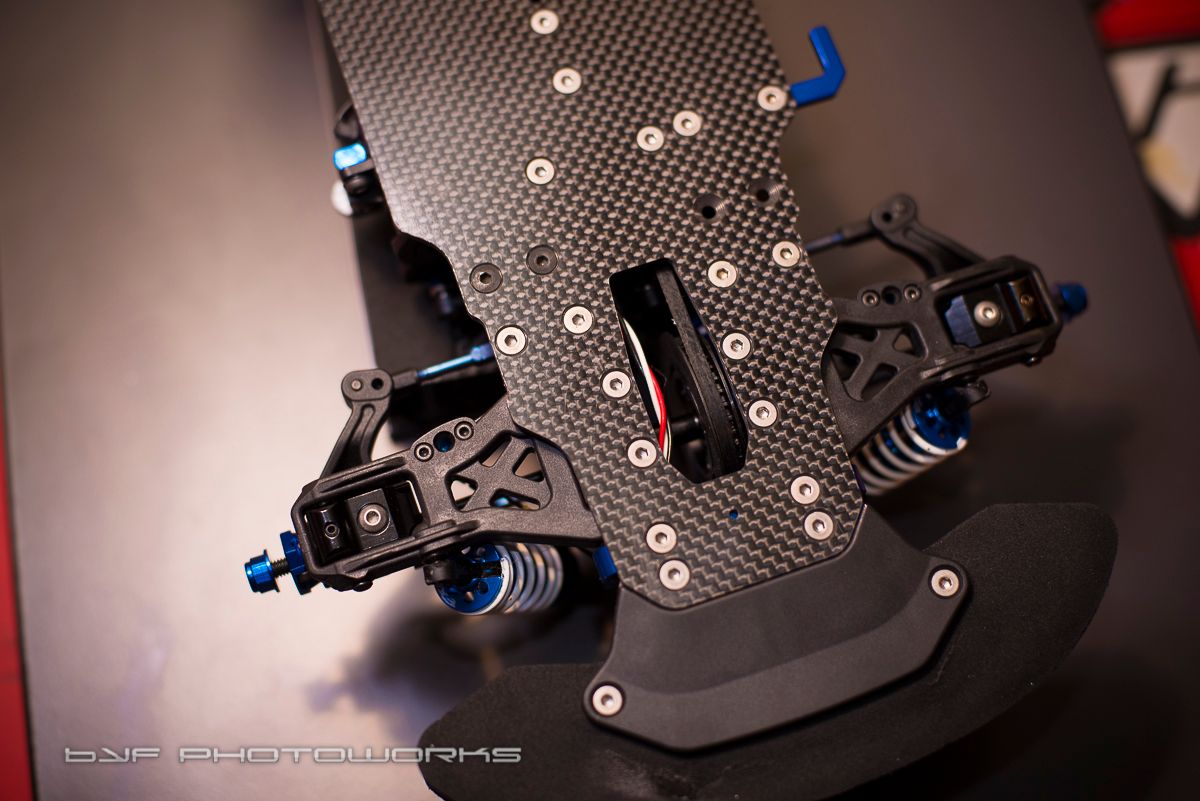
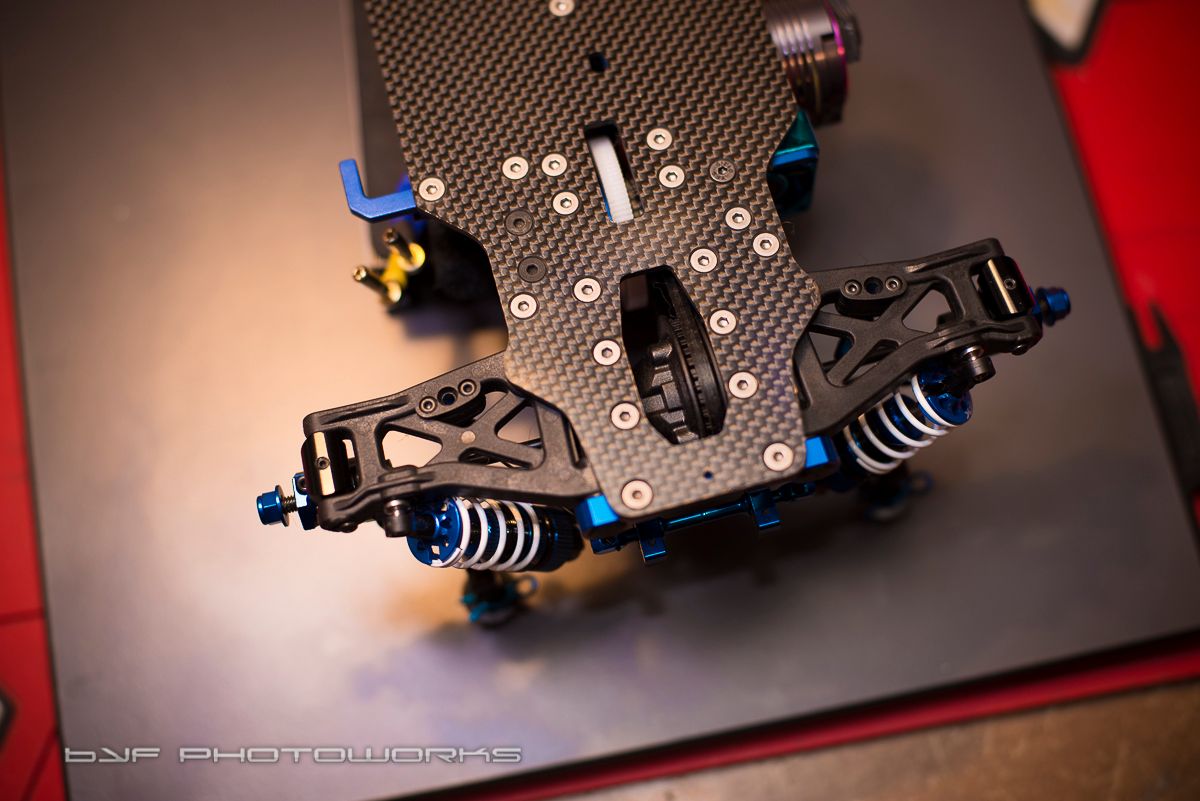
Update on my Tuning Haus Aluminum C- Hubs and rear Carriers.
I want to say at this time Bill Jeric and Tuning Haus have been very supportive, with my issues regarding the C-Hubs. And was willing to take them back for credit on other items. I decide to keep them and work with them to make them work. Thanks!
The hole for the hinge pin was undersized and too tight. As well the lower hole where the kingpin bolt bolts in against the flanged bushing was too shallow, allowing the bolt to tighten up against the C-Hub rather than the bushing. This caused binding when the bottom bolt was tightened.
To fix those 2 issues, I reamed out the holes on the C-Hubs with a reamer in my Dremel, this solved that issue. For the binding on the lower bolt, rather than remove metal, I decided to just run the bolt looser. The required me to use CA glue in the hole of the steering block so the bolt would be tight, even when loose. I think this should fix that.
The rear carriers have no issues as the hinge pin hole was the right size, and they bolted right up.
After these tweaks, and with the kit installed, the steering system is a lot tighter with out much play between the C-Hub and the A-Arm. The Rear carriers have a lot less play as well. What really makes the difference is the grub screw in each aluminum block, that tightens down on the swivel pin, taking out any play... I'm impressed in spite of my problems. I can't wait to see the effects of this tighter suspension set.
I do have to say I've been breaking a few Plastic C-Hubs of late, and I hope I didn't shift the break point further down the line, say the A-Arms.... Time will tell.
My 3rd C-Hub in the last few weeks. The Aluminum Tuning Haus ones are installed
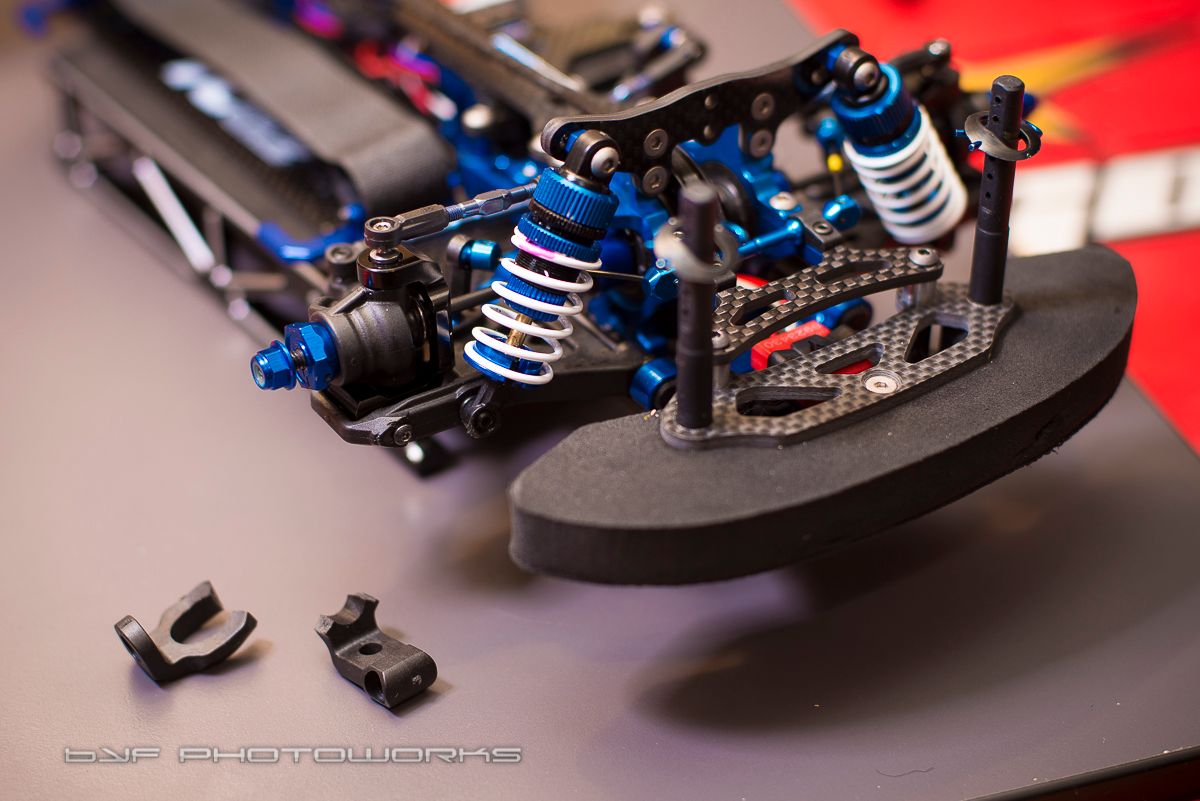
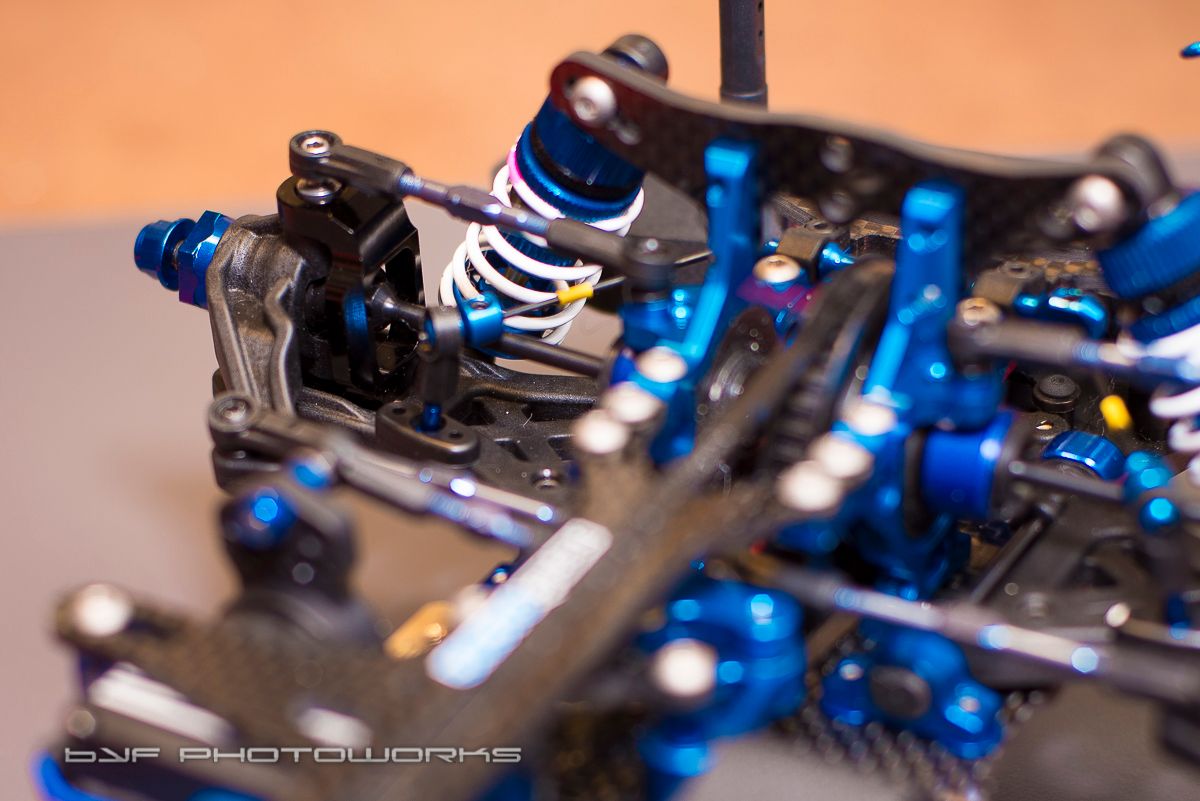
Tuning Haus Aluminum on the Right, OEM plastic on the left
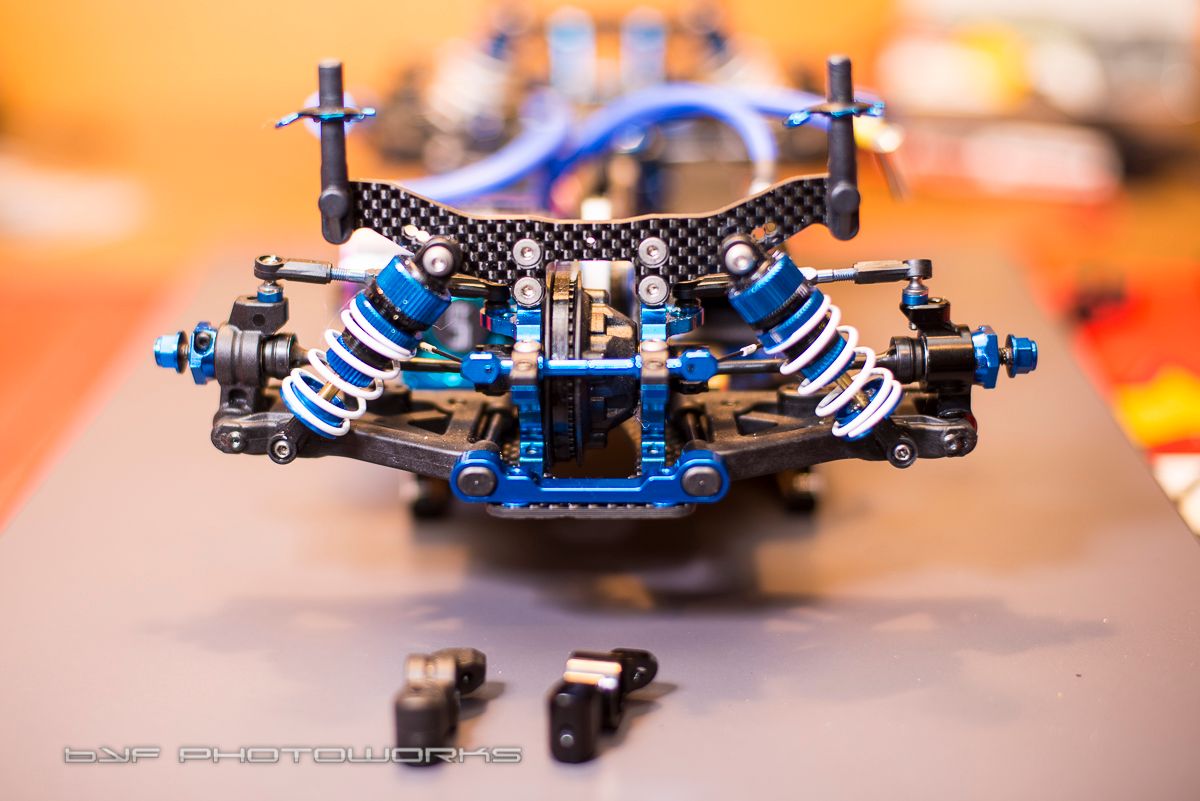
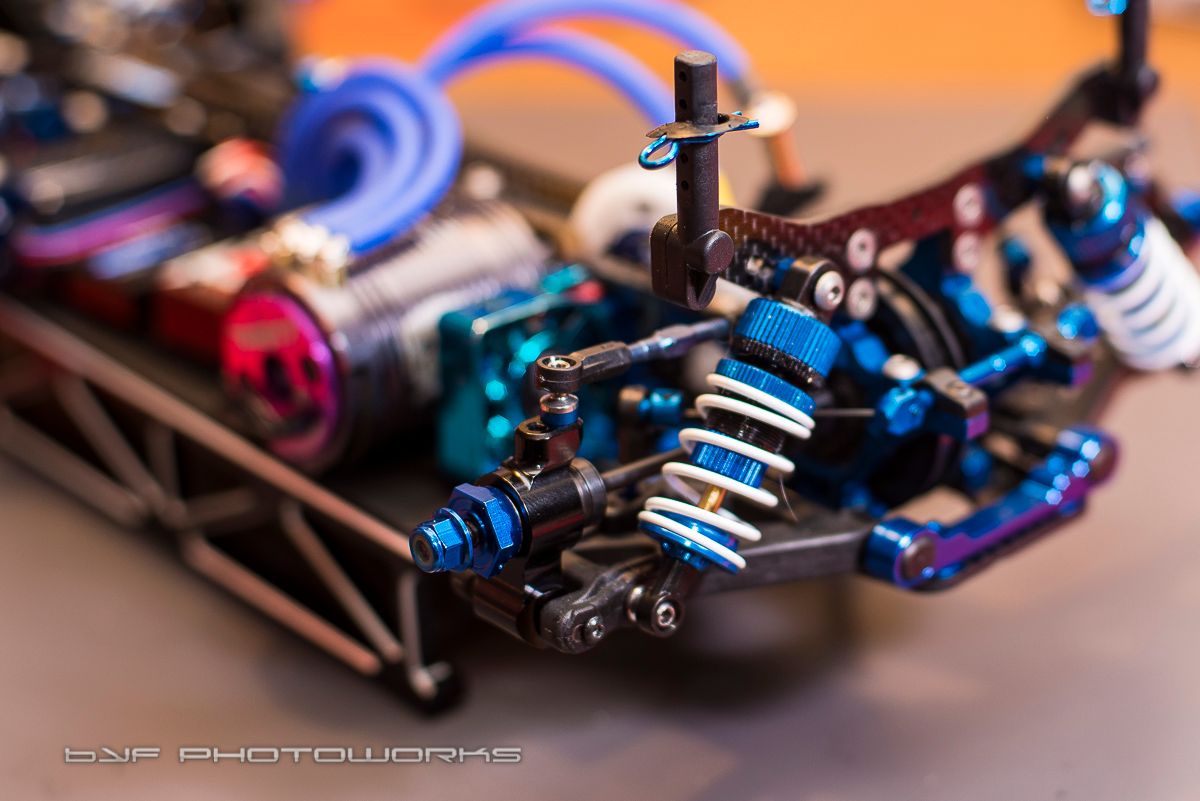
Both fronts installed
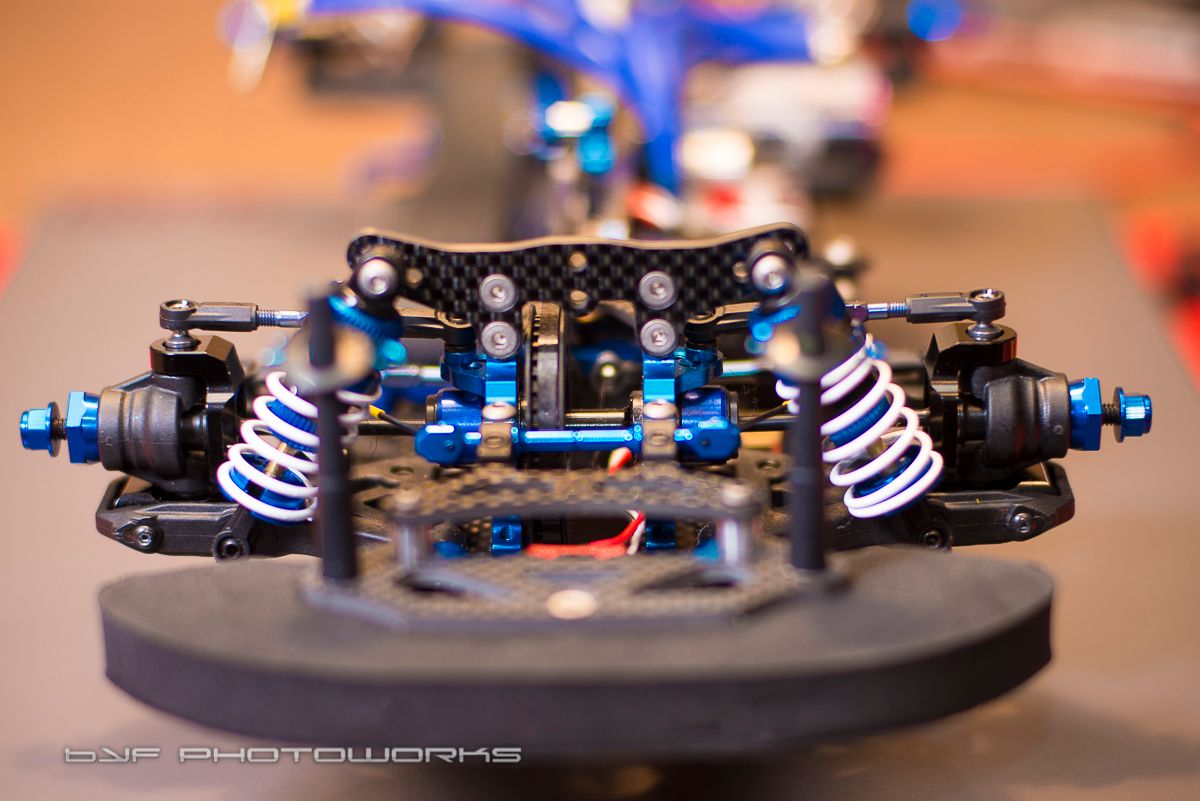
The setscrews to lock down on the swivel pin on each corner is key to the systems tightness


Last edited by ViperZ; 12-07-2014 at 04:34 PM.
12-11-2014, 11:50 PM
#1628
Tech Initiate
Should it possible to have the Juho setup for the last ETS ?
The car seems very good ....
Thank you
The car seems very good ....
Thank you
12-12-2014, 09:02 AM
#1629
Tech Rookie
12-12-2014, 03:41 PM
#1630
Update on my Tuning Haus Aluminum C- Hubs and rear Carriers.
I want to say at this time Bill Jeric and Tuning Haus have been very supportive, with my issues regarding the C-Hubs. And was willing to take them back for credit on other items. I decide to keep them and work with them to make them work. Thanks!
The hole for the hinge pin was undersized and too tight. As well the lower hole where the kingpin bolt bolts in against the flanged bushing was too shallow, allowing the bolt to tighten up against the C-Hub rather than the bushing. This caused binding when the bottom bolt was tightened.
To fix those 2 issues, I reamed out the holes on the C-Hubs with a reamer in my Dremel, this solved that issue. For the binding on the lower bolt, rather than remove metal, I decided to just run the bolt looser. The required me to use CA glue in the hole of the steering block so the bolt would be tight, even when loose. I think this should fix that.
The rear carriers have no issues as the hinge pin hole was the right size, and they bolted right up.
After these tweaks, and with the kit installed, the steering system is a lot tighter with out much play between the C-Hub and the A-Arm. The Rear carriers have a lot less play as well. What really makes the difference is the grub screw in each aluminum block, that tightens down on the swivel pin, taking out any play... I'm impressed in spite of my problems. I can't wait to see the effects of this tighter suspension set.
I do have to say I've been breaking a few Plastic C-Hubs of late, and I hope I didn't shift the break point further down the line, say the A-Arms.... Time will tell.
My 3rd C-Hub in the last few weeks. The Aluminum Tuning Haus ones are installed
Tuning Haus Aluminum on the Right, OEM plastic on the left
Both fronts installed
The setscrews to lock down on the swivel pin on each corner is key to the systems tightness
Also you might look into the RSD wide bumper, its a arm saver as well
http://www.reflexracing.net/RSD-AE-T...er_p_1770.html
12-13-2014, 04:09 AM
#1631
I think you will be happy with them...I havent had an issue since installing them....
Also you might look into the RSD wide bumper, its a arm saver as well
http://www.reflexracing.net/RSD-AE-T...er_p_1770.html
Also you might look into the RSD wide bumper, its a arm saver as well
http://www.reflexracing.net/RSD-AE-T...er_p_1770.html
 I'm hoping for a bit more durability, primarily, and less front end slop, which it has minimized, good or bad.
12-14-2014, 06:10 AM
I'm hoping for a bit more durability, primarily, and less front end slop, which it has minimized, good or bad.
12-14-2014, 06:10 AM
#1634
Tech Adept
iTrader: (5)
Also, couldn't be happier to announce that I've signed with Team Associated for 2015! I had taken roughly a 5 year hiatus from TC but when they announced the Reedy Race was going to be held at Tamiya America again I couldn't resist coming out of retirement for that race. I missed finishing where I wanted by 1 spot but it was still enough for me to catch the racing bug again and I'm excited to see what I can do in 2015 with some amazing sponsors backing me!
Although I've only got a couple club races under my belt with the 6.2 I feel like it really fits my driving style very well. I'm still learning the car and have yet to nail my setup but I will still be on here often to answer any questions I can!
Although I've only got a couple club races under my belt with the 6.2 I feel like it really fits my driving style very well. I'm still learning the car and have yet to nail my setup but I will still be on here often to answer any questions I can!
12-15-2014, 12:31 PM
#1635
There are multiple levels of sponsorship, typically starting out at 50% off of parts and then up from there. Some contracts will also offer bonuses for good results at large races regardless of your discount level. Then there are the guys you see winning races week after week that are actually making a living doing this, but that kind of contract is typically reserved for the top 15-20 racers in the world in their respective classes. I won't talk about my contract personally, all I will say is that I'm glad to be a part of Team AE!