


 26Likes
TLR 22 3.0 Race Kit Thread!

 08-23-2016, 10:37 AM - Wikipost
|
|||
|
|||


 01-01-2016, 03:52 PM
#1338
I've read some posts that claim some drivers have felt the buggy pushed too much. I'm about to start building mine tonight. Assuming we're running the kit setup, would going with the long VLA front end and running the battery front to back instead of sideways make the buggy more aggressive in tighter turns? 2 tracks I run on are very tight so I want to have an aggressive turn in. I'm coming off driving a 2.0 rear motor so I'm hoping for better steering than I've had up till this point.
01-01-2016, 04:18 PM
#1339
I've read some posts that claim some drivers have felt the buggy pushed too much. I'm about to start building mine tonight. Assuming we're running the kit setup, would going with the long VLA front end and running the battery front to back instead of sideways make the buggy more aggressive in tighter turns? 2 tracks I run on are very tight so I want to have an aggressive turn in. I'm coming off driving a 2.0 rear motor so I'm hoping for better steering than I've had up till this point.
01-01-2016, 04:51 PM
#1340
According to the 22 3.0 video on TLR website Frank Root said that using the long VLA position and/or running the battery front to back would increase the reaction of the buggy. So I was wondering if anyone had tried either or both options and found positive results? I just want to build my buggy as close to where I want it handling so I have less disassembly later.
01-01-2016, 05:00 PM
#1341
I have yet to see one of these exhibit anything I'd describe as understeer. Try beginning with the front shocks on the inside hole in the front arm and you should have enough steering to begin tuning to your liking.
01-01-2016, 05:06 PM
#1342
According to the 22 3.0 video on TLR website Frank Root said that using the long VLA position and/or running the battery front to back would increase the reaction of the buggy. So I was wondering if anyone had tried either or both options and found positive results? I just want to build my buggy as close to where I want it handling so I have less disassembly later.
Remember, the manual and setup sheets are a baseline for you to start. If you work with the front end you can move the king pin screw in and out on the arm to get the car to do what you want it to do. Once it is close, then refer to the back of the manual where it talks about the VLA and fine tune it. At least that is what I would do.
01-01-2016, 06:42 PM
#1343
I've read some posts that claim some drivers have felt the buggy pushed too much. I'm about to start building mine tonight. Assuming we're running the kit setup, would going with the long VLA front end and running the battery front to back instead of sideways make the buggy more aggressive in tighter turns? 2 tracks I run on are very tight so I want to have an aggressive turn in. I'm coming off driving a 2.0 rear motor so I'm hoping for better steering than I've had up till this point.
 01-01-2016, 06:59 PM
#1344
On step E-1, make sure the o-ring pictured all the way to the right is pulled down over the threads on the shock body. The first few times I built 22 shocks, I was leaving that o-ring on the top and trying to get it to seal between the top of the shock body and the cap. Snug the lid, you shouldn't have any leaking.
01-01-2016, 08:28 PM
#1345
Tech Apprentice
My track just had a layout change so it is currently low bite. Stock setup with 4 gear tranny. I tried 0 degree anti squat and lost forward acceleration which affected my ability to jump/land where I wanted to and also affected initial turn in...car pushed a lot. 2 deg anti-squat was much better (no push at initial turn in and great acceleration) given that my traction was already decent from using the 4 gear tranny.
01-01-2016, 09:32 PM
#1346
Tech Regular
iTrader: (3)
Yes to the copper washer.....lol no to the o-ring on the threads, i put the oRing in the cap and then screwed the cap on the shock......wow....I feel a little silly now. Can't believe I built the shocks the way I did....thanks frank and Callaway for pointing out the obvious.
01-02-2016, 03:07 AM
#1347
[IMG]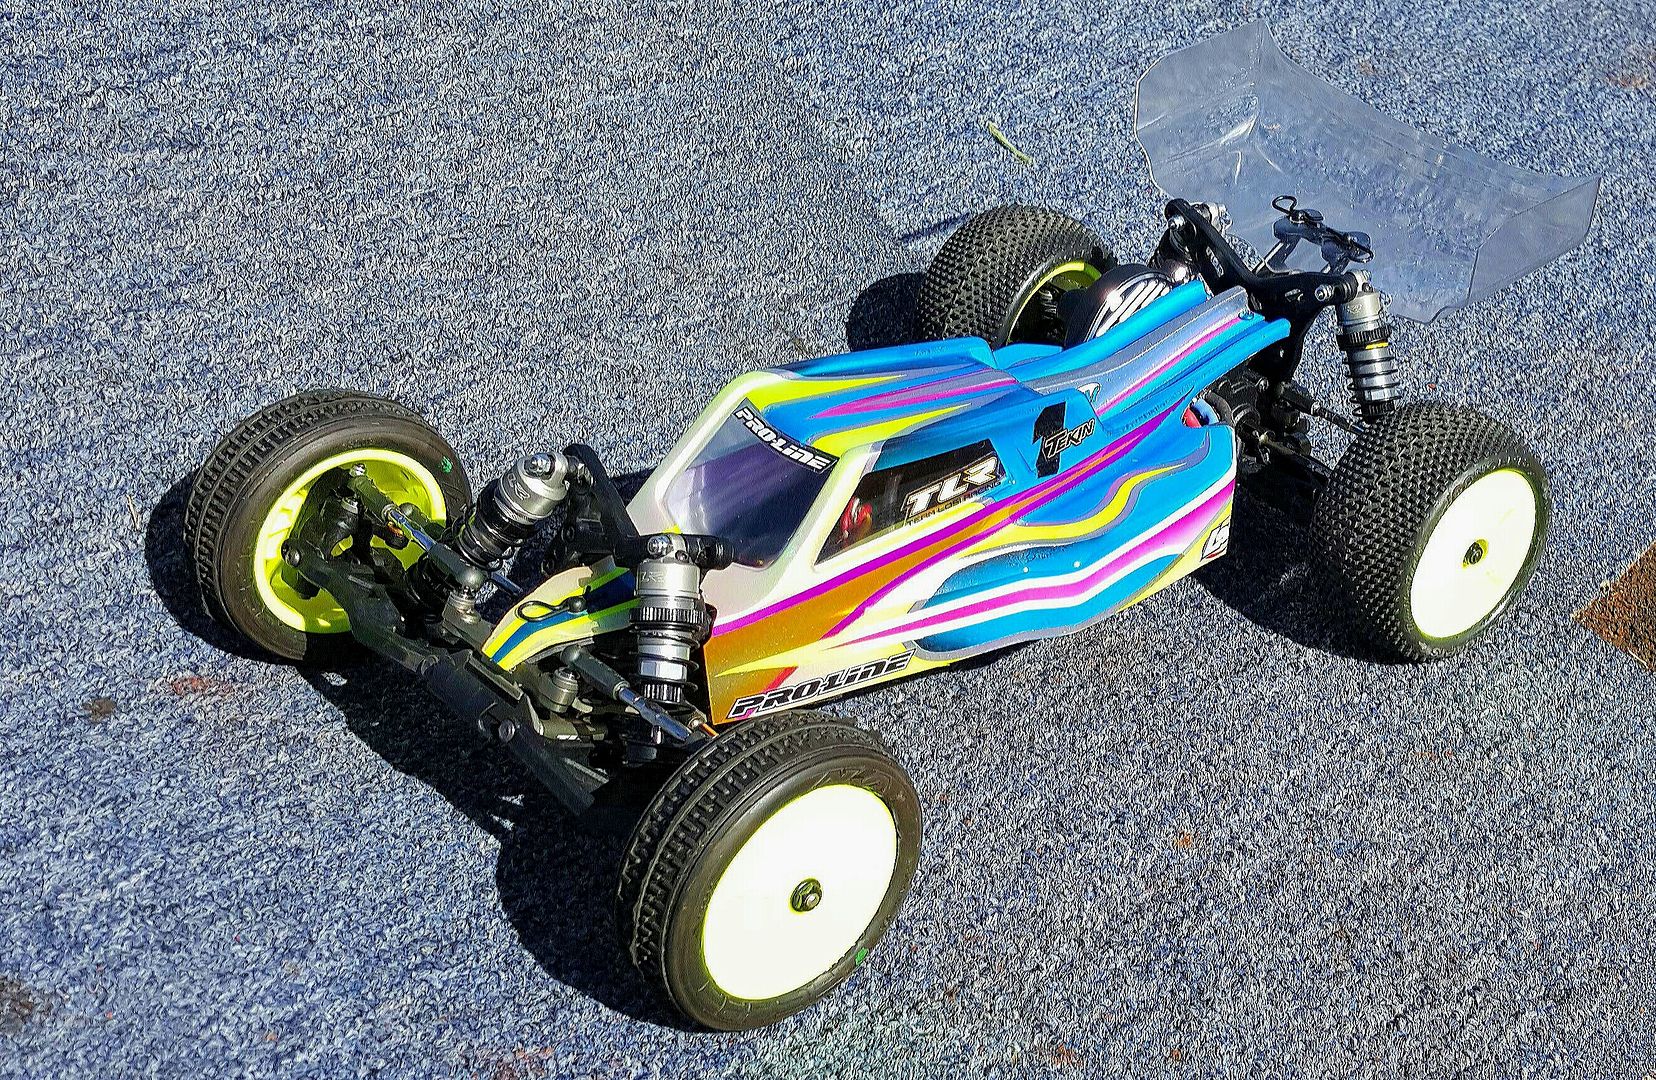 [/IMG]
Got to drive the buggy for the first time today on on our newly reconfigured track. All I can say, right out of the box is AWESOME.
It did have a slight push, but was not bad. Still turned tight when I needed it to, jumped and landed very planted. Took a beating when learning the timing in the rhythm section, and did not break or pop out a dog bone. Shocks never leaked.
So impressed. Great work Frank and the TLR team.
 [/IMG]
Got to drive the buggy for the first time today on on our newly reconfigured track. All I can say, right out of the box is AWESOME.
It did have a slight push, but was not bad. Still turned tight when I needed it to, jumped and landed very planted. Took a beating when learning the timing in the rhythm section, and did not break or pop out a dog bone. Shocks never leaked.
So impressed. Great work Frank and the TLR team.
01-02-2016, 04:37 AM
#1348
Is anyone drilling a hole in their ball cups so they can use a hex driver to change ball stud locations without popping the cups off? About to start putting my kit together and I've never done this before, but I'm really contemplating it.
01-02-2016, 05:15 AM
#1350
Tech Rookie
I did that but I used a body reamer. I would have used a leather punch if I had one on hand. With the reamer, start with the underside of the ballcup until the reamer just pokes through, then start with the other side.