


 301Likes
Team Associated B74 4wd buggy

 08-14-2019, 10:03 AM - Wikipost
|
|||
|
|||

 06-08-2020, 10:43 AM
#916

 06-10-2020, 04:17 AM
#917
Tech Initiate
I believe my chunky cva issue will be resolved by adding down travel limiters inside the front shocks. Thank you big ted and CruiseM for the ideas.
My next question is, is it better to adjust my steering with the trim on the controller or with servo link turnbuckle? The picture in the manual says 15mm, when I measure the gap in the picture it is 17mm. When I set it to 15mm I have to add a lot of left sub trim in the controller. Does it make a difference where I adjust the steering?
My next question is, is it better to adjust my steering with the trim on the controller or with servo link turnbuckle? The picture in the manual says 15mm, when I measure the gap in the picture it is 17mm. When I set it to 15mm I have to add a lot of left sub trim in the controller. Does it make a difference where I adjust the steering?
06-10-2020, 05:12 AM
#918
Tech Master
I believe my chunky cva issue will be resolved by adding down travel limiters inside the front shocks. Thank you big ted and CruiseM for the ideas.
My next question is, is it better to adjust my steering with the trim on the controller or with servo link turnbuckle? The picture in the manual says 15mm, when I measure the gap in the picture it is 17mm. When I set it to 15mm I have to add a lot of left sub trim in the controller. Does it make a difference where I adjust the steering?
My next question is, is it better to adjust my steering with the trim on the controller or with servo link turnbuckle? The picture in the manual says 15mm, when I measure the gap in the picture it is 17mm. When I set it to 15mm I have to add a lot of left sub trim in the controller. Does it make a difference where I adjust the steering?
06-11-2020, 01:58 AM
#919
Tech Initiate
06-11-2020, 06:54 AM
#920
Tech Regular
after setting sub trim So the that car drive straight with steering links set at the same length.
Turn the steering rate to 100% then set the steering epa on the radio so that the servo only Moves the steering hub up to the steering stop you will hear a buzzing noise coming from the servo if the servo epa is set to go past the stop.
Make sure that you set the lock for both L and R up to the dead stops.
This means when you change the steering rate you will have equal lock L and R.
And you won�t be stressing the servo motor out trying to go past the steering stop.
Ray Munday Dremals the stops off the hub to get more steering lock if it is needed.
06-11-2020, 05:40 PM
#921
06-11-2020, 07:48 PM
#922
Tech Adept
I just made 100% sure there's zero lube in the threads and just snugged them up dry with no thread lock what so ever. Haven't had any issues at all running the aluminum cups without thead lock. If I were to use a fastener keeper i would use vc-3, it holds the screw without hardening. I use it on anything that experiences vibrations and a chemical threadlock is not ideal.
06-13-2020, 05:56 AM
#923
I just made 100% sure there's zero lube in the threads and just snugged them up dry with no thread lock what so ever. Haven't had any issues at all running the aluminum cups without thead lock. If I were to use a fastener keeper i would use vc-3, it holds the screw without hardening. I use it on anything that experiences vibrations and a chemical threadlock is not ideal.
06-15-2020, 04:36 AM
#924
Tech Master
I always advise that people use the shorter servo arm, partially for this reason but also because it makes the steering feel less sensitive to inputs.
06-21-2020, 09:03 AM
#925
I had totally missed this:
https://www.liverc.com/news/new-team...and-outdrives/
Guess this allows running full droop & up travel without worrying about chipping outdrives or breaking dogbones?
For those of us running on smoother, higher traction surfaces I'm guessing we're not giving up much just limiting the shock travel?
https://www.liverc.com/news/new-team...and-outdrives/
Guess this allows running full droop & up travel without worrying about chipping outdrives or breaking dogbones?
For those of us running on smoother, higher traction surfaces I'm guessing we're not giving up much just limiting the shock travel?
06-24-2020, 11:05 AM
#926
Tech Initiate
I had totally missed this:
https://www.liverc.com/news/new-team...and-outdrives/
Guess this allows running full droop & up travel without worrying about chipping outdrives or breaking dogbones?
For those of us running on smoother, higher traction surfaces I'm guessing we're not giving up much just limiting the shock travel?
https://www.liverc.com/news/new-team...and-outdrives/
Guess this allows running full droop & up travel without worrying about chipping outdrives or breaking dogbones?
For those of us running on smoother, higher traction surfaces I'm guessing we're not giving up much just limiting the shock travel?
It will definitely help out the rear as the shaft is barely touching the rear diff cups at full travel. There are people trimmed at least 1.5 mm off the diff cup in the front themselves instead of using plastic shims to stop interfering with the front diff cup.
06-24-2020, 11:21 AM
#927
Ive never had an outdrive break.. One of mine is barely chipped tho
07-05-2020, 03:12 PM
#928
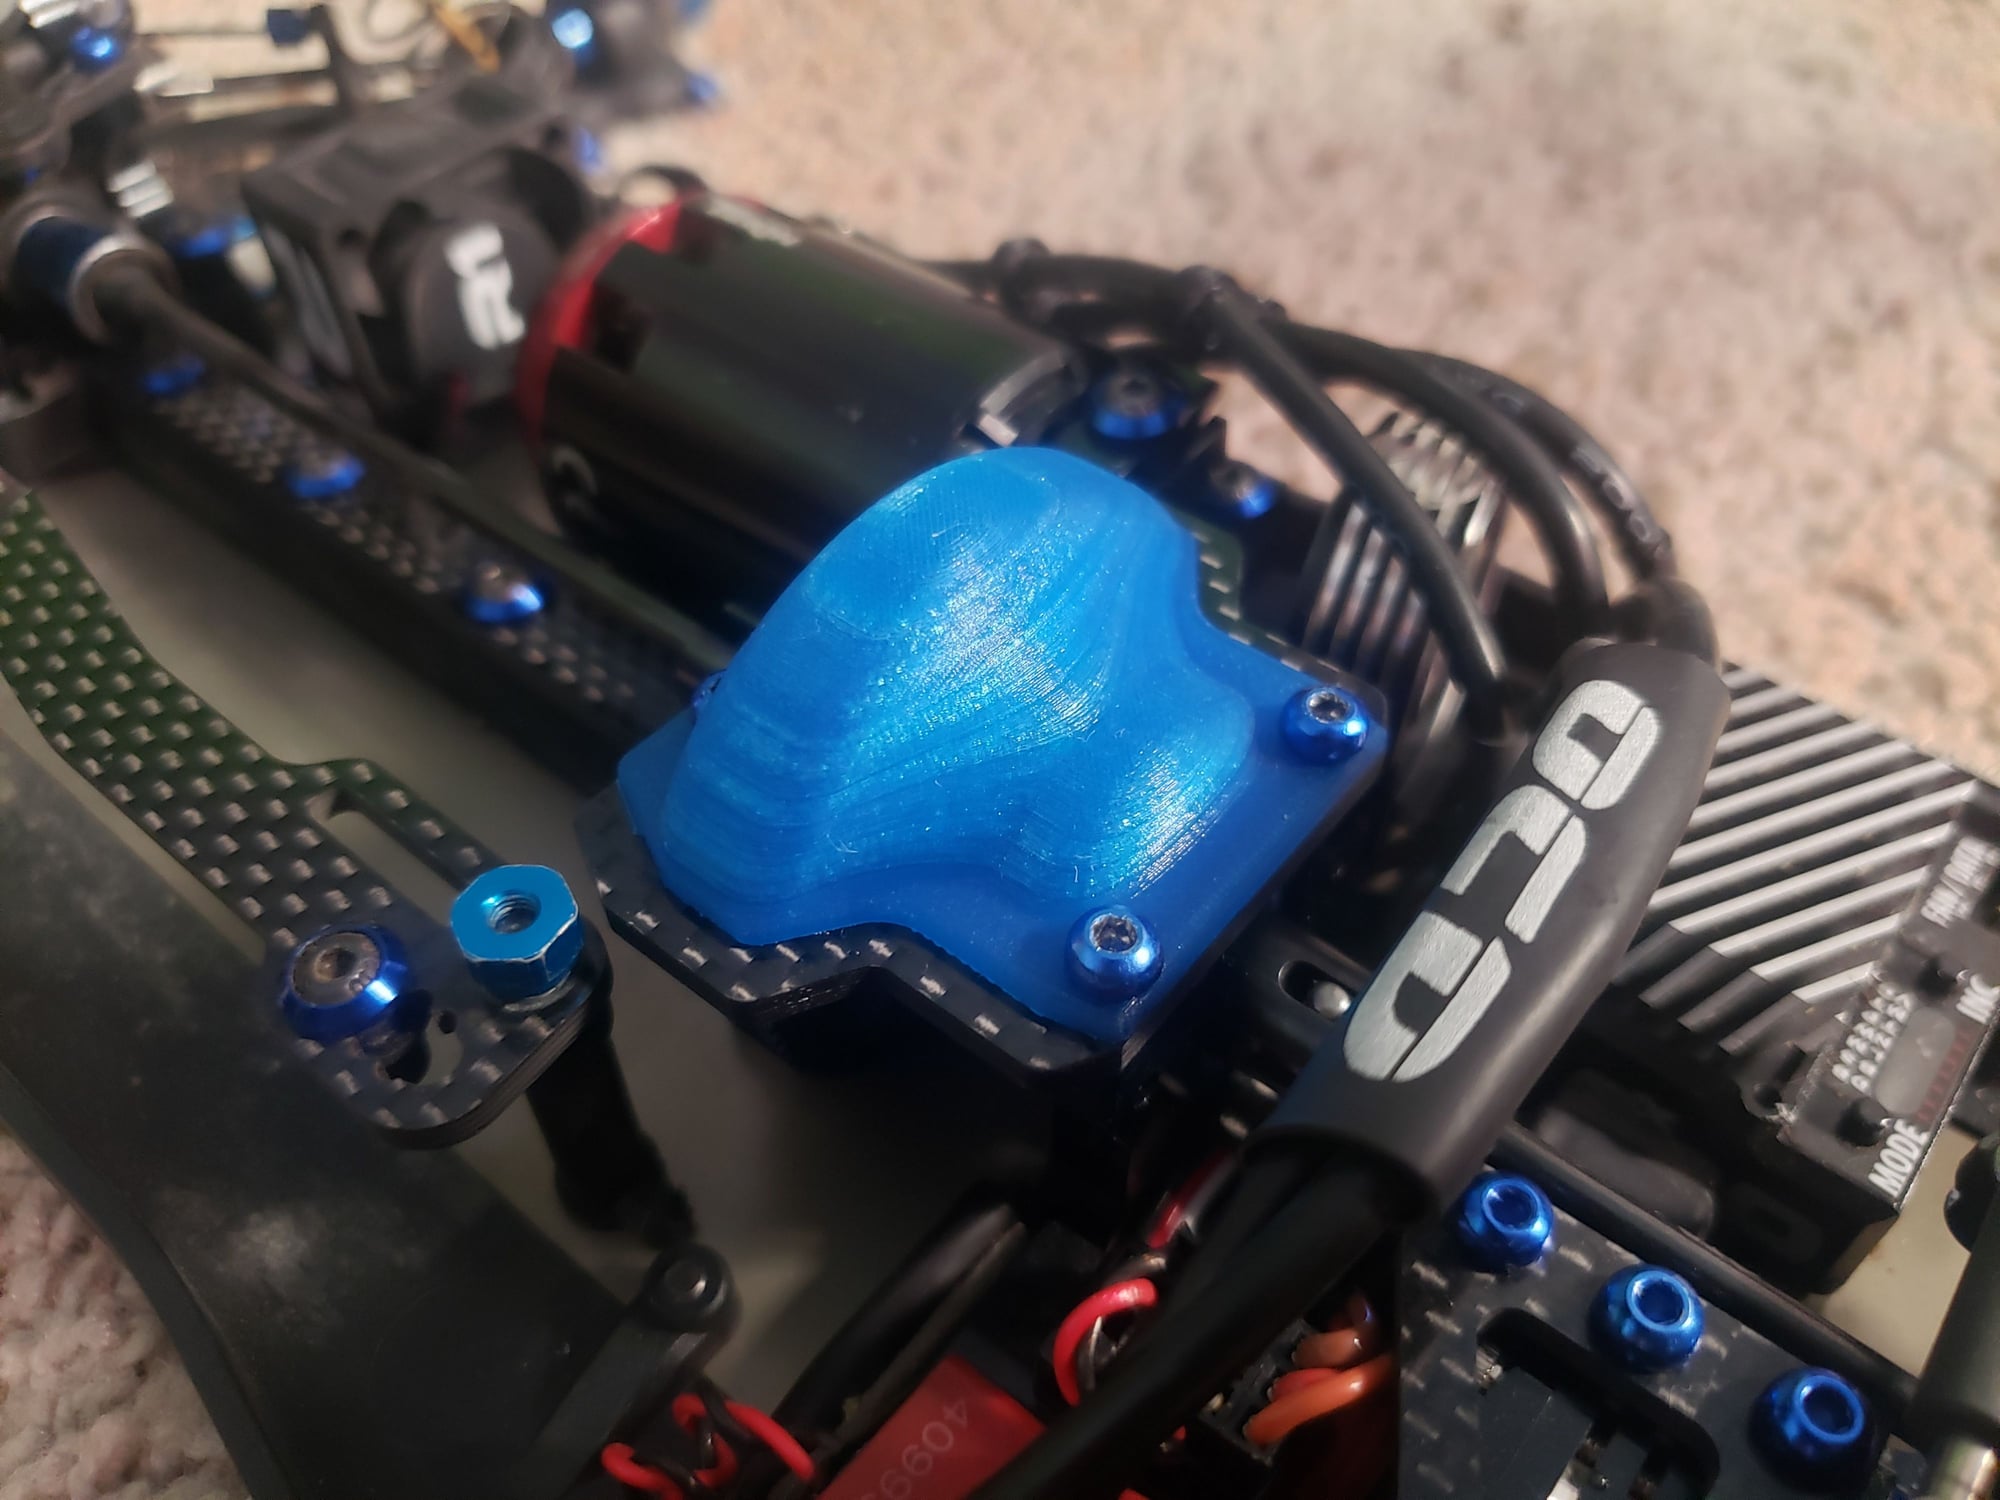
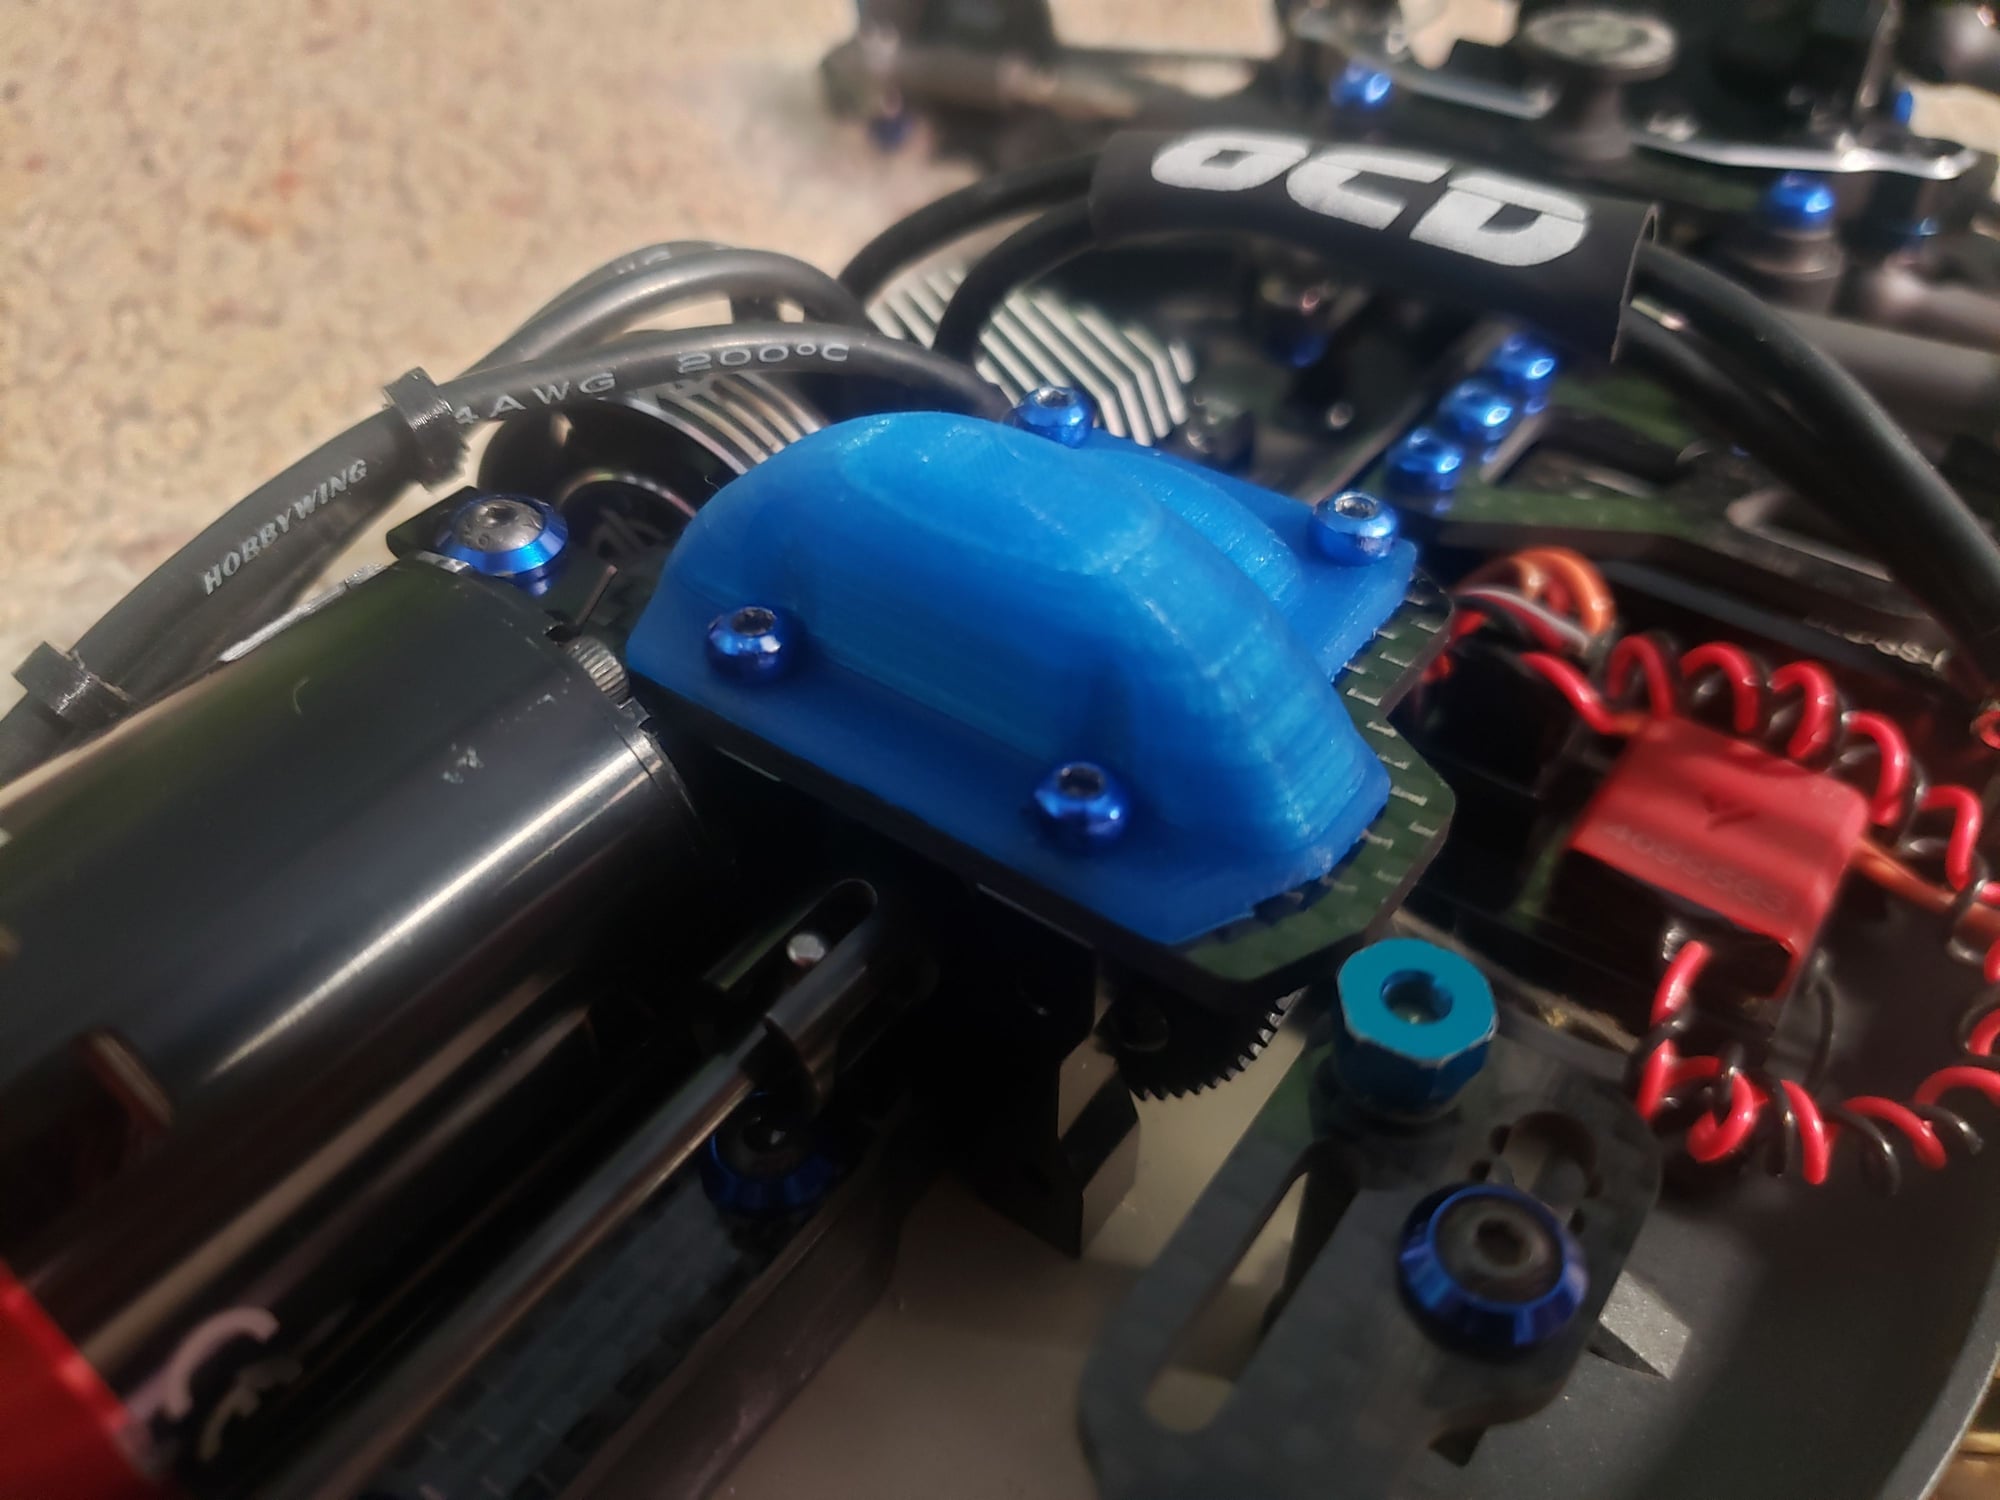
Hi everyone, I've been running my B74 and my T74 truggy conversion on an outdoor smaller 1/8 style track lately and have been having some issues with spur gear wear from the pieces of dirt. So, I designed a spur gear over to go over the top of the carbon center brace to prevent dirt from entering the top side of the gear mesh and chewing up the gears. It has been test fit with a stock slipper, schelle slipper, and a center diff and fits well with all of them. I've printed a few prototypes on my desktop printer and now that I've finalized the design I plan on ordering a few to be printed in black nylon using a powder-bed process called MJF which results in production quality, parts that have a consistent slightly grainy finish. Before I place my order I wanted to see if anyone would be interested in ordering some because the more I order the better the price is.
07-05-2020, 06:34 PM
#930
Edit: chassis is 75mm wide, the depth of the notch towards the center is 2mm (71mm between notches), and the depth for the notch from the top of the chassis is 0.9mm.
I hope that helps with your project.
Last edited by Di_spencer; 07-05-2020 at 10:15 PM.