Man Hybrid 6X6 Crawler/Recovery Truck, Pic heavy !
#1
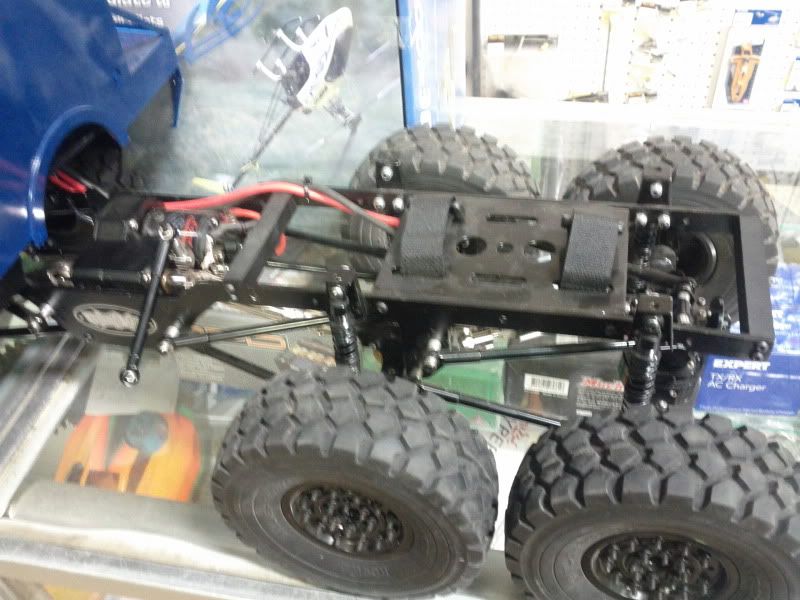
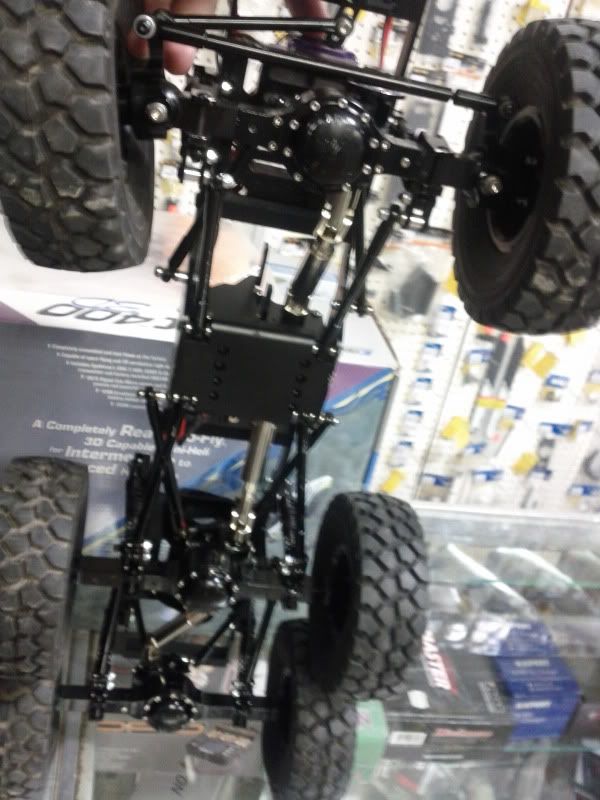
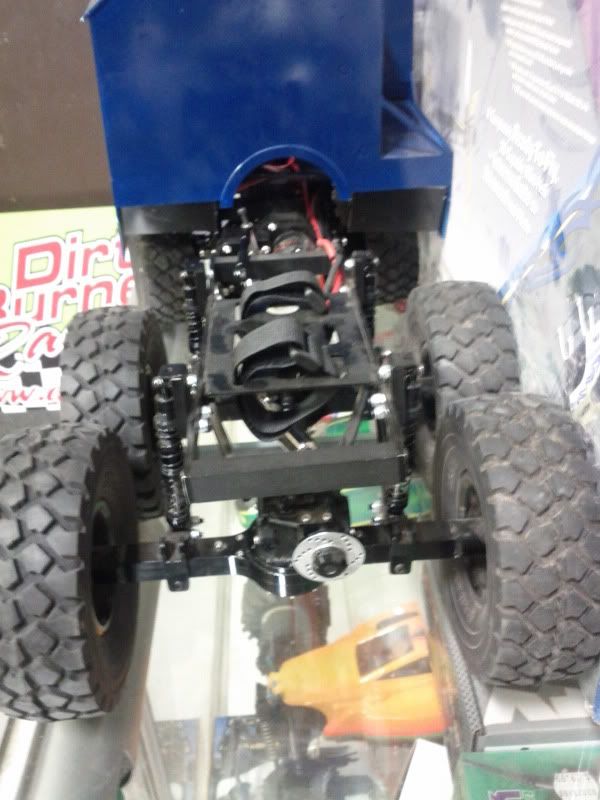
Here's what I'm starting with, these are pictures the guy sent prior to making our deal. This thing had some serious issues when it finially showed up considering I was told other wise.
This is a RC4WD "Beast" 6x6
http://store.rc4wd.com/The-Beast-Bla...le_p_1175.html
During inspection I found;
5 broken off 2mm screws between 2 axle cases and over a dozen missing screws. The Mann body was broken in several places and all that was included was the floor pan and exterior shell, not sure if anything should have ben included such as door handles and hinges etc ? The servo mount was broken from crashing into something but it's reusable if I place a thin piece of alum over it and screw it into the Delrin. Also one of the front carriers is hogged out top and bottom from the missing kingpin bushings and someone just put a screw in and it worn the hole oval, real brainiac. And last but not least, the frame was bent in 4 places, no clue what they were doing with it ?
Once I received I was able to get a decent pic
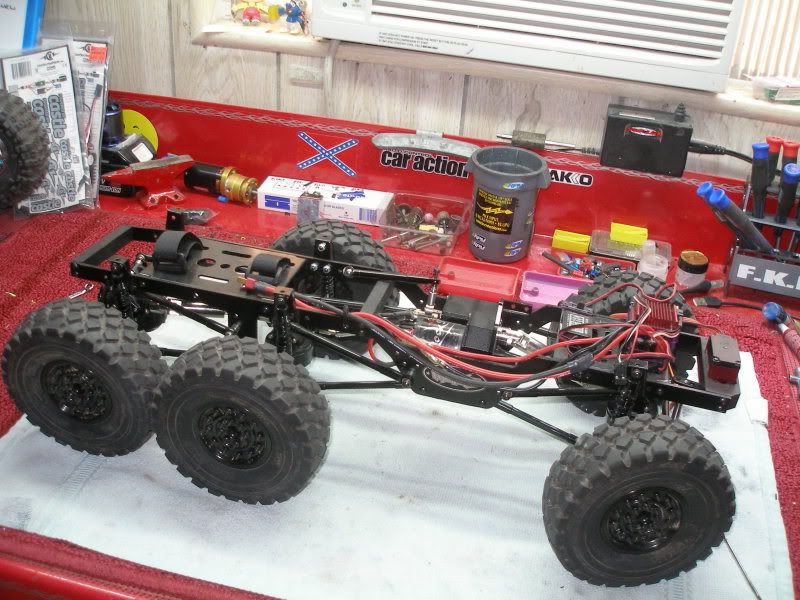
This is a RC4WD "Beast" 6x6
http://store.rc4wd.com/The-Beast-Bla...le_p_1175.html
During inspection I found;
5 broken off 2mm screws between 2 axle cases and over a dozen missing screws. The Mann body was broken in several places and all that was included was the floor pan and exterior shell, not sure if anything should have ben included such as door handles and hinges etc ? The servo mount was broken from crashing into something but it's reusable if I place a thin piece of alum over it and screw it into the Delrin. Also one of the front carriers is hogged out top and bottom from the missing kingpin bushings and someone just put a screw in and it worn the hole oval, real brainiac. And last but not least, the frame was bent in 4 places, no clue what they were doing with it ?


Once I received I was able to get a decent pic

#2
I removed all the running gear and electronics and set them aside to get the new tires mounted up to make some room on the bench plus to see what needs to be done with the dual axles to make room for the taller tires.
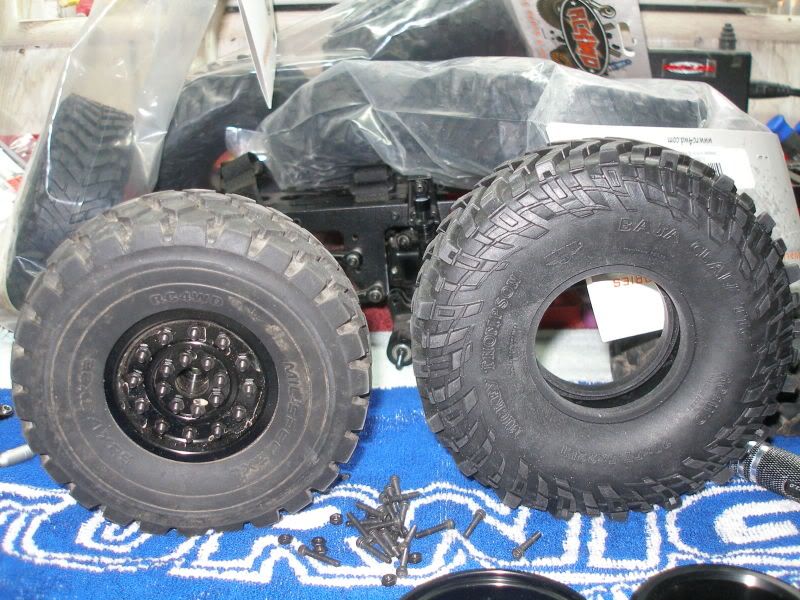
Wow, what a PITA these rims are but they look super dope
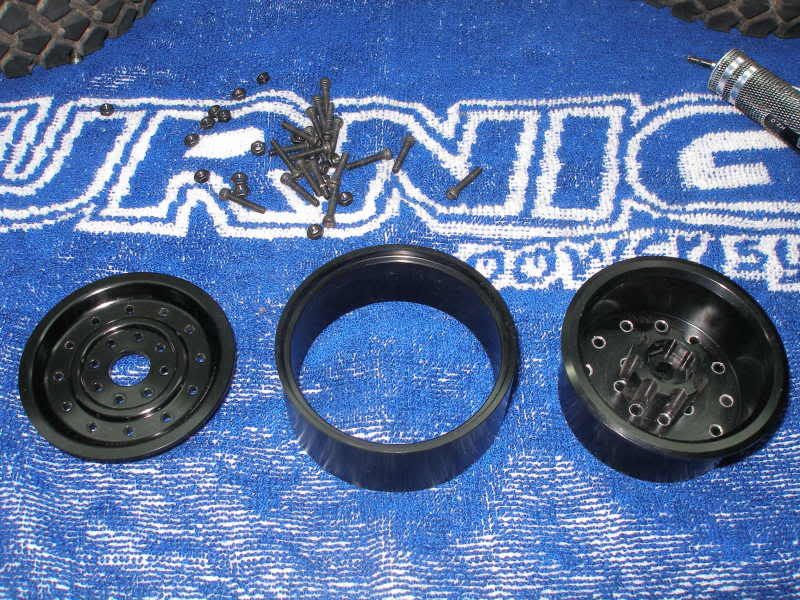
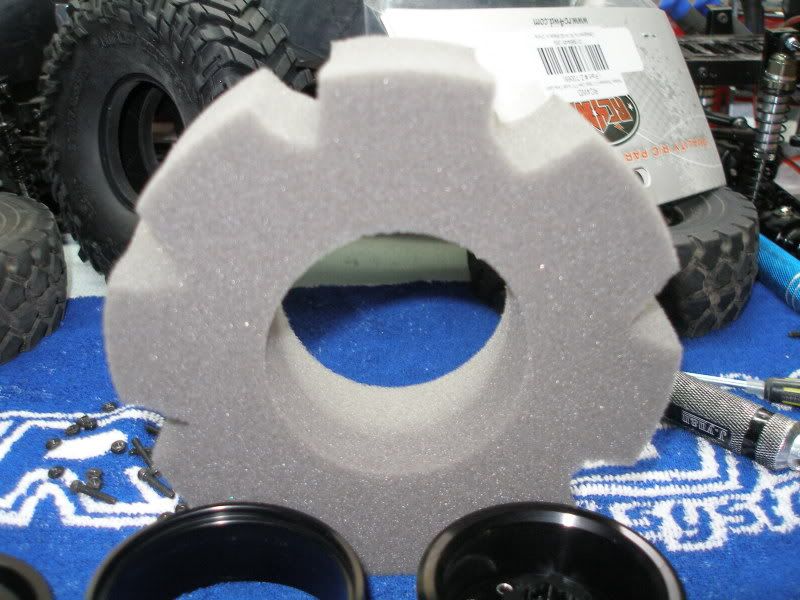
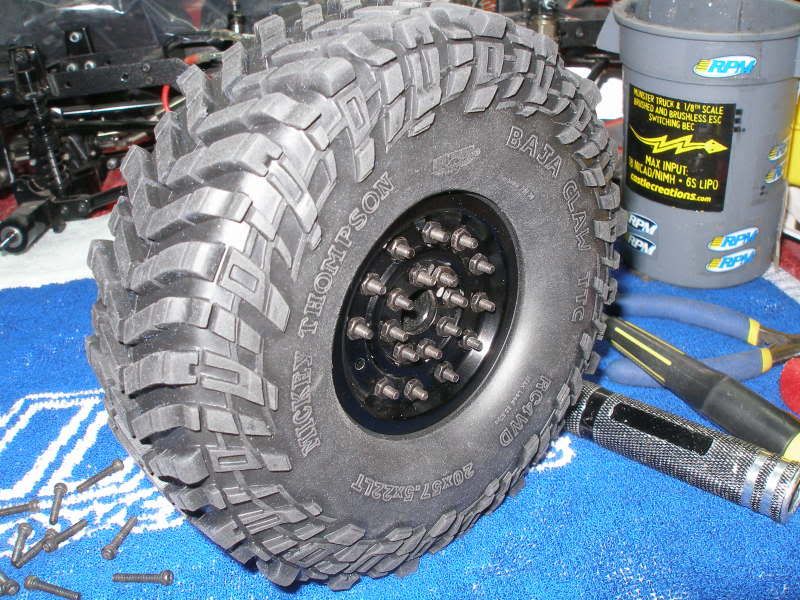

Wow, what a PITA these rims are but they look super dope


#3
Next I tore down the 2spd tranny and found the idler gear pretty worn but with plenty left on it to last a while yet. I checked all bearings and bushings, cleaned everything and reapplied Mobil-1 Red Synthetic grease.
I then moved onto the original steering axle and drilled and tapped the broken
2mm screws and did a thorough cleaning and again used the Syn grease.
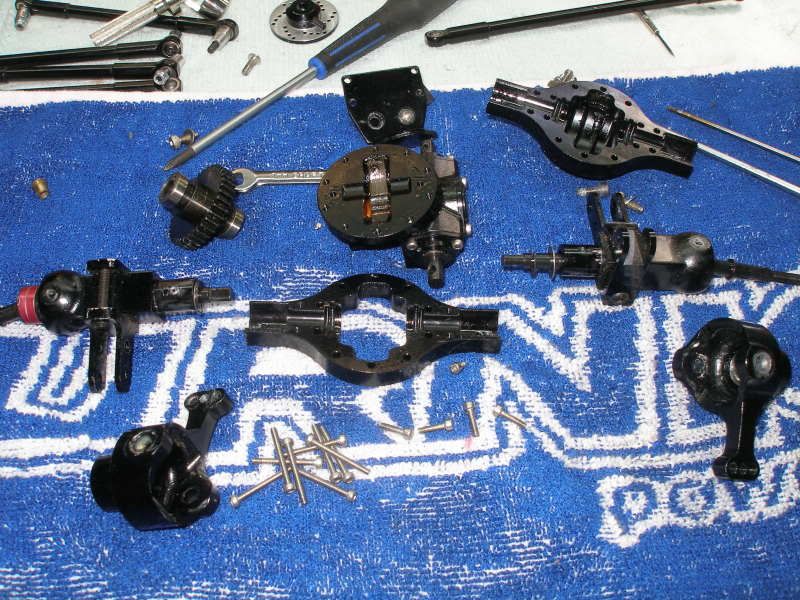
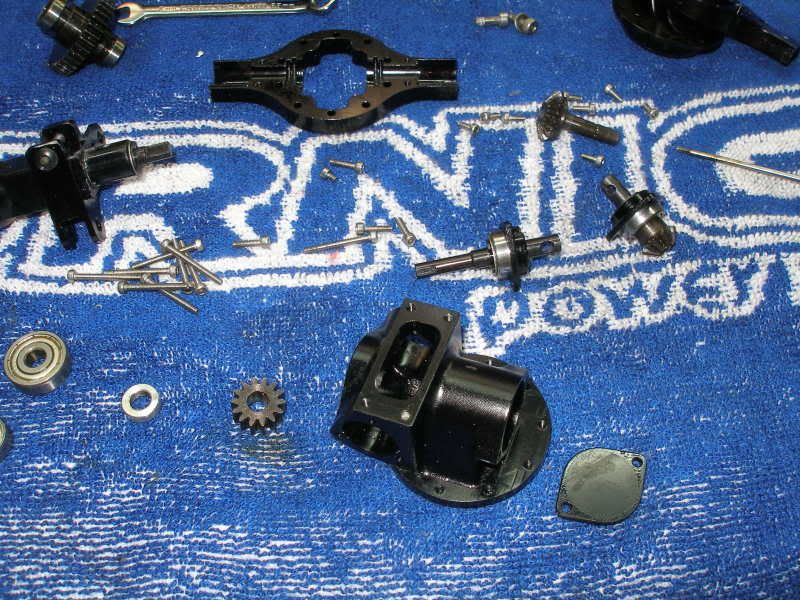
I bought 2 more steering axles from Rock @ RC4WD and tore them down as well and applied Syn grease during re-assembly.
http://store.rc4wd.com/Blackwell-X1-...le-_p_449.html
I then moved onto the original steering axle and drilled and tapped the broken
2mm screws and did a thorough cleaning and again used the Syn grease.


I bought 2 more steering axles from Rock @ RC4WD and tore them down as well and applied Syn grease during re-assembly.
http://store.rc4wd.com/Blackwell-X1-...le-_p_449.html
#4
The running gear it showed up with is the stock 2 spd tranny, no shift servo, stock Outcry ESc with BEC brushed motor only but 4s capable. The steering servo was a nice bonus, brand new JR 8911HV, sweet. Motor is a Novak 55T, looks fairly new.
Electronic's Going in;
Castle Mamba Pro ESC
Castle BEC Pro
Tekin T8 1400kv
3s
1st & 2nd steering axles JR-8711 servos, 403oz @ 6v
3rd steering axle JR 8911HV 470oz @ 7.4
Trans shifting servo JR 650
Servo Winch will be bed mounted w/a boom.
LED's ??[/QUOTE]
Electronic's Going in;
Castle Mamba Pro ESC
Castle BEC Pro
Tekin T8 1400kv
3s
1st & 2nd steering axles JR-8711 servos, 403oz @ 6v
3rd steering axle JR 8911HV 470oz @ 7.4
Trans shifting servo JR 650
Servo Winch will be bed mounted w/a boom.
LED's ??[/QUOTE]
#6
Made a new rear plate, it's a bit bigger than the stock one which was steel and weighs about the same even tho theres a lot more material. I Incorporated a rear bumper and loops for the tow hooks.
Rear bumper braces and loops for the rear pull rings/shackles.
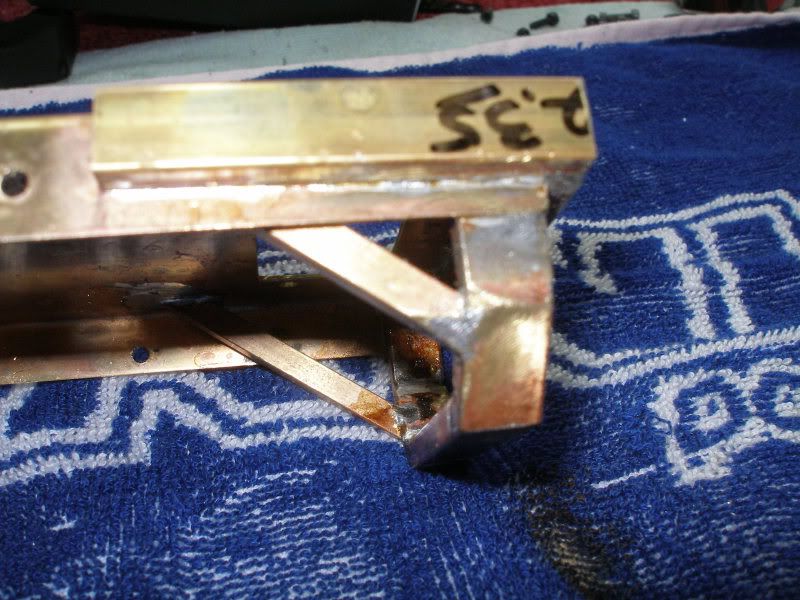
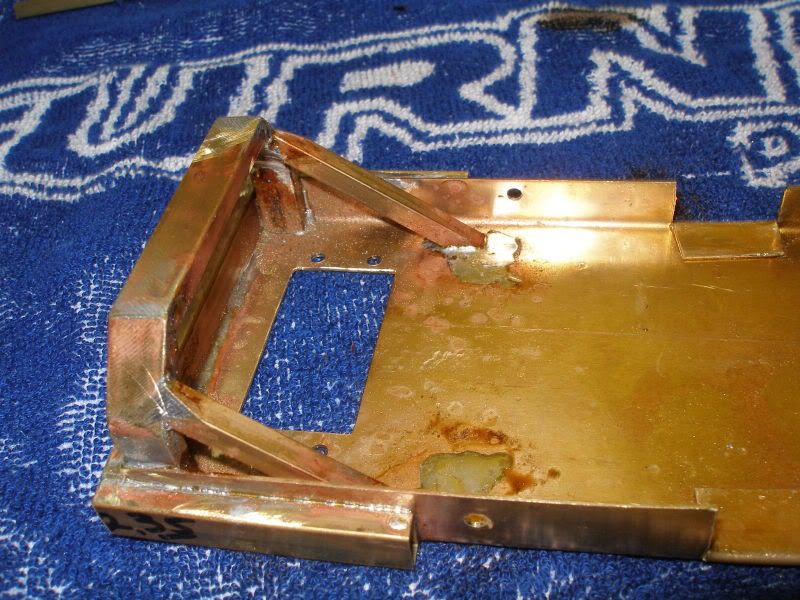
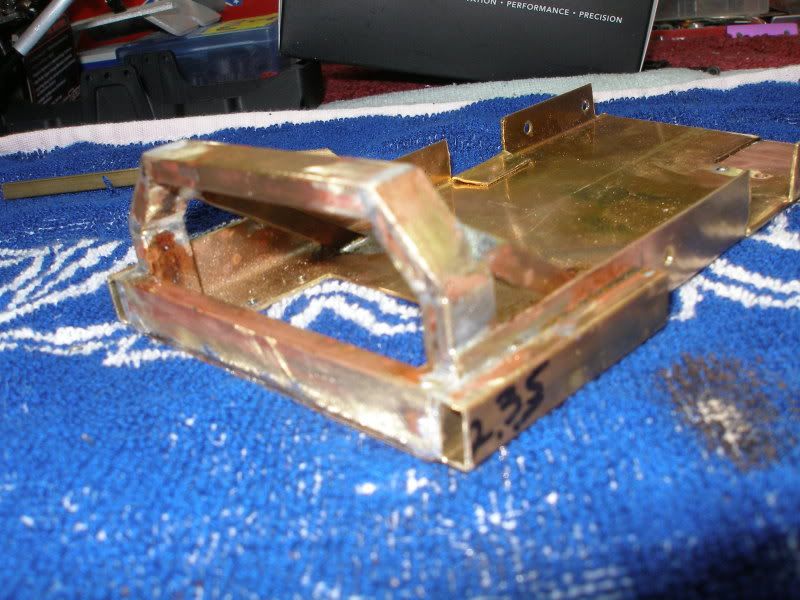
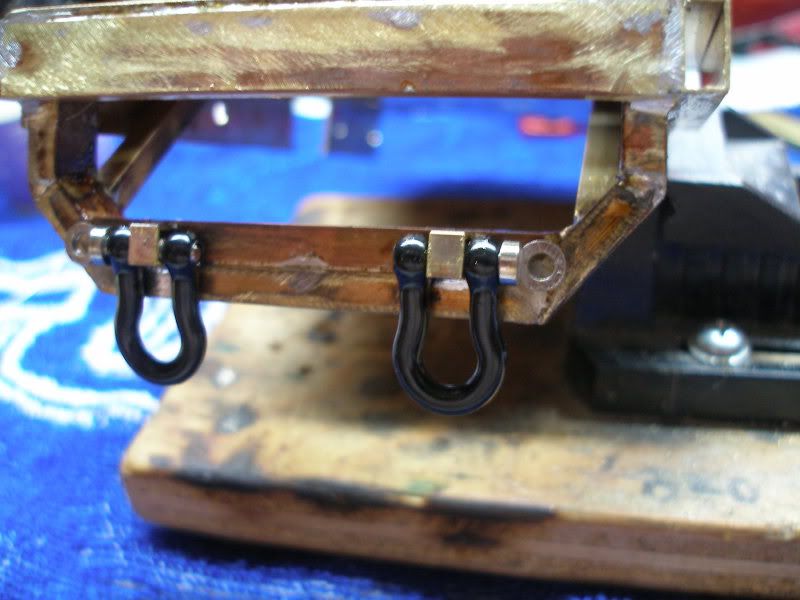
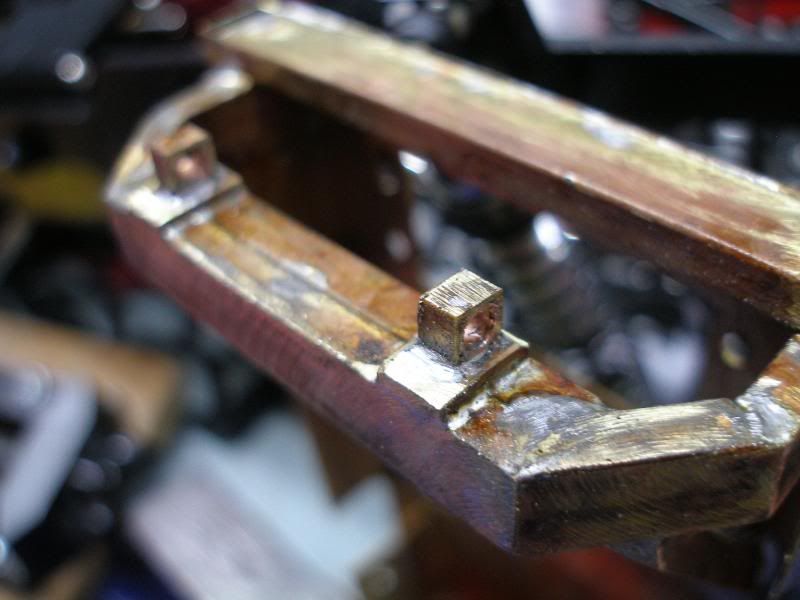
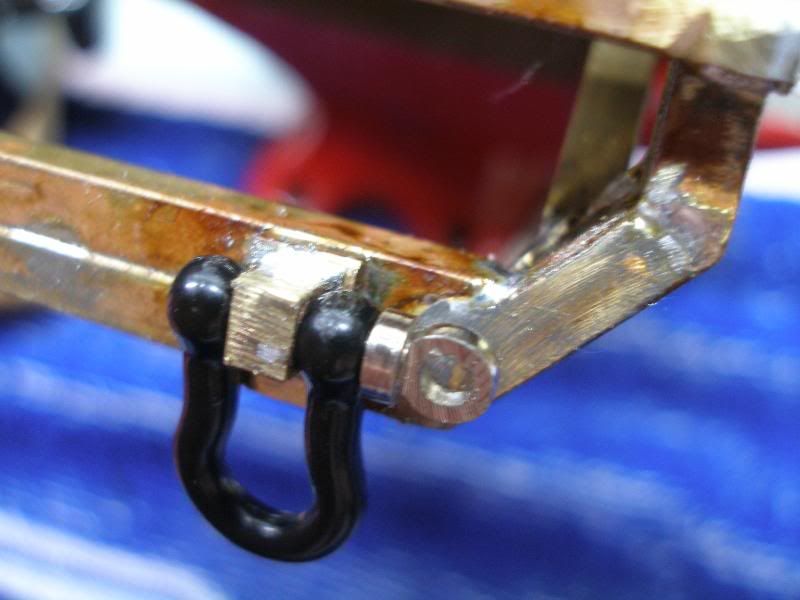
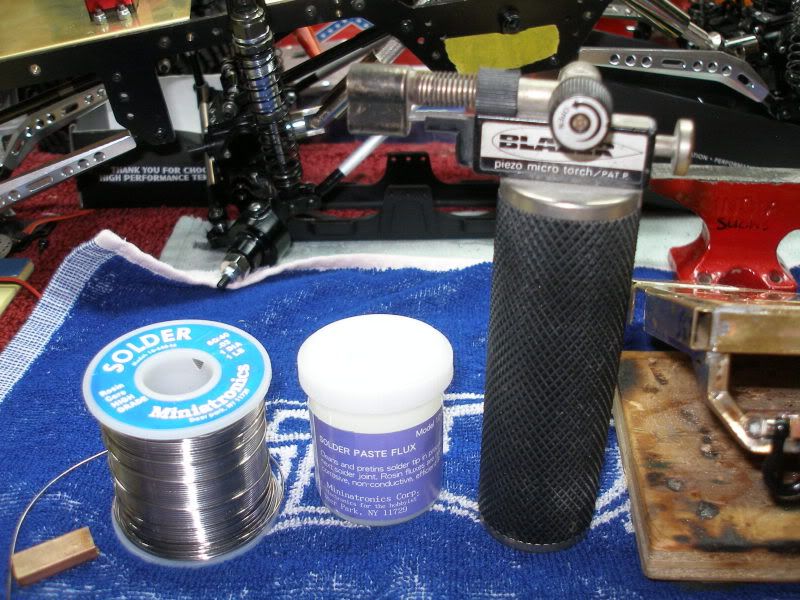
This is all what I'm using to do the brazing/soldering
Here is is painted with "Hammer Paint" spray bomb
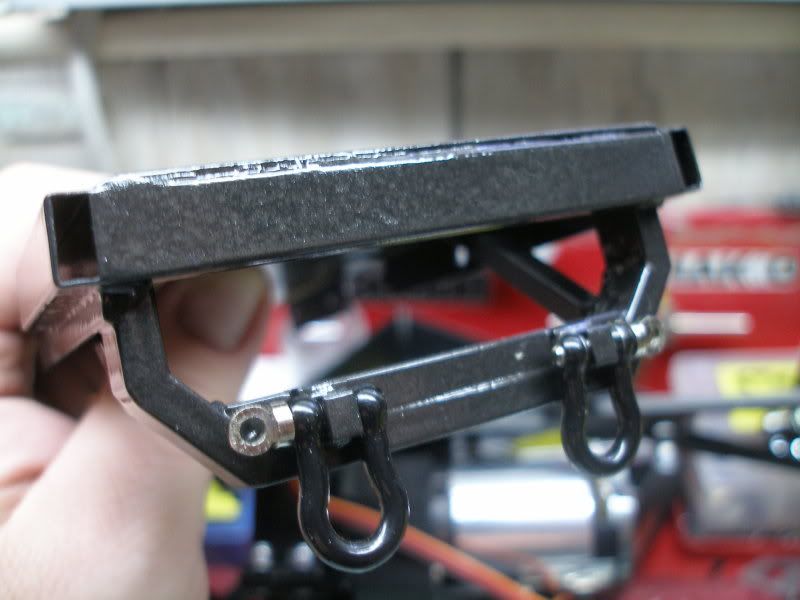
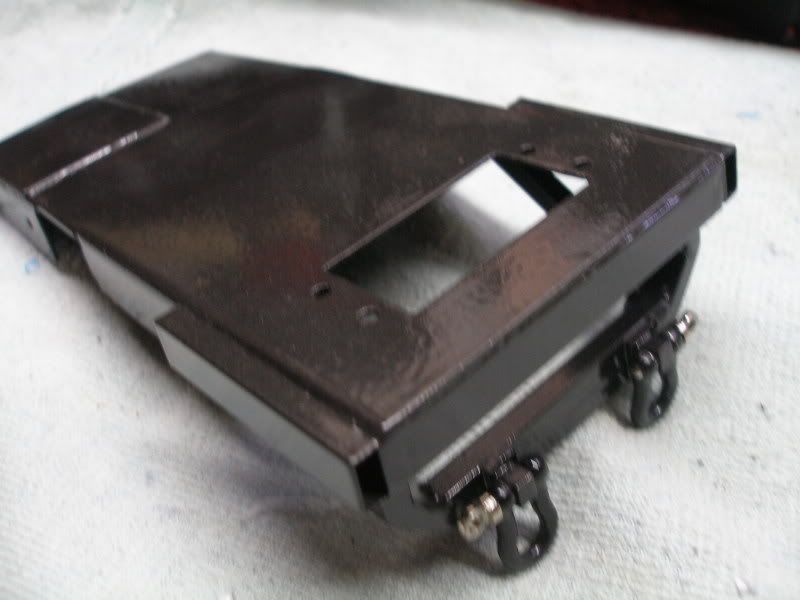
Rear bumper braces and loops for the rear pull rings/shackles.


This is all what I'm using to do the brazing/soldering

Here is is painted with "Hammer Paint" spray bomb


#7
Please bare in mind most of what I'll be posting is weeks old that I'm copy/pasting from my Losi Forum I mod at. When I get around to getting to the more recent stuff I'll be sure to let you know when I post it.
I tried the new sheet metal break from Habor Freight and Tool and the thing works excellent, several vise grips are needed to hold the material steady in the tool but other than that well worth the price paid !
I made 2 electronics trays today and once the lenth is determined I will cut off the excess. Some make think I'm crazy but I decided to use Brass rather than aluminum and I'll explain why. Once the aluminum is bent 90* it cantr be bent back with breaking at the bend. Also I can solder braces, brackets, cab mounts etc etc right to these plates. The brass is a tick heavier than the aluminum but way lighter than the factory steel plates.
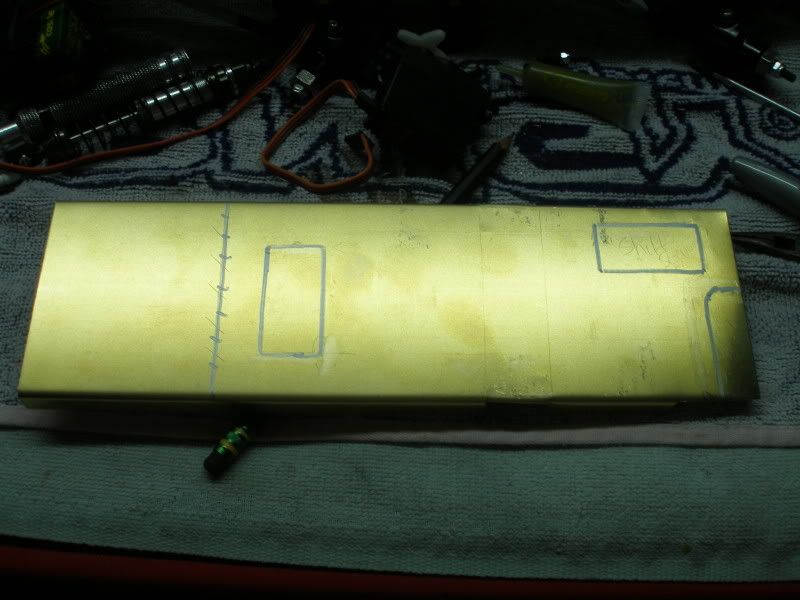
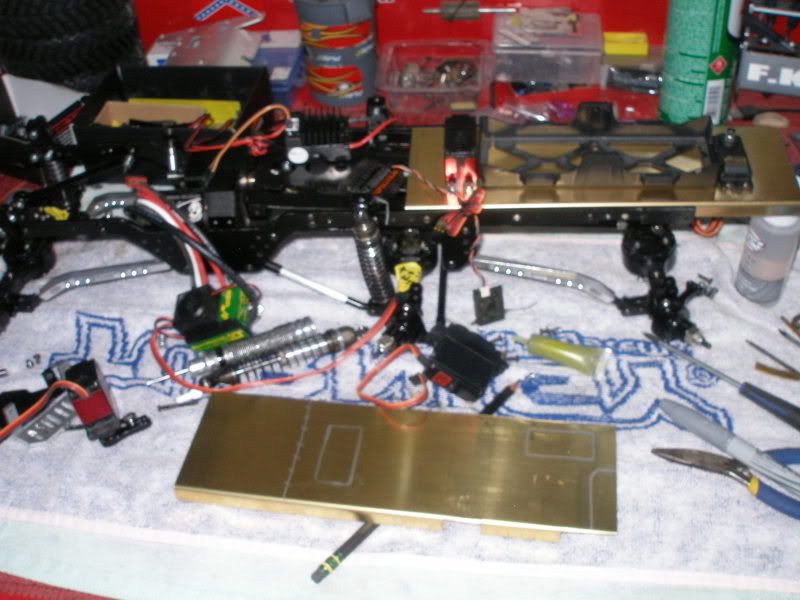
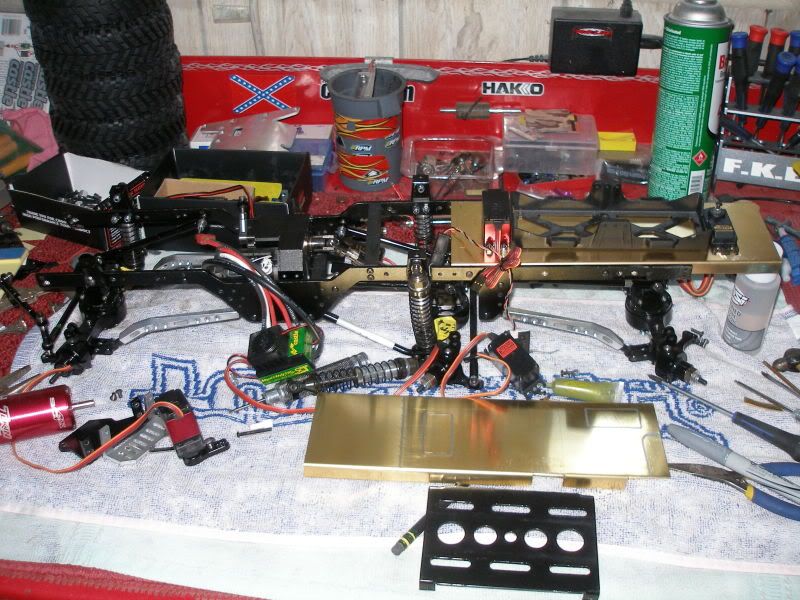
This entire sheet of brass is several grams lighter than this steel plate at 1/3 it's size.
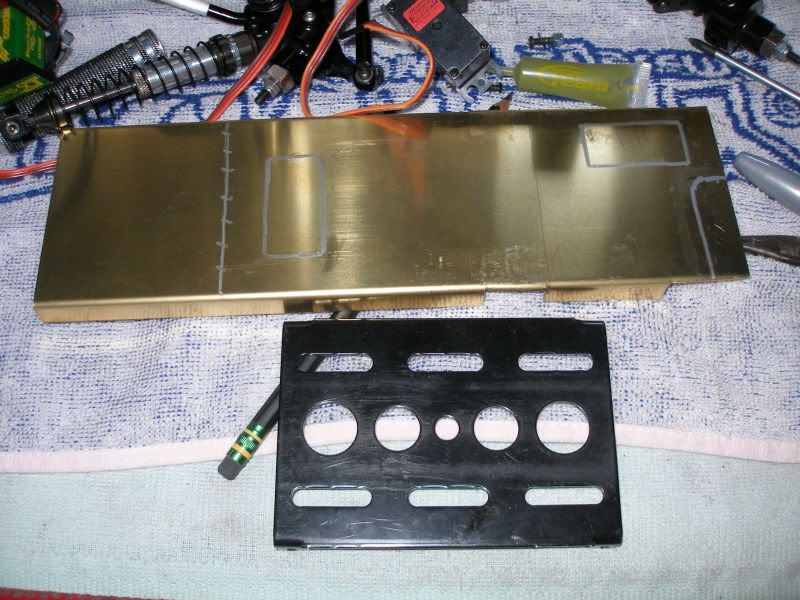
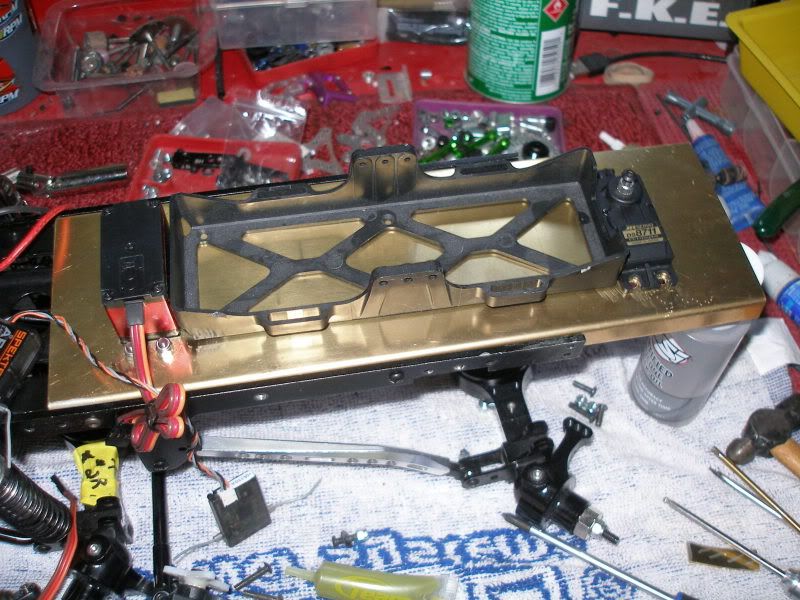
I tried the new sheet metal break from Habor Freight and Tool and the thing works excellent, several vise grips are needed to hold the material steady in the tool but other than that well worth the price paid !
I made 2 electronics trays today and once the lenth is determined I will cut off the excess. Some make think I'm crazy but I decided to use Brass rather than aluminum and I'll explain why. Once the aluminum is bent 90* it cantr be bent back with breaking at the bend. Also I can solder braces, brackets, cab mounts etc etc right to these plates. The brass is a tick heavier than the aluminum but way lighter than the factory steel plates.


This entire sheet of brass is several grams lighter than this steel plate at 1/3 it's size.


#8
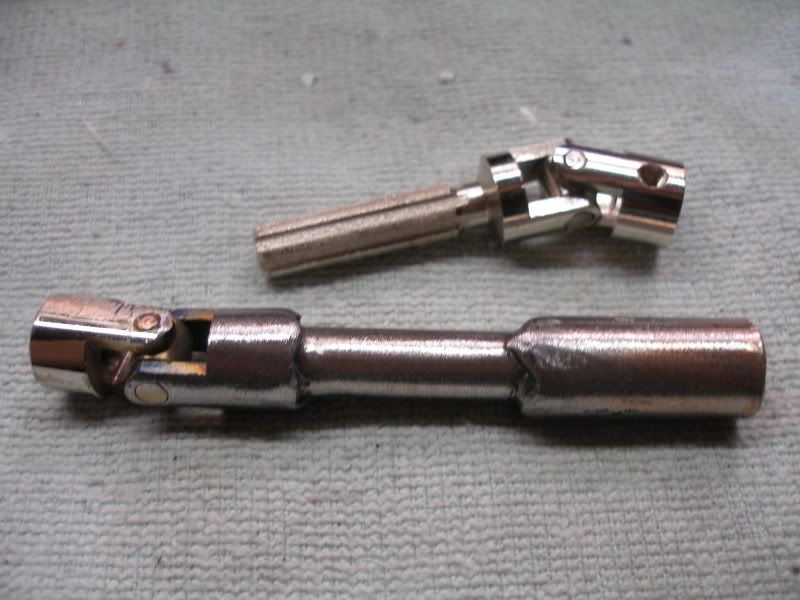
I had to extend the drive shaft between the #1-#2 axle, I used a 1-1/4" piece of solid Stainless Steel rod.
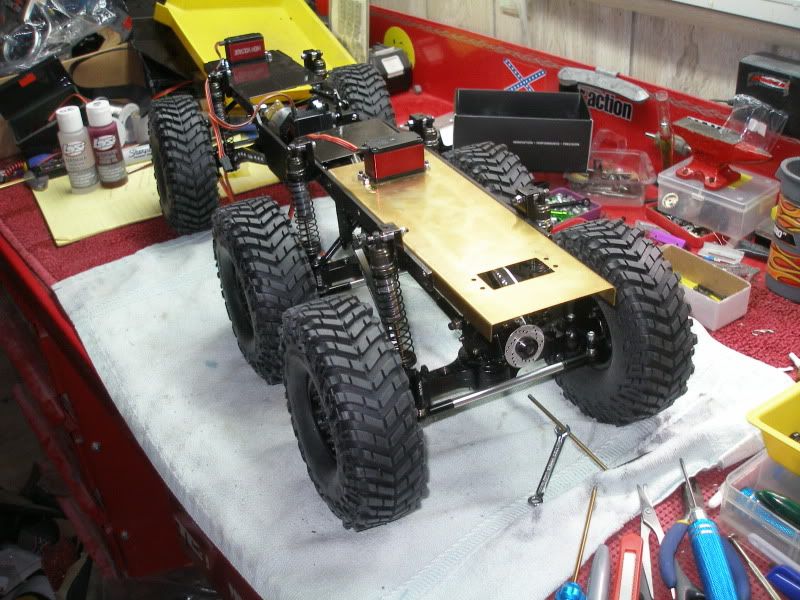
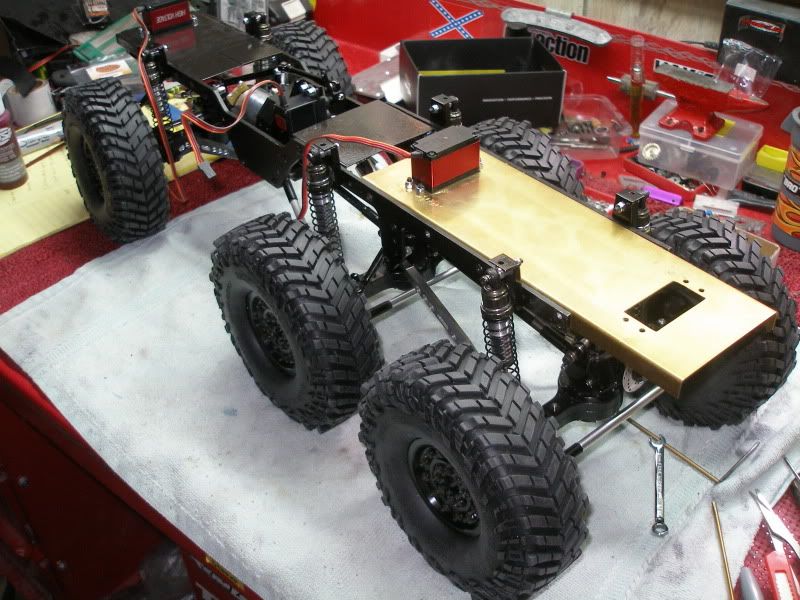
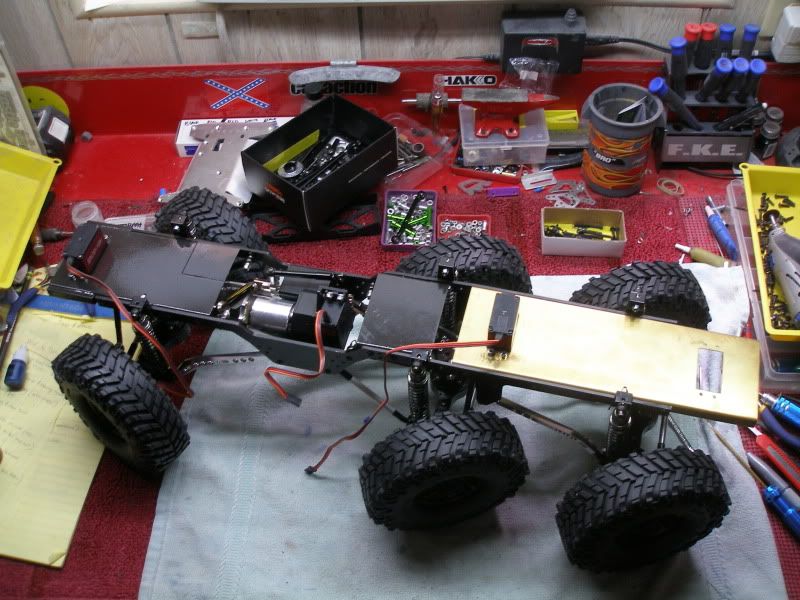
The springs on these shocks are really feking stiff, In this flex shot the spring will not fully compress. Maybe once the installed body, bed, battery and the rest of the electronics they'll be fine ?
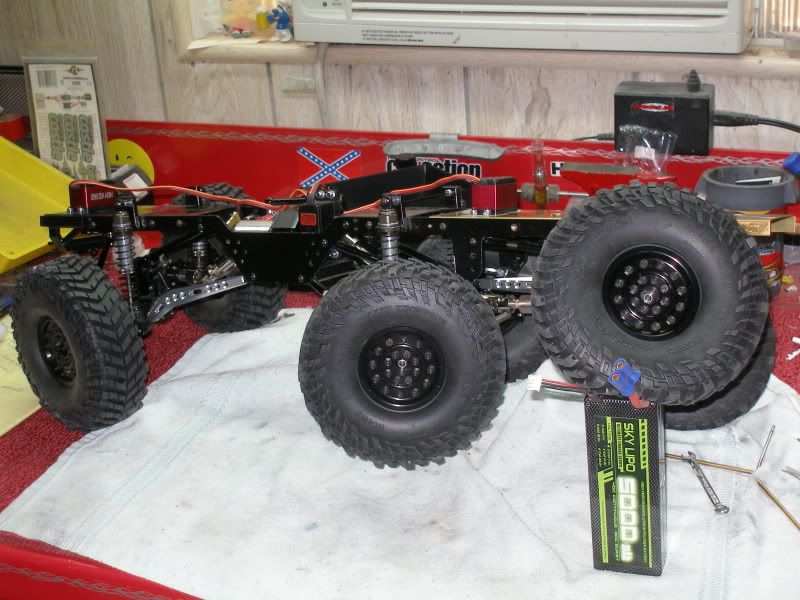


The springs on these shocks are really feking stiff, In this flex shot the spring will not fully compress. Maybe once the installed body, bed, battery and the rest of the electronics they'll be fine ?

#9
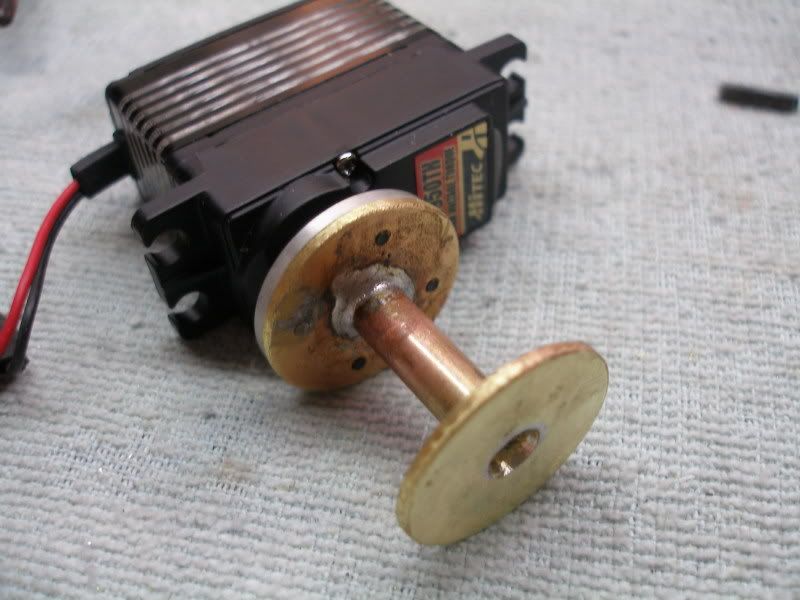
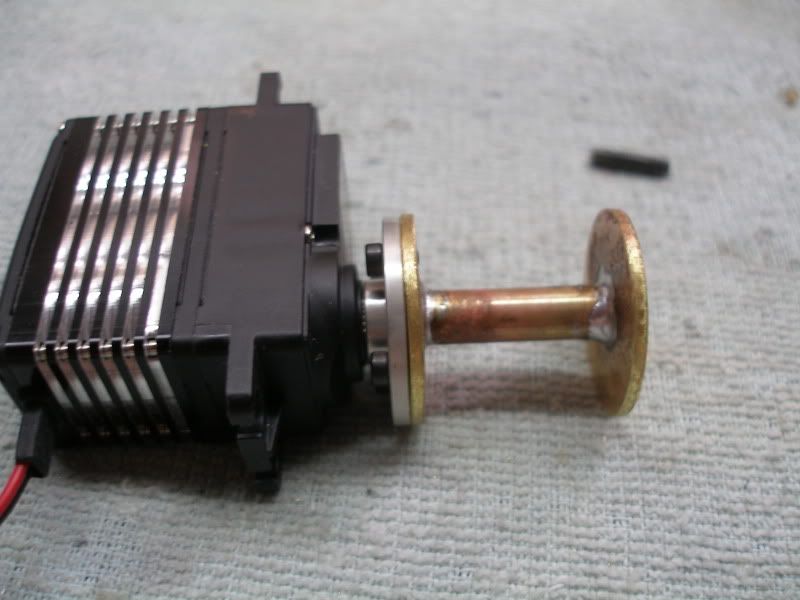
The scale winch I bought is really cool but under powered for such a huge machine so I got brave with a brand new Hitec HS7950TH servo and used the scale winch controller to make a bad assed winch with. The servo has 402oz @ 6v so I'm confident it can hack the pig I'm building ?
Now to hit the craft store and score a "bobbin" for a winch reel.
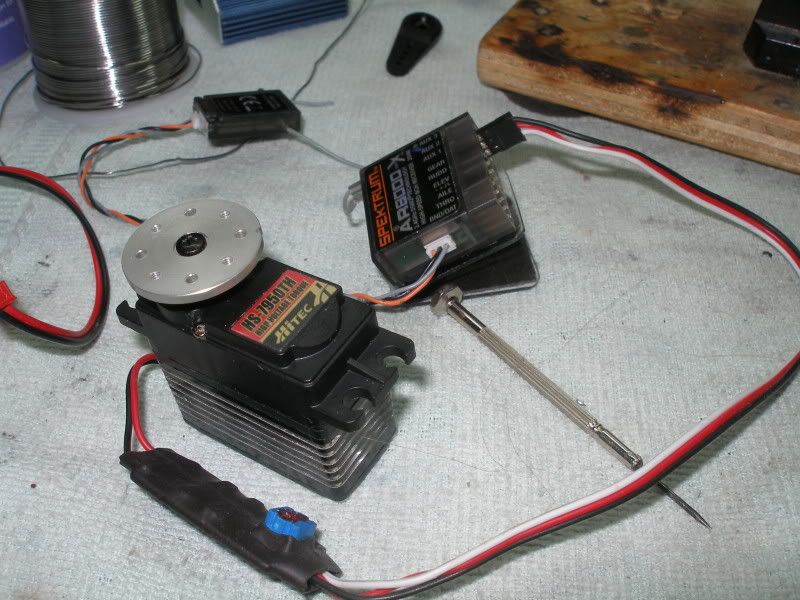
Now to hit the craft store and score a "bobbin" for a winch reel.

#10
I sat down to the bench with a fresh case of Michelobe Ultra in the fridge and got to work today, I made a spool for my winch thats pretty close to scale for this truck. I'm also going to make a utility box for the servo to reside in to keep it hiddem that will mount on the bed in the same location much as a Slideback tow truck but I'm going to build a boom yet.
Now that this is done for now I'm going to install the electronics to see if I can make this beast come alive today for some tests ?? I still have plenty of time and beer left for the afternoon.
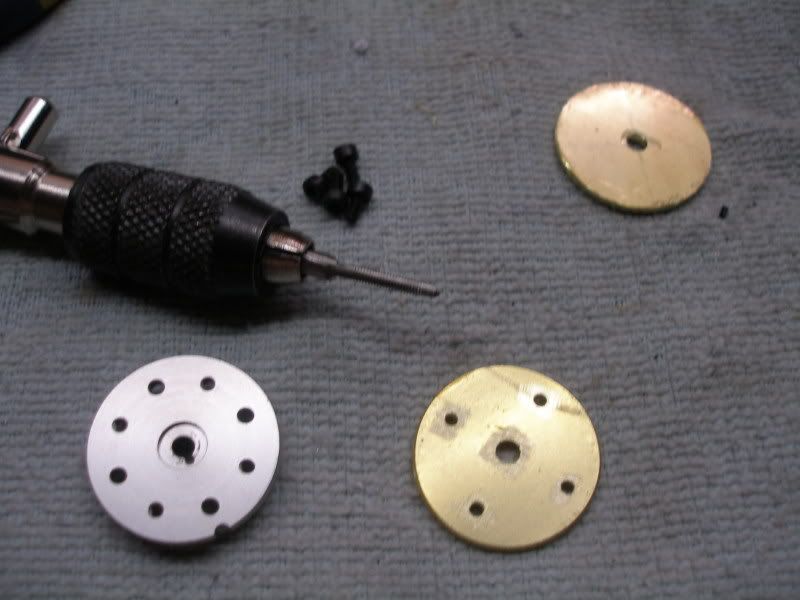
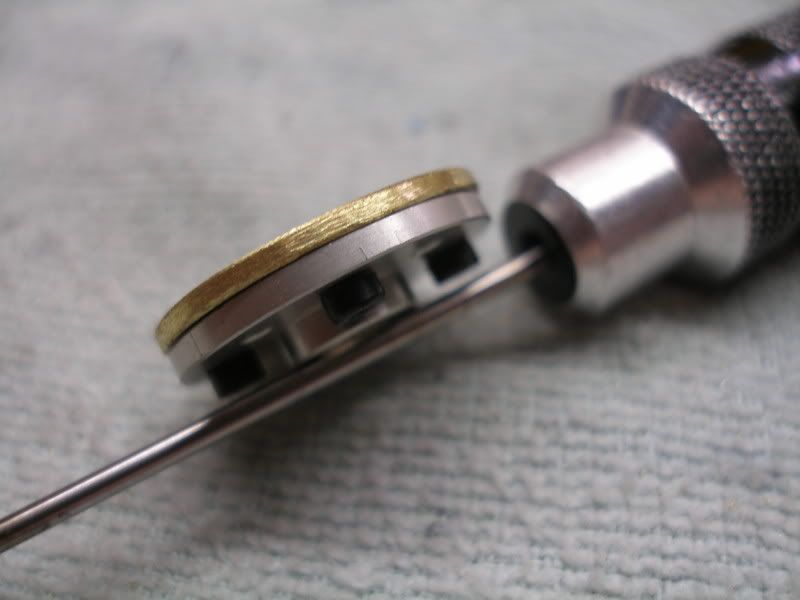
You Tube video, and yes it has variable speed
http://www.youtube.com/watch?v=mgP-5...1&feature=plcp
.
Now that this is done for now I'm going to install the electronics to see if I can make this beast come alive today for some tests ?? I still have plenty of time and beer left for the afternoon.


You Tube video, and yes it has variable speed

http://www.youtube.com/watch?v=mgP-5...1&feature=plcp
.
#11
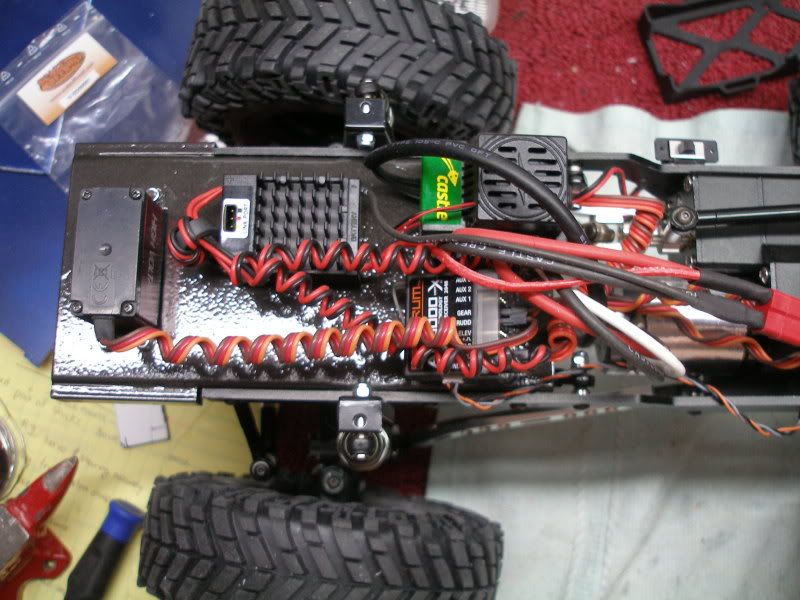
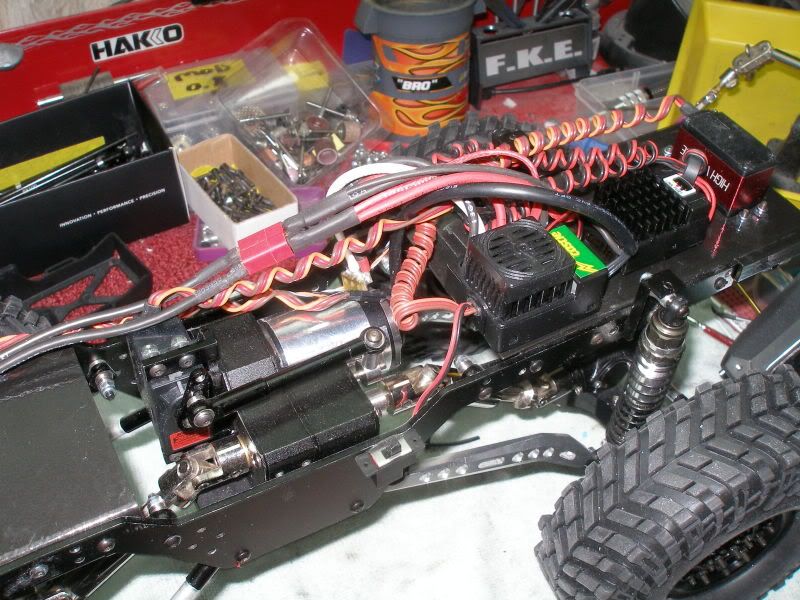
I have it thrown together so I can center and align everything, Once the body is installed everything on the chassis will be stuffed inside.
The motor has the perfect speeds in Low & High just hope it can hack the weight, she tips the scales at 10.7lbs as is. A good run will gimme an idea whats up.
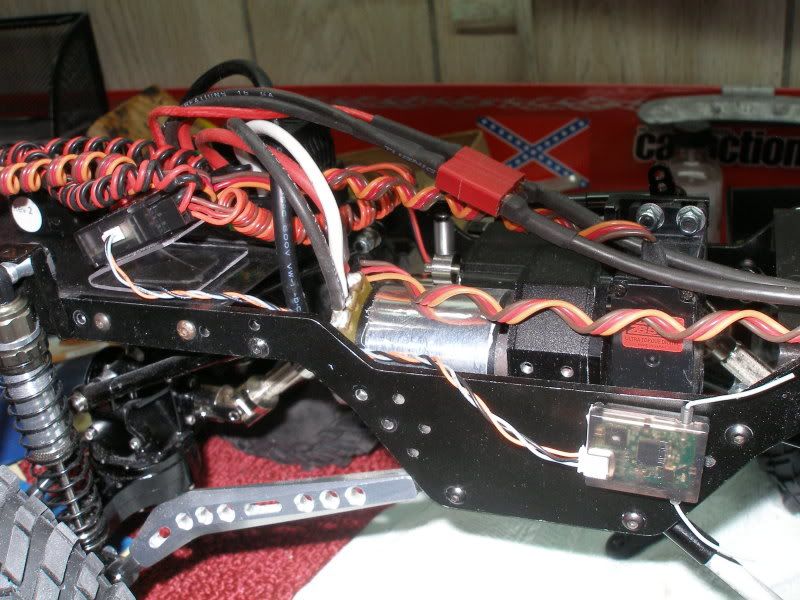
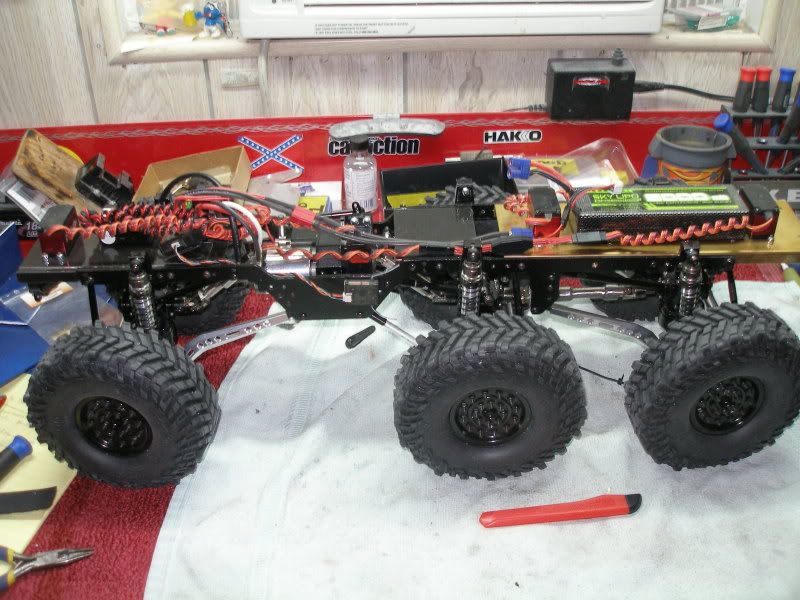
The motor has the perfect speeds in Low & High just hope it can hack the weight, she tips the scales at 10.7lbs as is. A good run will gimme an idea whats up.


#12
Took a while to get the steering perfectly centered x3, can still use some fine tuning but was anxious to run. I ran nearly a whole 5000mah 2s pack just hacking around and I'v def decided to step up the power and voltage. I ordered the Tekin 4 pole 1400kv 1/8 scale buggy motor and will prob run it on 3s for the power and efficentcy. If a tire or two gets kinda wedged theres no way 2s is gonna get this pig out of trouble especially if trying to help other's out of a jam.
Steering worked typical for the lenth of the thing but that 3rd axle really brought the thing to life, has fantastically small truning radius.
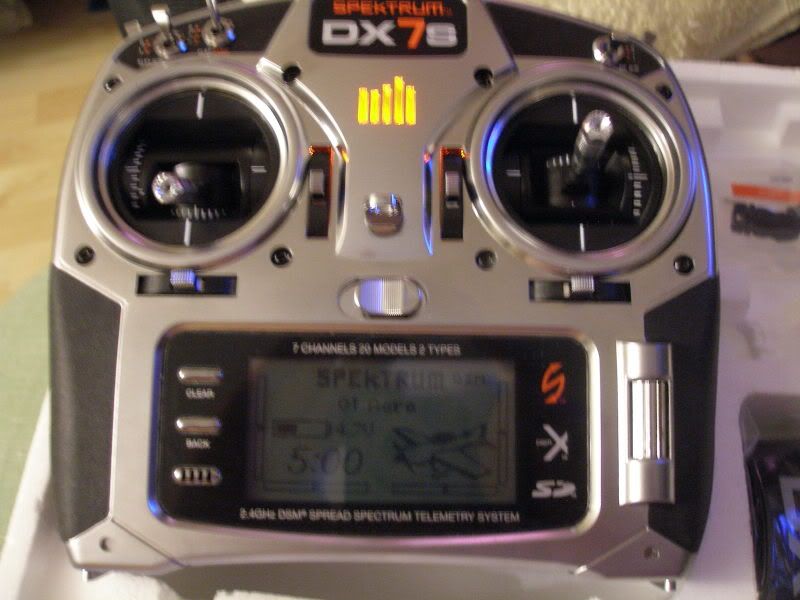
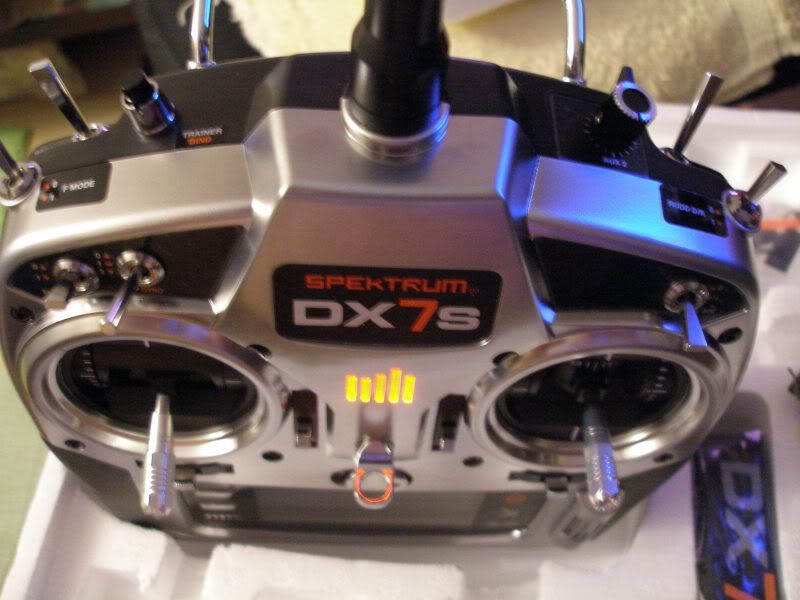
Very breif video, sorry for shaky and spotty focus. Was trying to hold the DX7 TX and the camera while driving.
The Beast Mann/Hybrid 6X6 Steering Test - YouTube
.
#13
I managed to disassemble the Mann body today, wasn't that hard since the joker that put it together did a piss poor job. The Hot knife greatly simplified the job, best 10.00 I spent in a a loooong time.
I've already removed a lot of material from the floor pan so it pretty much can be resting on the chassis plate to get the COG low as possible.
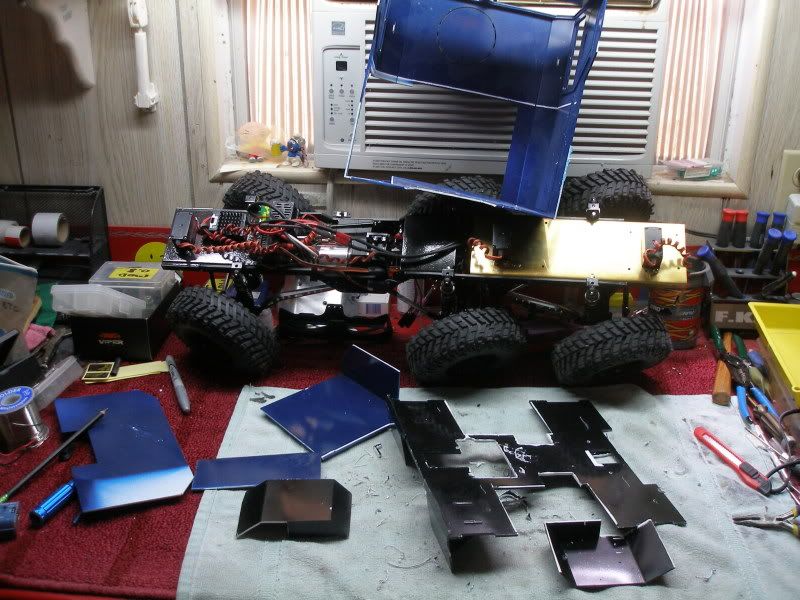
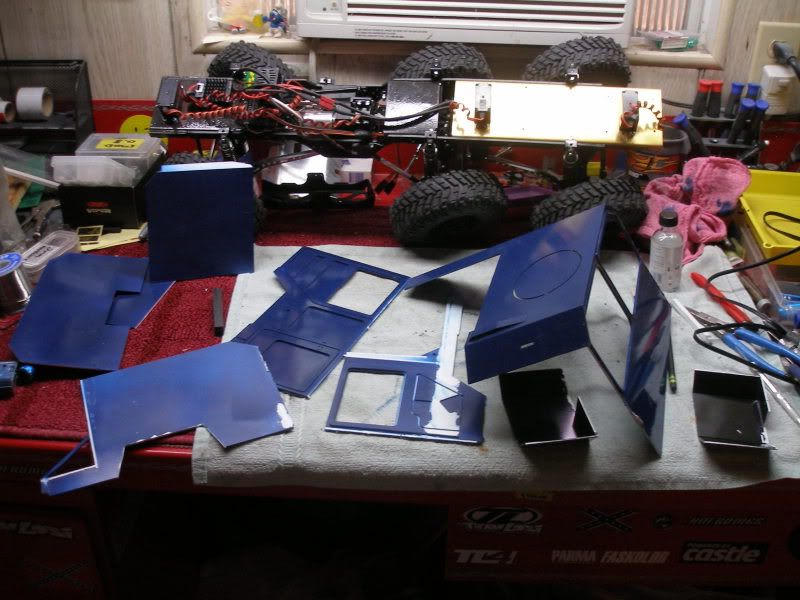
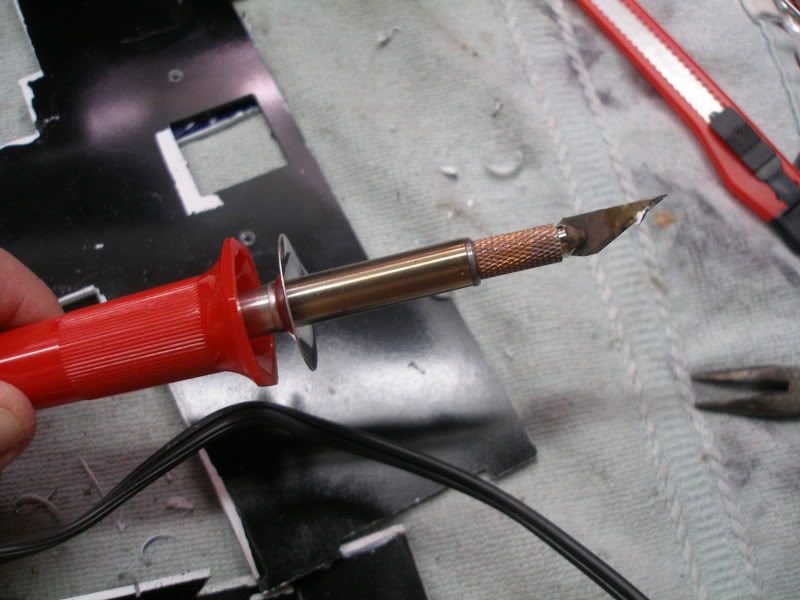
I've already removed a lot of material from the floor pan so it pretty much can be resting on the chassis plate to get the COG low as possible.


#14
I've ben tinkering with the floor pan and pretty much rebuilt the entire thing. I added a 7"x3.5"x3/16" sheet of Kydex and extended the fenders wells where needed, it's solid as a rock now.
Working with the plastic is entirely new to me and I must say I enjoy it very much, On a whim I made the needed door hinges and found the plastic is really nice to work with even making small pieces.
I'm reassembling the cab so it sit's roughly 15mm lower onto the cab floor to help lower COG.


Working with the plastic is entirely new to me and I must say I enjoy it very much, On a whim I made the needed door hinges and found the plastic is really nice to work with even making small pieces.
I'm reassembling the cab so it sit's roughly 15mm lower onto the cab floor to help lower COG.


#15
This was Memorial Weekend
Many many Beers have have ben sacrificed for the greater good of the RC Gods this weekend and a glorious thing it has ben, They all gave their little aluminum lives bravely for the sake of scale building. They will not be forgotten even tho they passed quickly into the porcelain throne and beyond.
Urp !
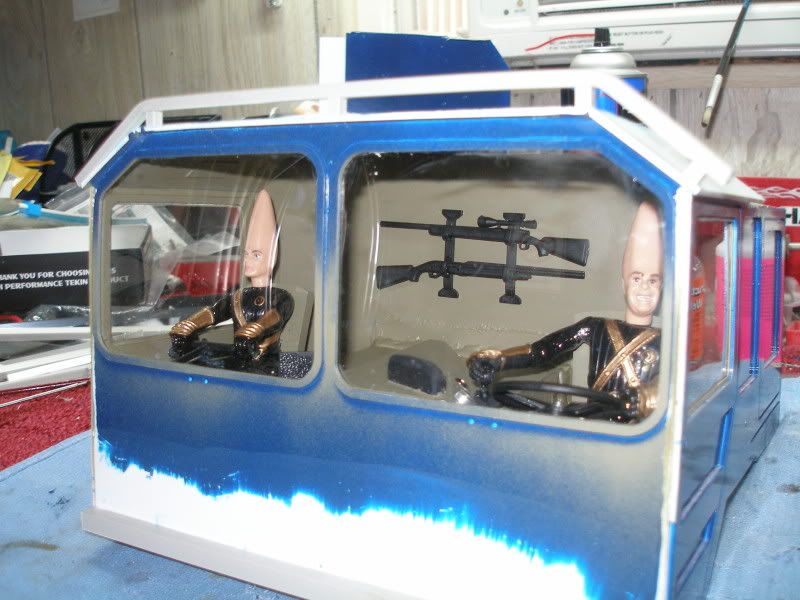
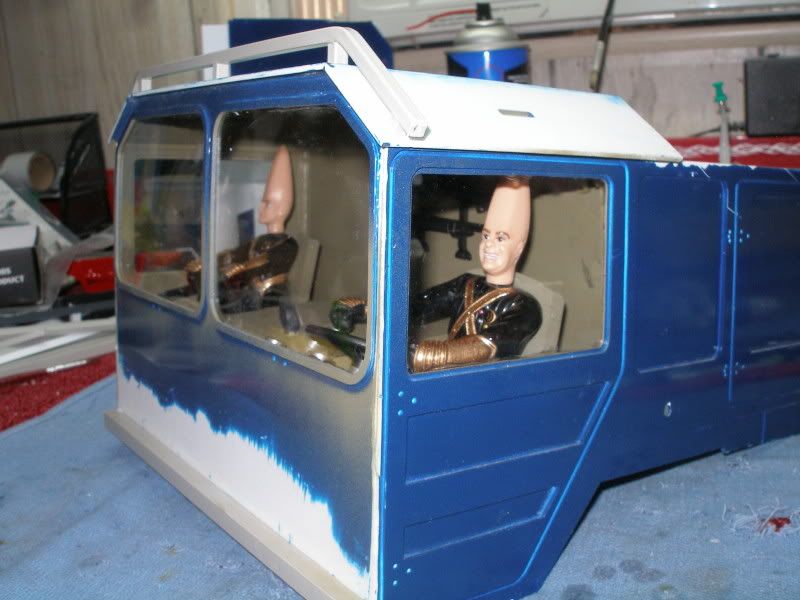
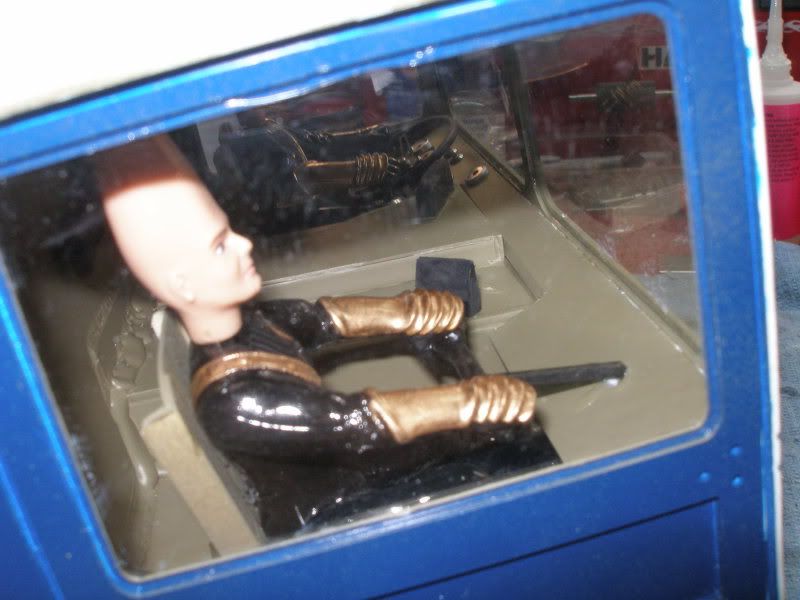
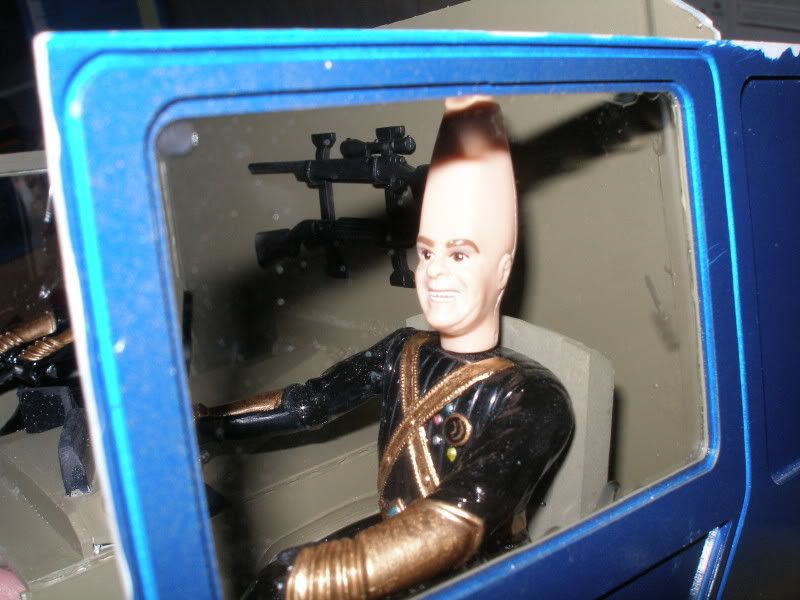
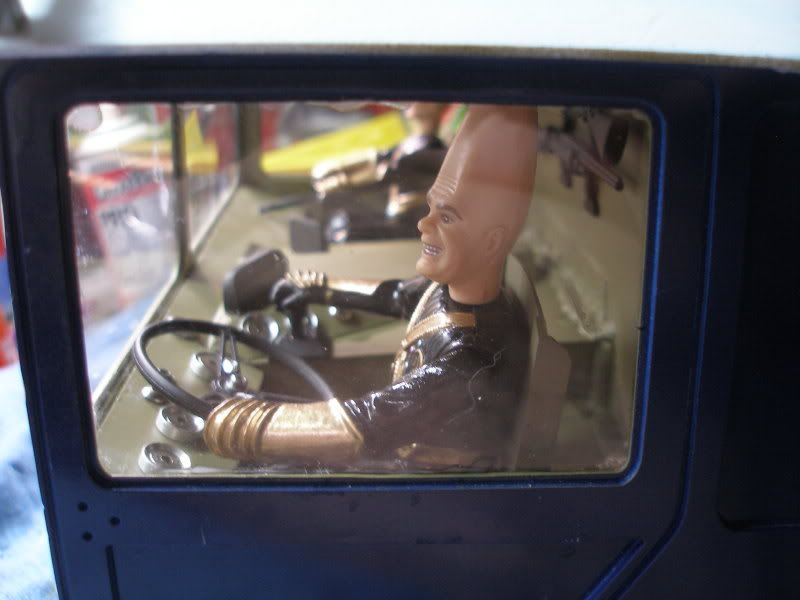
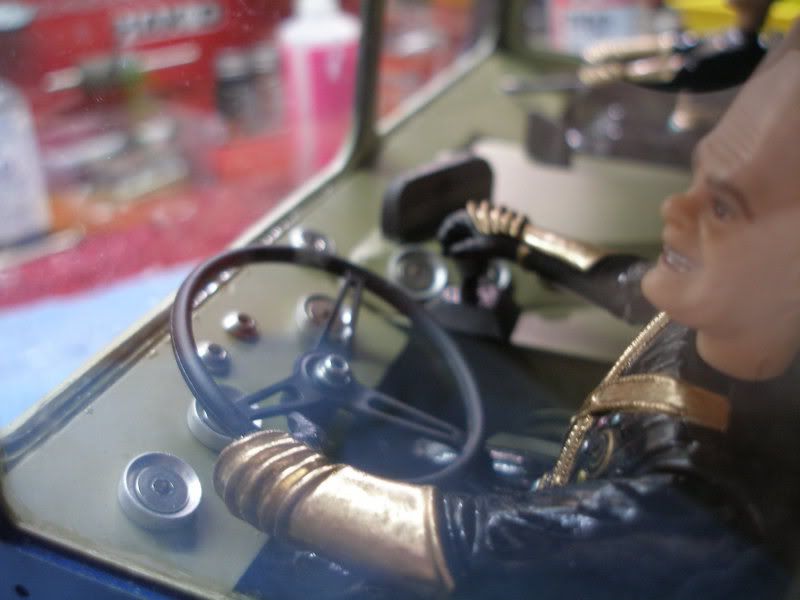
The drivers compartment is now 100% complete and sealed to not allow dust or water to enter. After building my Wraith and spending many hours on the interior and completely trashing it the first run out I hoping with some extra work this interior will always be clean ? To bad I forgot to clean the windows befor I glued the front panel on, finger print smudges all over. DOH.
I still have a loooong road ahead to complete the back half of the cab, I need to build a side wall, back panel and roof and make it all hinge for easy excess of electronics and battery swaps.
All the windows were scratch made and glued in with CA with a fine tipped screw driver, this took hours and chipped away at my patience but the result was what I wanted. I could have spent several more hours going crazy making gauges, instrument clusters etc etc but wanted to keep it somewhat simple. I only wished I had a couple futuristic weapons to put in the rifle rack rather than blunt skull primitive weapons.
The action figures Beldar and Primat are from the late 80's and did not articulate at all except at the shoulders and hips. I got creative with the hot knife and thick CA and the results are satisfactory. I even gave them a fresh coat of paint because they were pretty faded.
The beginning of the exterior roll cage can be seen in a couple of the pictures, I found the plastic bends nicely with a little heat of the micro torch.
The interior color will be the same for the exterior, It's a tan with a slight green tint I found by Testors at the LHS. I have another color slightly more green I will make splotches on and around the exterior for the camo pattern. The roll cage and window trim will all be painted with flat black so it should have nice contrast. Still undecided on a zebra pattern ?
On to the pics, enjoy.
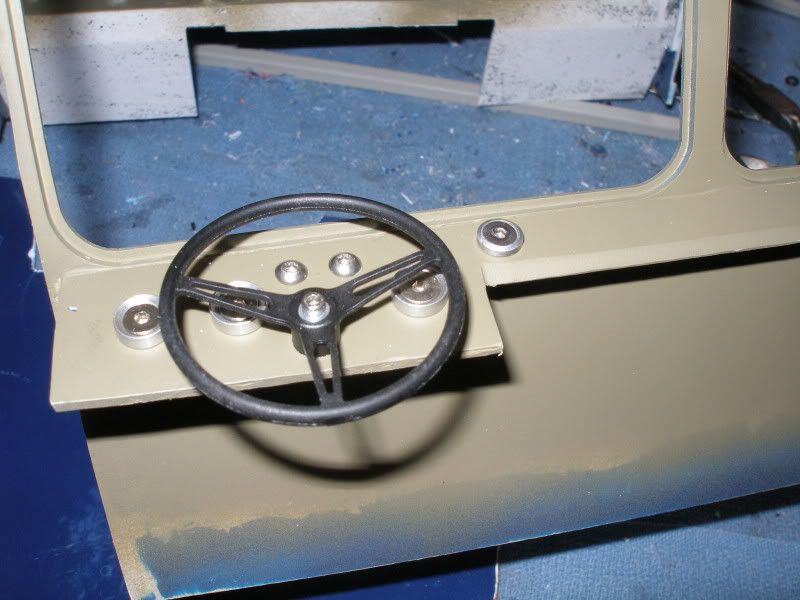
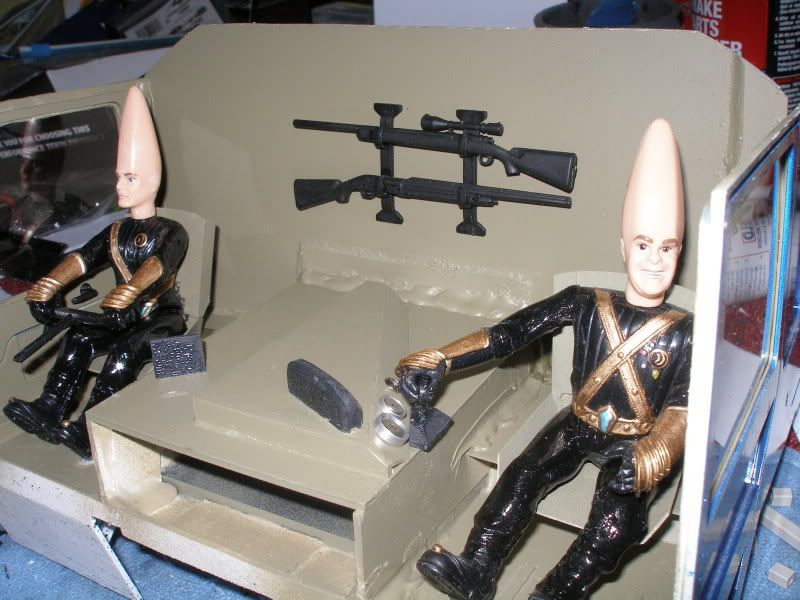
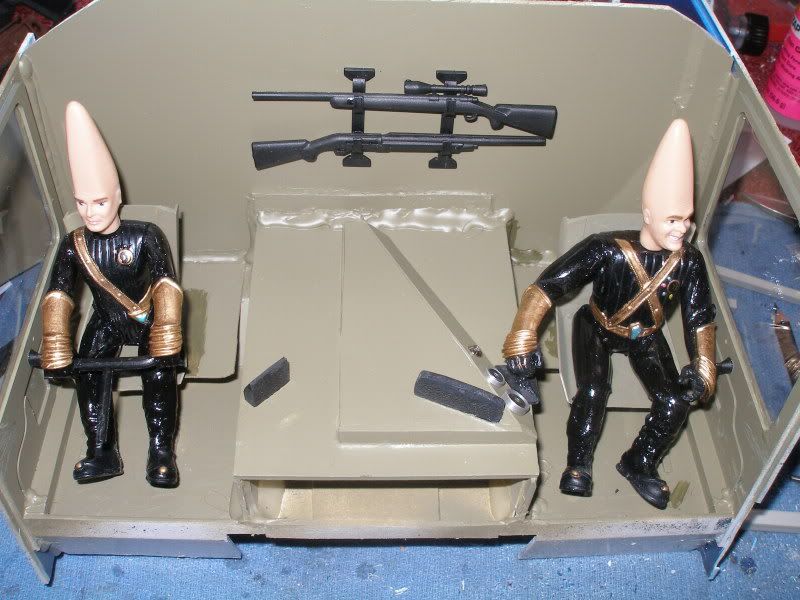


 [/
[/