


 454Likes
Your Custom Paintjobs
 12-28-2012, 02:29 AM
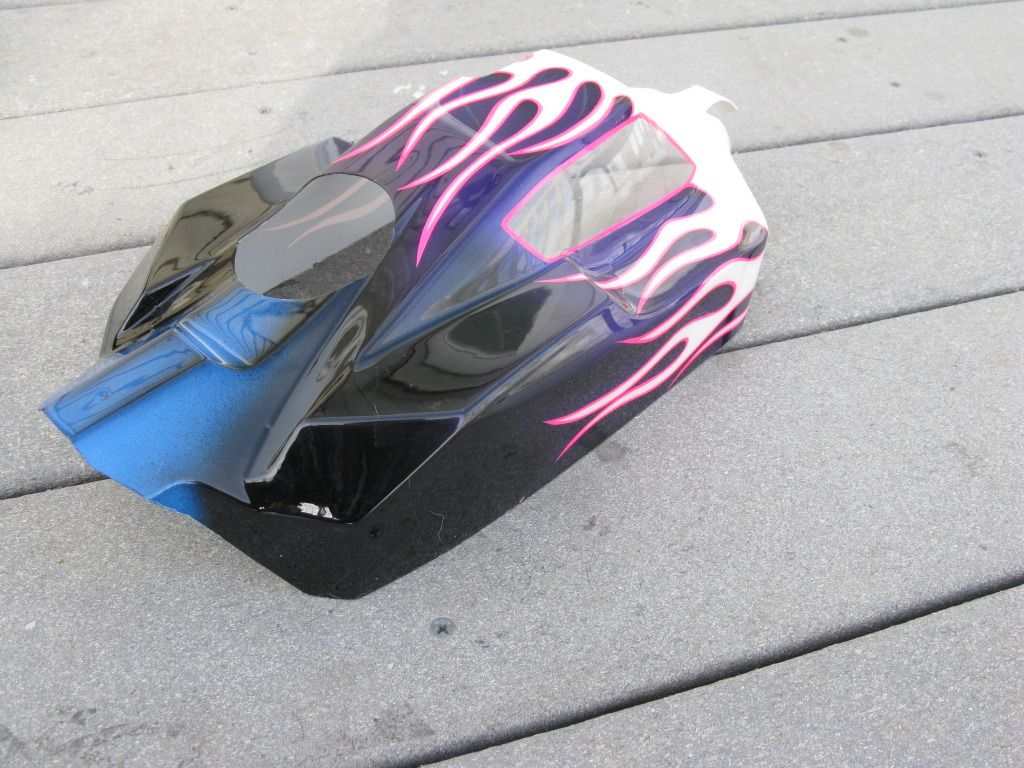
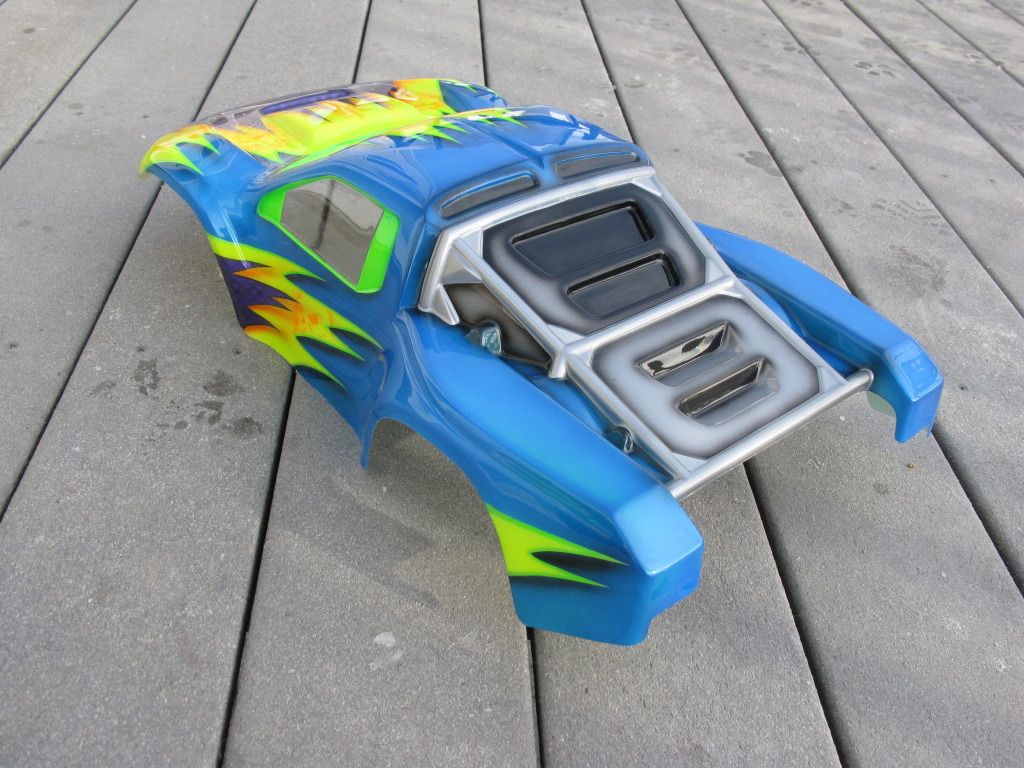
Great shell mate lots of activity in that paint scheme well done..
 12-28-2012, 05:29 AM
That looks great. Let us know how it holds up. What did you do to prep the body and what did you back with?
12-28-2012, 07:34 AM
Tech Addict
iTrader: (19)
Thanks guys!
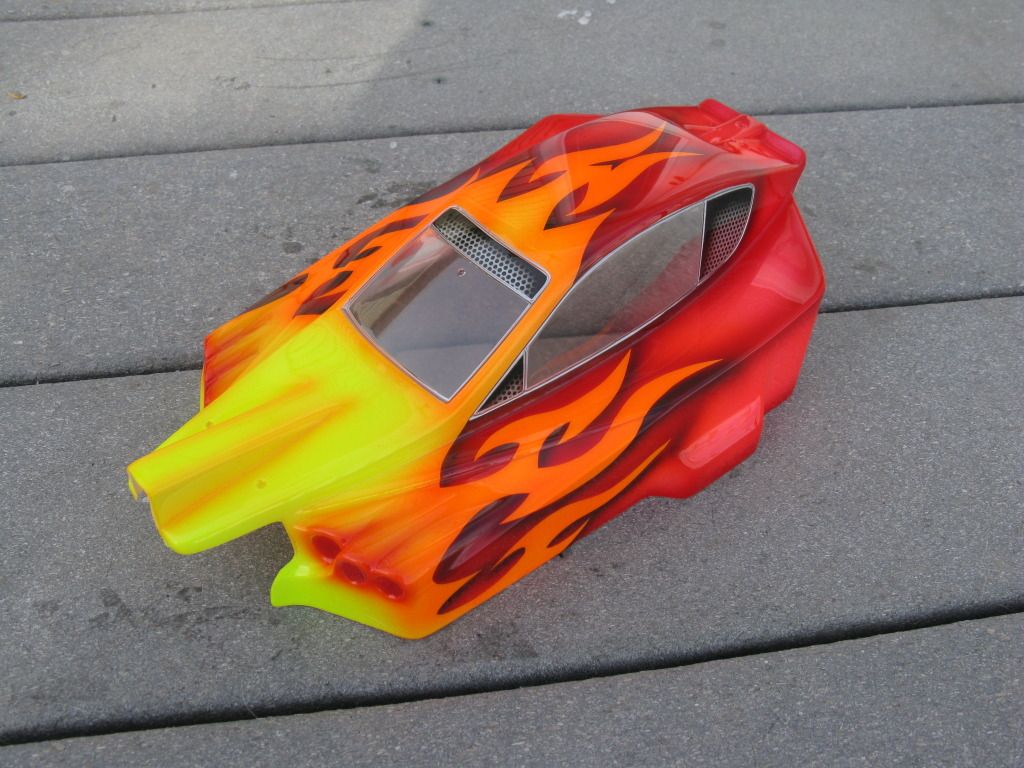
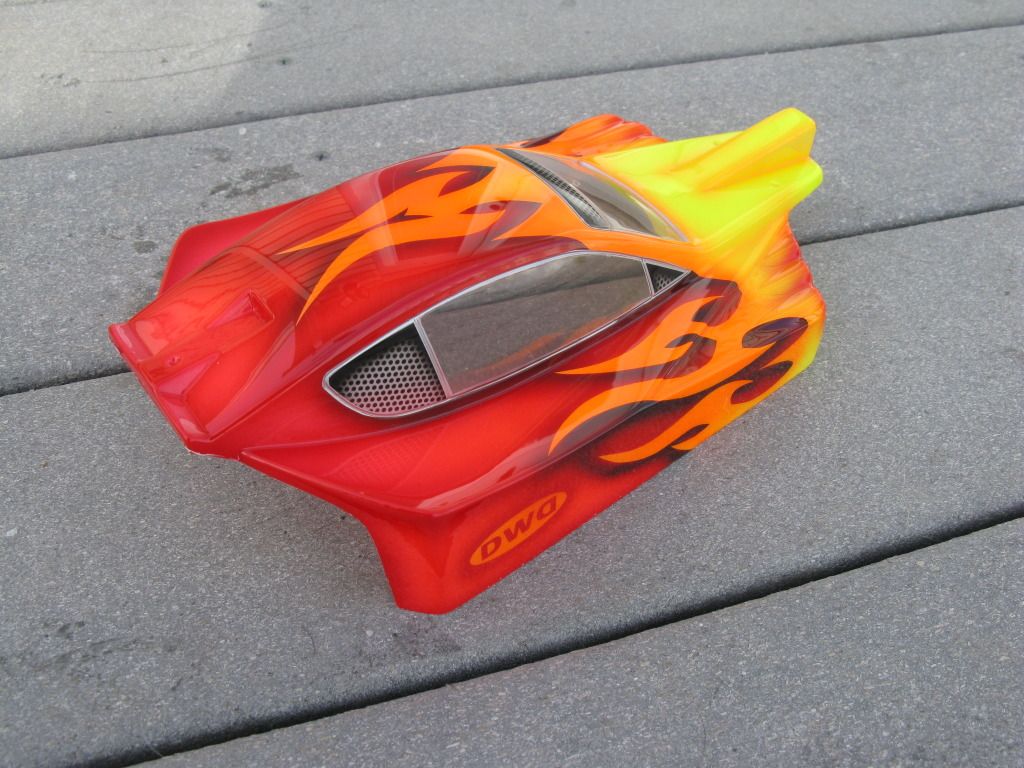
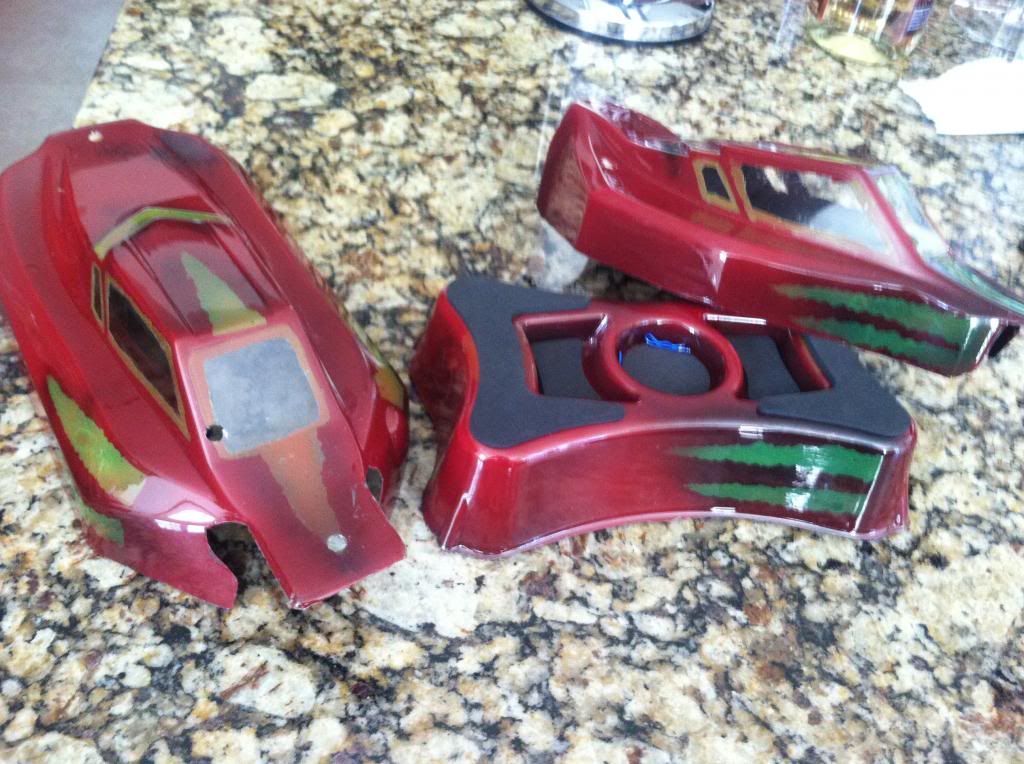
To prep, I just cleaned it up with powerful all purpose cleaner, such as simple green, awesome, purple power, etc. It gets all and any grease and junk off the inside of the body. I then drew what ideas I had on the top of the body with dry erase markers. When I had it looking how I wanted it, I just went into the inside with the oil based sharpies. Make use you use the fine tip (1.1 mm). otherwise it's impossible.
To prep, I just cleaned it up with powerful all purpose cleaner, such as simple green, awesome, purple power, etc. It gets all and any grease and junk off the inside of the body. I then drew what ideas I had on the top of the body with dry erase markers. When I had it looking how I wanted it, I just went into the inside with the oil based sharpies. Make use you use the fine tip (1.1 mm). otherwise it's impossible.
12-29-2012, 10:02 AM
The latest from my cold garage, all for local racers.


12-29-2012, 10:16 AM

Awesome stuff there! Love the window vents on the xxx-4 there at the top.
12-29-2012, 11:25 AM
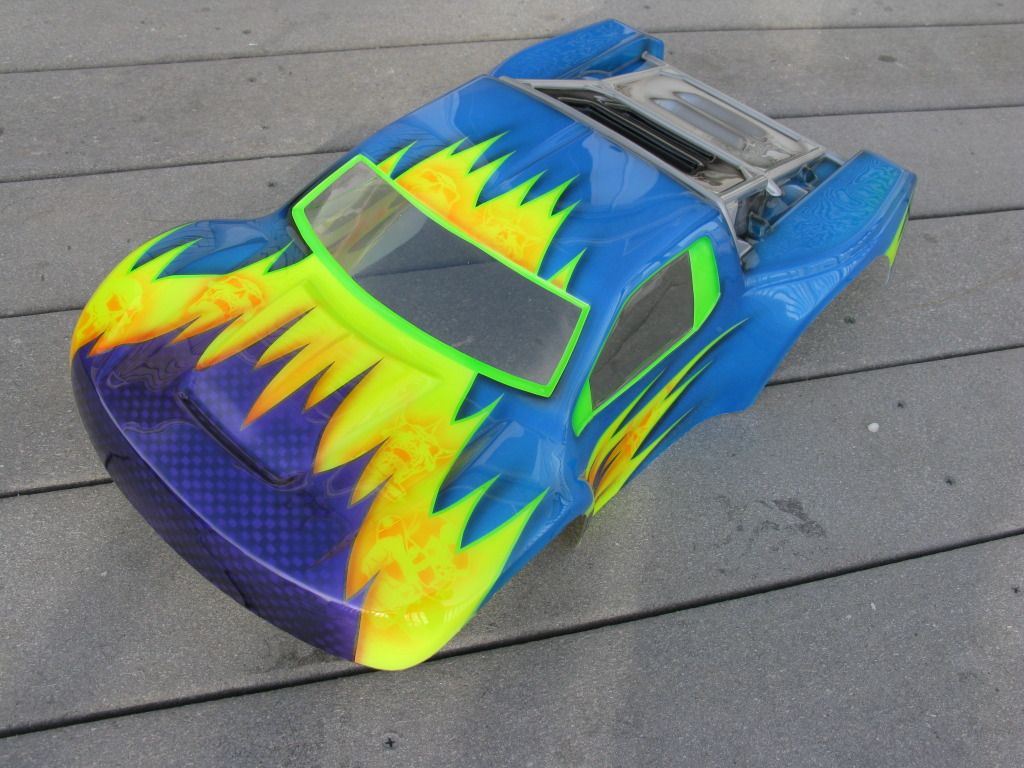
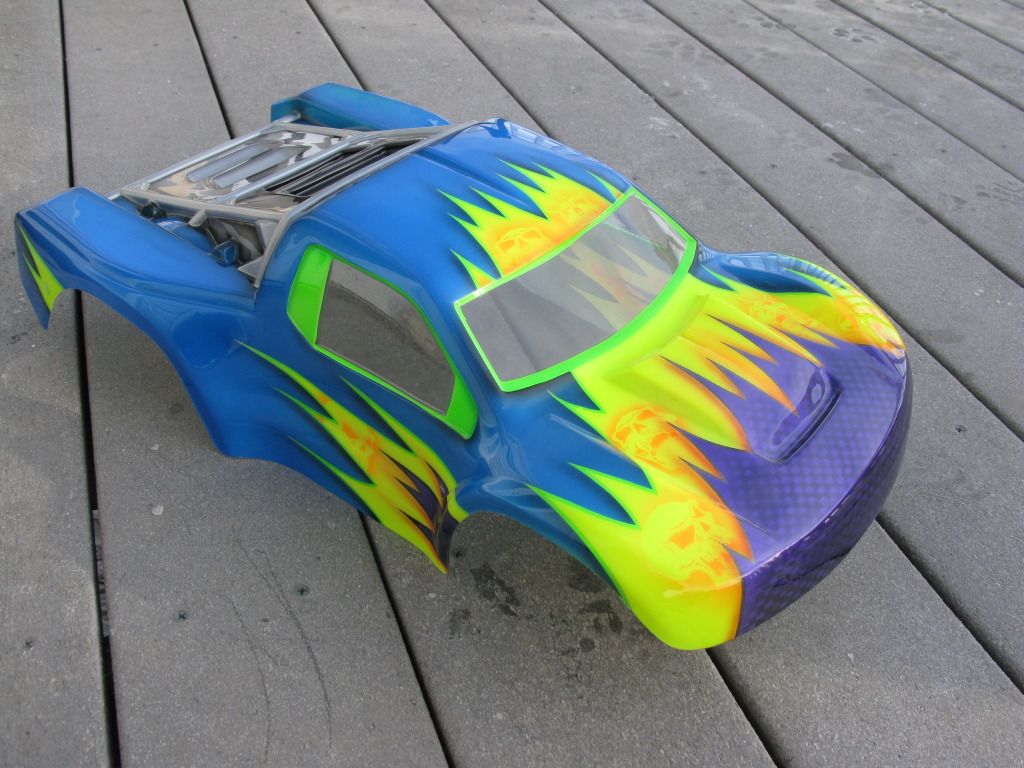
Here is fresh paint on my Schumacher Cougar SVR.


12-29-2012, 04:58 PM
Some fresh paint!
12-29-2012, 06:32 PM
12-30-2012, 05:20 AM
Tech Adept
Whoa! There are some awesome paintings in this thread.
I did new racing body shell for me and while I was at it I recorded the whole process. I use spray cans so no fancy-gradiant-carbon-epic-outofthisworld-stuff from me, but solid simple graphics.
Here's the result. New body on right and old one on the left.

See the video on Youtube: Tutorial: How to spray paint RC body shell with Liquid Mask
I did new racing body shell for me and while I was at it I recorded the whole process. I use spray cans so no fancy-gradiant-carbon-epic-outofthisworld-stuff from me, but solid simple graphics.
Here's the result. New body on right and old one on the left.
See the video on Youtube: Tutorial: How to spray paint RC body shell with Liquid Mask
12-30-2012, 06:51 AM
Suspended
iTrader: (2)
My first airbrush project:
12-30-2012, 07:52 AM
So great!!!
12-30-2012, 08:31 AM
Here's a HPI 70 Challenger body that I did for my VTA car. There's more pics in the VTA paint section if you want to see them. Straightforward paint except that I used two light coats of the metallic purple which makes it translucent. Then, I backed that with neon purple, then white, then black. Really pops like the original "Plum Crazy" color that Dodge used on the original cars. All Faskolor paint. Numbers are two layers hand cut vinyl.

12-30-2012, 09:53 AM
My buddy did the painting I think turned out great. 


12-30-2012, 01:38 PM
Tech Regular
Here's a HPI 70 Challenger body that I did for my VTA car. There's more pics in the VTA paint section if you want to see them. Straightforward paint except that I used two light coats of the metallic purple which makes it translucent. Then, I backed that with neon purple, then white, then black. Really pops like the original "Plum Crazy" color that Dodge used on the original cars. All Faskolor paint. Numbers are two layers hand cut vinyl.

I'm looking for a spray paint to be as close to the color you achieved as possible (unfortunately I can't afford an airbrush at the moment
 ).
).So far I used Pactra Metallic Blue but it's too bright and kind of flat compared to this. I know I can't expect the airbrush paint quality from a spray paint but I'm looking for the best one
I would really appreciate any kind of help.
12-30-2012, 04:20 PM
You can brush Faskolor paints. Opaques are no problem. The metallics probably won't apply as well, or you'd need multiple coats. I would think that Tamiya would have a nice purple. Check their website.
The biggest reminder I can give you is to make sure and wash the body with a little dish washing soap and clean water. Then dry it with a clean cotton towel and avoid getting finger oils on it after that until you paint it.
The biggest reminder I can give you is to make sure and wash the body with a little dish washing soap and clean water. Then dry it with a clean cotton towel and avoid getting finger oils on it after that until you paint it.