


 32Likes
First paintjobs need some tips
 01-05-2026 | 08:09 AM
#16
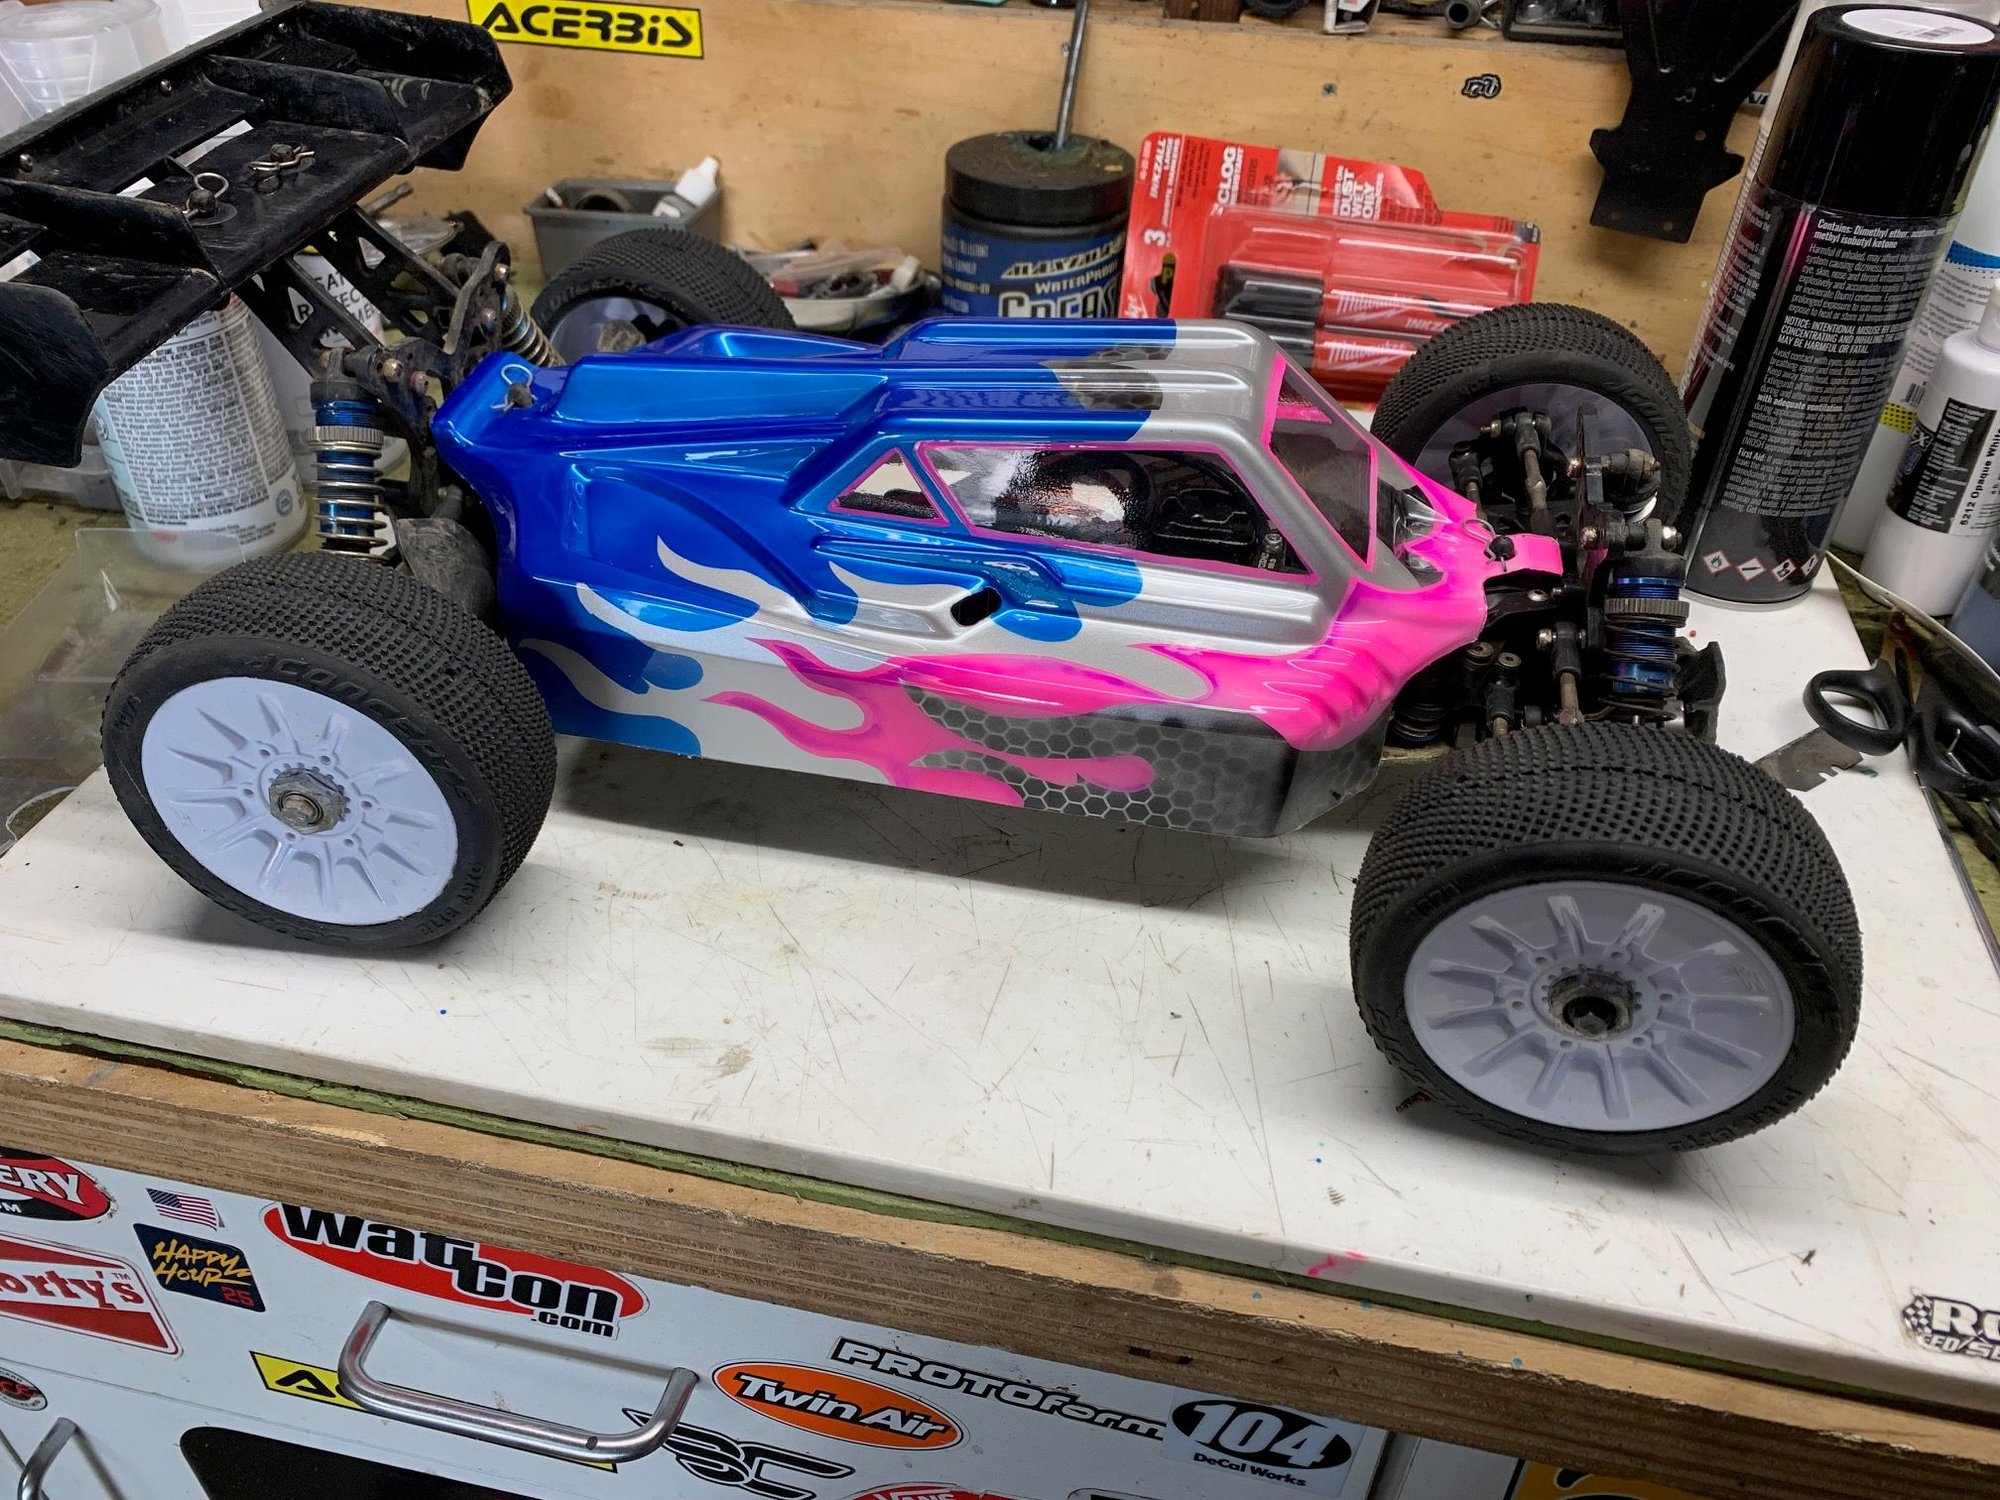
Has anyone used the createx adhesion promoter? Paintjobs aren't holding up as well as they should. Washing bodies with dish soap and warm water like usual and using a thin layer of e6000 to protect the paint in areas it rubs like I always do. The 1/8 bodies are pretty worn after one race and even my 1/10 bodies are starting to come off. The velcro ripped off with a huge chunk of paint on my 2wd. Still using rattle can bodies I did years ago and these look worse after a few weeks. Some I backed with Tamiya spray cans and some with traxxas paint as it's cheaper and comes in a big can..same result with both.
 01-19-2026 | 08:52 PM
#17
Tech Fanatic
iTrader: (14)
Joined: Sep 2011
Posts: 808
From: Puyallup WA
I use parma faskolor paint and I scuff the insides of my bodies with green scotchbrite to help adhesion then thoroughly wash then. After im done painting and it has dried thoroughly I just shoot a couple very light coats of a clear enamel like rustoleum. My racer bodies are still in excellent condition after lots of use.
02-02-2026 | 08:24 AM
#18
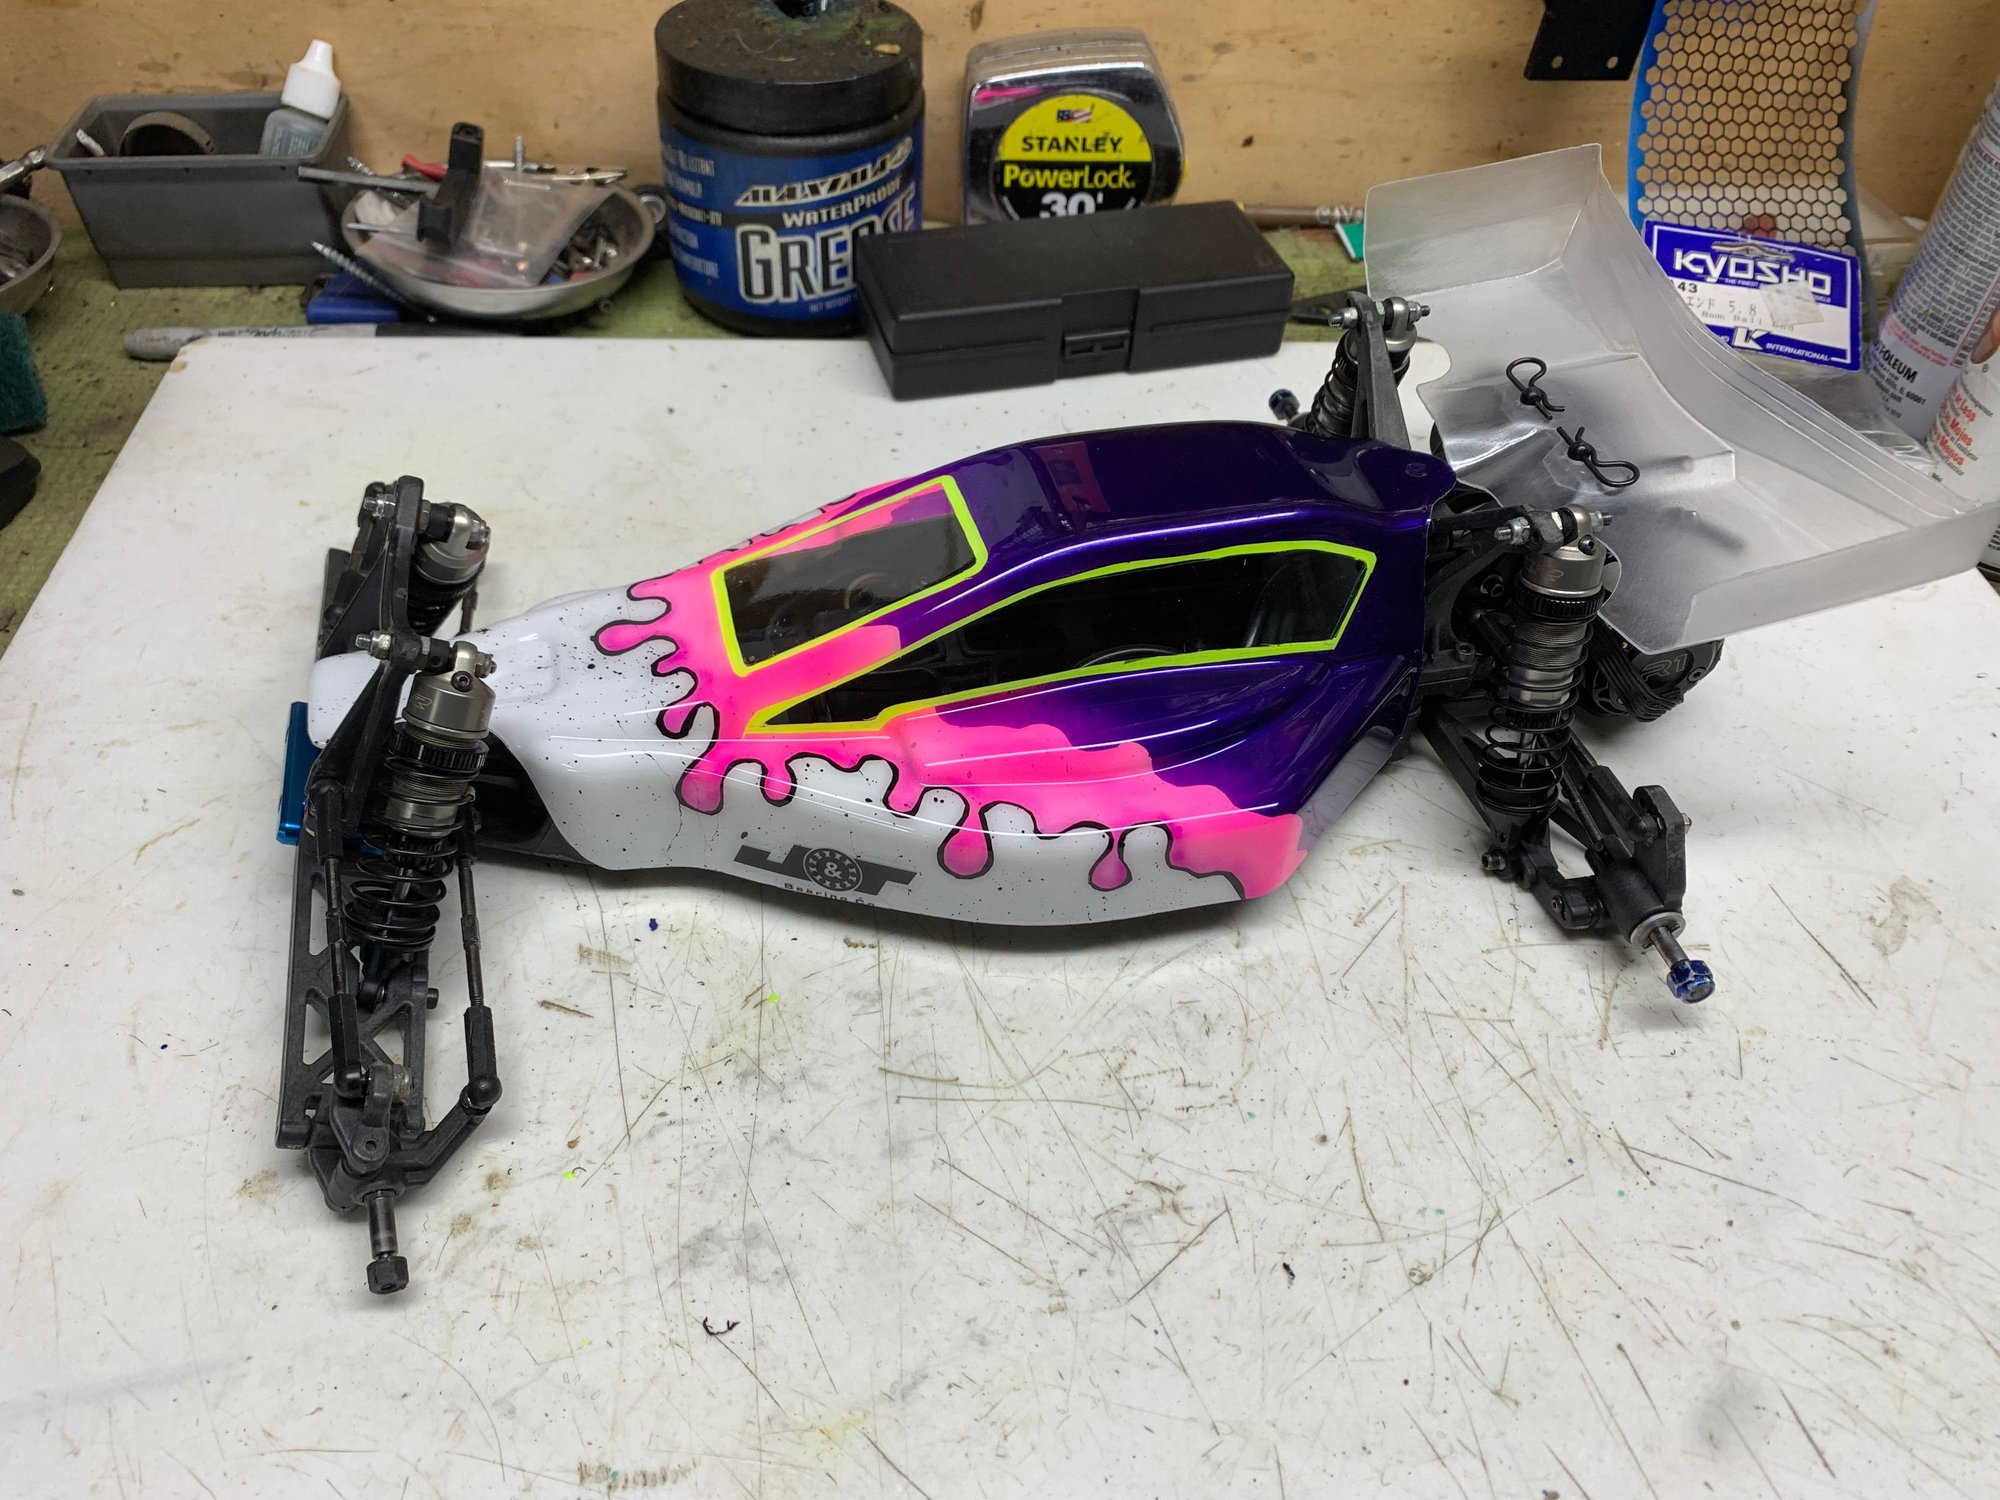
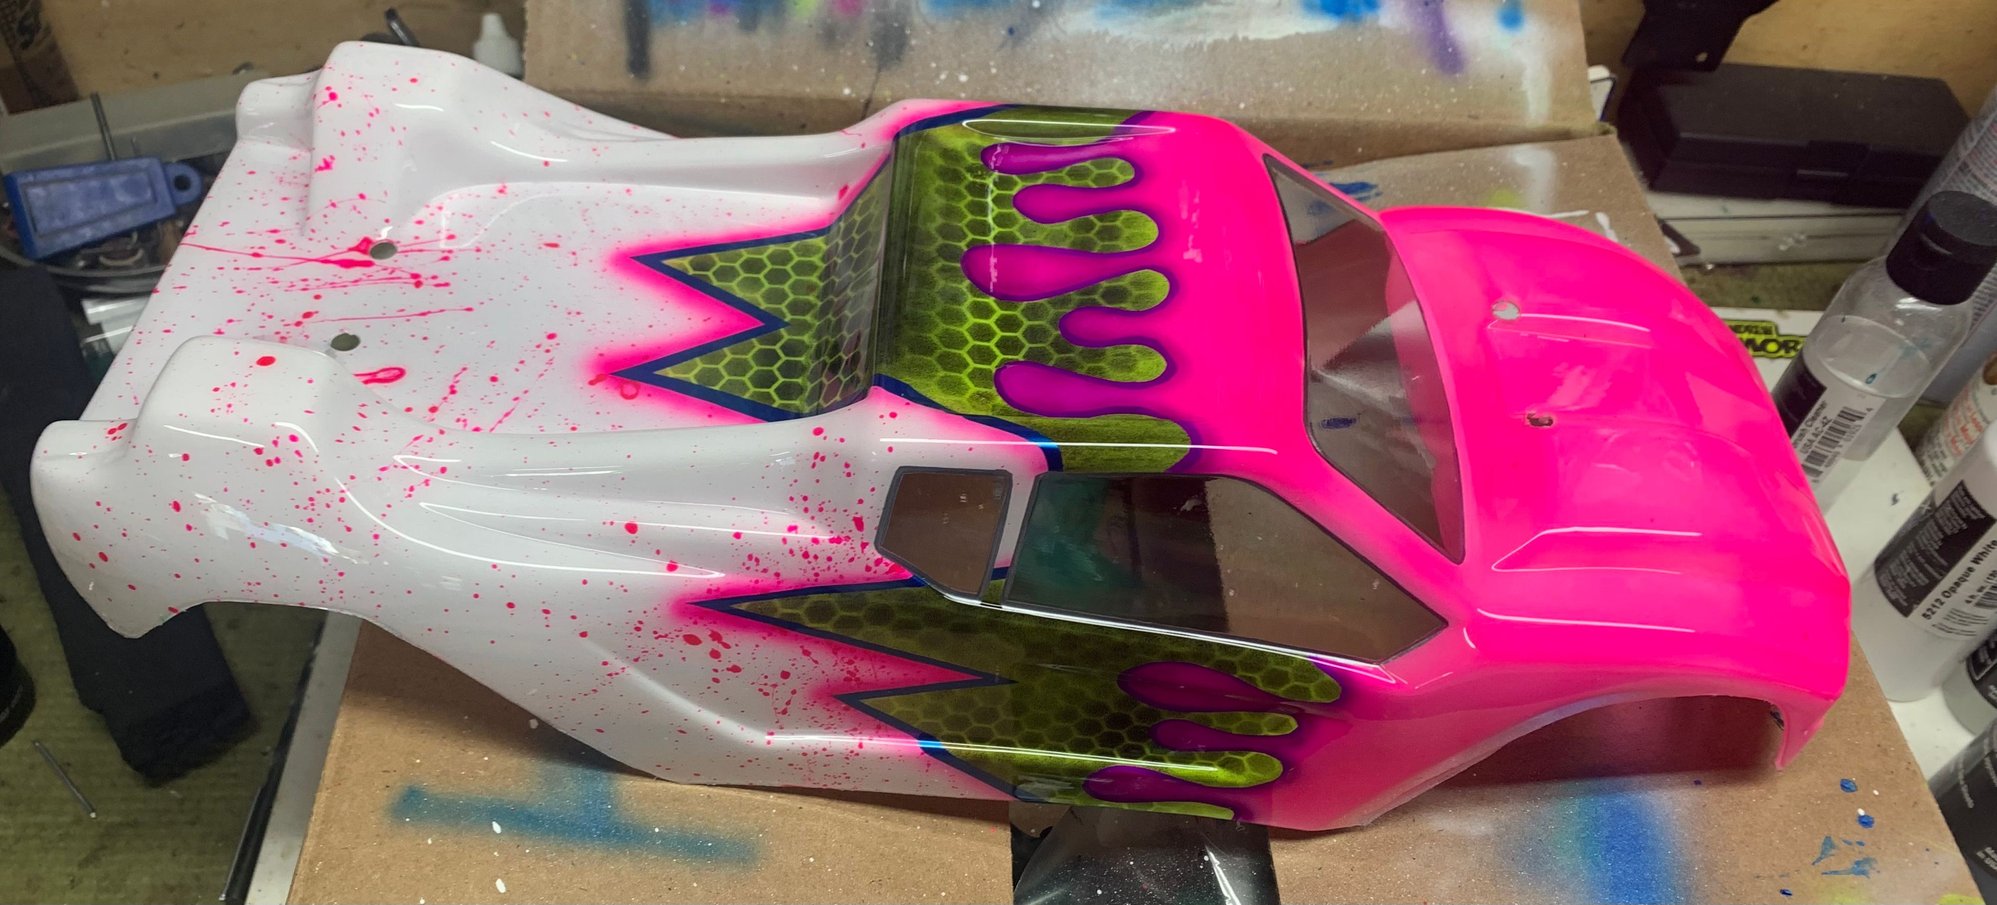
One I did for my friend. Messed up and didnt pull the border of the black when I sprayed the flo yellow so it ended up white. Shading is a little better but not my best job cutting/pulling the mask.

02-10-2026 | 12:59 PM
#19
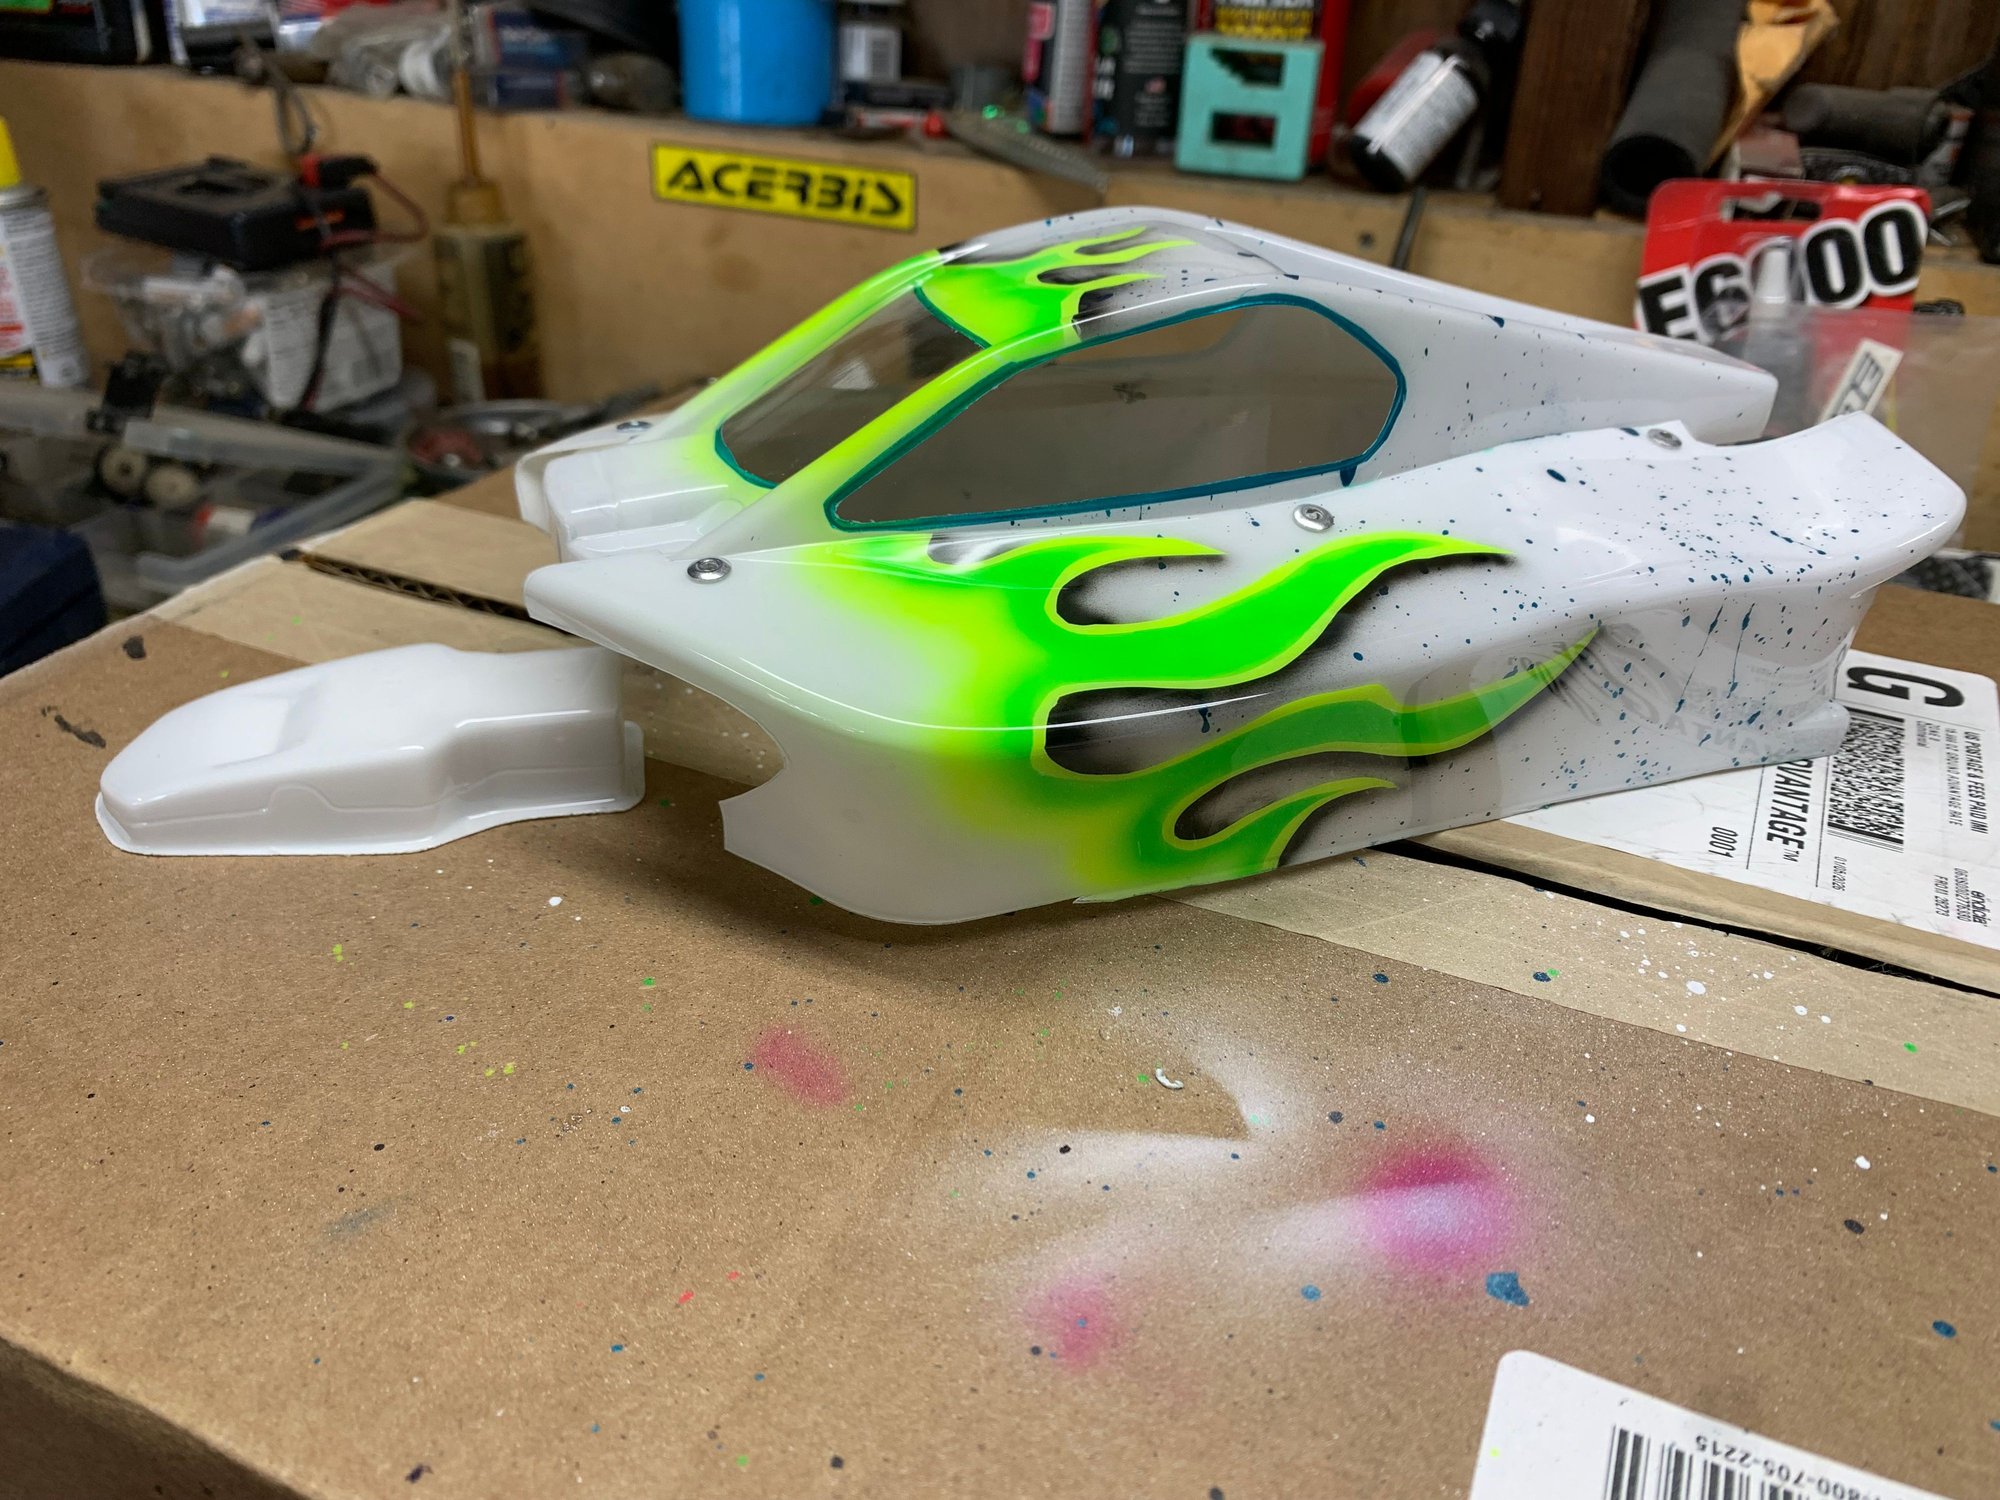
Quick one I did for my daughter with minimal outlines and shading.. Probably should have done some around the silver..
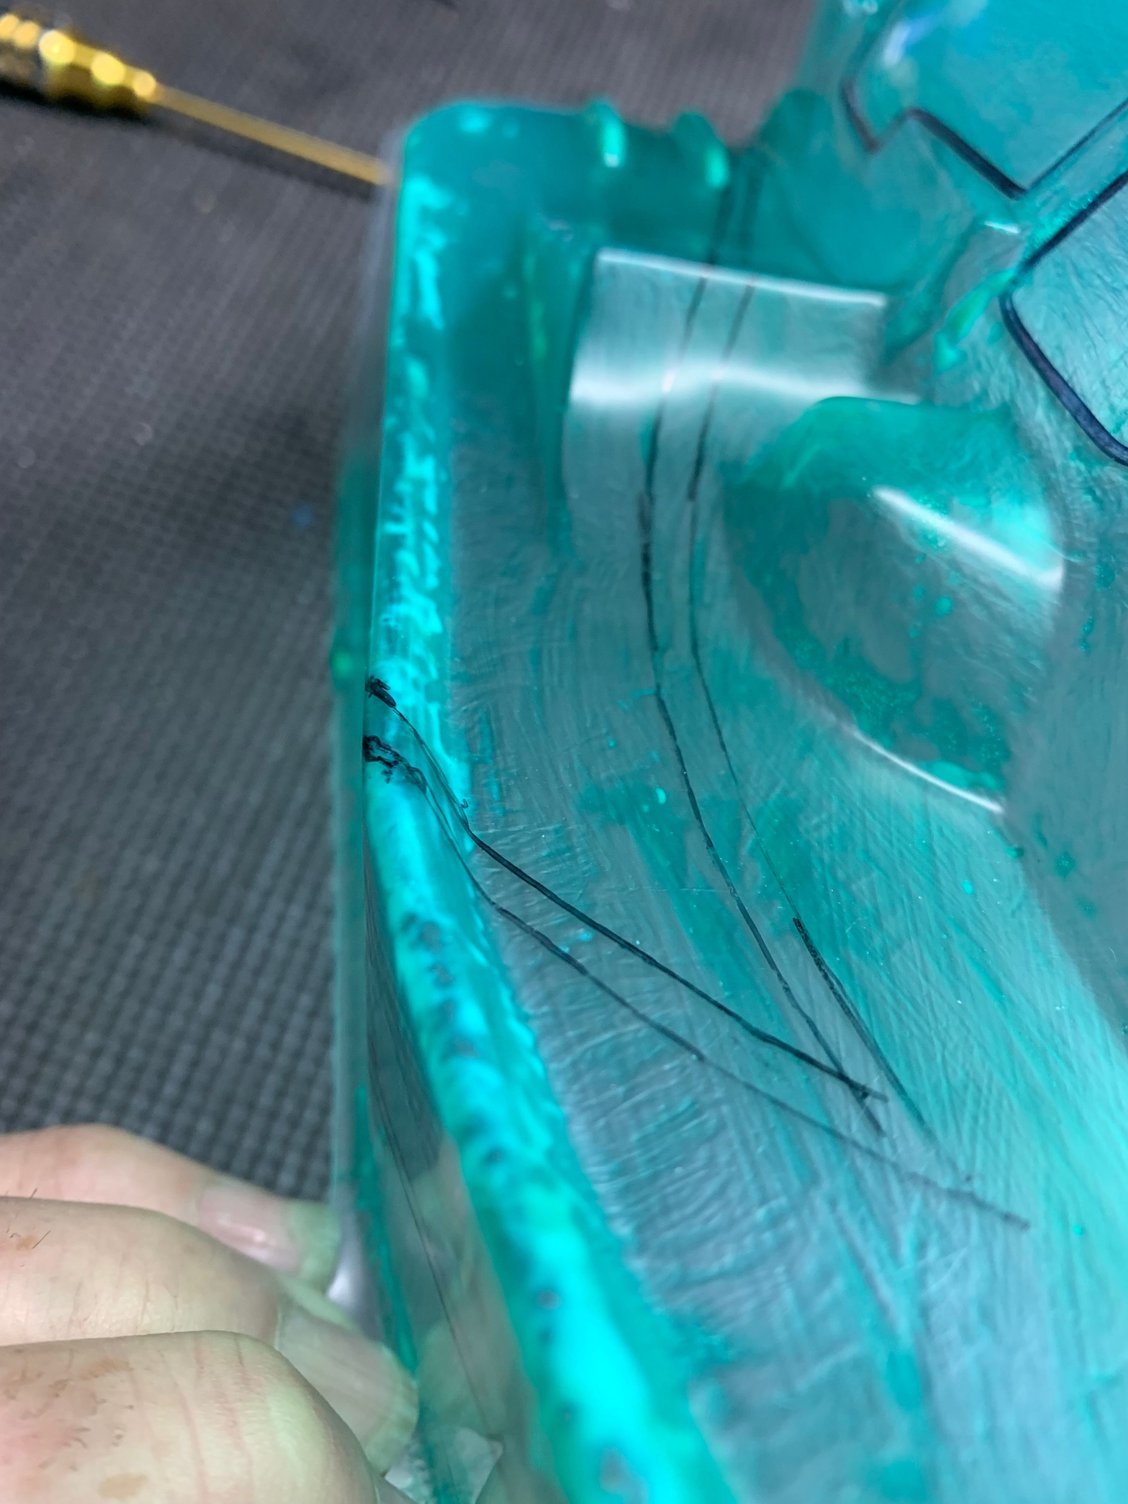
When you use a stencil do you guys cut it to fit each body? It's hard to hold flat around the curves and shoot the paint with the other hand even if you tape one side down.. The bittydesign ones aren't cheap so I've just been reusing it..
When you use a stencil do you guys cut it to fit each body? It's hard to hold flat around the curves and shoot the paint with the other hand even if you tape one side down.. The bittydesign ones aren't cheap so I've just been reusing it..
02-12-2026 | 08:41 AM
#20
When I was painting I would just lay the stencil down and spray. I usually had a couple and some I did cut.
I think someone else mentioned it but defintly scuff the body using a scotch brite pad, avoid the windows . Then wash and let dry, avoid touching the body and spray the liquid mask.
For backing, I used to use spray can bed liner on 1/8 bodies. Worked pretty well, but it can adhear to the liquid mask on the window and can be a real PITA to get off. I switched to Rustolium Clear Enamel. Works well.
I would suggest buying some sheets of lexan from Amazon and test different backing methods, this includes E6000 and Shoegoo as they can react with paint and eat a way it.
I think someone else mentioned it but defintly scuff the body using a scotch brite pad, avoid the windows
. Then wash and let dry, avoid touching the body and spray the liquid mask. For backing, I used to use spray can bed liner on 1/8 bodies. Worked pretty well, but it can adhear to the liquid mask on the window and can be a real PITA to get off. I switched to Rustolium Clear Enamel. Works well.
I would suggest buying some sheets of lexan from Amazon and test different backing methods, this includes E6000 and Shoegoo as they can react with paint and eat a way it.
02-12-2026 | 11:30 AM
#21
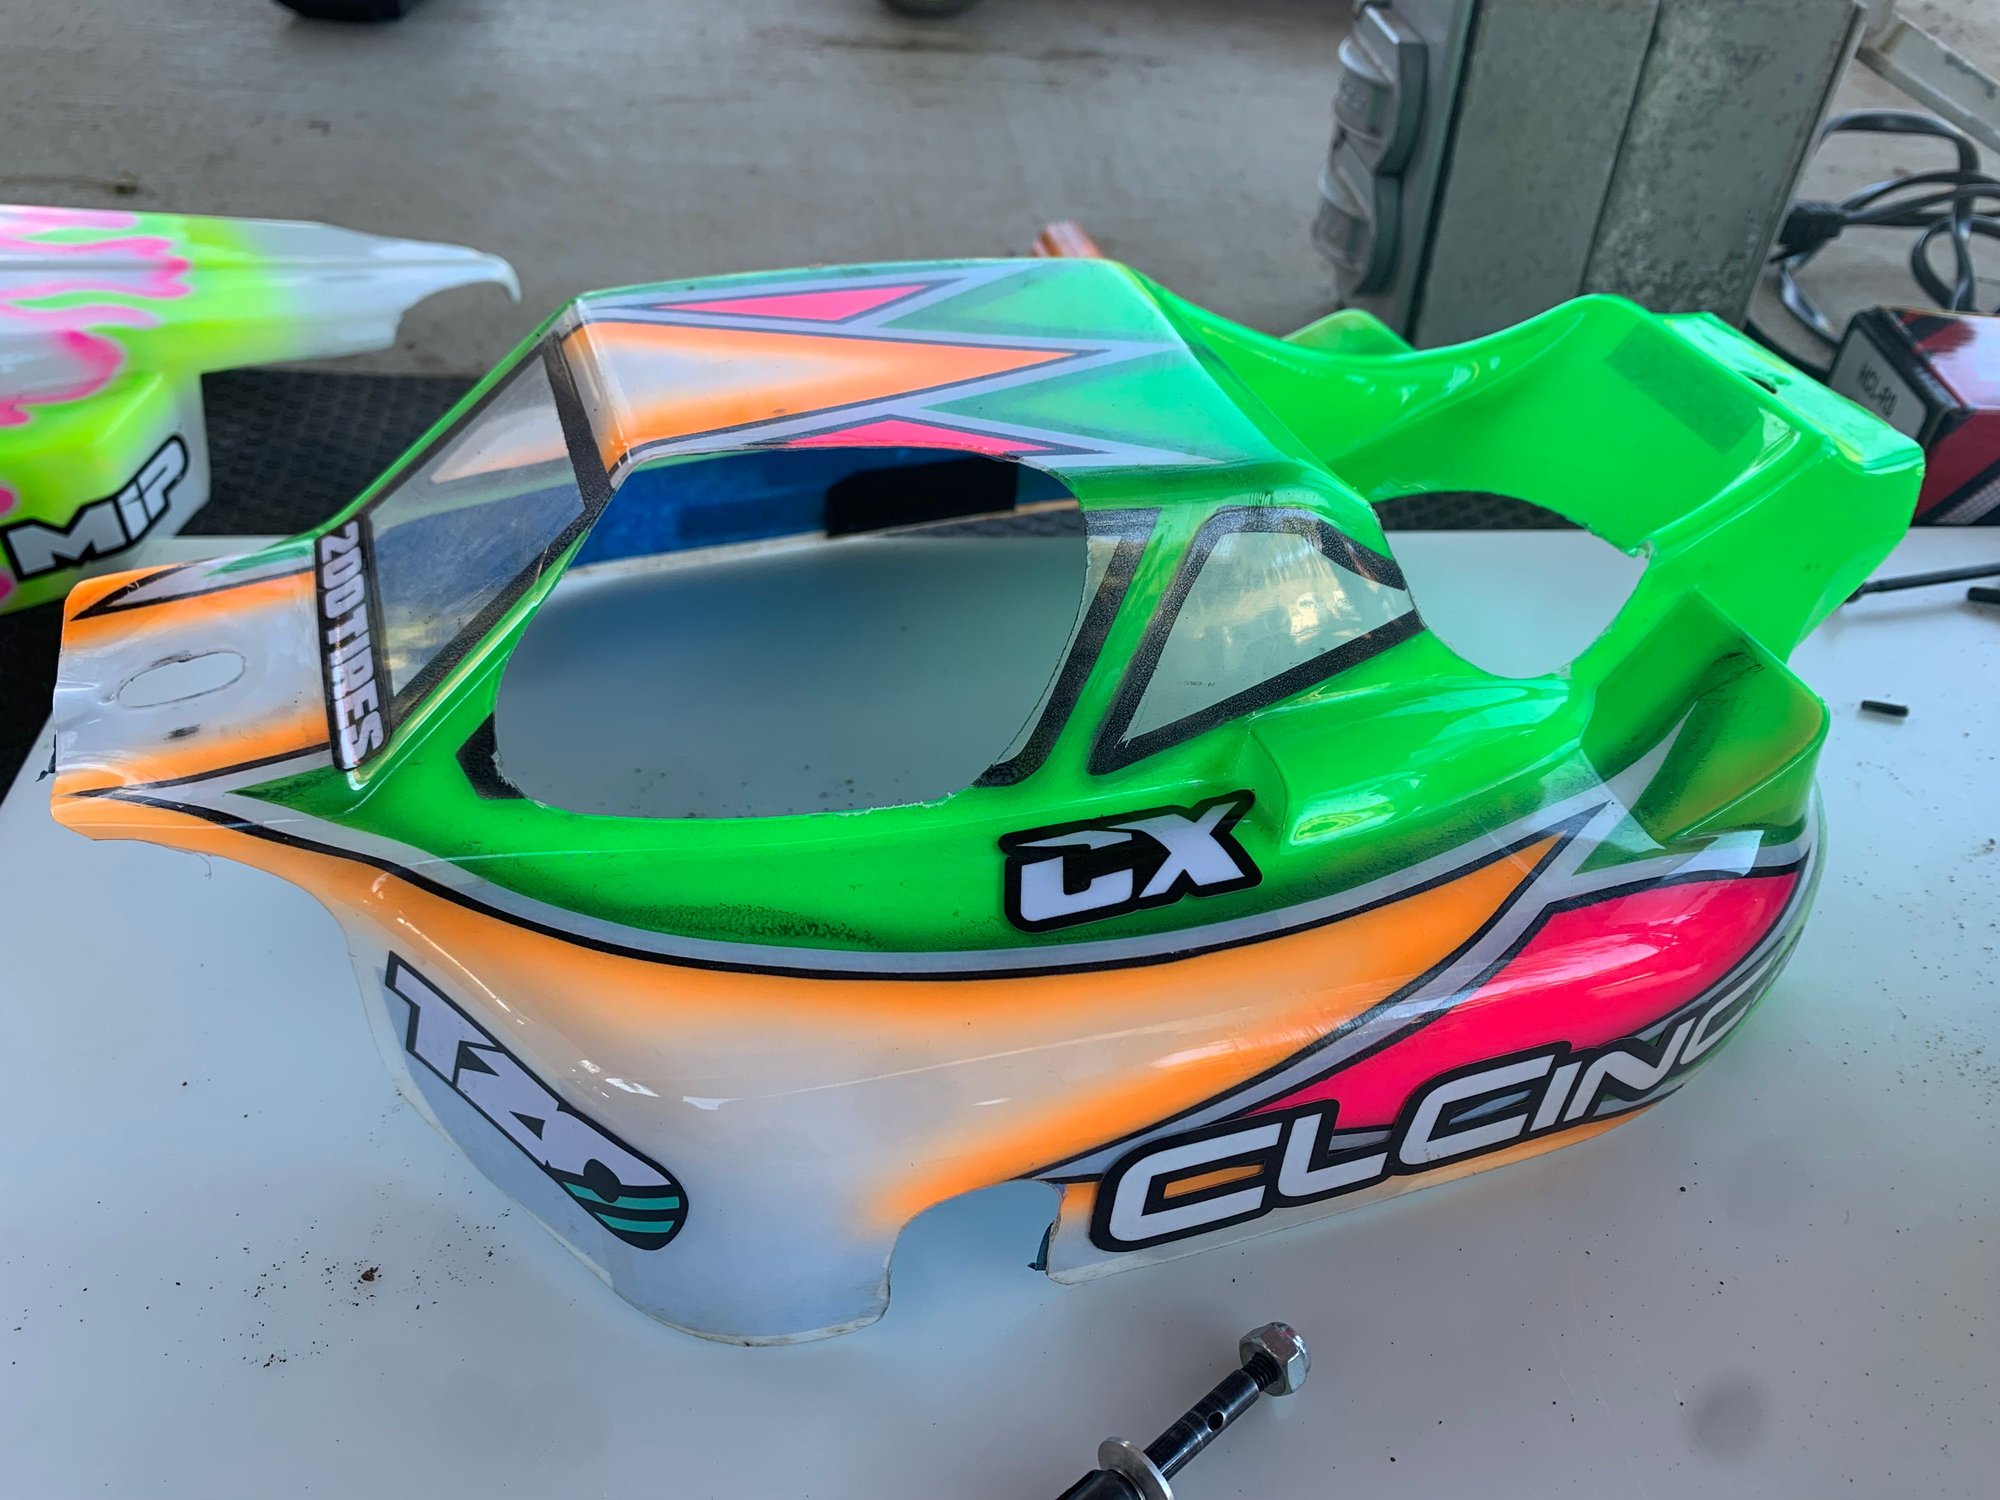
Quick one I did yesterday...body came with an rc10 I bought and it was already trimmed and had no overspray film on it. Taped the outside and then drew the design on the liquid mask...sharpie bled threw in a few spots..not bad considering that and my kids were rough housing in the garage and pestering me the whole time I cut the mask and sprayed it..
Used clear on the last few, definitely seem like they will hold up better..

Used clear on the last few, definitely seem like they will hold up better..
Last edited by wydopen; 02-12-2026 at 12:25 PM.
 02-23-2026 | 04:43 AM
#23
Overdid the black shading on the flames. Hard to tell what it�s going to look like until you back it. Having a problem with my compressor. I have a water separator but by the time I am on the second or third color and it�s been running awhile I will get a random spurt of water usually at the worst time when I�m trying to do something detailed. The water separator is catching water. Have to let it sit and cool down which is a bummer..
02-23-2026 | 07:54 PM
#24
Tech Master
iTrader: (39)
Joined: Dec 2012
Posts: 1,940
From: Delaware
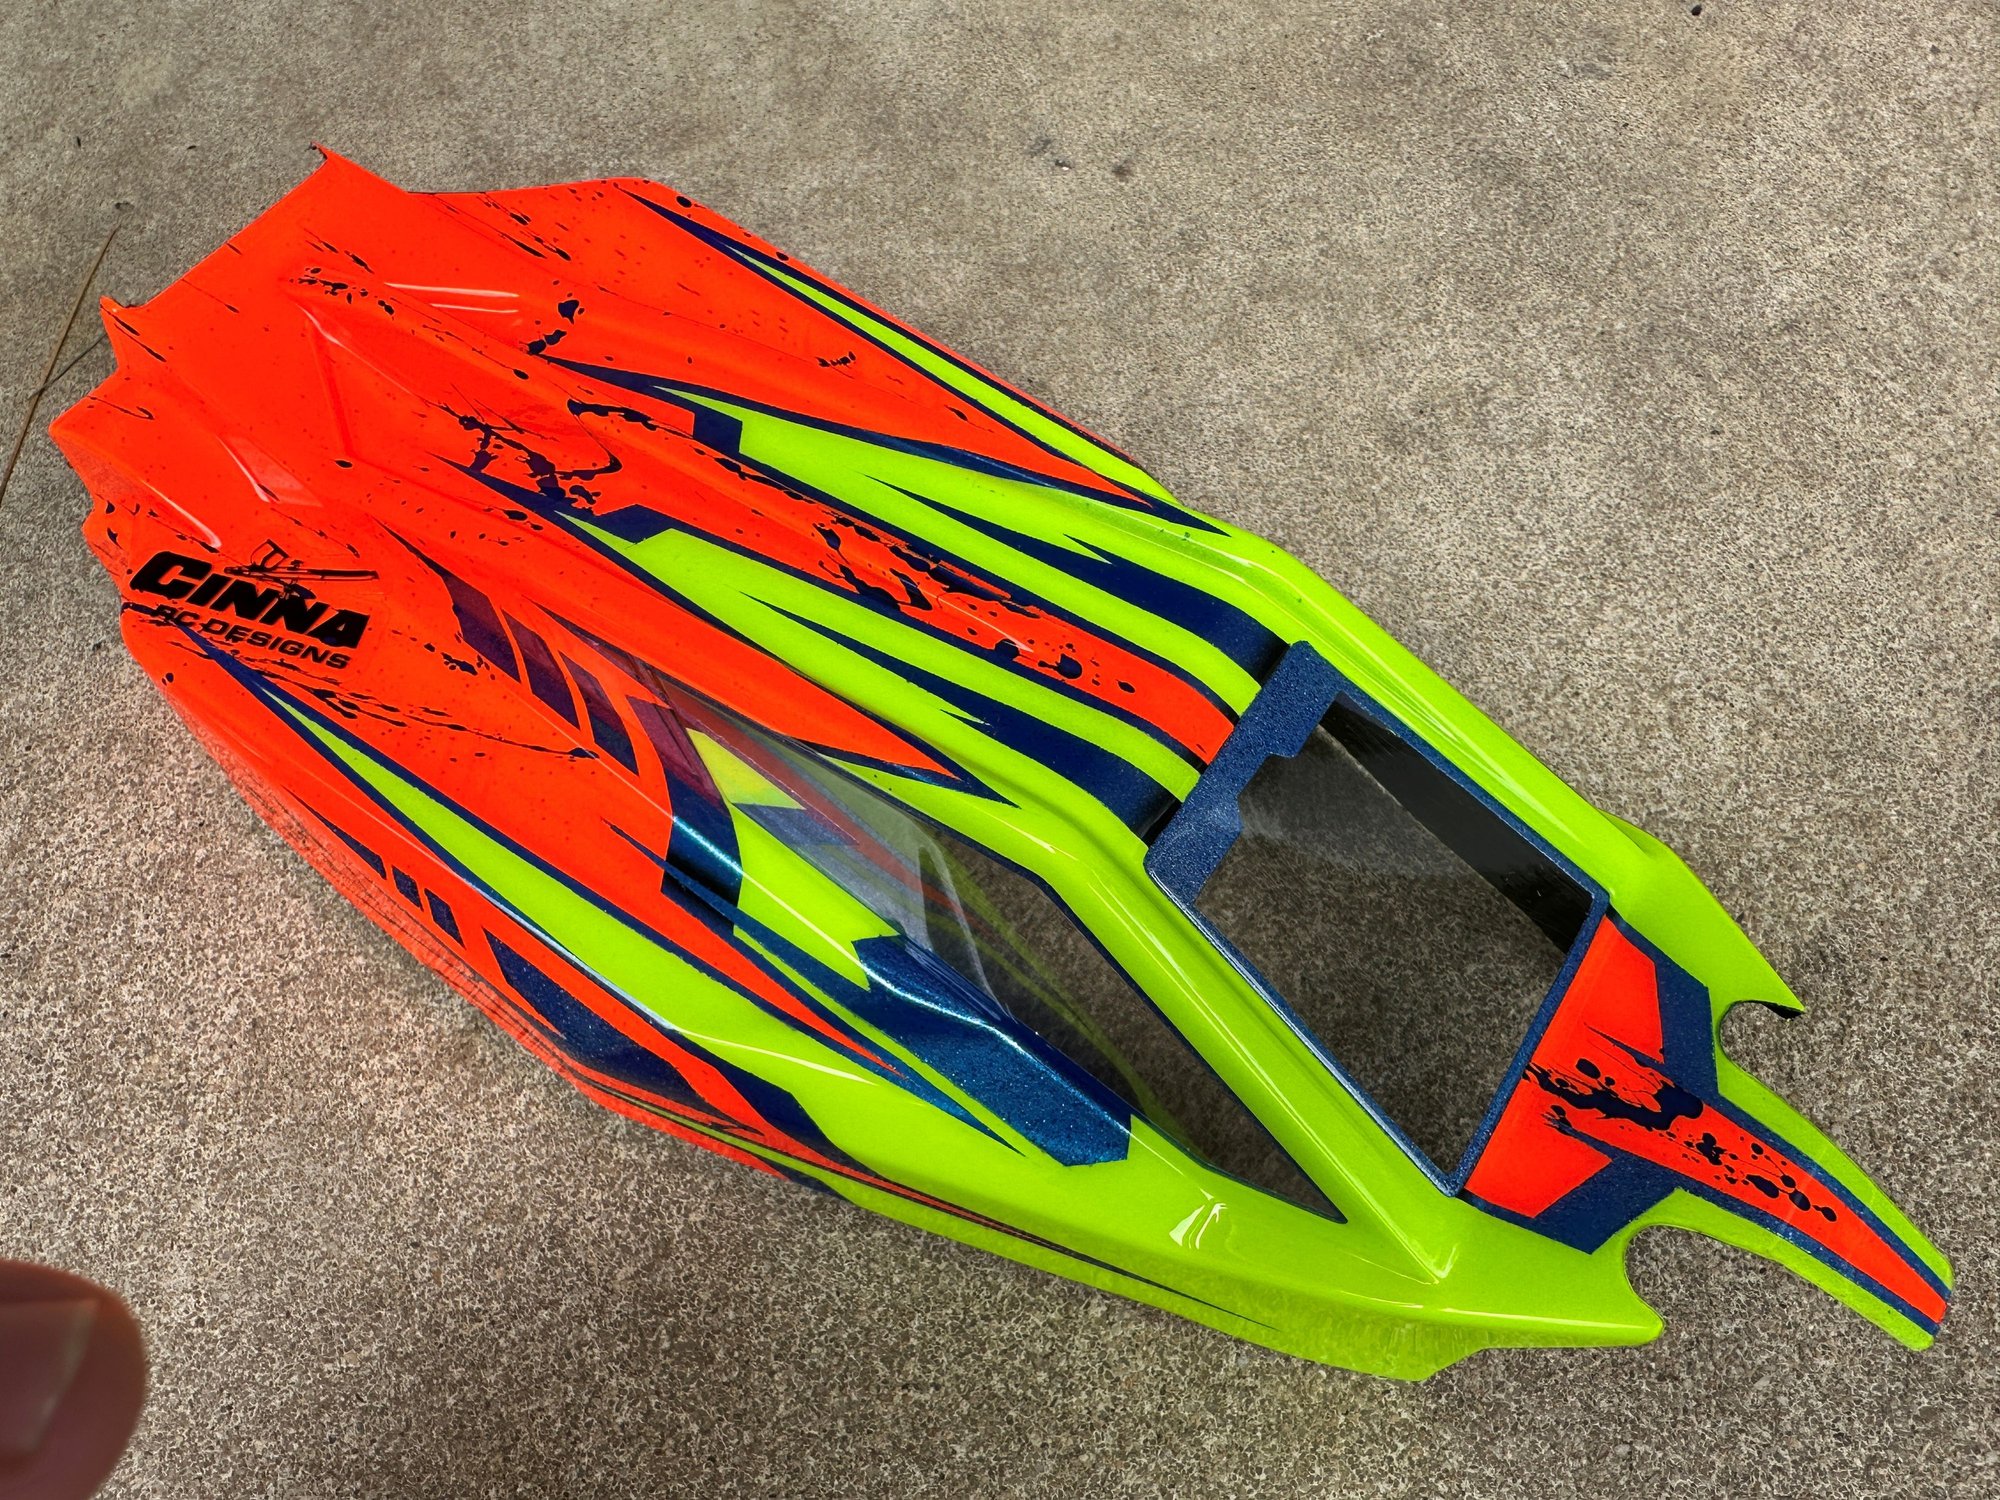
To help with your lines, get a light board. I draw a single line design with an ultra fine sharpie on the overspray film. I than use a lightboard to backlight the body while I cut along the sharpie line from inside the body. I than remove the sharpie from the overspray film with rubbing alcohol and a paper towel. Than use the lightboard to backlight the body again and the original cutlines will glow. I follow those lines at whatever distance I need to, usually 1-2mm on 1/10 bodies and 2-3mm on 1/8 bodies. This method will reduce any confusion when cutting lines because you only are following a single line. Heres and example of a body I painted for a buddy of mine with some pretty sharp and long thin outlines.
02-24-2026 | 08:07 AM
#25
To help with your lines, get a light board. I draw a single line design with an ultra fine sharpie on the overspray film. I than use a lightboard to backlight the body while I cut along the sharpie line from inside the body. I than remove the sharpie from the overspray film with rubbing alcohol and a paper towel. Than use the lightboard to backlight the body again and the original cutlines will glow. I follow those lines at whatever distance I need to, usually 1-2mm on 1/10 bodies and 2-3mm on 1/8 bodies. This method will reduce any confusion when cutting lines because you only are following a single line. Heres and example of a body I painted for a buddy of mine with some pretty sharp and long thin outlines.
03-01-2026 | 09:16 AM
#26
To help with your lines, get a light board. I draw a single line design with an ultra fine sharpie on the overspray film. I than use a lightboard to backlight the body while I cut along the sharpie line from inside the body. I than remove the sharpie from the overspray film with rubbing alcohol and a paper towel. Than use the lightboard to backlight the body again and the original cutlines will glow. I follow those lines at whatever distance I need to, usually 1-2mm on 1/10 bodies and 2-3mm on 1/8 bodies. This method will reduce any confusion when cutting lines because you only are following a single line. Heres and example of a body I painted for a buddy of mine with some pretty sharp and long thin outlines.
 03-01-2026 | 10:01 AM
#27
Tech Master
iTrader: (39)
Joined: Dec 2012
Posts: 1,940
From: Delaware
03-01-2026 | 10:33 AM
#28
here�s another tip for stenciling in light colors. Spray your color first, I will usually do 2-3 coats of a transparent color, than I use a darker shade of the same color or a complimentary darker color on top of the original color before backing with white. This will make the stencil designs less harsh. Give it a try and report back!
03-02-2026 | 09:19 AM
#29
Any tips for cutting tight inside corners? Trying to match a paint job on an mp11 body for my friend. Usually adjust the design to
miss it but on this one there�s no way around it. Haven�t had good luck cutting downhill. Is the best option to start at the bottom on each side? Curved blade?
miss it but on this one there�s no way around it. Haven�t had good luck cutting downhill. Is the best option to start at the bottom on each side? Curved blade?
03-02-2026 | 09:30 AM
#30
Tech Master
iTrader: (39)
Joined: Dec 2012
Posts: 1,940
From: Delaware
Any tips for cutting tight inside corners? Trying to match a paint job on an mp11 body for my friend. Usually adjust the design to
miss it but on this one there�s no way around it. Haven�t had good luck cutting downhill. Is the best option to start at the bottom on each side? Curved blade?
miss it but on this one there�s no way around it. Haven�t had good luck cutting downhill. Is the best option to start at the bottom on each side? Curved blade?
for you, I would probably work from the valley outwards, doing that you run the risk of the lines not matching up perfectly.