


 595Likes
LC Racing EMB-1H Official Thread
 06-01-2019, 06:31 PM
#1906
Tech Apprentice
What is the stock weight shock oil that comes in the Truggy? Any suggestions for front and rear weight shock oil when running on short to medium length grass?
My current layout at the house looks like this:
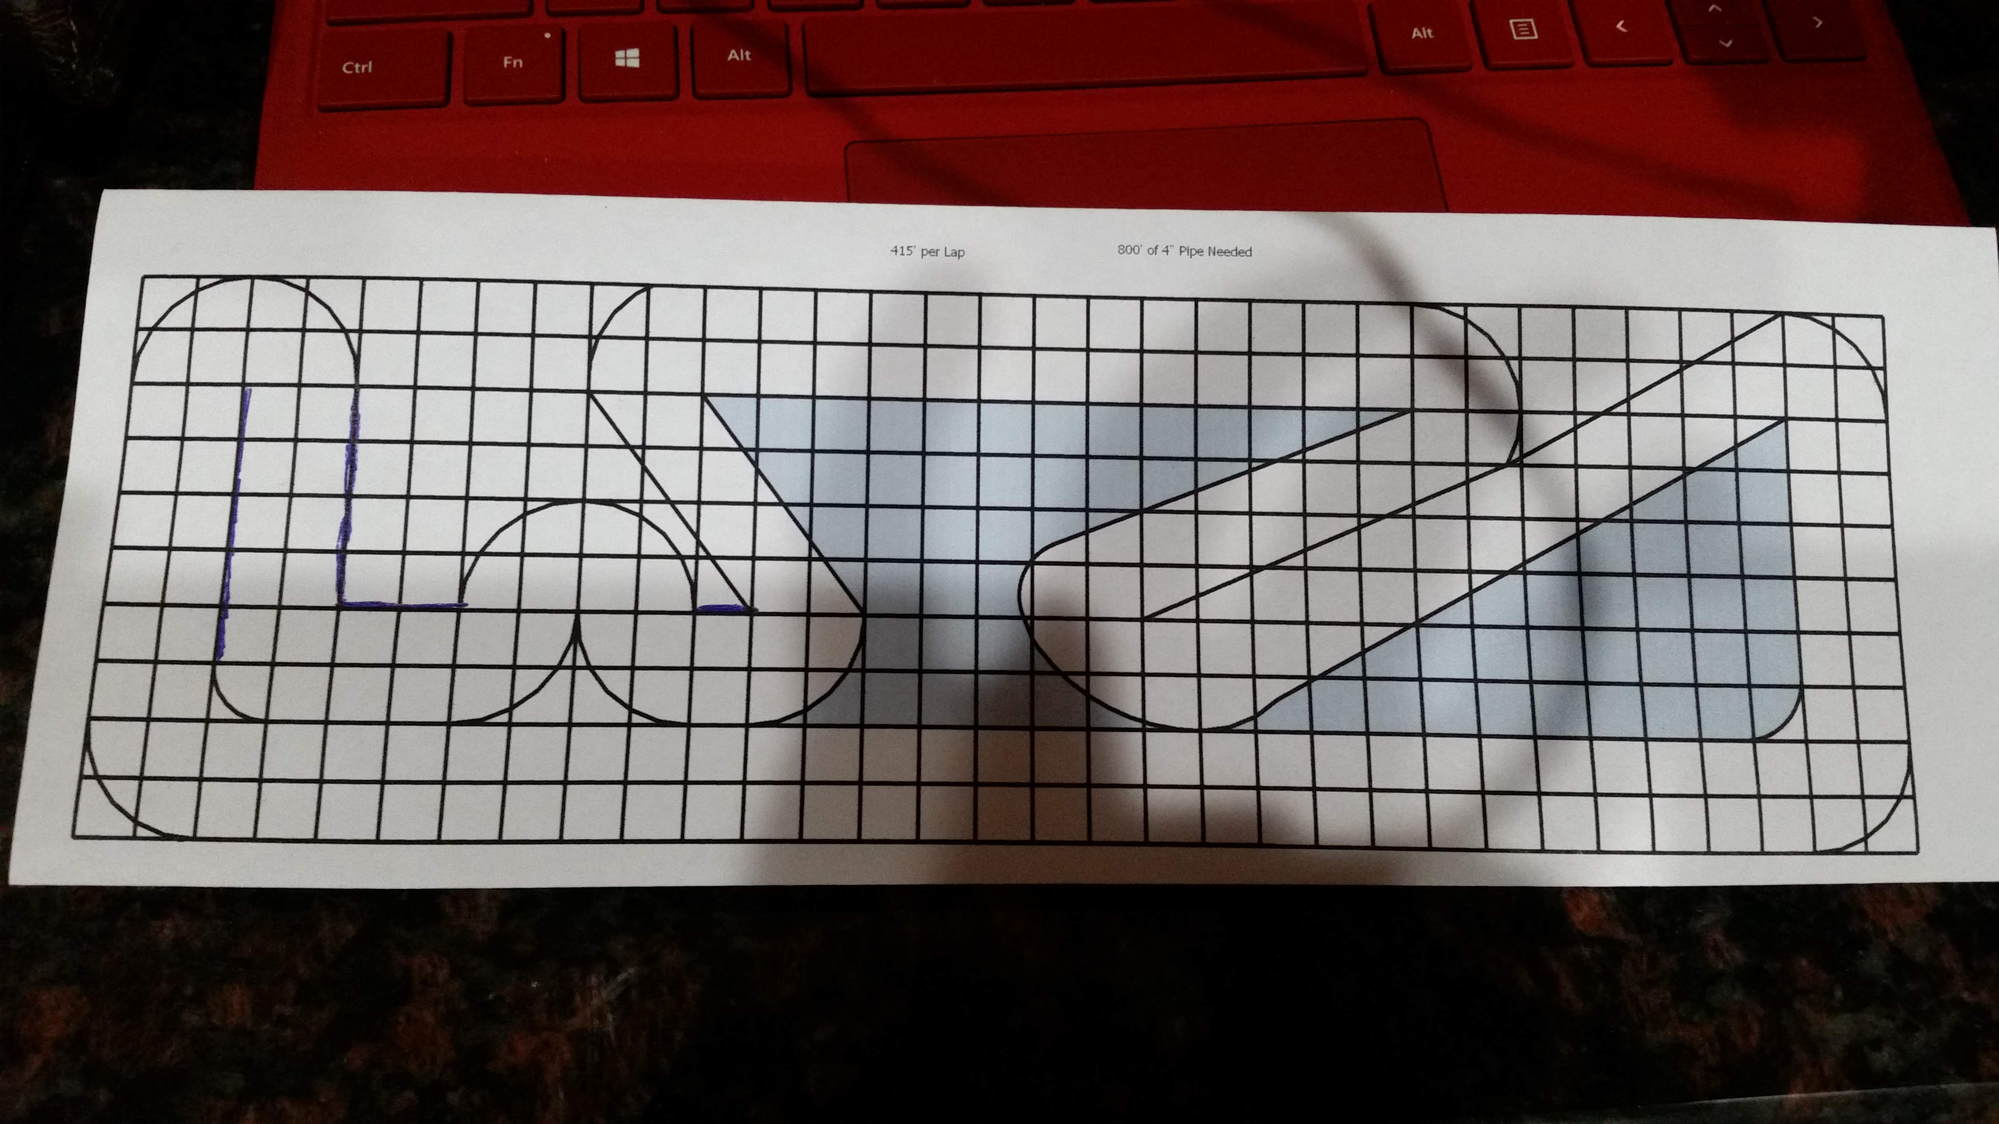

My current layout at the house looks like this:
 06-01-2019, 07:24 PM
#1907
I now have my slipper spring set at the recommended 7mm but I think it's just a shade too loose. The Truggy seems sluggish for the first lap and a half or two and then picks up where I would expect it to be. I'm thinking that's the slipper assembly warming up and finally expanding just enough to not slip due to the grass. Is there a way to tighten the slipper without removing it? Taking that whole assembly out is a PITA...
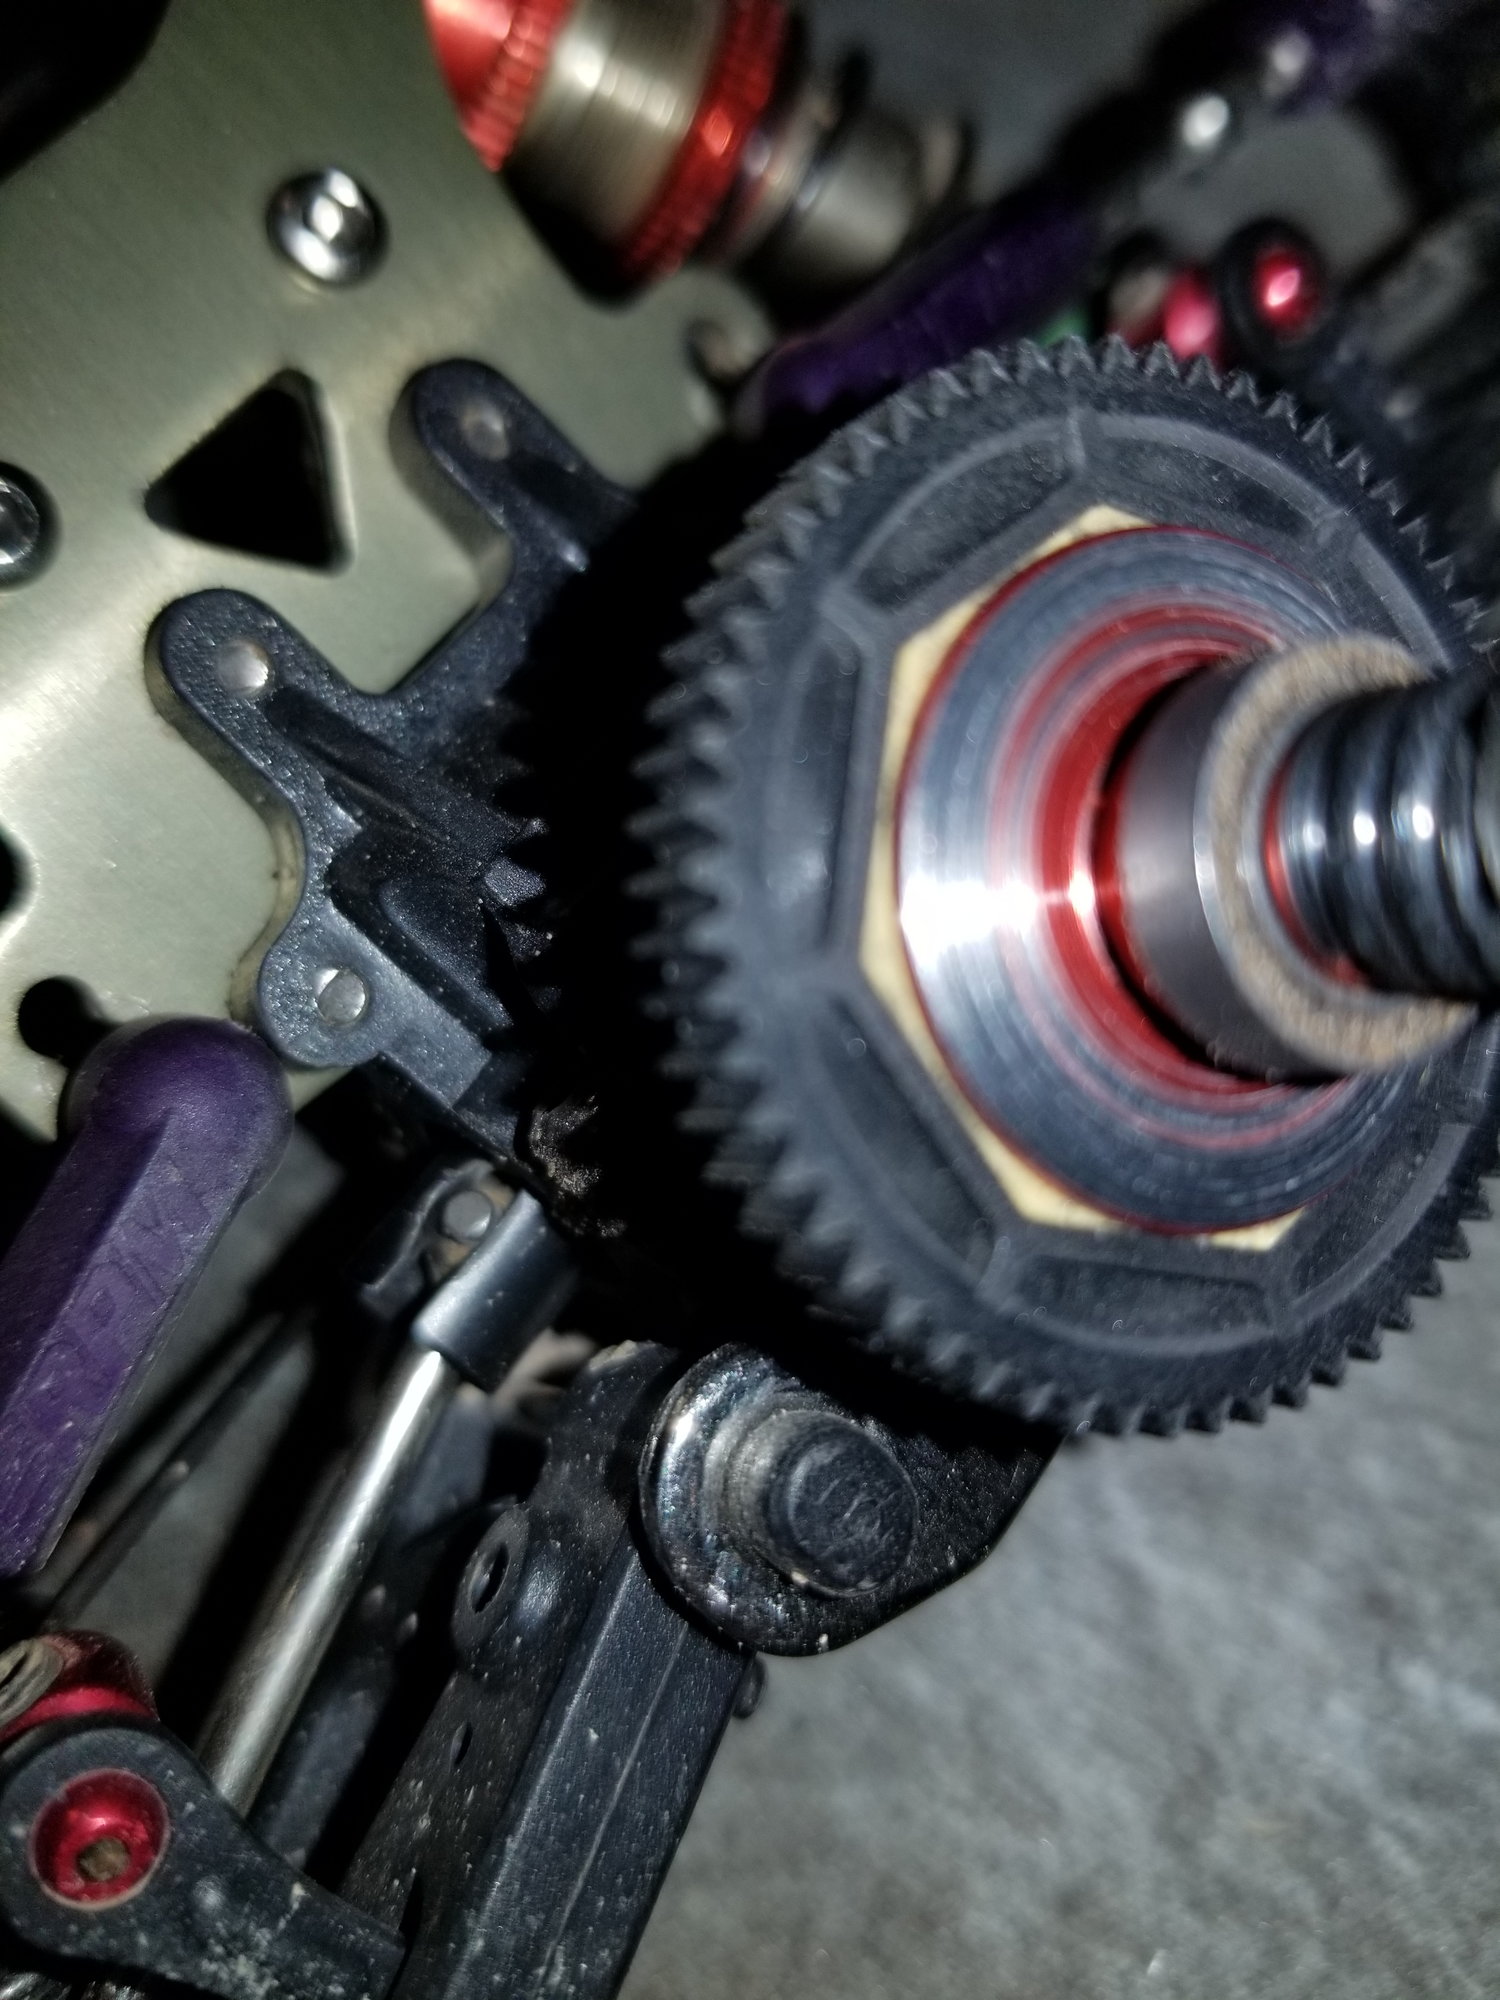
The wear on my diff pinion had to be some kind of mistake I made. Last season I tried heavier diff fluid in the rear and the diff wouldn't seal right. It was so tight I couldn't turn it by hand. It ended up breaking a diff cup where the hole is drilled for the pin. I'm guessing the damage was started there and just kept getting worse. I believe the design is solid.
The wear on my diff pinion had to be some kind of mistake I made. Last season I tried heavier diff fluid in the rear and the diff wouldn't seal right. It was so tight I couldn't turn it by hand. It ended up breaking a diff cup where the hole is drilled for the pin. I'm guessing the damage was started there and just kept getting worse. I believe the design is solid.
The wrench that comes with the LC's is a royal PITA to use for any real adjustments. Just use a real 7mm open wrench. Much easier thing to use if you dont want to pull the slipper out every time or tear your fingers apart doing it.
I run 9K in my front diffs and 7k in back. I cant imagine the fluid being so heavy it would cause the diff to seize, but I suppose if you went crazy high, or if you overfilled them or got excessive air in them they could hydrolock. I never fill them all the way. Just a hair past the top most gears. If it's oozing out, when you put the top half on, that's too much IME. The whole heat/expansion thing. Gotta go somewhere. Then you also risk it getting in the screw holes for the ring gear and that can lead to it not sitting plumb or stripping those little buggers.
They are definitely a solid design, but just due to the nature of the smallness of them they do require a little care in assembly.
Last edited by racknpinion; 06-02-2019 at 11:06 AM.
06-01-2019, 11:01 PM
#1908
Tech Apprentice
what does the 7mm the clutch is supposed to be set at when it�s on the car? Seams a bit crazy to have a setting that requires taking it all apart just to measure
06-02-2019, 04:09 AM
#1909

I now have my slipper spring set at the recommended 7mm but I think it's just a shade too loose. The Truggy seems sluggish for the first lap and a half or two and then picks up where I would expect it to be. I'm thinking that's the slipper assembly warming up and finally expanding just enough to not slip due to the grass. Is there a way to tighten the slipper without removing it? Taking that whole assembly out is a PITA...
The wear on my diff pinion had to be some kind of mistake I made. Last season I tried heavier diff fluid in the rear and the diff wouldn't seal right. It was so tight I couldn't turn it by hand. It ended up breaking a diff cup where the hole is drilled for the pin. I'm guessing the damage was started there and just kept getting worse. I believe the design is solid.
The wear on my diff pinion had to be some kind of mistake I made. Last season I tried heavier diff fluid in the rear and the diff wouldn't seal right. It was so tight I couldn't turn it by hand. It ended up breaking a diff cup where the hole is drilled for the pin. I'm guessing the damage was started there and just kept getting worse. I believe the design is solid.
 06-02-2019, 10:22 AM
#1911
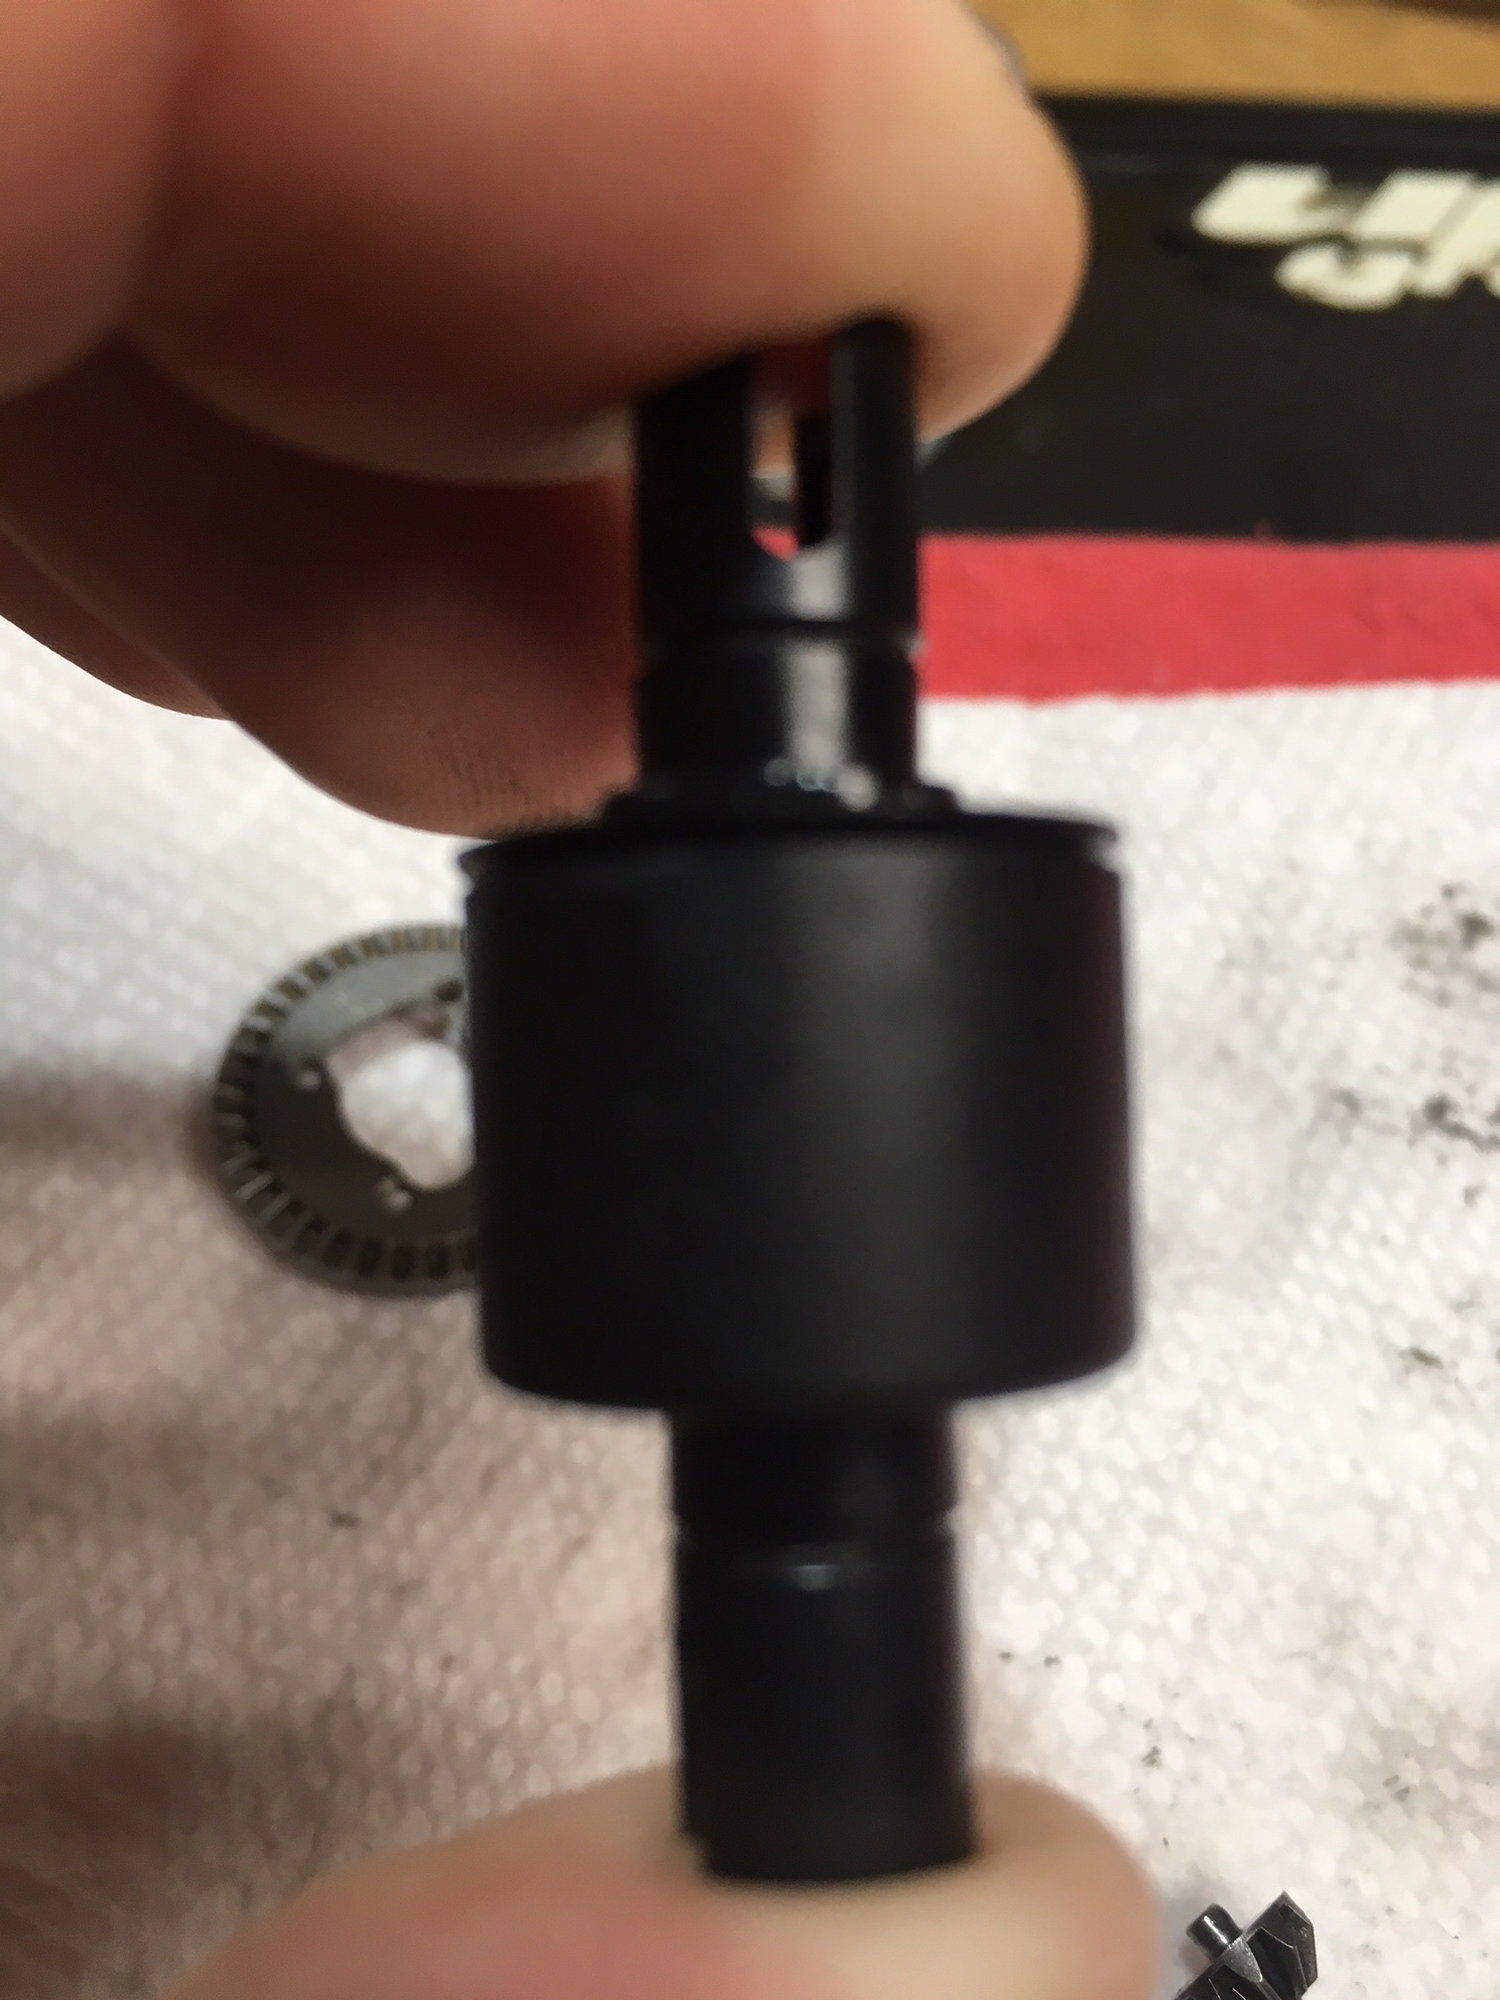
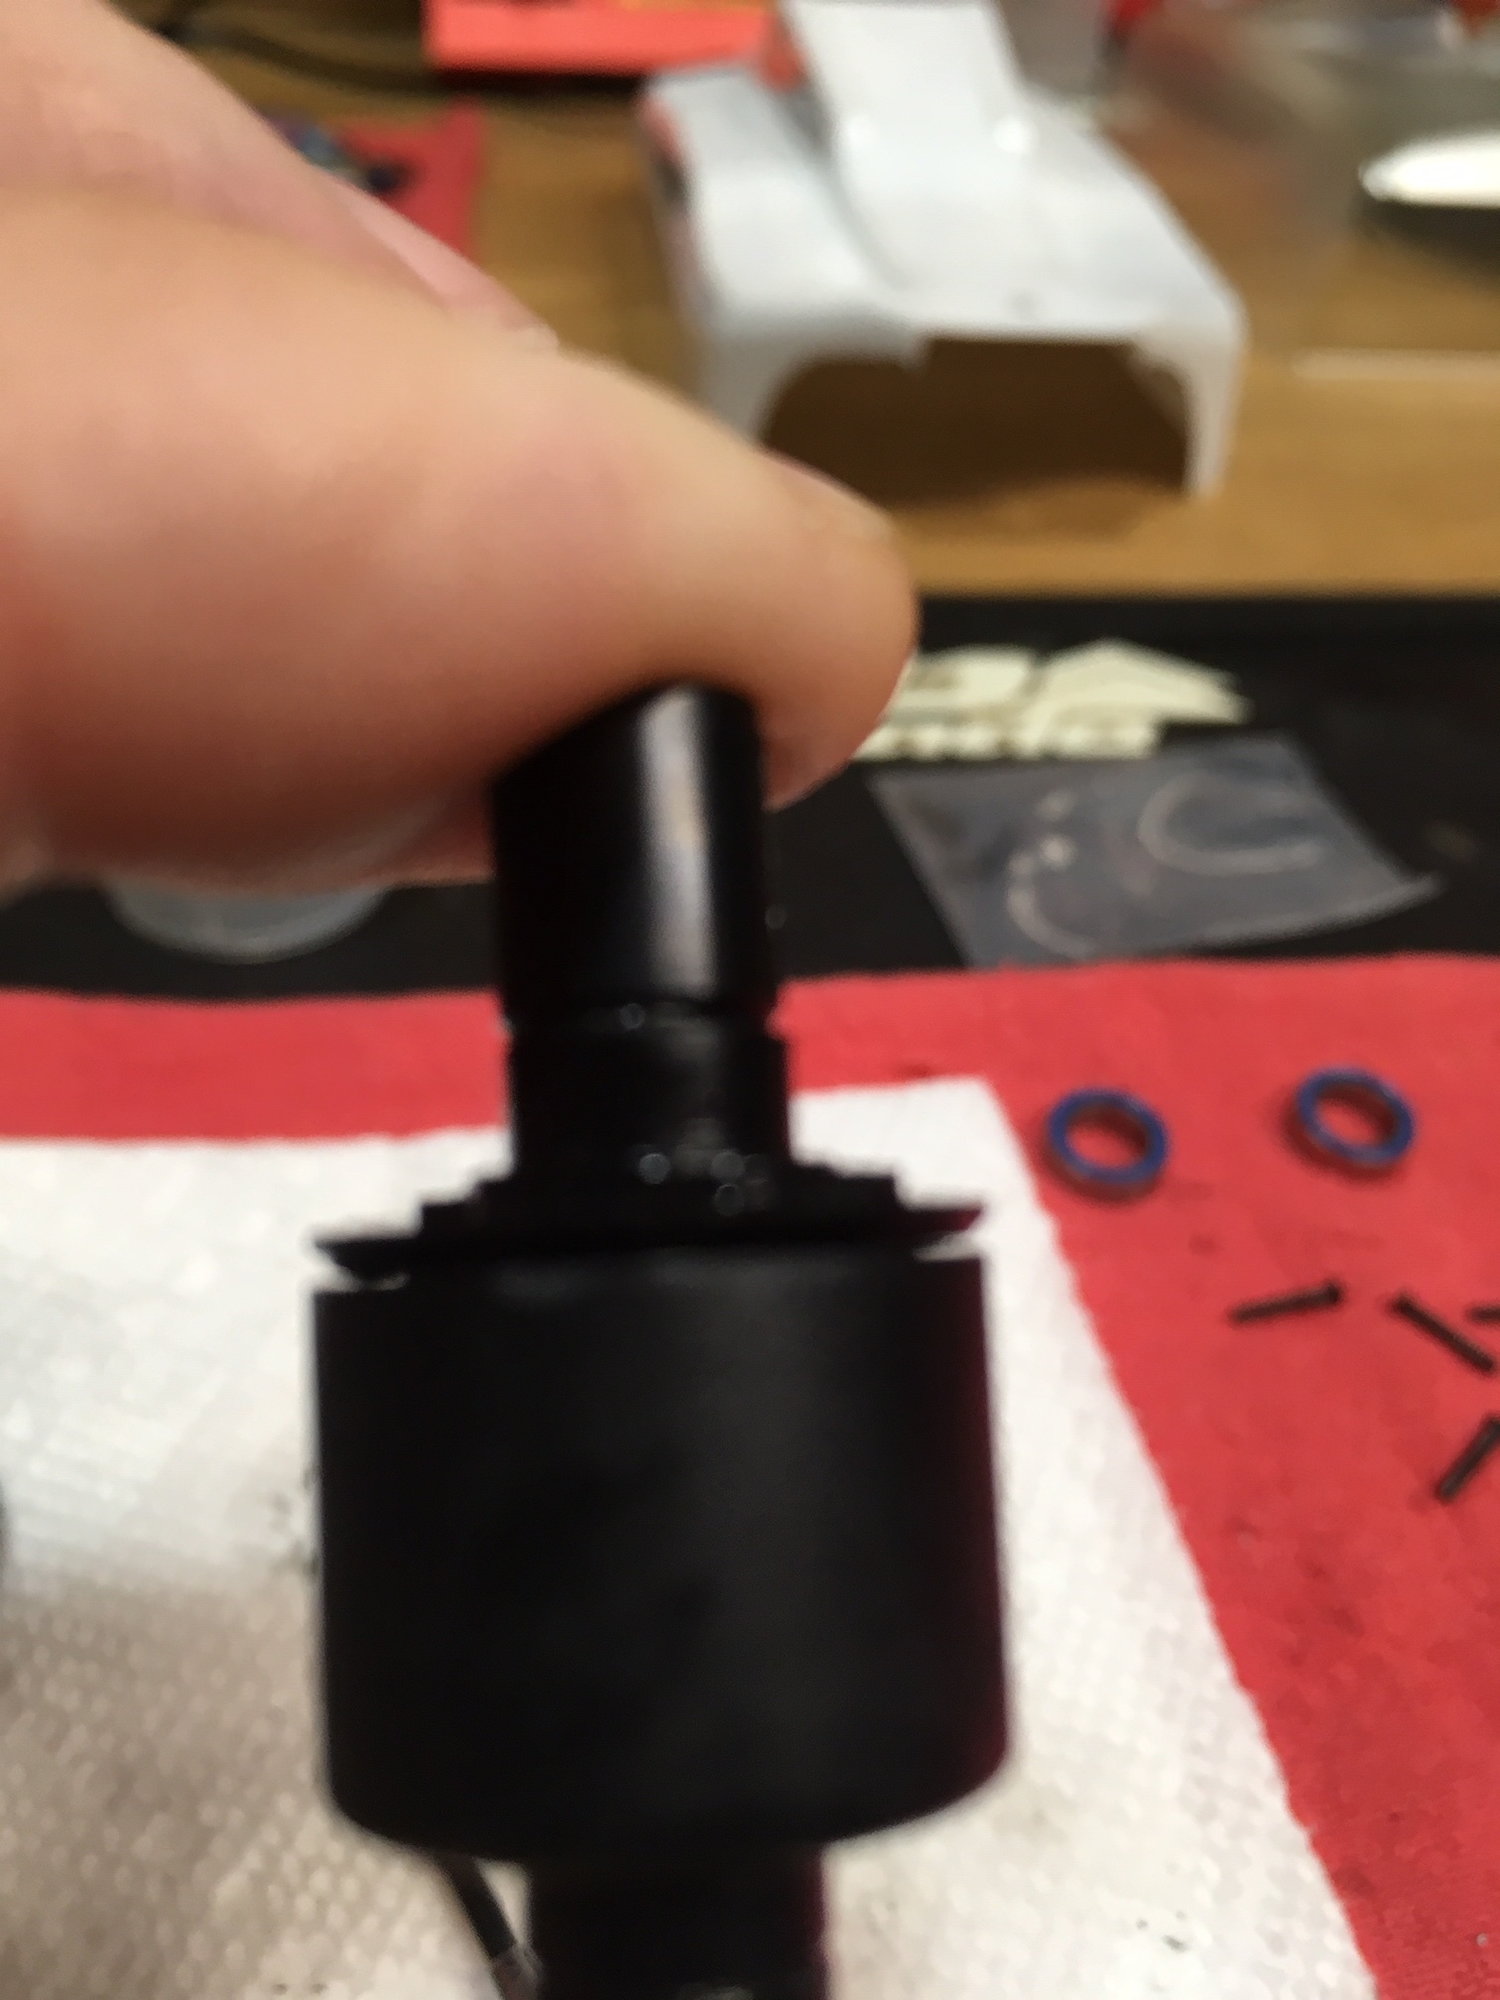
So weird that you're still having issues with the diff even with the new case. One thing to be aware of(and I'm sure you are) is the diffs will feel not necessarily notchy when rotated by hand, but some resistance and being able to feel the teeth as they go through their rotation is entirely normal. When I build a fresh diff, especially with 9k, but even 7k, you will get quite a bit of resistance. They do need to break in, and once they are in the car I always do final checks with the pinion disengaged. Spin the main driveline outdrive and rotate the axle by hand holding on the hex. Then roll. It should be buttery smooth. But rotating by hand wont tell the whole story, unless is it completely seized up or obviously misaligned somewhere.
Just for reference, my diff building regime looks almost exactly like the video on the LC YouTube page.
Wet sand the bottom half of the case to smooth out the injection marks from the mold. Doesn't have to be perfectly smooth you're just knocking down those ridges caused by the molding. Then a hand test of the gears to see how they rotate on the pins to see if they need to filed or working in a little by hand. Then proceed as normal. Most of the time, the gears will have little manufacturing flaws, but usually it's just small burs that can filed down or will wear in. Then I do a diff break in with the left side planted on the table and the other wheels in the air, quarter throttle for about a minute. Repeat for each side about 5 times.
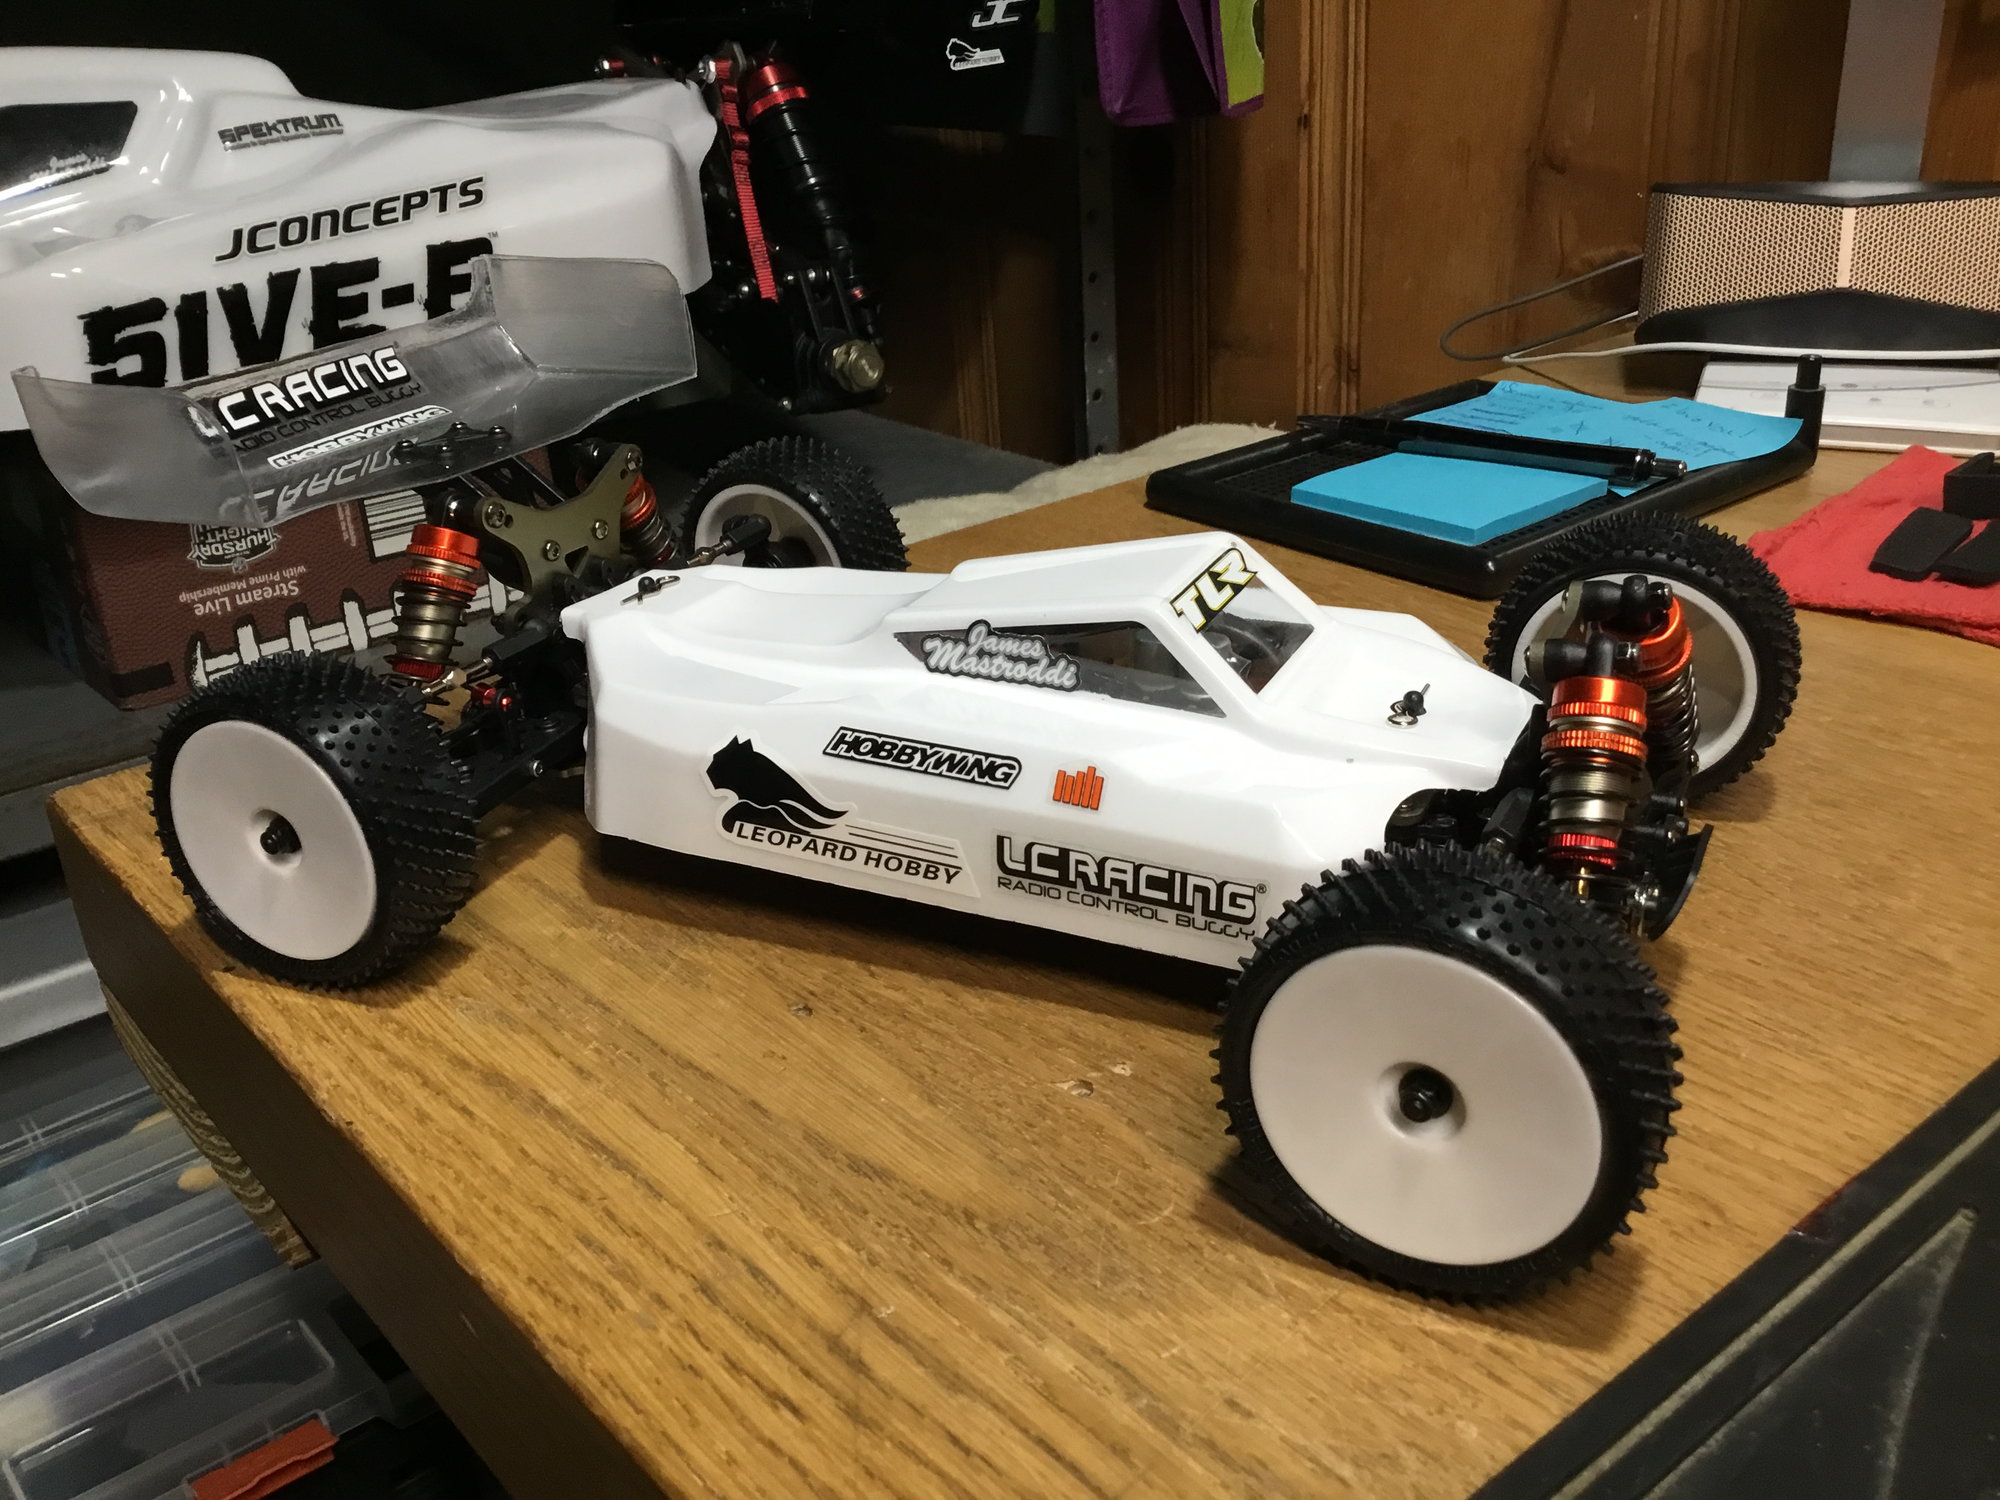
The car looks great BTW!
Just for reference, my diff building regime looks almost exactly like the video on the LC YouTube page.
Wet sand the bottom half of the case to smooth out the injection marks from the mold. Doesn't have to be perfectly smooth you're just knocking down those ridges caused by the molding. Then a hand test of the gears to see how they rotate on the pins to see if they need to filed or working in a little by hand. Then proceed as normal. Most of the time, the gears will have little manufacturing flaws, but usually it's just small burs that can filed down or will wear in. Then I do a diff break in with the left side planted on the table and the other wheels in the air, quarter throttle for about a minute. Repeat for each side about 5 times.
The car looks great BTW!
06-02-2019, 10:40 AM
#1912
That number comes from the kit instructions, so it's a reference measurement that you follow when building the kit. You dont have to take the car part to measure every time. Get it set to 7mm once, adjust as necessary. It helps get you in the ballpark though.
06-02-2019, 02:05 PM
#1913
Tech Apprentice
I tried 7K in the rear diff last time but I'm thinking I over filled it. At the moment the rear diff is just filled with grease. Maybe I'll try 7K again using less. I also never wet sanded the housing. I doubt that was done at the factory.
Still interested on suggestions for front and rear shock oil weights for short to medium length grass if anyone is willing to share.
Still interested on suggestions for front and rear shock oil weights for short to medium length grass if anyone is willing to share.
06-02-2019, 09:27 PM
#1914
The wet sanding is definitely not something done at the factory, but it's a well known trick to get a better seal on the diffs. Most of the time, that is where your leaks will happen. A bead of black grease or even a non hardening gasket sealant smeared around the seams of the two halves is another common mod. I use grease. Look up "LC Racing Differentials" on YT and you'll see even LC recommends the sanding if the two halves dont fit so perfectly together.
 06-05-2019, 06:28 AM
#1916
Ok so i watched the diff building video and redid all the steps again on the diff. The differentialis notchy which is fine before i bolt down the crown gear as it has not been broken in yet. I have taken two pics the first is without the spider gears in and the second is with the spider gears in. The cap fits nice without the gears but raises it too much when they are in. When I tighten the crown gear all the way it locks up. I am missing something that is obvious I think. As i tighten the screws down i check for rotation until it locks up.
06-05-2019, 10:30 AM
#1919
Strodedawg, the only thing I can think that would cause that to happen is the the pins are not keyed in together, or a manufacturer defect in the case, causing either the bottom gear to sit too high, or the spider gears to not make contact with it, but I�m sure you�ve checked that already. I think you mentioned you got a new diff case? You�re certain you got the O ring seated correctly and the shim and pin? There is a recess for the O ring that it needs to sit in.
06-05-2019, 05:30 PM
#1920
Tech Adept
Strodedawg, the only thing I can think that would cause that to happen is the the pins are not keyed in together, or a manufacturer defect in the case, causing either the bottom gear to sit too high, or the spider gears to not make contact with it, but I�m sure you�ve checked that already. I think you mentioned you got a new diff case? You�re certain you got the O ring seated correctly and the shim and pin? There is a recess for the O ring that it needs to sit in.
Quoted for reiteration.
I'd even take it a step further and dry-fit ONLY GEARS (and pins). No o rings, not even outdrive cups... Or maybe one so you can check the diff action.
When I rebuilt my diffs with a 4 gear upgrade from Warren the first issues I had we're 1: indexing those tiny pins are hard and 2: the original 2 gear pin had no notch and worked it's way into my spare parts.