


 20Likes
Team Associated TC6 Thread
 12-18-2014, 08:41 AM
yes, lift it out of the bulkhead, rotate it, then re-insert the bearing holder so that each notch is in the same slot on both sides of the bulk head. Keep increasing one slot at a time until you reach the desired tension. With the TC6... I think the grooves are inside the plastic bearing holder itself... same concept with XRay.
 12-18-2014, 10:11 AM
thanks for the info...the bearing holder looks like it is 2 piece? do i rotate like a ratchet (like with a little force)..or simply rotate it and reinstall the bulk head? I took it apart yesterday and it just seems like it wants to lift out of the bearing holder and only fits in there one oblong way...lol sorry i told you i was a newb..
It shows how to adjust the tension of the belts in detail. I find myself looking at it everytime I need to adjust it. I can never remember what way does what. While you are at it make sure the "teeth" are clean on the diffs. Mine get carpet and sauce gunk caked in them from time to time and round out the slots making the belt easier to slip. You may want to invest in new belts if yours are worn. At least have a spare set.
12-18-2014, 12:21 PM
You could also download the TC6.1 manual.
It shows how to adjust the tension of the belts in detail. I find myself looking at it everytime I need to adjust it. I can never remember what way does what. While you are at it make sure the "teeth" are clean on the diffs. Mine get carpet and sauce gunk caked in them from time to time and round out the slots making the belt easier to slip. You may want to invest in new belts if yours are worn. At least have a spare set.
It shows how to adjust the tension of the belts in detail. I find myself looking at it everytime I need to adjust it. I can never remember what way does what. While you are at it make sure the "teeth" are clean on the diffs. Mine get carpet and sauce gunk caked in them from time to time and round out the slots making the belt easier to slip. You may want to invest in new belts if yours are worn. At least have a spare set.
12-18-2014, 04:37 PM
Ya I usually take out the top bearing cap screws and lift off the bearing caps without removing the camber links. Then I pop out the diffs, take the belts off, clean the teeth, then adjust the cam holders one or two teeth at a time looser or tighter depending on what I need. Make sure the left mirrors the right and reinstall.
12-19-2014, 07:55 AM
Hopefully I get to try the TC6.1 this weekend with the servo saver loctied the crap out of and settled for 2 weeks now.
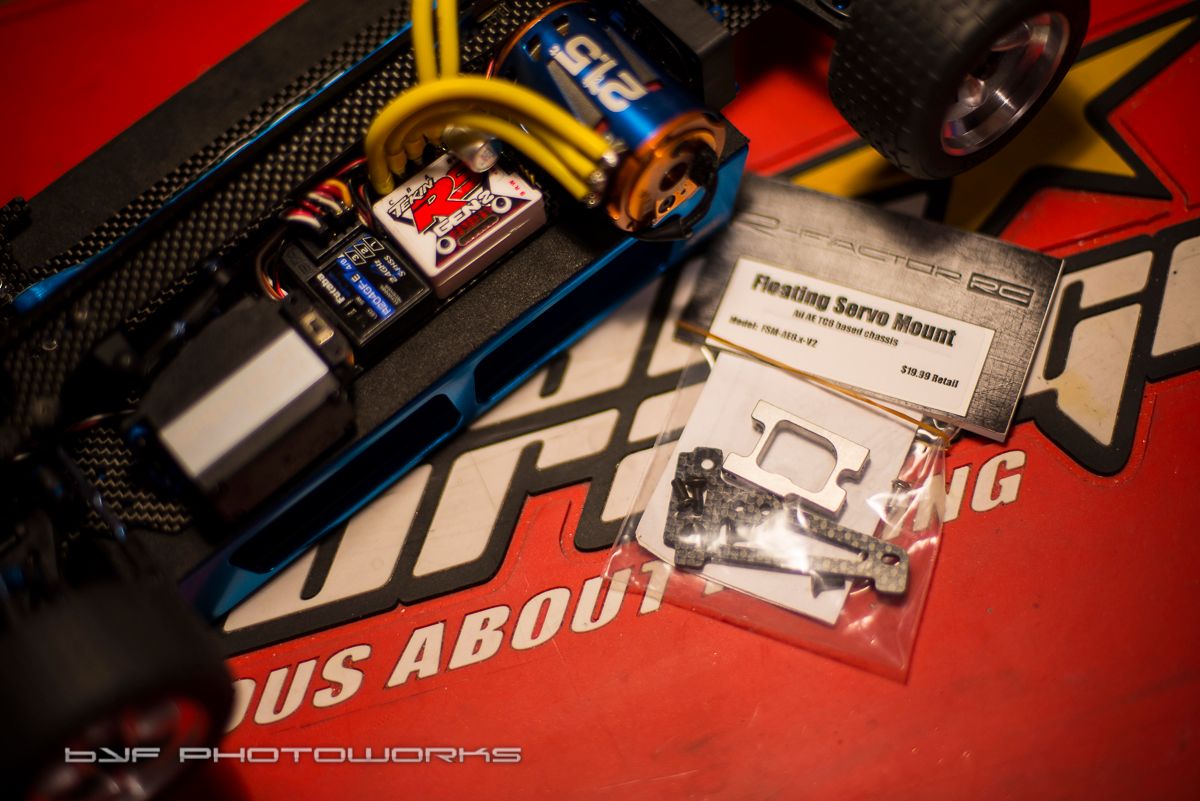
I did receive my Yodog's Floating Servo Mount kit, however haven't begun to plan or settle into the required installation, yet.
I did receive my Yodog's Floating Servo Mount kit, however haven't begun to plan or settle into the required installation, yet.
 12-19-2014, 10:00 AM

1 AE# 3983 ball stud to replace the button head screw on the Ackerman adjuster plate.
1 AE# 7499 ball cup to lengthen the servo link.
A servo saver is optional as this method bypasses the stock saver.
12-19-2014, 12:19 PM
I thought I'd mention that the servo mount requires 1 of each of these AE parts to complete the install.
1 AE# 3983 ball stud to replace the button head screw on the Ackerman adjuster plate.
1 AE# 7499 ball cup to lengthen the servo link.
A servo saver is optional as this method bypasses the stock saver.
1 AE# 3983 ball stud to replace the button head screw on the Ackerman adjuster plate.
1 AE# 7499 ball cup to lengthen the servo link.
A servo saver is optional as this method bypasses the stock saver.
 I meant I just have not accessed or scoped it out to the car.
12-19-2014, 01:32 PM
I meant I just have not accessed or scoped it out to the car.
12-19-2014, 01:32 PM

Someone else asked about the additional parts which led me to look up the P/N's.
Hopefully others see this post and the question will be answered already.
12-20-2014, 07:02 AM
Thanks! I'm looking forward to this conversion. I've ordered up the parts required as well as an X Ray servo saver.
12-20-2014, 10:34 AM
What do the numbers represent on the shaft of the turnbuckle eyelet that goes on the shock shaft?
12-20-2014, 10:34 PM
12-21-2014, 12:49 PM
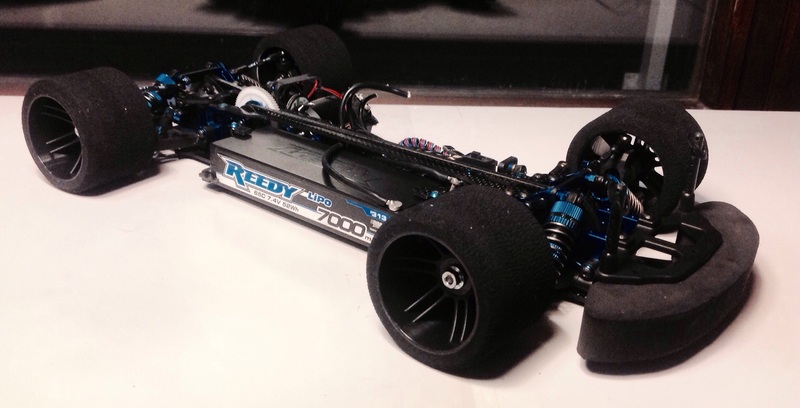
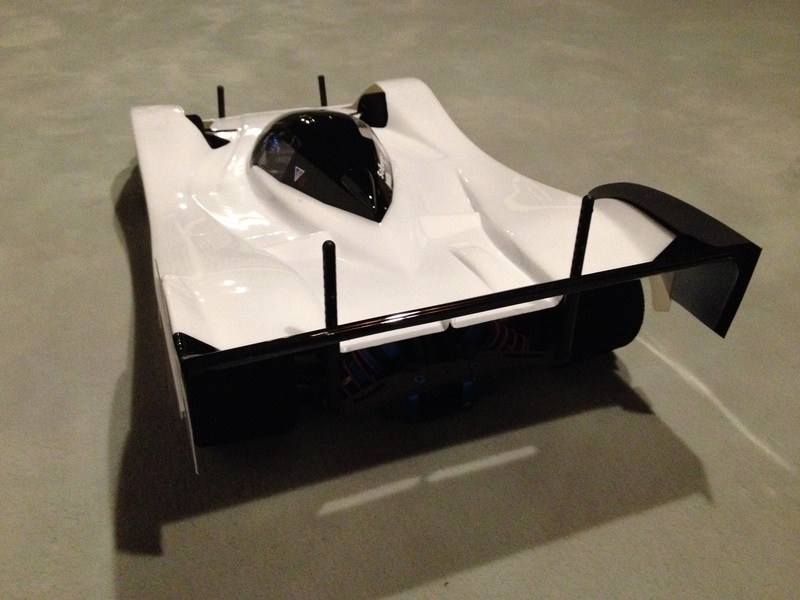
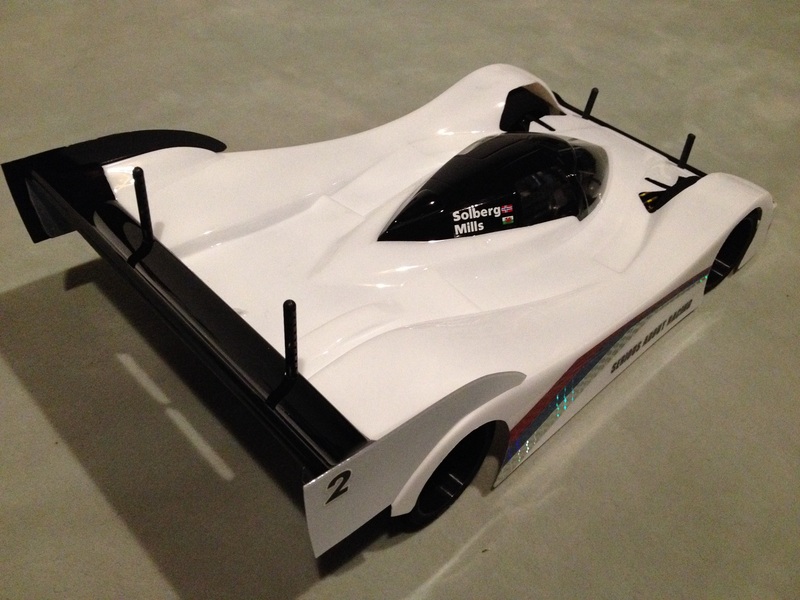
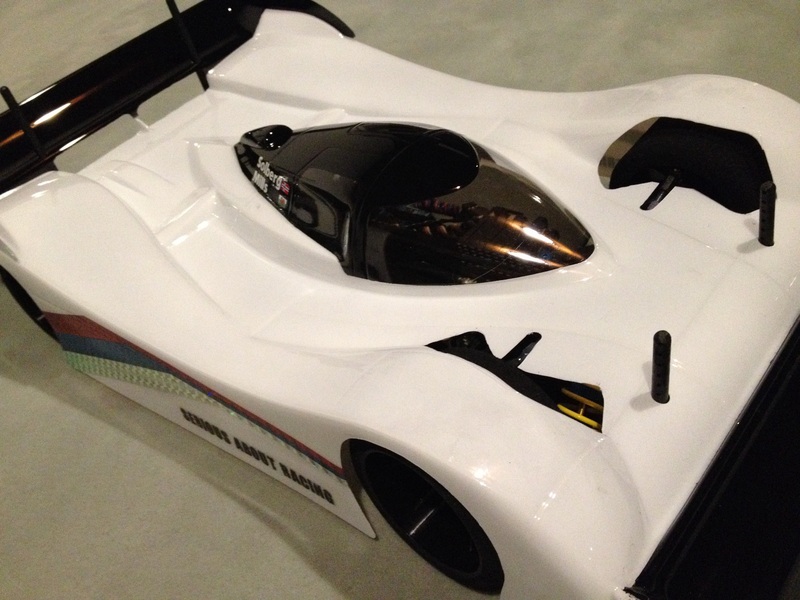
Today I finished my 6.1 conversion. I optimized the shock length, put on the old yellow and purple AE foam springs and finished the Protoform 905 body. It was again a lot of fun to work with the 6.1 chassis. With little effort and only minor problems it is adaptable to a lot of ideas.
I love the look of this beast


I love the look of this beast


 12-21-2014, 02:10 PM
 . I'm racing 12r5.2 and tc6 in my tc the tc servo keep coming on done like Iv read here now does this floating servo parts help or only floats the servo off the chassis ?
12-21-2014, 02:22 PM
. I'm racing 12r5.2 and tc6 in my tc the tc servo keep coming on done like Iv read here now does this floating servo parts help or only floats the servo off the chassis ?
12-21-2014, 02:22 PM
Today I finished my 6.1 conversion. I optimized the shock length, put on the old yellow and purple AE foam springs and finished the Protoform 905 body. It was again a lot of fun to work with the 6.1 chassis. With little effort and only minor problems it is adaptable to a lot of ideas.
I love the look of this beast
I love the look of this beast
 12-22-2014, 05:19 PM
I could use a little help with my setup...
TC6.1W.... lowered shock towers and WC top plate
I am have a really hard time getting the rear of the car planted... it really wants to over rotate from mid comer to exit.
i attached my setup from our club race yesterday.
WHAT THE Hxxx? my PDF is too big to upload! i need help on the too please.
TC6.1W.... lowered shock towers and WC top plate
I am have a really hard time getting the rear of the car planted... it really wants to over rotate from mid comer to exit.
i attached my setup from our club race yesterday.
WHAT THE Hxxx? my PDF is too big to upload! i need help on the too please.