


 2421Likes
Tekno RC EB410 Thread

 05-13-2019, 06:33 AM - Wikipost
|
|||
|
|||


 12-14-2017, 06:53 PM
#2821
So I put the shocks togather with the bladder I mentioned above. It was the perfect fit. No leaking no air in from the top cap. Using the aluminum caps. I used Gordo Tessmann method. He has a video on YouTube. I was able to get a rebound of 1 to 2 mm. I couldn�t get the suction out as Gordo explained. When I used his method to get the suction out, I get hydro lock at compression. I end up with leaving the suction in and have close to 0 rebound.
I have been having an issue with one rear shock. When I pump it fast, with out the cap on, I see air coming from the bottom. I replaced the seals, the bottom guide, the bottom O ring, the shock guaid, new bottom cap, slime, Protek blue grease, No help. Tried with the bottom cap full tightened, lose, half lose, no help. Air keeps coming in from the button as I pump it fast with out the cap. 😡😡😡😡😡
I built all of the shocks the same way, just an issue with one. I�m thinking the shamber where the seals and the guide are housed is off some how. When I tighten the bottom cap to the point where the shaft is difficult to push up, I still get air in from the bottom. WTF 😡😡😡
I want to test it Wed night, but playing with the F...ing shock took a lot of the time. Buggy still apart. It is 2 am and have to work tomorrow. I�m F....ing pissed.
Calling Tekno tomorrow
PS the rear hubs from Exotek are dialed. You have the option to lower the axel height like in the B6.
May need to use different O rings like TLR's or Kyosho's. I've been running emulsion shocks on 1/8 & 1/10 TLR cars for over 4 years now and after 3 months of running time my 1/10 shocks would build around 2mm of rebound in them. But having to bleed the shocks after every run is just ridiculous. Air is coming from shaft and maybe bleeder screw too. Hopefully, Tekno will start shipping eb410 kits with alum shock caps and start using a washer instead of the tiny O ring for the bleeder screw. If using TLR's O rings just use shock oil on them and u should be good. I believe shafts are 3.5mm same as TLR.
 12-14-2017, 09:24 PM
#2822
Tech Master
iTrader: (35)
Completed my build last night, just waiting for the body.
I only have 2 complaints, about my kit,
1. The wheel hexes we're too tight on the axles, I had to sand away the anodizing in the inside the hole to make them fit.
2. The kit didn't come with the 3x3mm set screws for the hexes, they were all 3x5mm which are too long and don't allow the wheel to go in without damaging it.(I double checked every set screw in the kit to make certain I didn't miss them and install the shorter ones somewhere else.)
Double check the set screws in the front spindles and compare them to the ones in the hexes. There is a chance you did the same thing. (read right passed the part you double checked! LOL)
Accidents do happen I suppose.
 12-15-2017, 05:12 AM
#2824
Tech Initiate
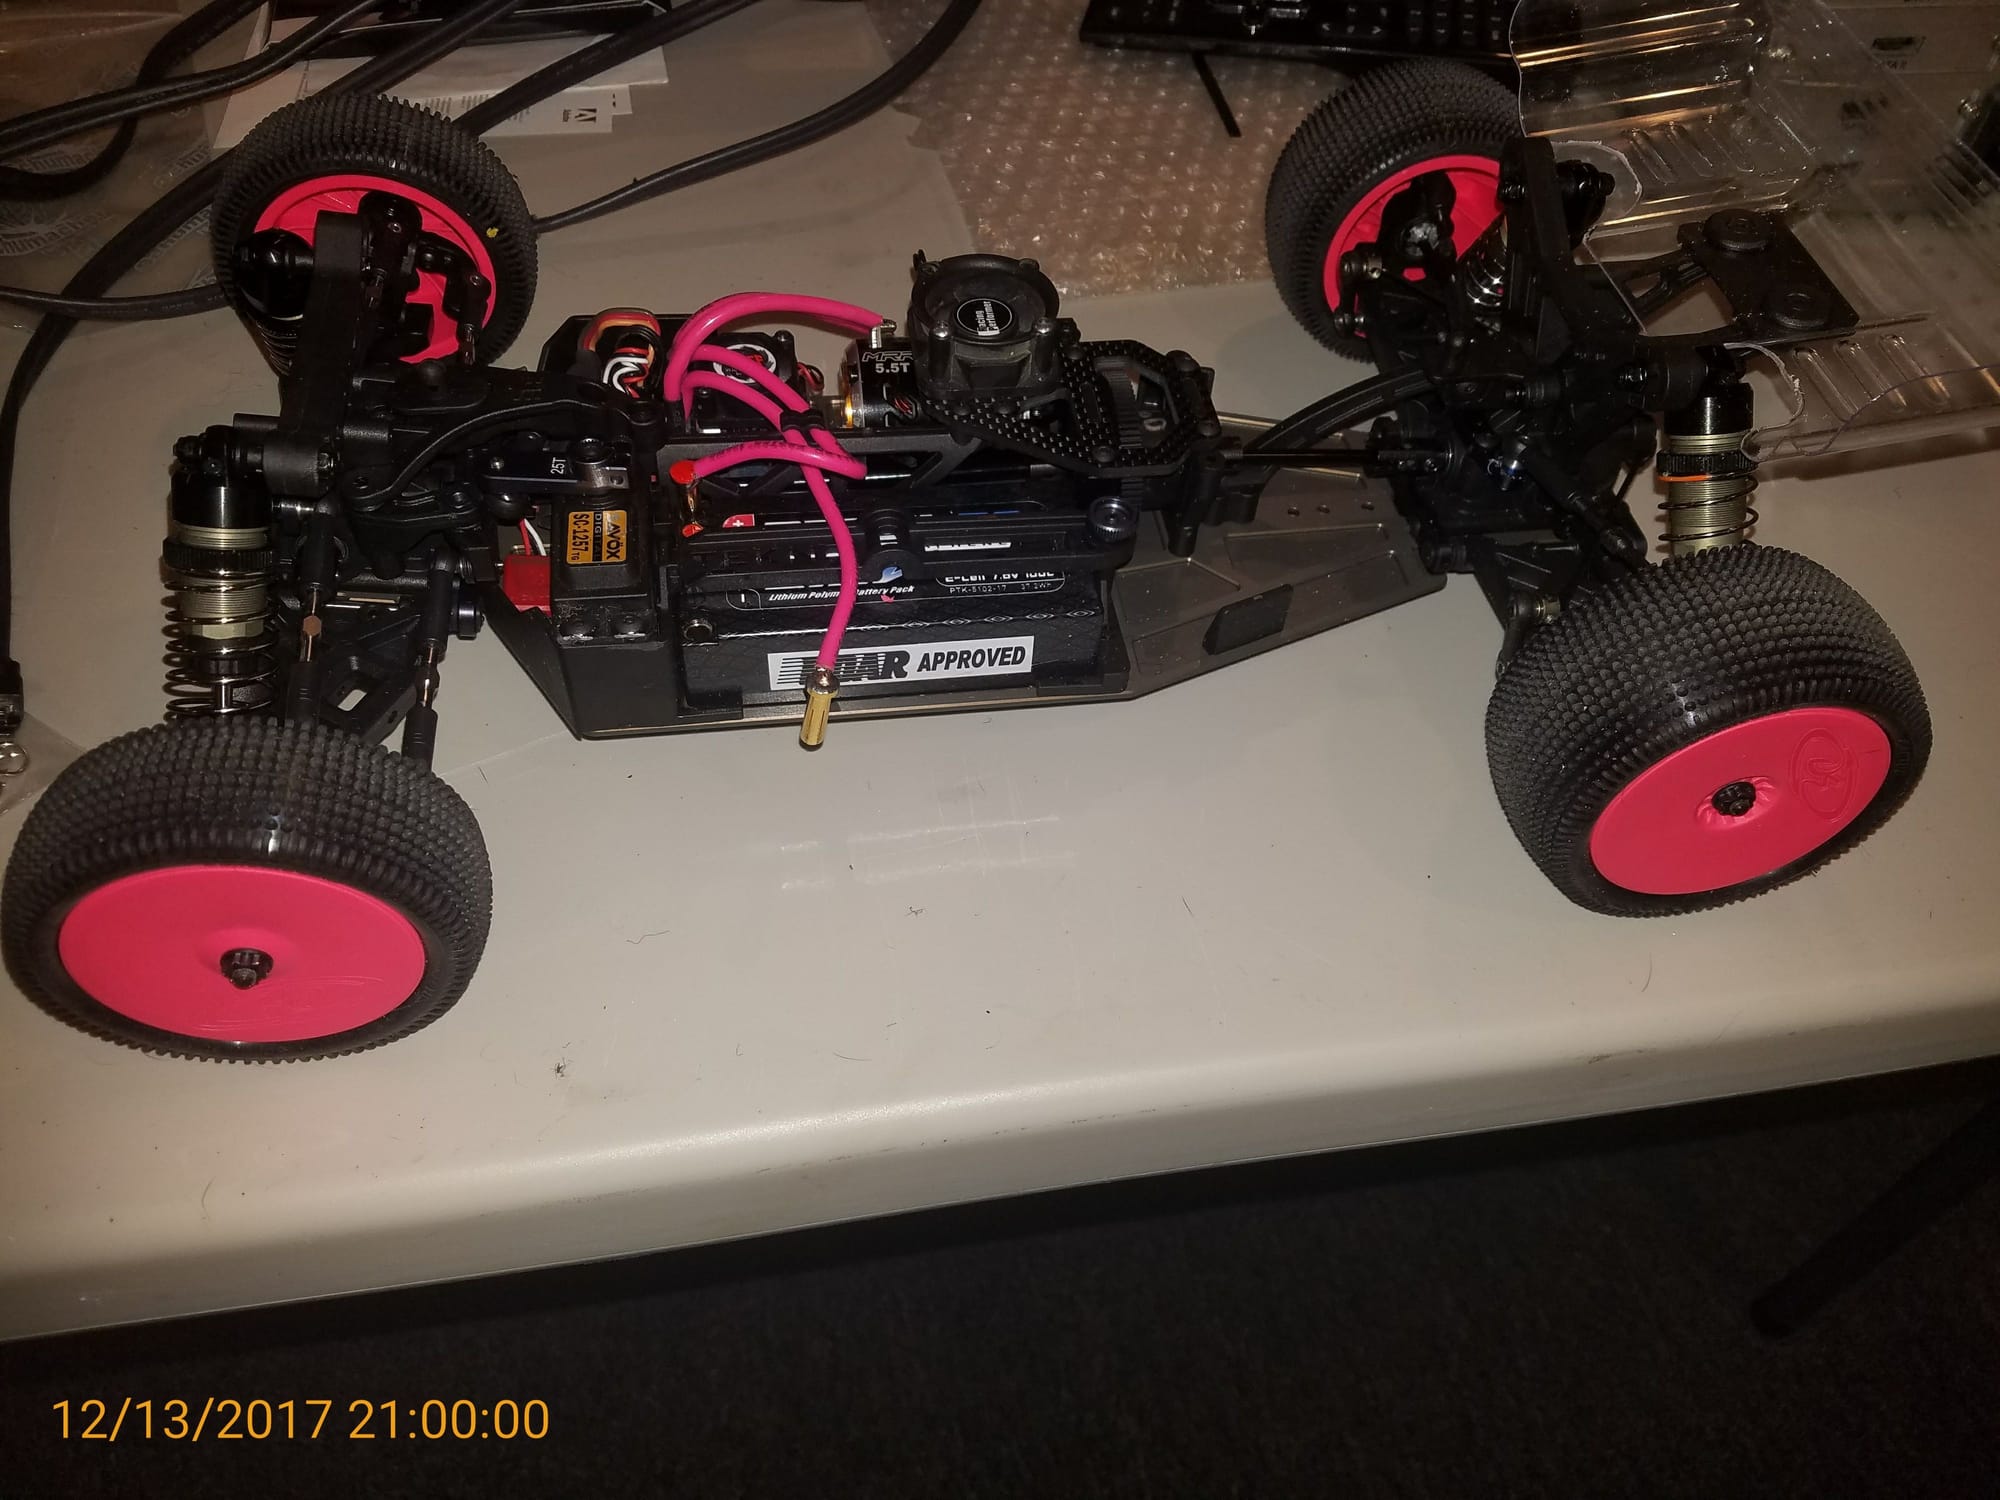
Had time to test the slipper properly yesterday. Ran a couple of packs and then checked the slipper. The slipper sits firm and tight and feels great in the car (I run 5.5t motor). The front and rear bones are tight and also feels great, no hazzle there.
Mounted Xray 1.8mm front sway bar, huge difference from the 1.4mm. Downsized from orange in the back to yellow. Will test this a Little more Before going back to the orange. I felt that the landing feels a Little better and no Bounce on the sections with a lot of bumps.
I also tested a new setup that felt really good, will post up later. Installed alu caps on the shocks now, what a difference. A much better feel even After several battery packs.
I run cactus both front and rear but will try wide stagger due to the bite in the cactus tire. It takes a couple of battery packs to tame the front cactus tires. Out of the box they are not easily driven. Some cut the sides and also glue the side walls for more stability. Glue is not allowed when racing just cutting, so I don�t want to do that on the tires.
12-15-2017, 08:22 AM
#2825
Hello All
Just a FYI our Exotek that's up for preorder should all be here tomorrow.
Also Check out the EB410 kit on our site, were running a special its quite a deal when using the codes.
I hope to be posting a pic of my personal EB410 soon, so I can join the fun with you all.
Thanks
Just a FYI our Exotek that's up for preorder should all be here tomorrow.
Also Check out the EB410 kit on our site, were running a special its quite a deal when using the codes.
I hope to be posting a pic of my personal EB410 soon, so I can join the fun with you all.
Thanks
12-15-2017, 06:41 PM
#2828
Tech Master
iTrader: (35)
Got a question for anyone who has had a little more time experimenting with the use of the rear braces. I notice a lot of the setups and even pics show guys running none or just the long one.
I ran mine with both and then ran with only the short and notice a nice difference in going over jumps and bumps with only the short brace. I haven't tried running just the long one though and that brings me to my actual question.
Why do people seem to run the long one and not the short one (if running any)? Is it you want flex but not that much?
Just going on what I know about general construction. The flex point (in the chassis) is at the end of the brace where it touches the chassis. The shorter the brace the more "unbraced" chassis is exposed between the points allowing more flex.
Clue me in please with what you know/think?
12-15-2017, 07:47 PM
#2830
Long only is definitely softer/flexier than long + short. I can tell a difference. Probably goes in order: both, long only, short only (stiff->flexy).
12-16-2017, 04:31 PM
#2832
So the stock kit comes with an 81 spur. The recommendations state for my type of track running a 13.5 motor to run 71/23 or 70/26. If I decide to stay with 81 spur....what pinion is recommended? Or should I just go 71/23? Whats the difference in performance when it comes to gear ratios? My track is large indoor clay with med/high traction.
12-16-2017, 05:31 PM
#2833
Tech Master
iTrader: (35)
you just have to do the math.
71/23=3.08
70/26=2.69 So if you wanted to use a 70 and get the close to the listed 71 you would actually want keep your pinion the same 70/23=3.04
What ratio are you going for?
81t equivalents would be;
81/27=3
81/30=2.7
71/23=3.08
70/26=2.69 So if you wanted to use a 70 and get the close to the listed 71 you would actually want keep your pinion the same 70/23=3.04
What ratio are you going for?
81t equivalents would be;
81/27=3
81/30=2.7
Last edited by Tbuggy; 12-16-2017 at 06:28 PM.
12-16-2017, 06:57 PM
#2834
12-16-2017, 07:40 PM
#2835
Tech Master
iTrader: (35)
So some feed back on the raceform shock towers. I have had mine installed only for a couple runs so far haven't even crashed or hit anything yet and there is a crack right where the shock mount is!
I reached out to raceform and their email doesn't work. I bought them from Fiercesolutions I reached out to them as well and just waiting to hear back. I was just curious if they had any guarantee or anything?
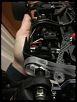
Maybe from being overtightened? And if thats the case thats pretty lame, I don't feel like I torque down on anything really.