Go Back  R/C Tech Forums > General Forums > Electric Off-Road
Tekno RC EB48.3 Thread >

Tekno RC EB48.3 Thread

Community
Wiki Posts
Search
Like Tree22Likes

Tekno RC EB48.3 Thread

    Hide Wikipost
Old 03-13-2017, 12:03 AM   -   Wikipost
R/C Tech ForumsThread Wiki: Tekno RC EB48.3 Thread
Please read: This is a community-maintained wiki post containing the most important information from this thread. You may edit the Wiki once you have been a member for 90 days and have made 90 posts.
 
Last edit by: MattDub
Welcome to the EB48.3 Wiki


What option parts should I consider buying with a new kit?
None are required but we recommend the following:

Springs:
Low Grip Track:
TKR8772 – Yellow Low Frequency Rear Springs and TKR8762 – Grey Low Frequency Front Springs

Low to Medium Grip Track:
TKR8773 – Orange Low Frequency Rear Springs and TKR8763 – Black Low Frequency Front Springs

Medium to High Grip Track:
TKR8774 - Red Low Frequency Rear Springs and TKR8764 - Pink Low Frequency Front Springs

TKR5199B – HRC Rear Hubs (L/R, CV or uni, EB/NB/ET/NT48/48.3) - Improves stability of the rear on mid to corner exit. Able to be on power earlier on corner exit.

TKR6146 - CNC Delrin Shock Cartridge Set

TiNi Shock Shafts
-TKR6017T (front)
-TKR6061T (rear)

This car is very durable. Here are the spare parts that I recommend you keep on hand:
TKR5020 – Hinge Pins (inner, front/rear)
TKR6061T – Rear Shock Shafts w/ TiNi Coating and TKR6017T – Front Shock Shafts w/ TiNi Coating
TKR5286 – Front Suspension Arms and TKR5184 – Rear Suspension Arms
TKR5194 – Spindle Carriers
TKR6009 – Shock O-Ring and Bladder Set (for 2 shocks)

Tips and Tricks

List of Vehicle Setup Adjustments and Build Tips can be found here. There are several videos and articles detailing the building of shocks, diffs, camber links, etc.

Page 3 Step K-3
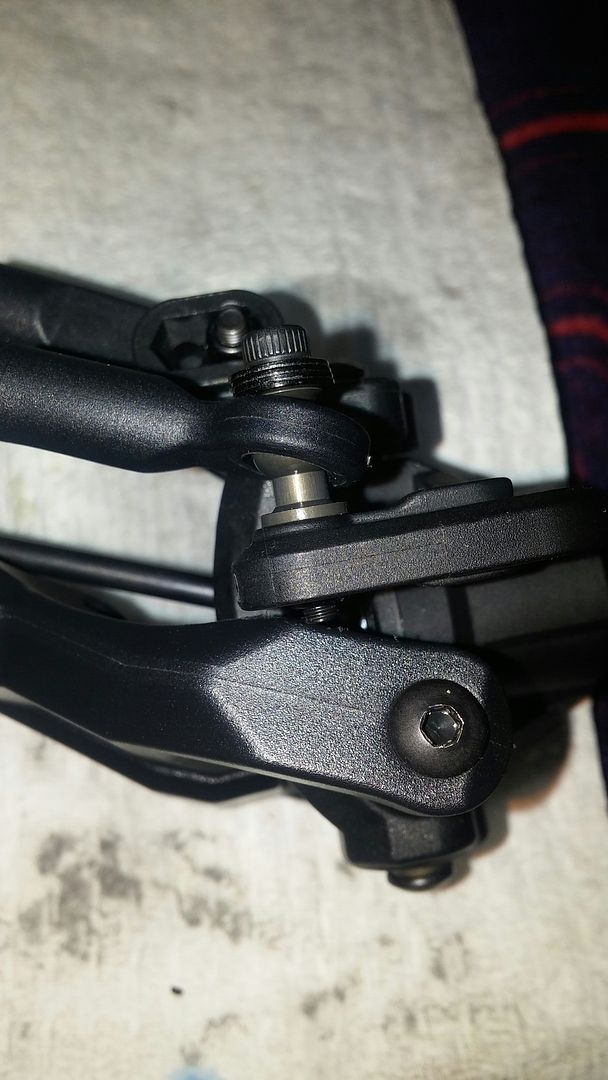
Put the screw in upside down so that the head of the screw is in the hex spot that's molded into the spindle. This will aid in clearance in full droop / full steering.

Page 12 Step I-2
Use no less than 4 shims on the steering spindle to limit steering throw. I actually just use one 2mm ball stud washer from my 10th scale stuff since each shim is .5mm.

Setup Sheets:
Setup sheets for all Tekno RC vehicles can be found here.

Warranty Policy:
Tekno RC is the only company in the industry that will give 50% off of parts if returned to them using the General Warranty return policy found on their website. The parts can be lightly used or completely abused, as long as the part is still being produced it's covered!

Piston Drills:
Some of our setups recommend using pistons that are enlarged. For instance 4x1.9 or 3x2.0. To drill the pistons we recommend the following:
GMK Supply Piston Drill Set
16PC Metric Bit Set Metric Sizes 2.00 to 3.00 MM.

Print Wikipost

Thread Tools
 
Search this Thread
 
Old 12-11-2015, 05:39 AM
  #886  
Tech Master
iTrader: (33)
 
Join Date: May 2003
Location: Greenville, SC
Posts: 1,486
Trader Rating: 33 (100%+)
Default

Originally Posted by qstorm777
Normally, when you set the droop, the screw won't run. What some are doing and I did on this last build is turn the screw upside down so the nut and threads are on top. If you have extra washers, you could also add more washers up top.
This or a shorter screw if you have one. As mentioned it doesn't normally rub much if at all when running, but if there are concerns just invert (that's what I do currently).
RokleM is offline  
Old 12-11-2015, 06:21 AM
  #887  
Tech Master
iTrader: (4)
 
wittyname's Avatar
 
Join Date: Aug 2012
Location: Hampton Roads
Posts: 1,884
Trader Rating: 4 (100%+)
Default

Originally Posted by R1Joel
Ran into a little problem today while building. When I push the front arms down (Shocks not built yet) the screw the holds the rod end on hits the arms. What can I do? Or what did I do wrong?

As the others have mentioned , when you get your shocks built and set the droop this will go away. My eb48.2 , my nb48, and the new 48.3 stuff all did this , it really is a non issue once the set up is on the car.
wittyname is offline  
Old 12-11-2015, 01:28 PM
  #888  
Tech Master
iTrader: (1)
 
R1Joel's Avatar
 
Join Date: Nov 2014
Location: Australia
Posts: 1,183
Trader Rating: 1 (100%+)
Default

Great. Thanks guys. I'll leave it as is for now. If it's a problem when the car is done I'll invert the screw.
R1Joel is offline  
Old 12-11-2015, 01:48 PM
  #889  
Tech Elite
 
werner sline's Avatar
 
Join Date: Dec 2012
Posts: 2,996
Default

Originally Posted by R1Joel
Great. Thanks guys. I'll leave it as is for now. If it's a problem when the car is done I'll invert the screw.
I would shorten the screw, because just like you, this would bother me !
werner sline is offline  
Old 12-11-2015, 07:52 PM
  #890  
Tech Master
iTrader: (1)
 
R1Joel's Avatar
 
Join Date: Nov 2014
Location: Australia
Posts: 1,183
Trader Rating: 1 (100%+)
Default

Ended up grinding the bottom of the screw off. I put it upside down aswell but a local with experience said he tried it upside down also and it kept coming loose even with Loctite. All sorted now though.
R1Joel is offline  
Old 12-11-2015, 10:31 PM
  #891  
Tech Master
Thread Starter
iTrader: (31)
 
Matthew_Armeni's Avatar
 
Join Date: Nov 2007
Location: Temecula
Posts: 1,864
Trader Rating: 31 (100%+)
Default

I like to run the lower shock mount screws (black normal threaded ones) upside down there. You can't fit any washers with it but the hex head keys in so you only need one 5.5mm wrench to remove the nut on top. Flipping the ball ends plus the 4 washers on the ackermann plate usually gives me all the bumpsteer adjustment I need.
Matthew_Armeni is offline  
Old 12-11-2015, 10:40 PM
  #892  
Tech Elite
 
werner sline's Avatar
 
Join Date: Dec 2012
Posts: 2,996
Default

Originally Posted by R1Joel
Ended up grinding the bottom of the screw off. I put it upside down aswell but a local with experience said he tried it upside down also and it kept coming loose even with Loctite. All sorted now though.
so I would finally change the screw for a round head one (2.5mm hex ) , I would put it upside down , I would get rid of the 3 washers and would put a nut ( nylstop ) on top of all that !
werner sline is offline  
Old 12-11-2015, 11:54 PM
  #893  
Tech Master
iTrader: (1)
 
R1Joel's Avatar
 
Join Date: Nov 2014
Location: Australia
Posts: 1,183
Trader Rating: 1 (100%+)
Default

Thanks for the info guys. I'll see how it goes with the standard setup.

I have another question. What rebound does everyone run with standard built shocks? Or is it better just to build them in the vent setup? I've only ever built standard so I a bit apprehensive of the vent style.
R1Joel is offline  
Old 12-12-2015, 12:25 AM
  #894  
Tech Elite
iTrader: (16)
 
justpoet's Avatar
 
Join Date: Jan 2012
Location: NH, USA
Posts: 2,063
Trader Rating: 16 (100%+)
Default

Originally Posted by R1Joel
Thanks for the info guys. I'll see how it goes with the standard setup.

I have another question. What rebound does everyone run with standard built shocks? Or is it better just to build them in the vent setup? I've only ever built standard so I a bit apprehensive of the vent style.
There are 3 styles of shock builds that are easily possible with the composite shock caps. Standard, Vented, and Emulsion. With the Aluminum caps, there are 2 options, Standard and Vented.

Emulsion builds use the bleeder screw, and are different shock builds than the others. Standard and Vented on the other hand are built exactly the same way, and rebound is set exactly the same way when building. The only difference is that a vented shock won't build up air pressure to make rebound faster like a standard shock build, since the cap itself is vented. I generally build with about 25% rebound.

I've personally preferred vented on almost all track conditions with all of my Tekno vehicles, but I often run stiffer springs than many as well, which can give me some of that faster rebound back as compared to others with softer springs.
justpoet is offline  
Old 12-12-2015, 12:53 AM
  #895  
Tech Master
iTrader: (1)
 
R1Joel's Avatar
 
Join Date: Nov 2014
Location: Australia
Posts: 1,183
Trader Rating: 1 (100%+)
Default

Thanks for your reply. I might try vented. I'm reading the manual and I can't really see the difference during the build between vented and standard. Do I build them exactly the same except the 15mm of shaft showing?

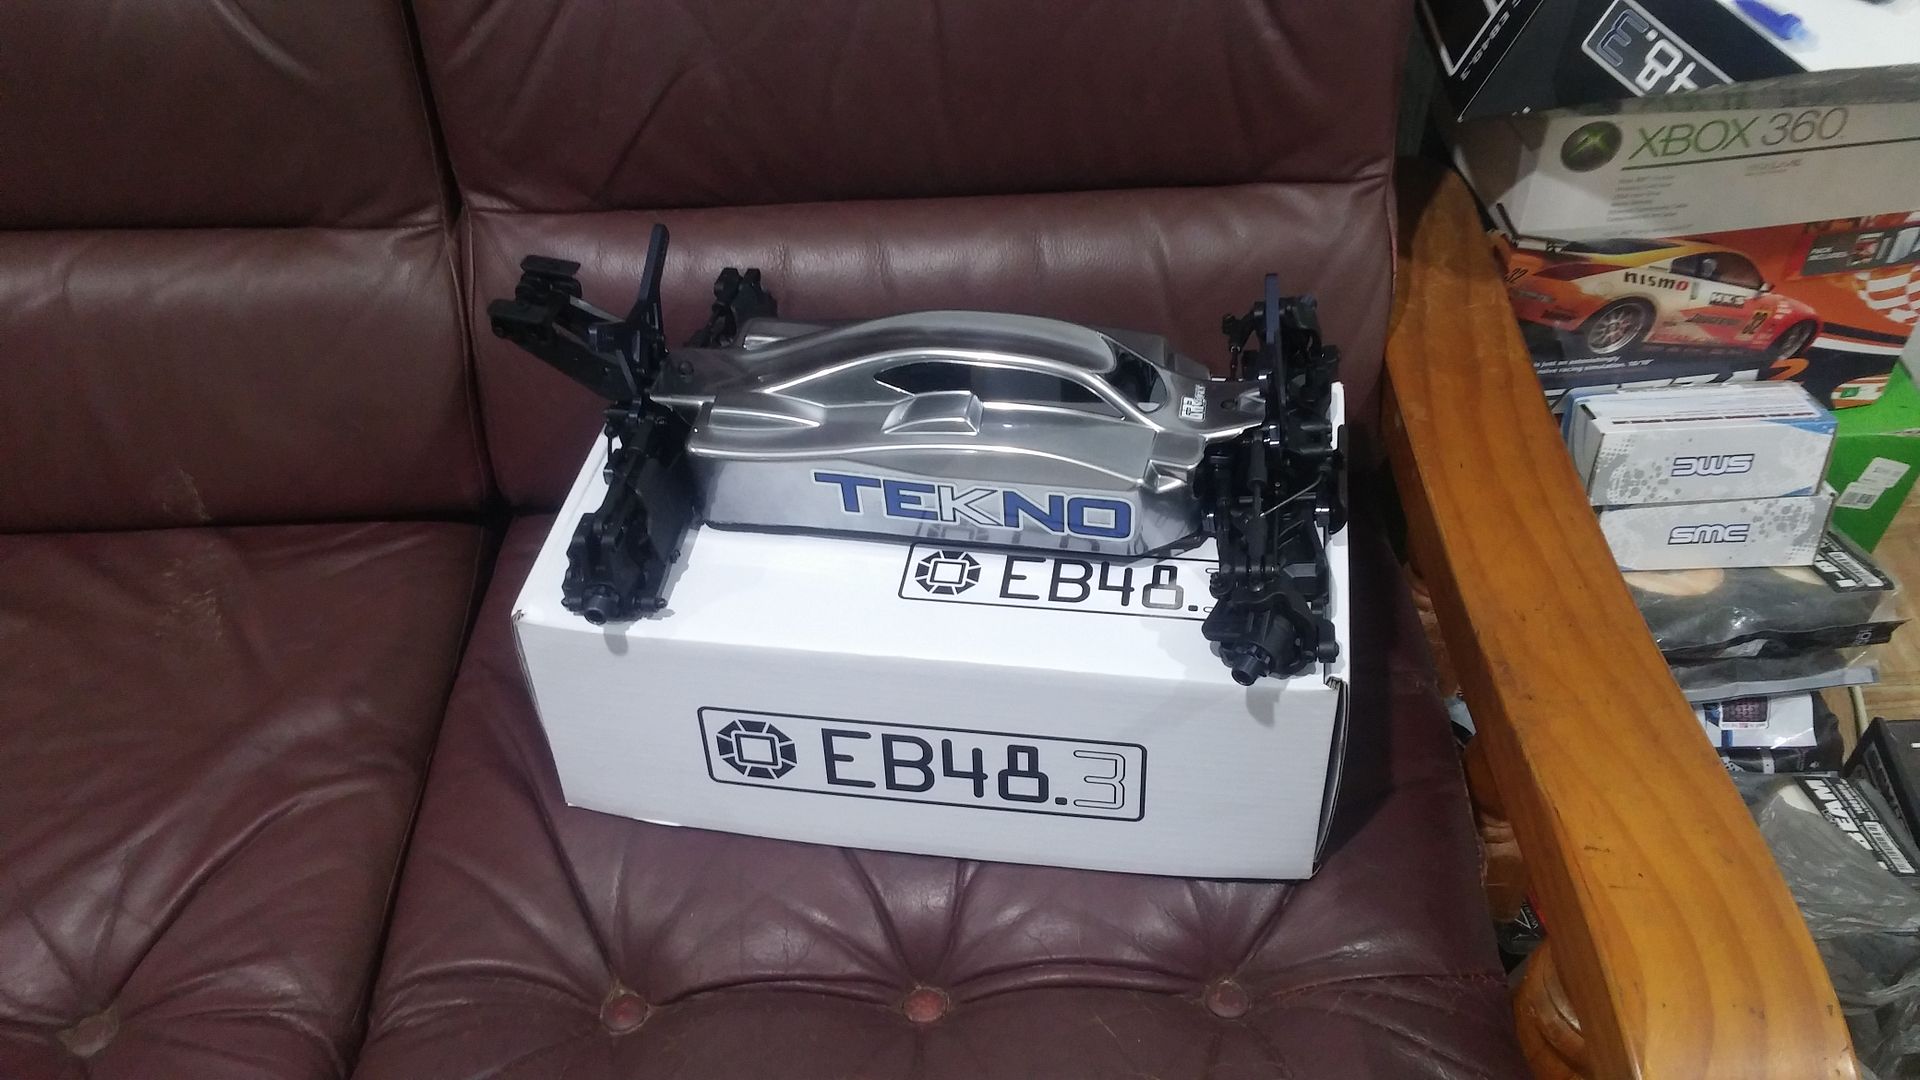
Also, got my practice body finished today. Have a Leadfinger Assassin on it's way from being professionally airbrushed.

Last edited by R1Joel; 12-12-2015 at 01:08 AM.
R1Joel is offline  
Old 12-12-2015, 05:08 AM
  #896  
Tech Adept
 
stanson's Avatar
 
Join Date: May 2014
Location: Warsaw, Poland
Posts: 178
Default

Almost done

stanson is offline  
Old 12-12-2015, 07:59 PM
  #897  
Tech Elite
iTrader: (16)
 
justpoet's Avatar
 
Join Date: Jan 2012
Location: NH, USA
Posts: 2,063
Trader Rating: 16 (100%+)
Default

Originally Posted by R1Joel
Thanks for your reply. I might try vented. I'm reading the manual and I can't really see the difference during the build between vented and standard. Do I build them exactly the same except the 15mm of shaft showing?
They build exactly the same. The only difference between standard and vented is if the shock cap has a hole in it to vent air out of the bladder area (vented), or if it is sealed to build up air pressure in the bladder area (standard).
justpoet is offline  
Old 12-13-2015, 01:48 PM
  #898  
Tech Master
iTrader: (1)
 
R1Joel's Avatar
 
Join Date: Nov 2014
Location: Australia
Posts: 1,183
Trader Rating: 1 (100%+)
Default

Originally Posted by justpoet
They build exactly the same. The only difference between standard and vented is if the shock cap has a hole in it to vent air out of the bladder area (vented), or if it is sealed to build up air pressure in the bladder area (standard).
Thanks for the explanation. So I have to put a hole in the shock cap or it comes standard with the hole in it?
R1Joel is offline  
Old 12-13-2015, 06:10 PM
  #899  
Tech Elite
iTrader: (33)
 
rcgod's Avatar
 
Join Date: Apr 2002
Location: Blackfoot Idaho.
Posts: 3,464
Trader Rating: 33 (100%+)
Default

Originally Posted by R1Joel
Thanks for the explanation. So I have to put a hole in the shock cap or it comes standard with the hole in it?
They come with a hole in them.
rcgod is offline  
Old 12-13-2015, 07:03 PM
  #900  
Tech Adept
iTrader: (4)
 
jason07's Avatar
 
Join Date: Nov 2010
Posts: 222
Trader Rating: 4 (100%+)
Default

Originally Posted by R1Joel
Thanks for the explanation. So I have to put a hole in the shock cap or it comes standard with the hole in it?
I didn't understand the explanation either. I did vented on mine
jason07 is offline  


Contact Us - Archive - Advertising - Cookie Policy - Privacy Statement - Terms of Service -

Copyright © 2024 MH Sub I, LLC dba Internet Brands. All rights reserved. Use of this site indicates your consent to the Terms of Use.