Go Back  R/C Tech Forums > General Forums > Electric Off-Road
AE  B6.2D / B6.2 Thread >

AE B6.2D / B6.2 Thread

Community
Wiki Posts
Search
Like Tree1409Likes

AE B6.2D / B6.2 Thread

    Hide Wikipost
Old 10-30-2020, 02:57 PM   -   Wikipost
R/C Tech ForumsThread Wiki: AE B6.2D / B6.2 Thread
Please read: This is a community-maintained wiki post containing the most important information from this thread. You may edit the Wiki once you have been a member for 90 days and have made 90 posts.
 
Last edit by: Kraig
Reference Guides (courtesy of Ray Munday and Roger M.): What is the difference between 2 gears and 4 gears in the gear diff?
Please read these posts by Roger M. Maybe this has been answered but what are the little orings in diff do for tuning?
Please read these posts by Roger M.
Information on the rear axles and the different length dog bones from Roger M.

The 0 (option) and +2 (kit) axles are for using different length driveshafts with the different arm lengths

Kit +2 axles

73mm arms wih 67mm driveshafts
75mm arms with 69mm driveshafts

Option 0 axles

73mm arms with 65mm driveshafts
75mm arms with 67mm driveshafts

Why would you want to change the driveshaft length?
It is essentially to do with the fact that a drive joint will want to run straight under power and the position of that joint (the pin through the CVA joint into the axle).
The further that CVA joint pin is inboard of the lower hub hingepin (assuming you're running fairly typical outer link positions) the more bind you will generate in the suspension as the drive joint tried to straighten under power, this extra binding will 'stiffen' the suspension as it adds load on top of that from the weight transfer on the car.
Conversely the the nearer the CVA joint pin is to lower hub hinge pin the less bind and thus freer suspension movement.

When would you want to change this?

Basically on bumpy tracks, tracks with inconsistent grip or lower grip you want the suspension to be as free to move as possible so that you get the full benefit from the shock and roll centre tuning, also the car feels like it has more grip in the areas where you go on/off/on the gas.
To this end you will be running the longest possible dog bone you can for the arm length, hence why the +2 axles are in the kit.

On smooth super high grip tracks (EOS / CRC carpet for example) running a shorter dogbone will feel like it takes grip away from the rear as you get on power, aiding late corner rotation and reducing the on-power understeer that often plagues tight carpet tracks.
The only time I would run the 0 axles is with 67mm dogbones on 75mm arms and only then when I wish I could get let rear toe than the 1deg minimum we can get from the pills we have (actually I had custom pill made so I can get 0deg rear toe for those types of tracks but ...)

What are the handling differences between the 73 and 75mm arms.
Brief explanation from RogerM (thanks!)

The arm length effects the roll centre and more significantly the roll centre migration as the car rolls in the corners.

Shorter rear arms will encourage more tire loading so more grip as the car rolls, great for lower grip surfaces but on high grip surfaces they can stall the rotation mid corner costing corner speed. They can also make the car feel more reactive which is good when a low grip level makes the car feel less reactive so making it harder to place in technical sections.

Long rear arms the opposite, car will rotate more freely for more corner speed but won't generate as much side-bite so mid/late corner will be reduced. Make the car feel naturally lazier which is great on high grip surfaces as it makes the car easier to drive overall.

So the long Vs short rear arm is just like the flat Vs gullwing front arm, all about the grip level from the surface and how technical the track layout is.


Print Wikipost

Thread Tools
 
Search this Thread
 
Old 04-20-2021, 05:03 AM
  #2431  
Tech Addict
 
Join Date: Mar 2011
Posts: 581
Default

Originally Posted by RogerM
Pretty much always run the 27.5mm shock bodies and lower tower in all conditions apart from on the wet astro car, reducing weight high up helps with both stability, roll control and direction change.
Makes sense re the tower. I haven't opened the 6.2 kit yet, so will look at various bits later this week. Just ordering up some more springs from Zen Racing atm.

I see the B6.3 manual has been released so will have a look re parts etc. Not planning on changing, just interested in the overlap etc. Spare towers etc I'd rather order the B6.3 options going forward etc.
mikeyscott is offline  
Old 04-21-2021, 01:38 PM
  #2432  
Tech Regular
 
Join Date: Feb 2004
Location: somewhere in the north of england
Posts: 497
Default

Originally Posted by RogerM
Setup doesn't look crazy, from my most recent encounter with Broxtowe I'd say 3deg toe and a white rear spring for certain.

The Mezzo does last well but it doesn't drive anywhere near as well as a Dart, guess it depends on you priorities really.
Running 3 deg in the rear now also did ray Mundays arm shortening trick went from being 4 sec of the pace to being 1 sec off the pace the car is much more driveable now. I think i need to change the pinion from 25 teeth to 23 teeth. Also I had done 12 races on the same setof mezzos with out the grip dropping off

RogerM likes this.
Smoking motor.. is offline  
Old 04-22-2021, 06:33 AM
  #2433  
Tech Master
 
Join Date: Dec 2005
Location: Cheltenham, Gloucestershire, England
Posts: 1,211
Default

Originally Posted by Smoking motor..
Running 3 deg in the rear now also did ray Mundays arm shortening trick went from being 4 sec of the pace to being 1 sec off the pace the car is much more driveable now. I think i need to change the pinion from 25 teeth to 23 teeth. Also I had done 12 races on the same setof mezzos with out the grip dropping off
Glad you're getting there with them. Still being 1s off the pace would be at least a full final down in qualifying around my way, if not 2 whole finals!

You might well have to drop down on the pinion with the Mezzos as they are a reasonable amount larger in diameter than Darts, I'd only go down 1 tooth at a time though.
RogerM is offline  
Old 04-22-2021, 11:54 AM
  #2434  
Tech Initiate
iTrader: (3)
 
Join Date: Sep 2020
Posts: 20
Trader Rating: 3 (100%+)
Default

ok guys. Son hit the wall last night in practice. He sheered off 1 of the screws in the front ball stud mount, part #91766. I thought instead of trying to find a way to get that screw out I'd just pay $5 for a new mount. But everywhere I'm seeing it says they're discontinued, even AE's website. Why would they discontinue this and is there a new AE alternative? Are there any better aftermarket options? Thanks
tycobb73 is offline  
Old 04-22-2021, 12:34 PM
  #2435  
Tech Addict
 
Join Date: Nov 2016
Posts: 680
Default

Originally Posted by tycobb73
ok guys. Son hit the wall last night in practice. He sheered off 1 of the screws in the front ball stud mount, part #91766. I thought instead of trying to find a way to get that screw out I'd just pay $5 for a new mount. But everywhere I'm seeing it says they're discontinued, even AE's website. Why would they discontinue this and is there a new AE alternative? Are there any better aftermarket options? Thanks
They have changed that part with the update on the .3 buggy. You are now looking for PN# 91884.
trf211 is offline  
Old 04-24-2021, 10:59 AM
  #2436  
Tech Champion
iTrader: (6)
 
trackdesigner71's Avatar
 
Join Date: Sep 2002
Location: Charlotte, NC
Posts: 5,617
Trader Rating: 6 (100%+)
Default


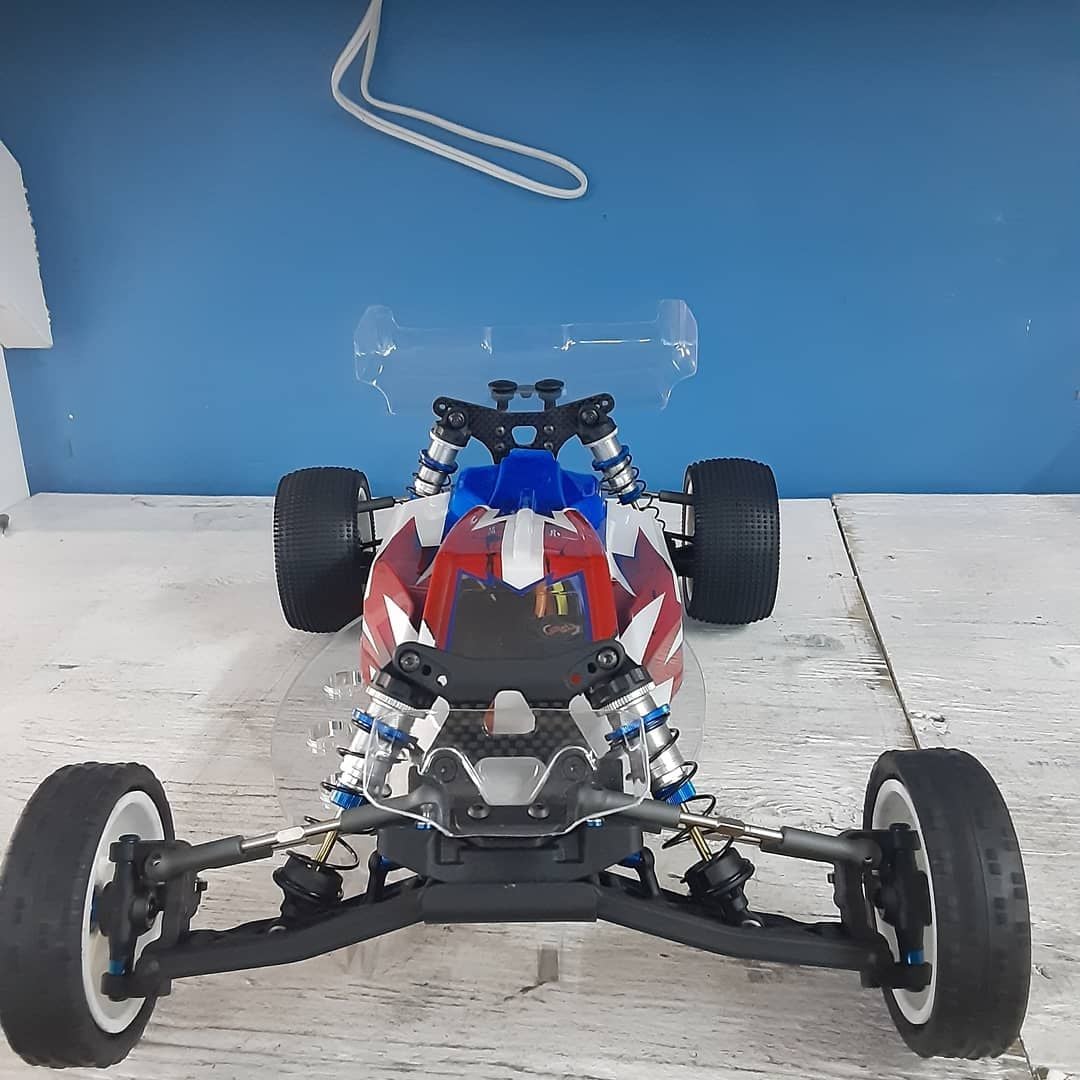
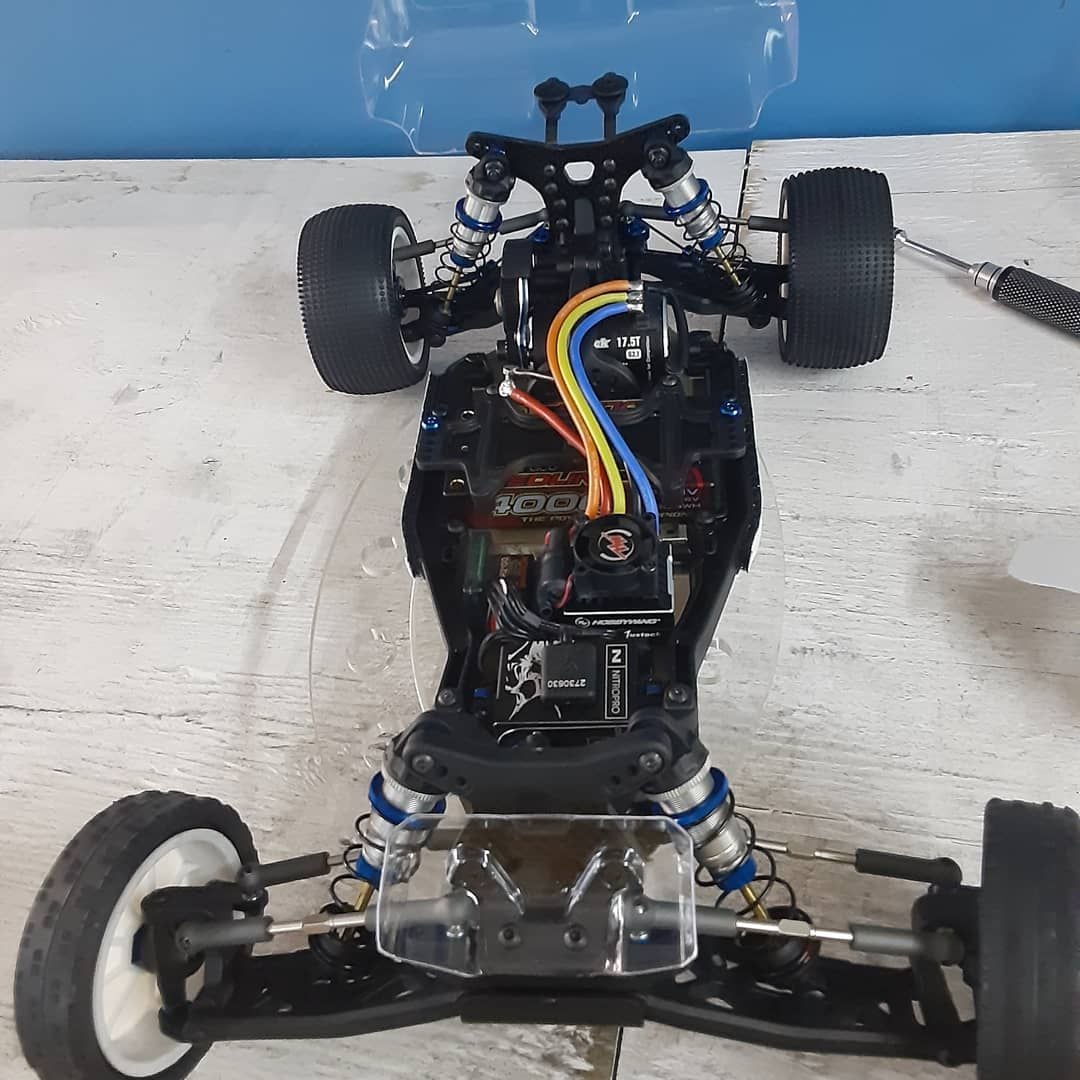
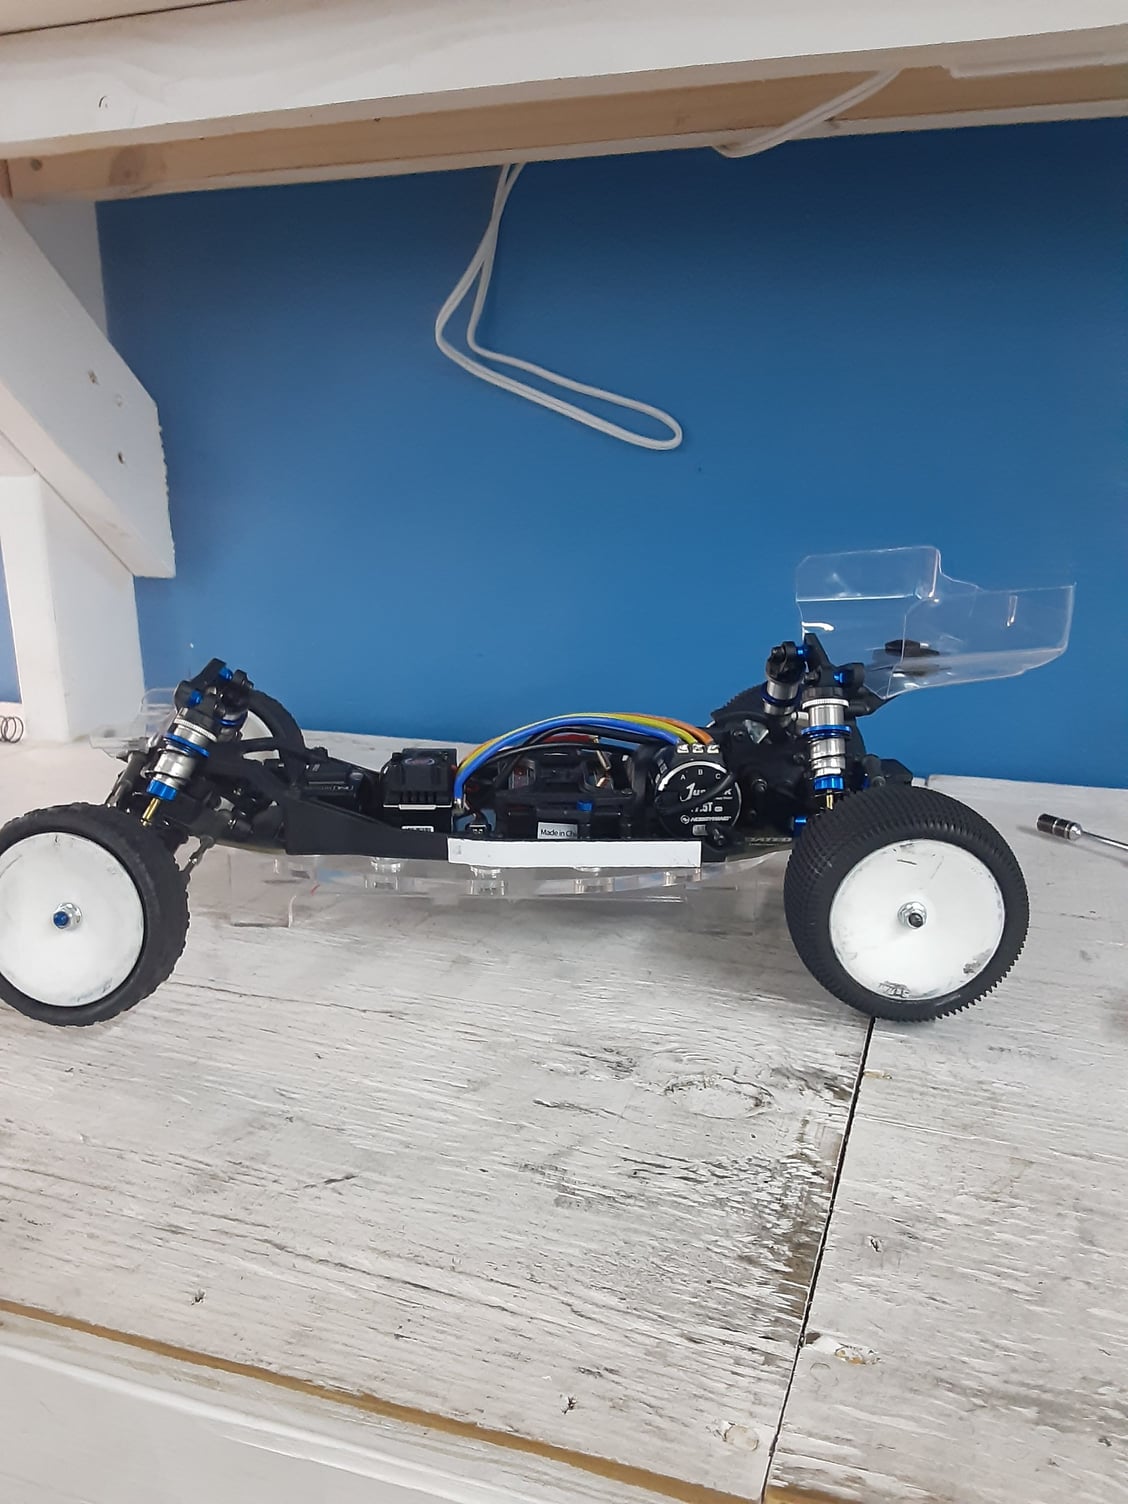
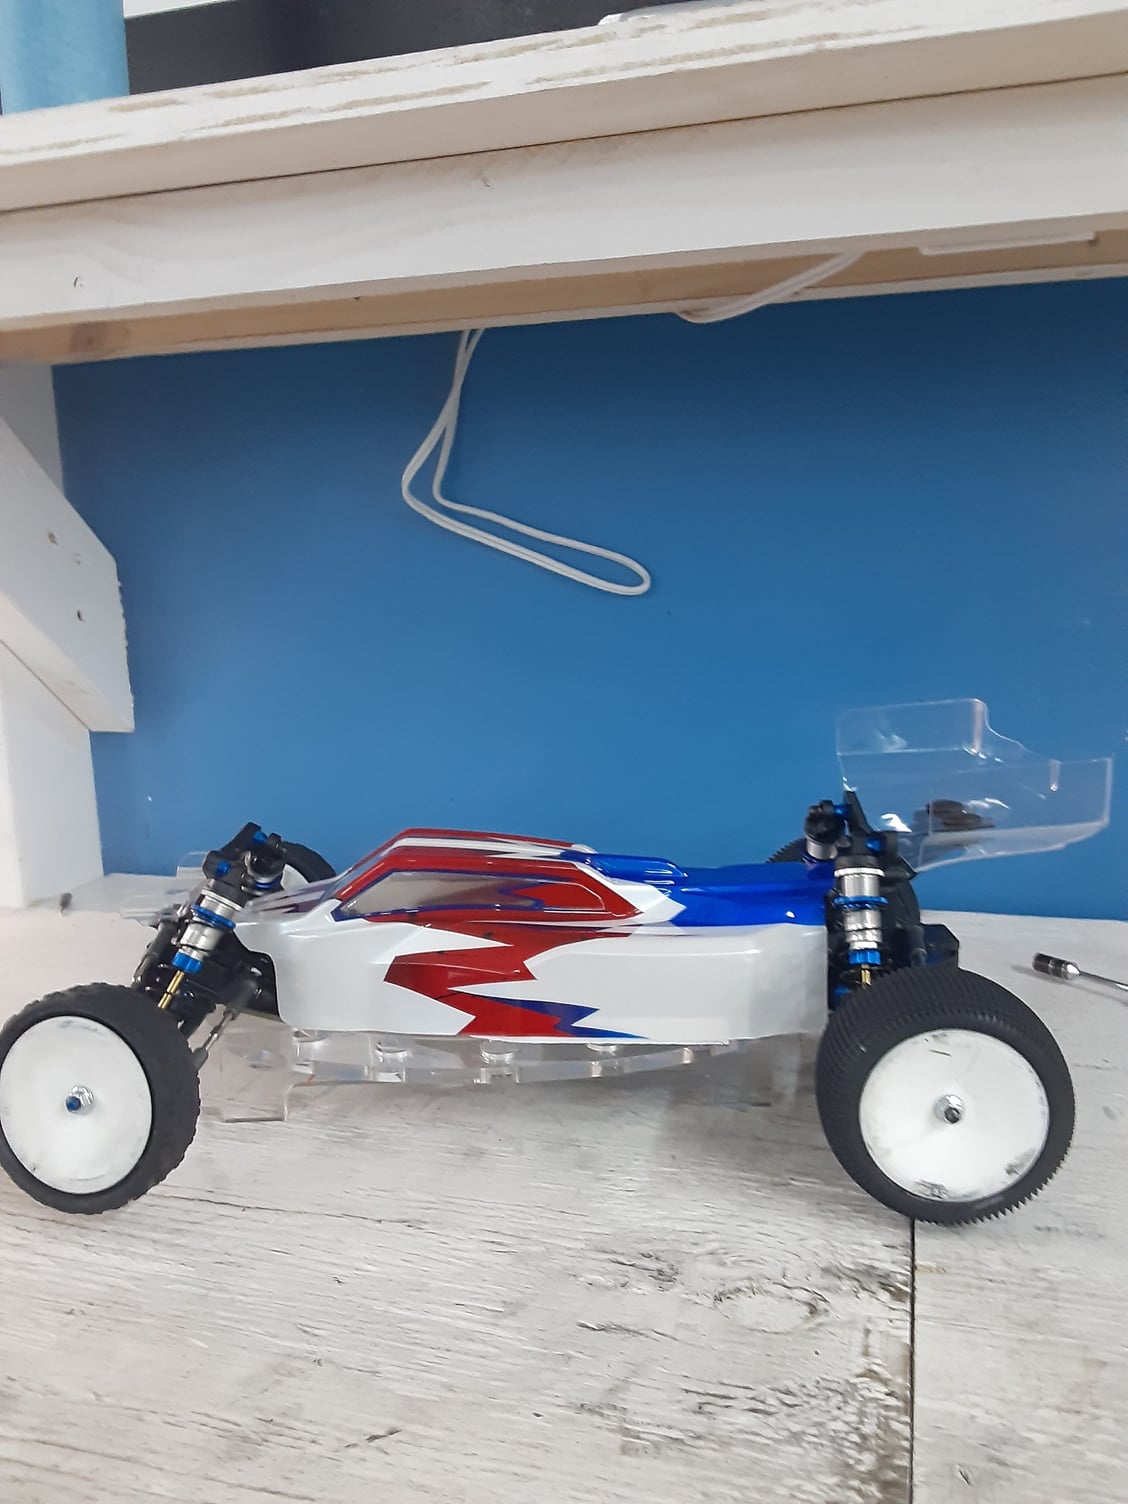
Finally got my B6.2 and took it out for it's first laps today
B4.2mtl likes this.
trackdesigner71 is offline  
Old 04-26-2021, 12:47 PM
  #2437  
Tech Regular
 
Join Date: Feb 2004
Location: somewhere in the north of england
Posts: 497
Default

Is there a bad batch of ball diff screws going around i snapped one after 3 races...

Has tried schumacher Mezzos with the tubby inserts it is supposed to improve side bite?


Smoking motor.. is offline  
Old 04-27-2021, 06:34 AM
  #2438  
Tech Addict
 
Join Date: Mar 2011
Posts: 581
Default

Originally Posted by RogerM
Pretty much always run the 27.5mm shock bodies and lower tower in all conditions apart from on the wet astro car, reducing weight high up helps with both stability, roll control and direction change.

Built the B6.2 shocks from the kit and have fitted them to my B6.1 DL with the lower tower, will see how I get on this weekend.

Shame there isn't stock of any HobbyWing 7.5T motors anywhere.
mikeyscott is offline  
Old 04-29-2021, 11:16 PM
  #2439  
Tech Initiate
 
Deeerek07's Avatar
 
Join Date: Oct 2020
Posts: 46
Default

Delete
Deeerek07 is offline  
Old 05-02-2021, 03:44 PM
  #2440  
Tech Regular
 
Join Date: Sep 2006
Posts: 271
Default

Confused with the chassis. Which one is the shorter one. The b6.2d and b6.1 are they the same? What about the b6.3d?
daz_75 is offline  
Old 05-02-2021, 03:58 PM
  #2441  
Tech Master
iTrader: (92)
 
Join Date: May 2015
Location: Grants Pass, Oregon
Posts: 1,142
Trader Rating: 92 (100%+)
Default

daz they are all the same or the three you listed as they are all the shorter chassis's.
RogerM and daz_75 like this.

Last edited by sksdean; 05-02-2021 at 06:01 PM.
sksdean is offline  
Old 05-03-2021, 02:30 AM
  #2442  
Tech Regular
 
Join Date: Sep 2006
Posts: 271
Default

Originally Posted by sksdean
daz they are all the same or the three you listed as they are all the shorter chassis's.
Thanks. So if I wanted to put a shorter chassis on my b6.2 I'd just pick the cheapest one of those apart from the 6.3d as that has different mounting for the servo
daz_75 is offline  
Old 05-03-2021, 10:52 PM
  #2443  
Tech Apprentice
iTrader: (3)
 
Join Date: Jan 2021
Location: Denver, CO
Posts: 74
Trader Rating: 3 (100%+)
Default

In case anyone was looking to upgrade parts to 6.3 spec the front servo mount is pretty easy. Order the Associated #91887 kit, it's the Factory Team version and includes the new blue ano aluminum chassis mounted servo mounts, carbon top cross plate, and all hardware required. The AE website had them for around $34 when I ordered a week or so go. There is no photo so it's hard to know if this part number has everything - it does.

To mount I drilled the holes in my 6.2 chassis using the existing side rail mounts as a guide; I just went down through them and then through the chassis. Use a counter sink bit on the underside for clearance then buzz off the old mounts with a cut off wheel from the side rails. Reinstall rails along with new mount and you're up and running. Took about 20 min total.
RogerM, daz_75, AmiSMB and 1 others like this.
Bicycle019 is offline  
Old 05-04-2021, 04:30 AM
  #2444  
Tech Master
 
Join Date: Dec 2005
Location: Cheltenham, Gloucestershire, England
Posts: 1,211
Default

Originally Posted by daz_75
Thanks. So if I wanted to put a shorter chassis on my b6.2 I'd just pick the cheapest one of those apart from the 6.3d as that has different mounting for the servo
I'd get the B6.3 chassis then it is ready for when you want to update to the new servo mount in the future, which will be better on high grip surfaces.
Using the B6.1/B6.2 side rails that you already have you can mount the servo the conventional way until you get the upgraded servo mount.
daz_75 likes this.
RogerM is offline  
Old 05-04-2021, 05:39 AM
  #2445  
Tech Master
iTrader: (16)
 
Join Date: Nov 2020
Location: Idaho
Posts: 1,822
Trader Rating: 16 (100%+)
Default

Originally Posted by Bicycle019
In case anyone was looking to upgrade parts to 6.3 spec the front servo mount is pretty easy. Order the Associated #91887 kit, it's the Factory Team version and includes the new blue ano aluminum chassis mounted servo mounts, carbon top cross plate, and all hardware required. The AE website had them for around $34 when I ordered a week or so go. There is no photo so it's hard to know if this part number has everything - it does.

To mount I drilled the holes in my 6.2 chassis using the existing side rail mounts as a guide; I just went down through them and then through the chassis. Use a counter sink bit on the underside for clearance then buzz off the old mounts with a cut off wheel from the side rails. Reinstall rails along with new mount and you're up and running. Took about 20 min total.
Thanks for the confirmation. Is there any indication when mounting (i.e. clearance issues or would it hit weight plate?) as to why the bottom of the servo mounts aren't flat for maximum contact to the chassis?

Last edited by Silverbullet555; 05-04-2021 at 06:14 AM.
Silverbullet555 is offline  


Contact Us - Archive - Advertising - Cookie Policy - Privacy Statement - Terms of Service -

Copyright © 2024 MH Sub I, LLC dba Internet Brands. All rights reserved. Use of this site indicates your consent to the Terms of Use.