

![U.S. Vintage Trans-Am [PICS & PAINT Discussion ONLY!!!]](https://www.rctech.net/forum/iconimages/painting-designs-graphics-photography/u-s-vintage-trans-am-%5Bpics-paint-discussion-only-%5D_ltr.gif)
 294Likes
U.S. Vintage Trans-Am [PICS & PAINT Discussion ONLY!!!]
 11-21-2009, 05:28 PM
#1126
Tamiya Wild Willy's driver.
I couldn't fit the whole guy, even after I cut his legs off.
It was a bargain @ $1.50 on eBay. Guy had him partially glued with some yellow hard glue. I had to break him in pieces clean up and glue again. Then paint, try to fit and cut.
I think he looks better than my true 1/10 scale driver.
Rob
I couldn't fit the whole guy, even after I cut his legs off.
It was a bargain @ $1.50 on eBay. Guy had him partially glued with some yellow hard glue. I had to break him in pieces clean up and glue again. Then paint, try to fit and cut.
I think he looks better than my true 1/10 scale driver.
Rob
 11-24-2009, 10:55 AM
#1127

A lot of us have posted before pictures of our bodies. I wanted to post some after pictures of an HPI 'Cuda.
These pictures are of an HPI 'Cuda painted with Testors Model Masters Sublime Green - lacquer paint in a rattle can (http://www.testors.com/products/137032). This body was primarily raced outdoors on parking lot asphalt. The barriers were made from wood and I tend to try to cut the corners too tight. I believe that I raced this body 17 weeks. I could continue to race it, but it would need some body repair on the front end.
As you can see in the photos, the paint has held up better than the body. If you look at the photos of the inside of the body I backed the green with Pactra Outlaw black, which helps protect the green. You will also see where I have applied drywall tape and silicone glue to reinforce the quarter panels/hood seam. This is important on the HPI 'Cuda as it will help prevent the front end/hood from drooping after repeated impacts. I also reinforced the front bumper/air dam as well as the corners between the front and quarter panels. You can also see that I used as little glue as was necessary to keep from adding too much weight.
Overall with a little body prep, the HPI cuda can last quite a long time.
Last edited by IndyRC_Racer; 11-24-2009 at 11:13 AM.
11-24-2009, 11:40 AM
#1128
Very nice post! I was just thinking about snapping some pics of my Camaro which will be in it's 17th week of races this week (indoor on carpet) - it's looking pretty shoddy up front!
I'm very impressed that the paint has stuck - is that due to good prep and the backing of a flexible paint do you think? I'd love to use some of the more authentic colors, but I always worry about the paint coming off...
I'm very impressed that the paint has stuck - is that due to good prep and the backing of a flexible paint do you think? I'd love to use some of the more authentic colors, but I always worry about the paint coming off...
11-24-2009, 12:29 PM
#1129
Very nice post! I was just thinking about snapping some pics of my Camaro which will be in it's 17th week of races this week (indoor on carpet) - it's looking pretty shoddy up front!
I'm very impressed that the paint has stuck - is that due to good prep and the backing of a flexible paint do you think? I'd love to use some of the more authentic colors, but I always worry about the paint coming off...
I'm very impressed that the paint has stuck - is that due to good prep and the backing of a flexible paint do you think? I'd love to use some of the more authentic colors, but I always worry about the paint coming off...
- If you are running a one piece body (HPI VTA Camaro), then you shouldn't have issues.
- If you are running a multi-piece body (HPI VTA Mustangs/'Cuda) or a body that needs some extra reinforcement (HPI VTA 'Cuda), I would back the paint.
Below is a close-up on the HPI 'Cuda where I've used double-sided tape to attach the rear of the body. You can see where the tape is pulling off the paint. This issue happened over time, but I may have been able to avoid the problem if I allowed the paint to cure longer. In the future I probably will use drywall tape/silicone glue & a screw to attach this section of the body.
Note: If you do use Shoe Goo or silcone glue to reinforce your body, make sure to test the glue on the wheel cut-outs. Some glues will affect the paint and cause it to discolor or soften up.
11-24-2009, 05:02 PM
#1130
Tamiya Wild Willy's driver.
I couldn't fit the whole guy, even after I cut his legs off.
It was a bargain @ $1.50 on eBay. Guy had him partially glued with some yellow hard glue. I had to break him in pieces clean up and glue again. Then paint, try to fit and cut.
I think he looks better than my true 1/10 scale driver.
Rob
I couldn't fit the whole guy, even after I cut his legs off.
It was a bargain @ $1.50 on eBay. Guy had him partially glued with some yellow hard glue. I had to break him in pieces clean up and glue again. Then paint, try to fit and cut.
I think he looks better than my true 1/10 scale driver.
Rob
11-26-2009, 11:25 AM
#1133
New rule:
All cars must include a driver figure consisting of at least a head and shoulders.
from http://usvintagetransam.com/rules/index.html
I got to keep cutting my guy, until I can make him fit in a car
Rob
All cars must include a driver figure consisting of at least a head and shoulders.
from http://usvintagetransam.com/rules/index.html
I got to keep cutting my guy, until I can make him fit in a car
Rob
11-26-2009, 06:12 PM
#1134
Driver must have head and shoulders? I have a fx10, the guy in it has a head with helmet, shoulders, with safety harness. One bad thing, he has a screw on top the helmet that holds him to the buggy body. Hope this helps some one to find a driver for there car.
 11-27-2009, 03:28 AM
#1136
Heaps of sweet rides out there. In the existing thread.......
http://www.rctech.net/forum/electric...sion-only.html
http://www.rctech.net/forum/electric...sion-only.html
11-27-2009, 03:55 AM
#1137
11-27-2009, 02:11 PM
#1139
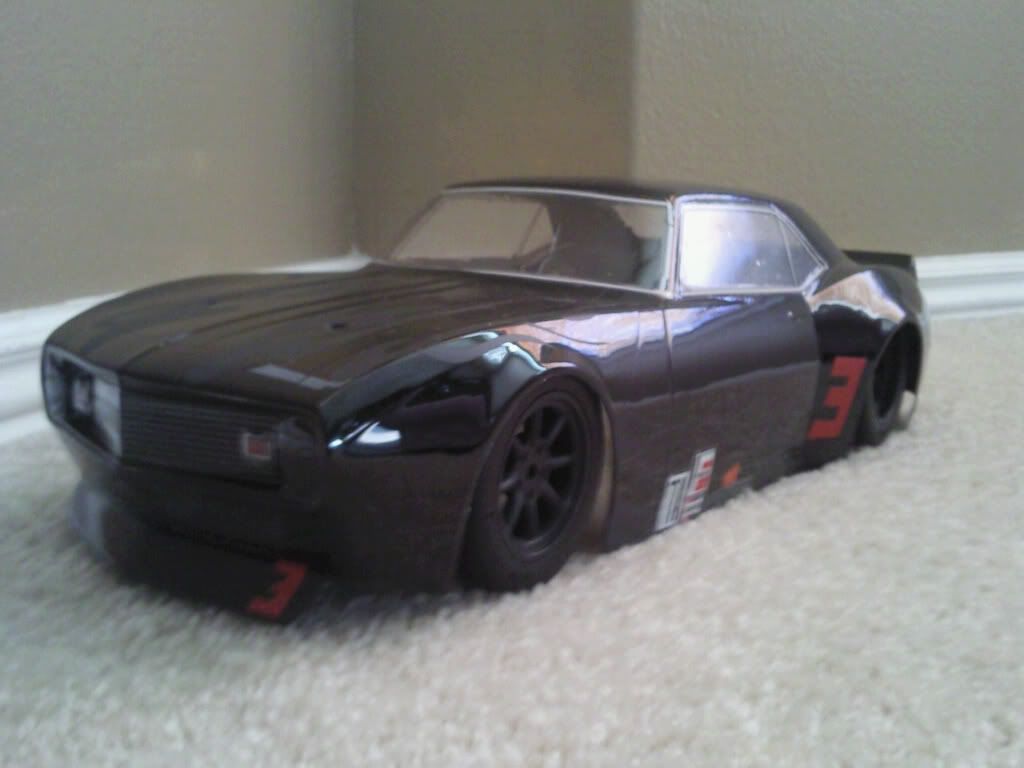
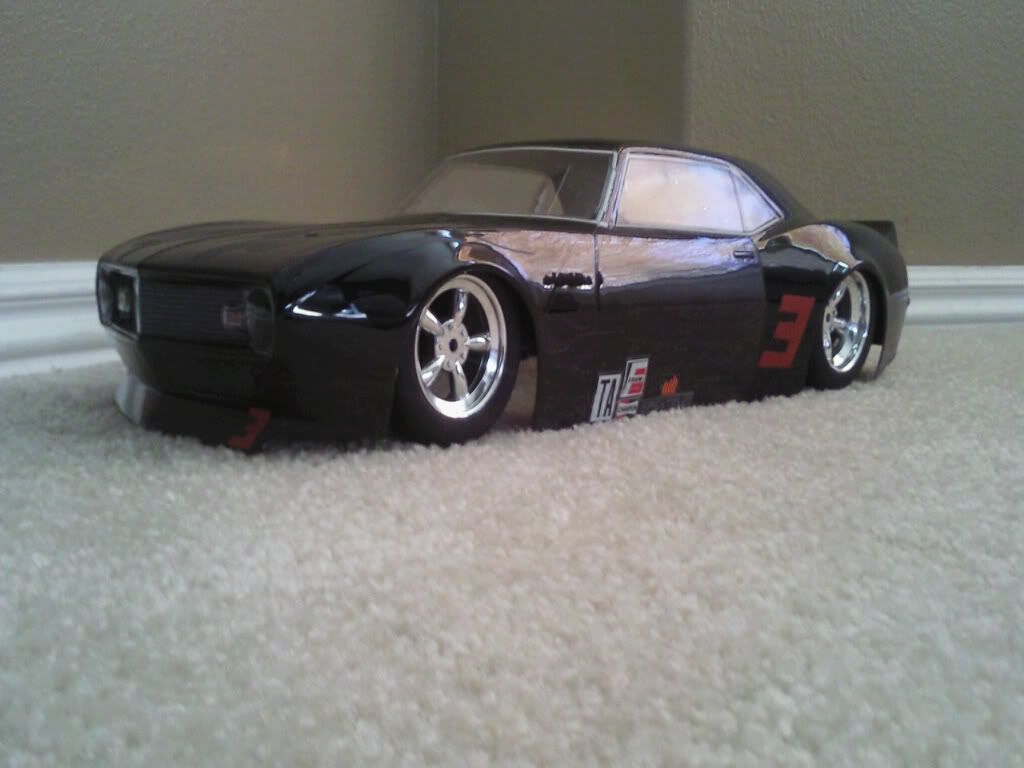
murdered out
11-29-2009, 09:12 PM
#1140
An interior is available from McAllister-#423 Stock Interior and Driver, along with a smaller driver figure #419 SPRINT CAR DRIVER

The interior picture is actually from a copy of Car Action from 1989 I happened to be looking at today. It is the exact same one as he has for sale. You will need to cut it down a bit for the TA bodies
The driver from the original RC10 kits is still an active part number from what I have been told.
Thanks to Eric Whiteside and Bob Oaks for this info.
EDIT #6810 is shown on the Associated website!!!!!