


TLR 22 BUILD WALK-THRU


 03-14-2011, 08:48 PM
#17
Tech Adept
Nice Casey! I'm sure people will appreciate all the building tips 
03-14-2011, 08:58 PM
#19
Tech Master
Thread Starter
iTrader: (5)
Join Date: May 2005
Location: Having fun racing toy cars in beautiful AZ
Posts: 1,716
Trader Rating: 5 (100%+)
 03-14-2011, 09:39 PM
#20
I never thought I would ever say this but, your wedding band is pretty bad ass my friend! haha Back to the build now!
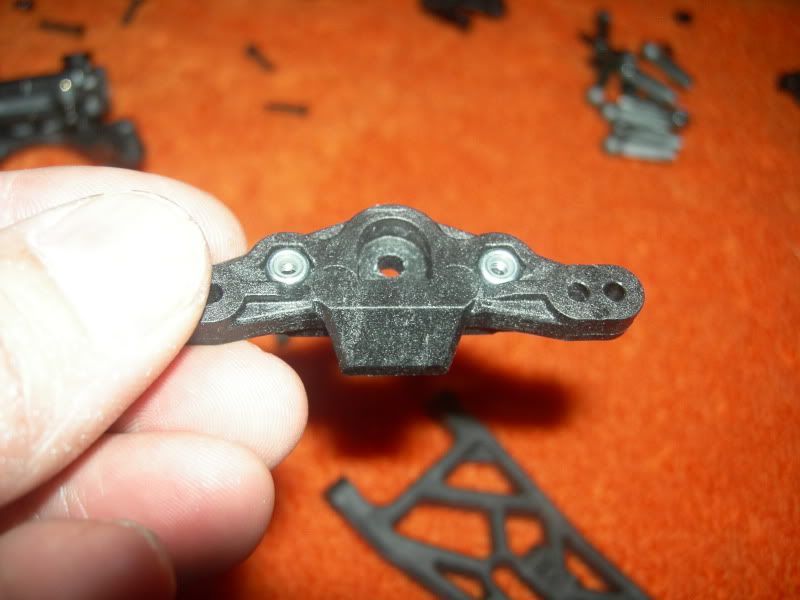
install rack inserts
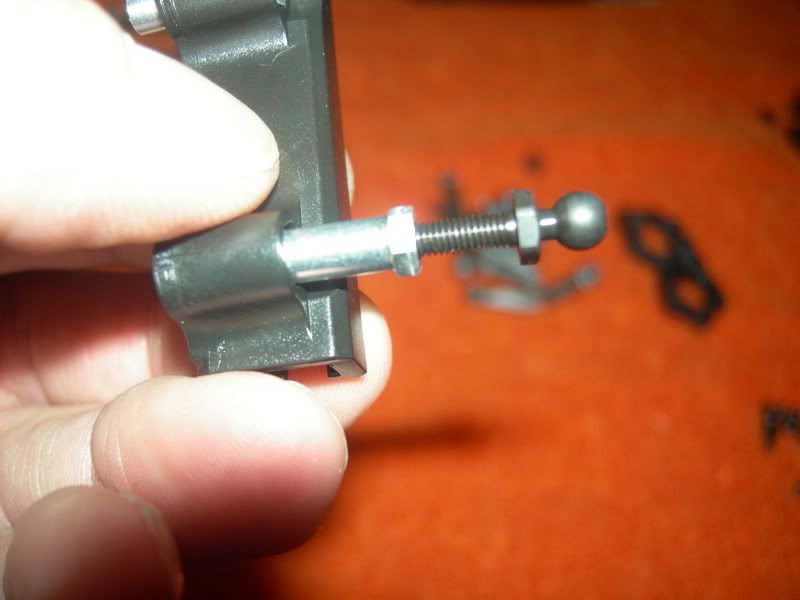
I like to use a screw (ball stud this time) to install the insert, this way you can control the way it go into the molded hex in the plastic. And remove it if you need to try again

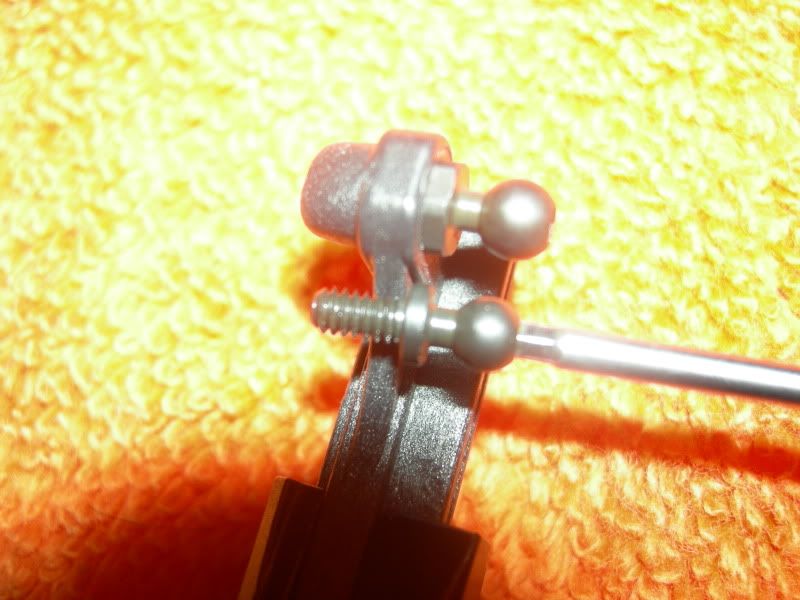
install ball studs into the rack. There are 2 large diameter ones that go to the outside of the rack and the small one (shown next to the larger one in the pic) The small one is the odd ball stud as the larger ones are common through out the rest of the car.
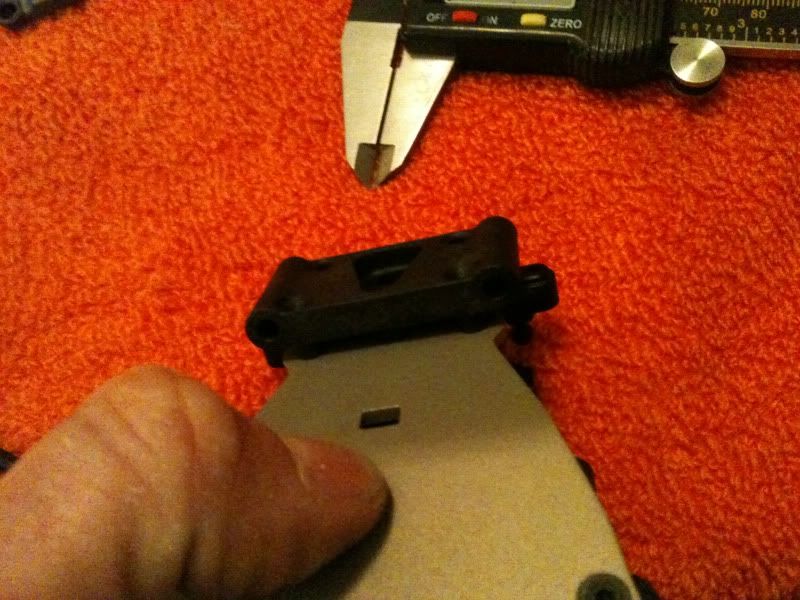
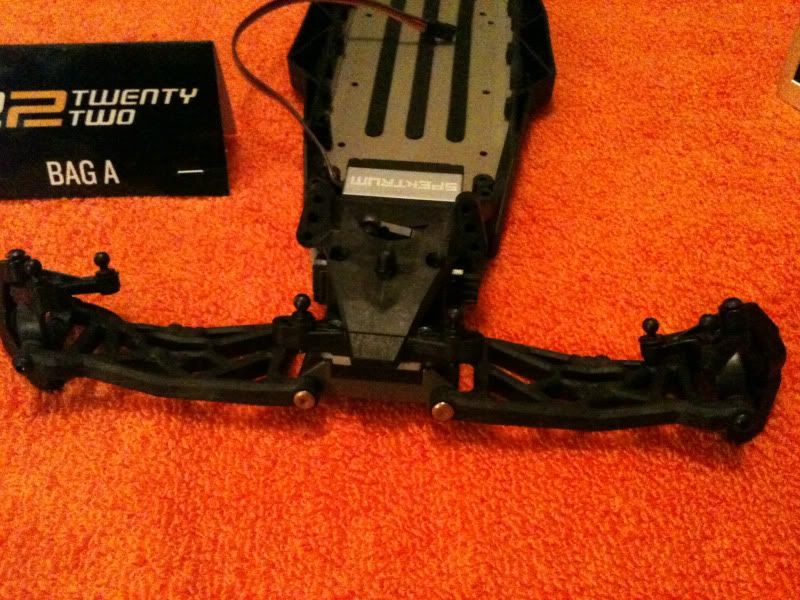
completed rack going onto the bulkhead
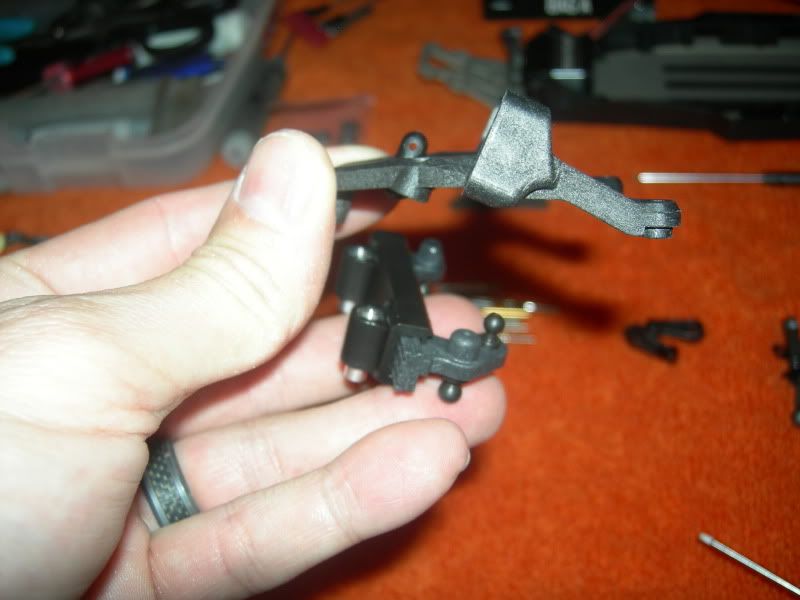
install nuts into camber link mount
install cone shaped spacers
I like to use a screw (ball stud this time) to install the insert, this way you can control the way it go into the molded hex in the plastic. And remove it if you need to try again
install ball studs into the rack. There are 2 large diameter ones that go to the outside of the rack and the small one (shown next to the larger one in the pic) The small one is the odd ball stud as the larger ones are common through out the rest of the car.
completed rack going onto the bulkhead
install nuts into camber link mount
install cone shaped spacers
03-14-2011, 09:45 PM
#21
Tech Master
Thread Starter
iTrader: (5)
Join Date: May 2005
Location: Having fun racing toy cars in beautiful AZ
Posts: 1,716
Trader Rating: 5 (100%+)
the rest of these are from my phone and kinda terrible, sorry guys

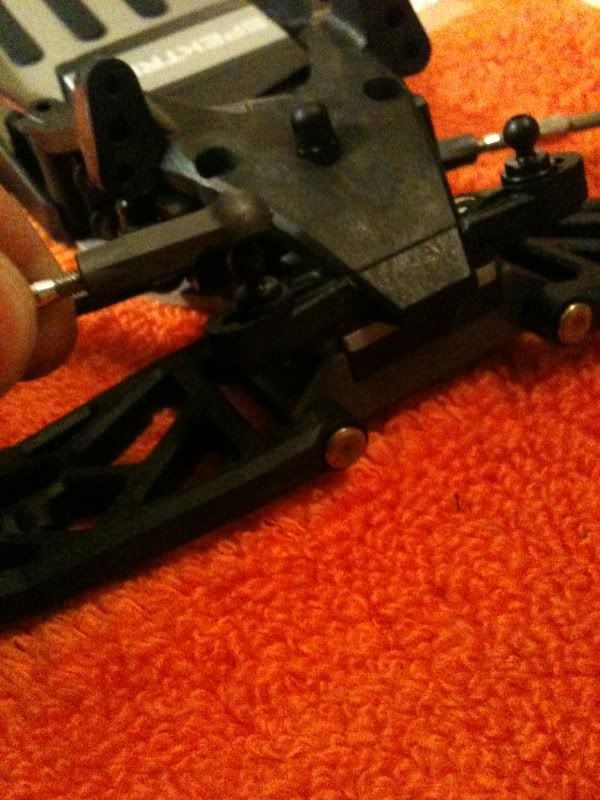
a little locktite on the axle screw
tightening the axle srcew
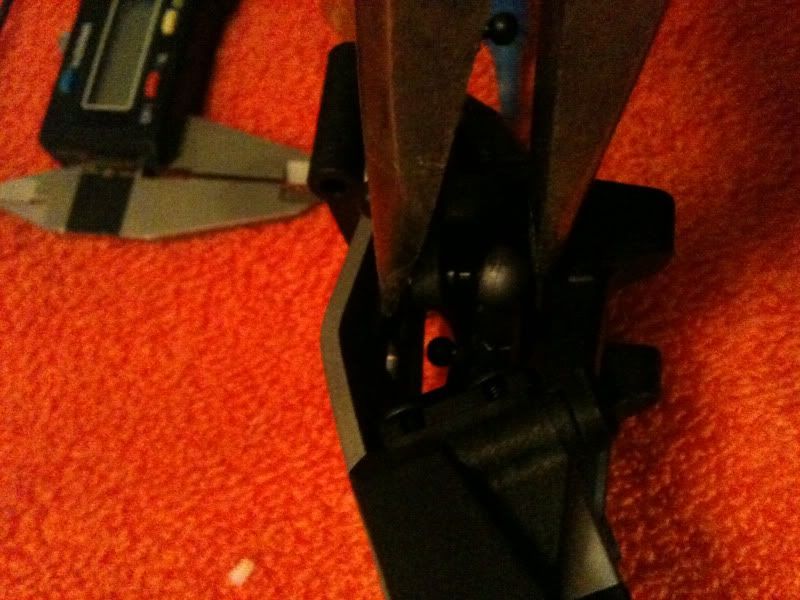
arm with caster block and axle installed
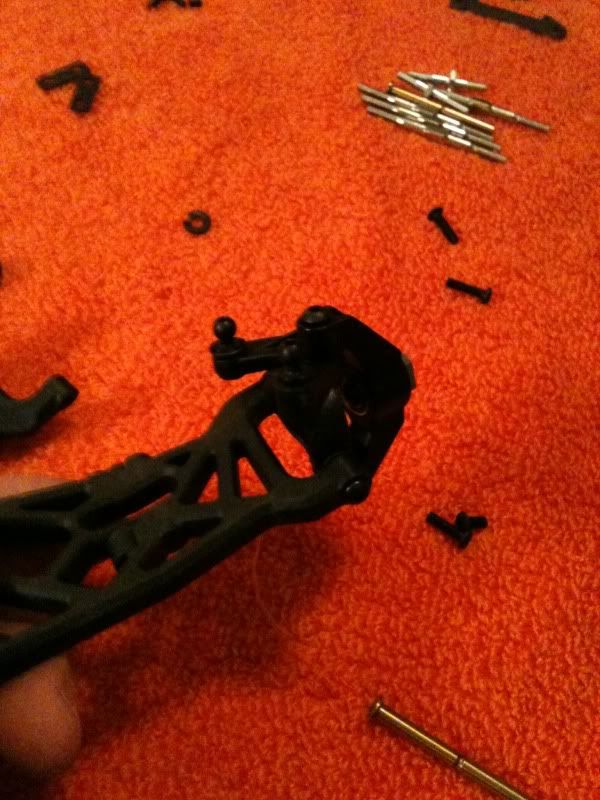
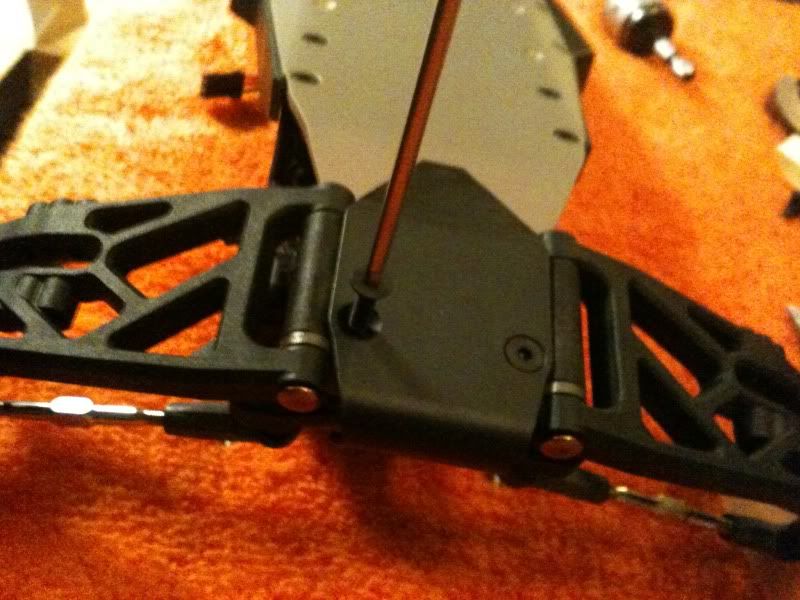
hinge pin brace. Its soo cool how so many of these parts "key" in to the place they belong
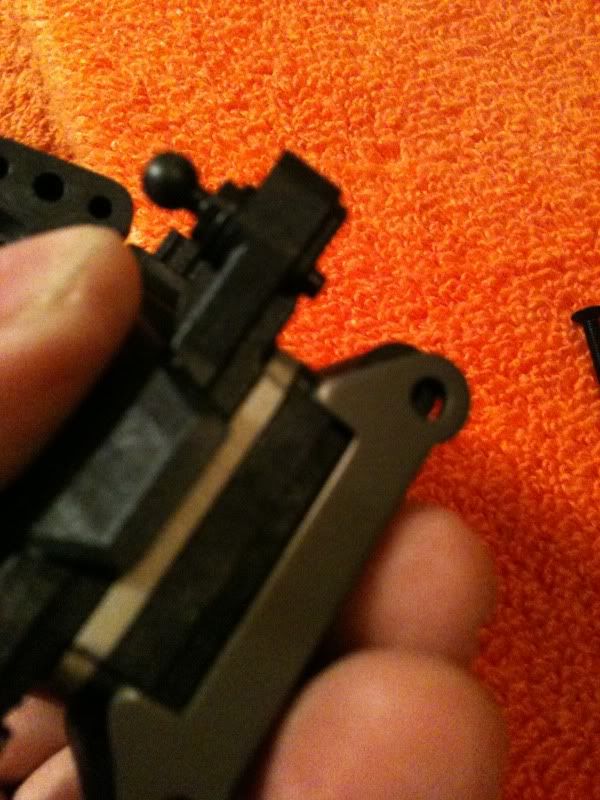
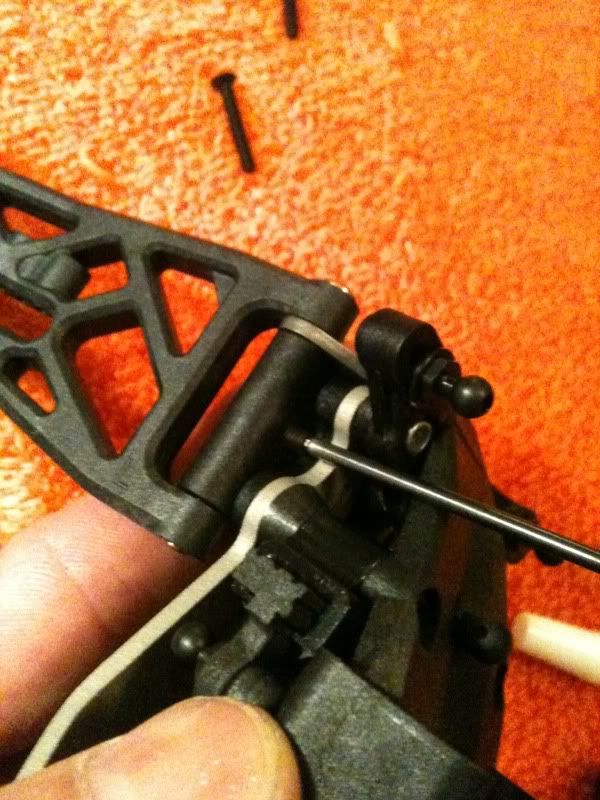
install arm with captured hinge pin
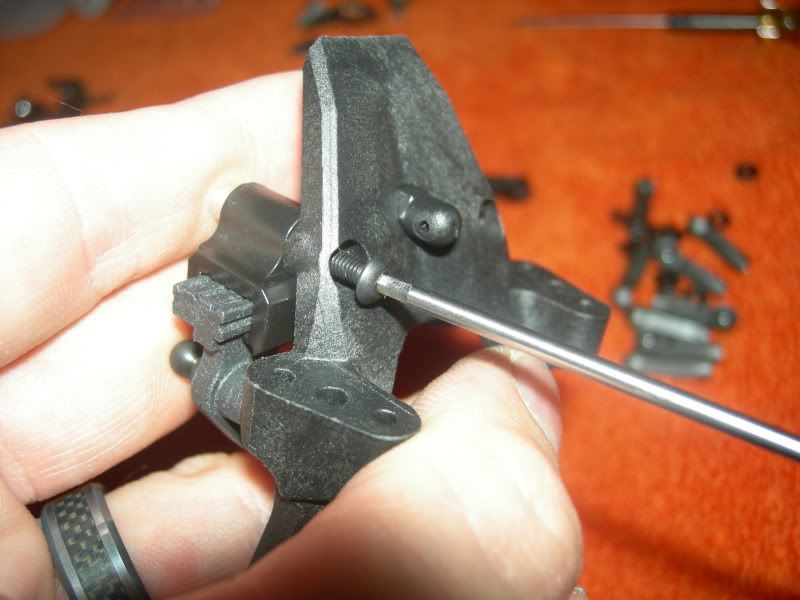
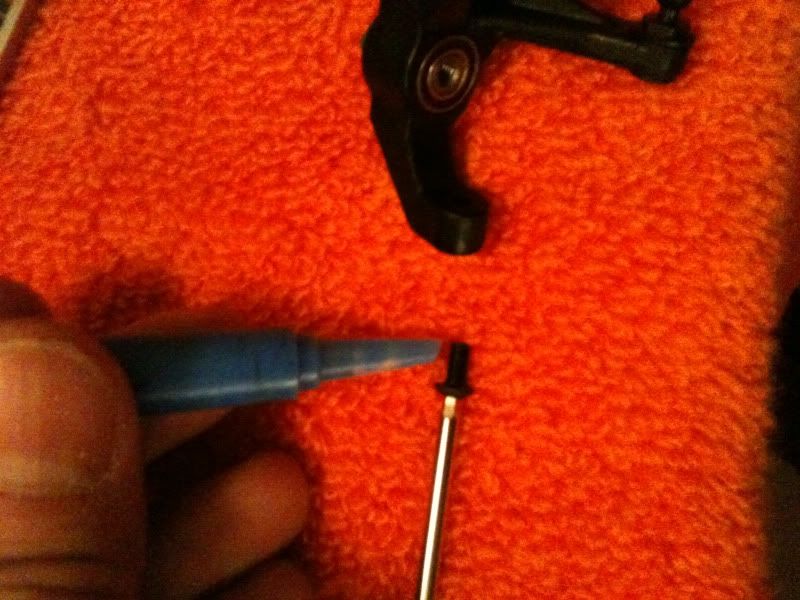
here is the set screw that locks in the hinge pin. The pin also has a groove that the screw set in to hold it.
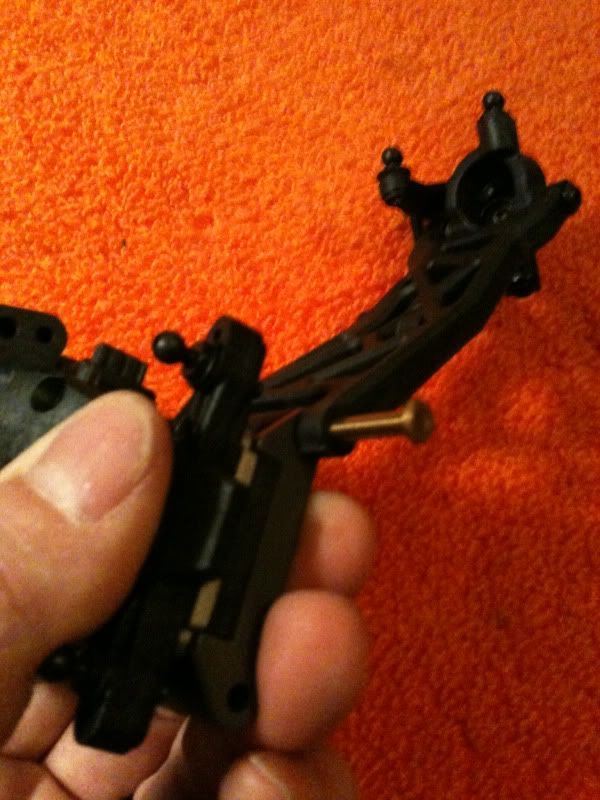
repeat for the other side and it should look like this
install tie rods * note a little chap stick on the the threads of the tie rod made installing the ball cups a ton easier. And don't forget that the side with the line on it is the right handed thread side and the other is left
install shock tower
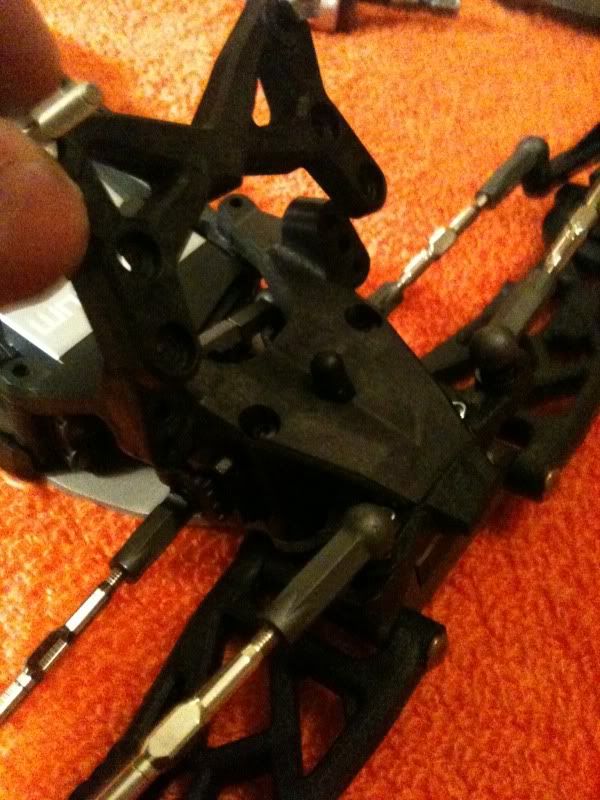
and bumper which keys into the chassis
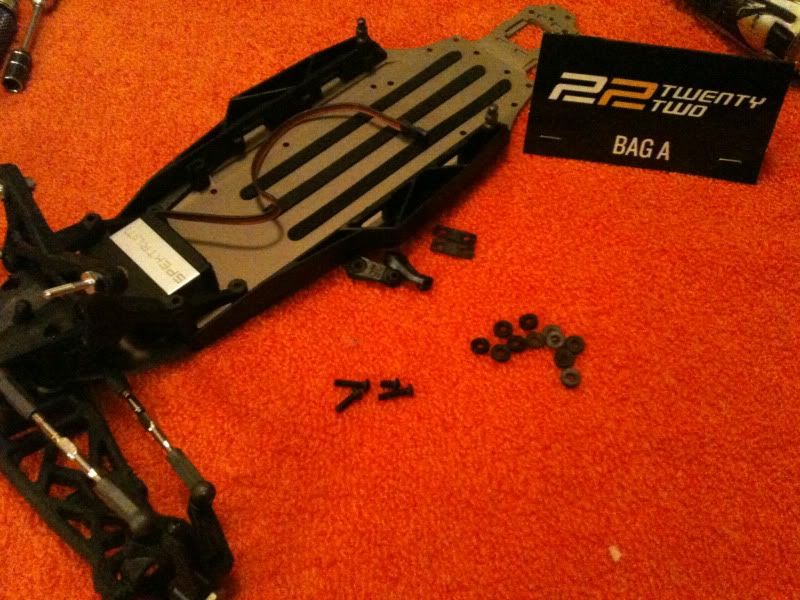
and bag A is done, with a few extra screws and shims (minus the top plate screws that I forgot to put in)
a little locktite on the axle screw
tightening the axle srcew
arm with caster block and axle installed
hinge pin brace. Its soo cool how so many of these parts "key" in to the place they belong
install arm with captured hinge pin
here is the set screw that locks in the hinge pin. The pin also has a groove that the screw set in to hold it.
repeat for the other side and it should look like this
install tie rods * note a little chap stick on the the threads of the tie rod made installing the ball cups a ton easier. And don't forget that the side with the line on it is the right handed thread side and the other is left
install shock tower
and bumper which keys into the chassis
and bag A is done, with a few extra screws and shims (minus the top plate screws that I forgot to put in)
03-14-2011, 09:49 PM
#22
This is great, thanks!
03-14-2011, 09:50 PM
#23
Tech Master
Thread Starter
iTrader: (5)
Join Date: May 2005
Location: Having fun racing toy cars in beautiful AZ
Posts: 1,716
Trader Rating: 5 (100%+)
 03-15-2011, 08:48 AM
#26
Cool Shag Carpet man !!!!
03-15-2011, 10:39 AM
#29
Tech Master
Thread Starter
iTrader: (5)
Join Date: May 2005
Location: Having fun racing toy cars in beautiful AZ
Posts: 1,716
Trader Rating: 5 (100%+)
Thanks guys I'm glad you are enjoying the thread. I was able to run it a few times last week and although it's been 3 years since I have had and raced a 2 wheel it was awesome. It jumps and lands and soaks up bumps like no other. I will be making a last minute appearance at the cactus classic this week with it. I will up date the thread after.