


 2421Likes
Tekno RC EB410 Thread

 05-13-2019, 06:33 AM - Wikipost
|
|||
|
|||


 09-30-2018, 10:02 AM
#4652

I haven't compared AVID wheels yet, but having switched from Losi brand to ProLine wheels, I'm thinking that ProLine might be a pinch lighter, I'll need to weigh both brands before the next time I mount fresh tires, I might pick up some AVID wheels while I'm at it just to compare weight as well.
09-30-2018, 11:43 AM
#4653
"Parts that are discontinued or no longer in production are not covered by any warranty."
09-30-2018, 01:35 PM
#4654
Tech Regular
iTrader: (20)
They still show the TKR6501 in stock, I'd contact them first to be sure they upgrade you to the revised TKR6501B, it's an iffy situation:
"Parts that are discontinued or no longer in production are not covered by any warranty."
"Parts that are discontinued or no longer in production are not covered by any warranty."
10-02-2018, 05:10 PM
#4655
Tech Apprentice
10-02-2018, 05:24 PM
#4656
 10-03-2018, 11:03 PM
#4657
Tech Adept
I have an extra et410 kit unopened and seen alot of people considering converting the EB to an ET but what about converting the ET to an EB. I have priced arms, turnbuckles, and driveshafts and it's about 80 bucks. Would it be a valid contender with the bigger shocks and towers or would the geo be all wrong for a buggy?
10-04-2018, 06:23 AM
#4658
I have an extra et410 kit unopened and seen alot of people considering converting the EB to an ET but what about converting the ET to an EB. I have priced arms, turnbuckles, and driveshafts and it's about 80 bucks. Would it be a valid contender with the bigger shocks and towers or would the geo be all wrong for a buggy?
 10-05-2018, 09:49 AM
#4659
Tech Apprentice
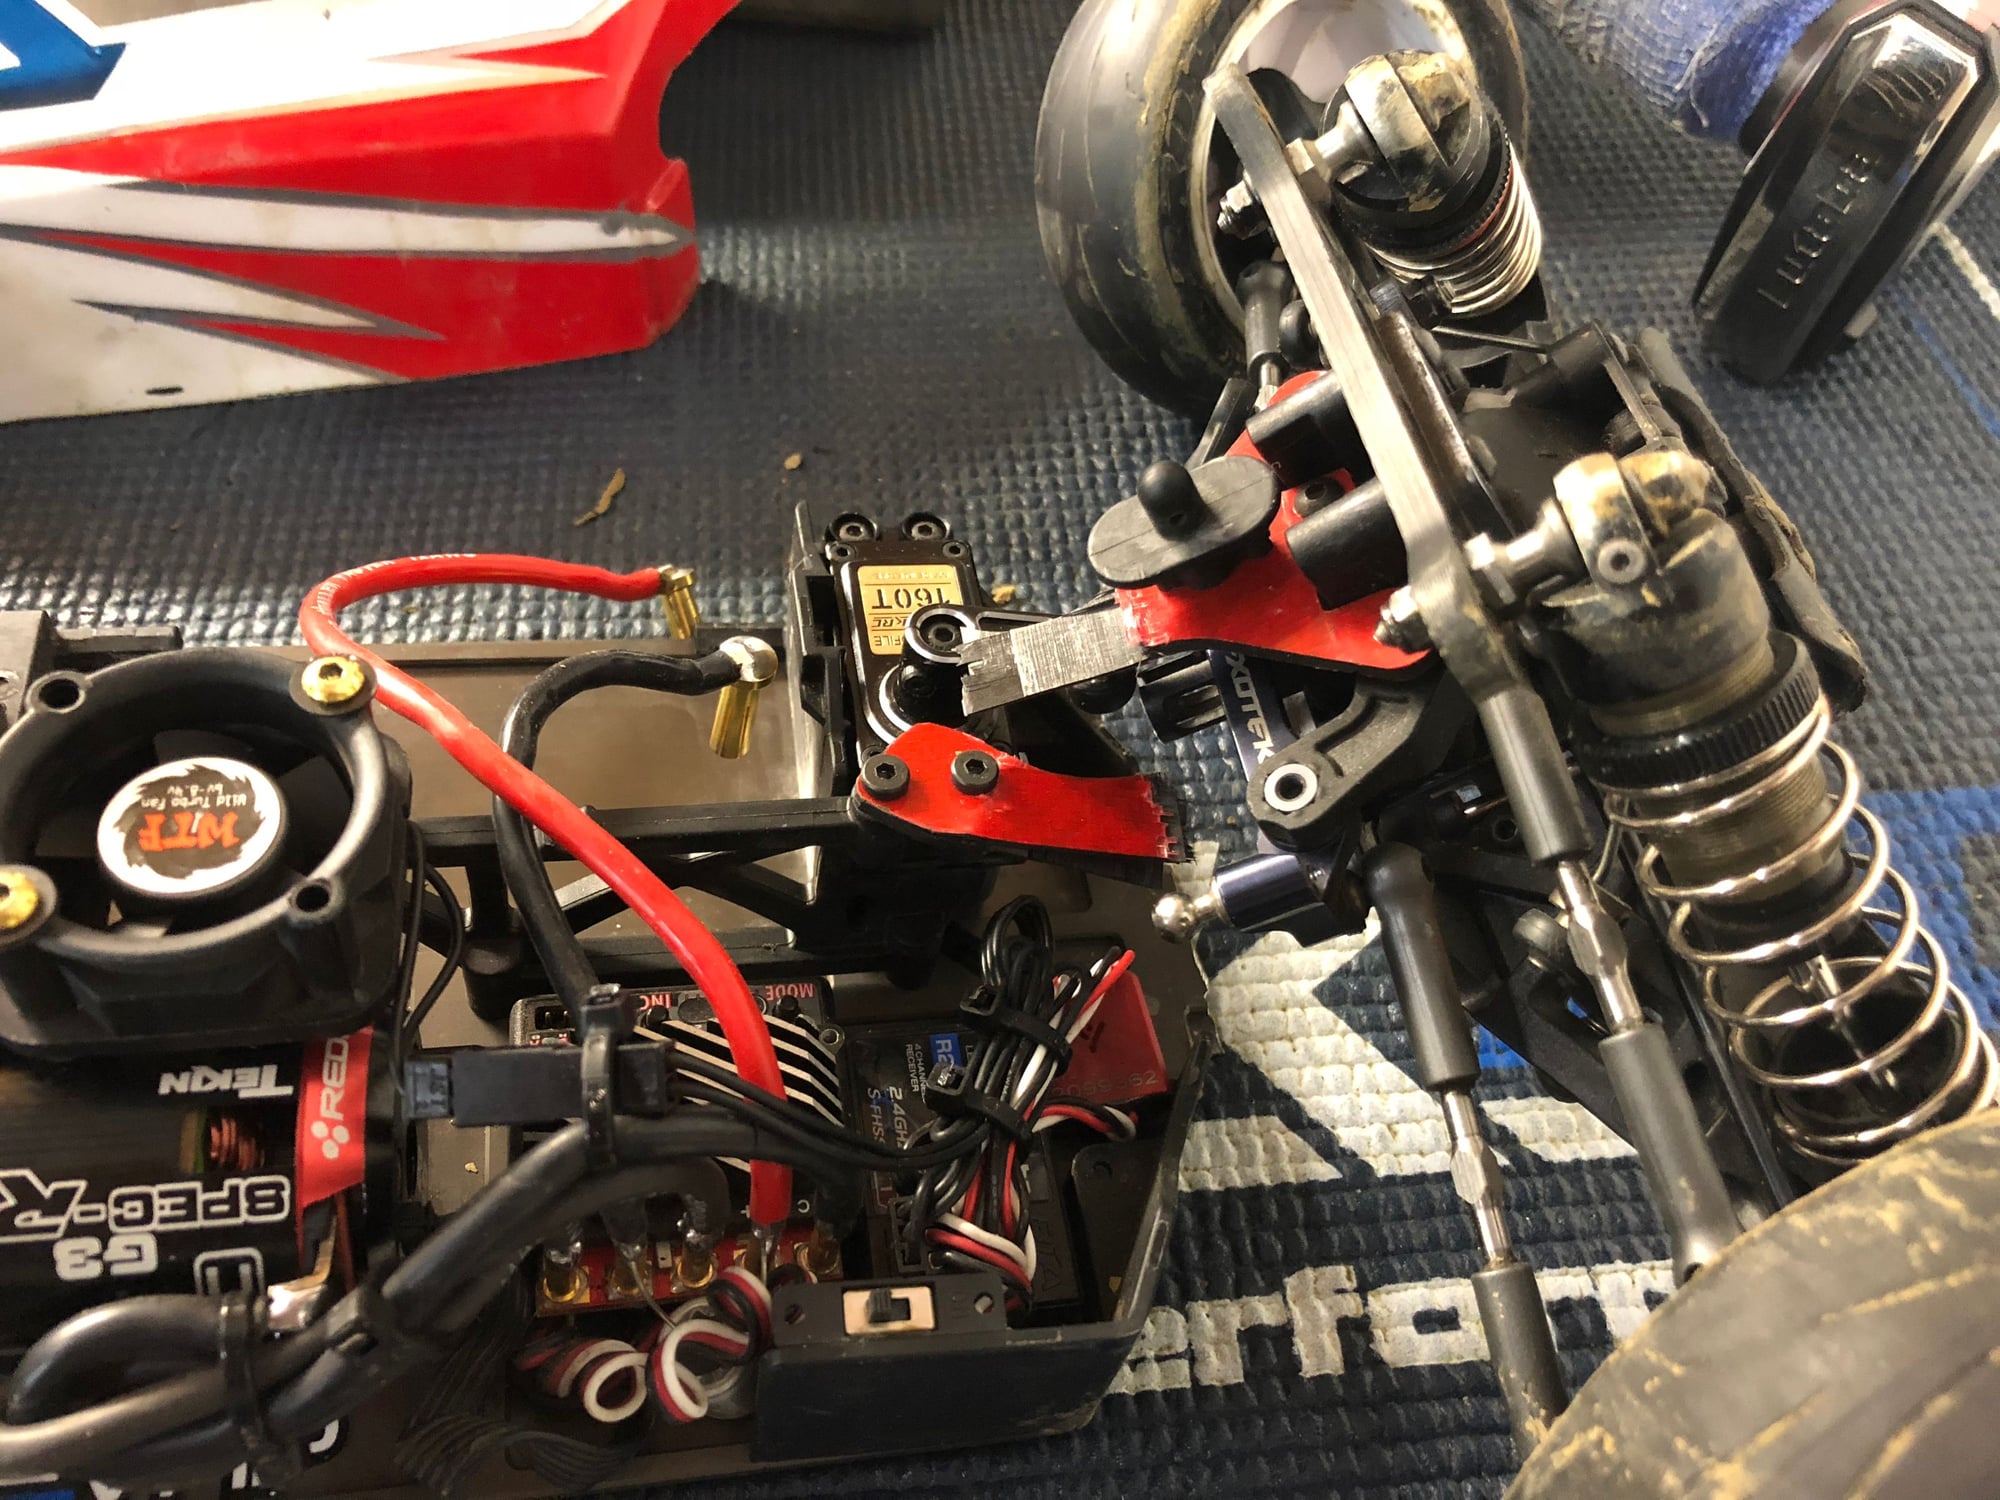
I have a car with the MIP proformace chassis and have trouble with the battery falling out. The velcro strap kinda sucks. I do not like the idea of taping a battery in and was wondering if anyone knows of any side rails for the car or maybe batter ways of securing the battery...I was thinking maybe using some velcro on chassis and battery kinda like what is used for the bodies so I can still take the battery in and out for charging
10-05-2018, 12:13 PM
#4660
I have a car with the MIP proformace chassis and have trouble with the battery falling out. The velcro strap kinda sucks. I do not like the idea of taping a battery in and was wondering if anyone knows of any side rails for the car or maybe batter ways of securing the battery...I was thinking maybe using some velcro on chassis and battery kinda like what is used for the bodies so I can still take the battery in and out for charging
10-05-2018, 12:16 PM
#4661
Tech Apprentice
ok thanks I was thinking velcro would be the easiest way to go but was not sure if there was some trick 3d deals out there or not.
10-05-2018, 12:48 PM
#4662
maybe you can use something like this and glue the retaining system in place?
https://www.towerhobbies.com/cgi-bin...yABEgJKK_D_BwE
10-05-2018, 11:52 PM
#4663
I have a car with the MIP proformace chassis and have trouble with the battery falling out. The velcro strap kinda sucks. I do not like the idea of taping a battery in and was wondering if anyone knows of any side rails for the car or maybe batter ways of securing the battery...I was thinking maybe using some velcro on chassis and battery kinda like what is used for the bodies so I can still take the battery in and out for charging
10-06-2018, 04:34 PM
#4664
So whats everyones take on getting the 13.5 mip puck system? I see its $145 shipped... Specifically for 13.5 spec racing.
10-06-2018, 04:58 PM
#4665
its not necessary but I personally like it a lot. It's easy to change out the pucks when they wear down and they dont wear out too quick either. The reason I like them is it takes a little stress off the motor which for me has resulted in a cooler motor but also a torque monster.