


 3Likes
Custom Losi Micro
 03-28-2018 | 08:12 PM
#46
Thread Starter
Tech Apprentice
Joined: Dec 2017
Posts: 73
From: Toronto
So Im trying this new approach, Design a million times, print once ahah, to avoid the 8 prototype chassis, 2 sets of rims multiple top braces ordeal that I had previously.
Decided to make my own a-arms for two reasons:
1. adjustable camber (stance nation obv)..
2. Ball diff is wider than stock diff by ~3 mm's so adjustable length arms will keep my track width the same, but allow for the bigger diff.
Still not 100% sure on the ball diff design. Its very common that the belt sits on left or right side of the diff housing, to allow for the center pulley to accommodate both belts ie, rear belt on left, front belt on right.
So I will most likely be changing that, I also think I'm going to need a tightening screw in my diff, Im skeptical about the pressure being enough.
Anyway here is what I have so far..
 03-30-2018 | 11:02 PM
#47
Thread Starter
Tech Apprentice
Joined: Dec 2017
Posts: 73
From: Toronto
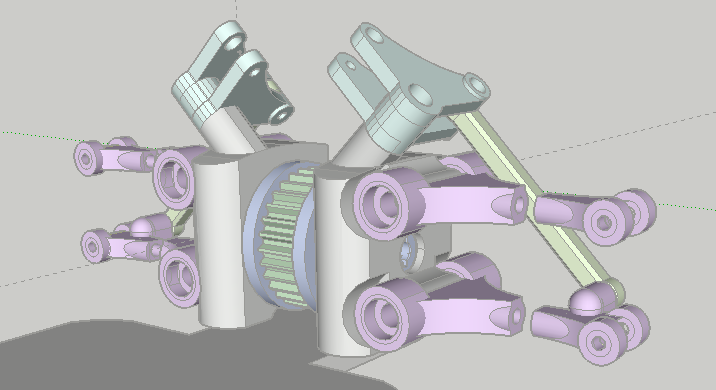
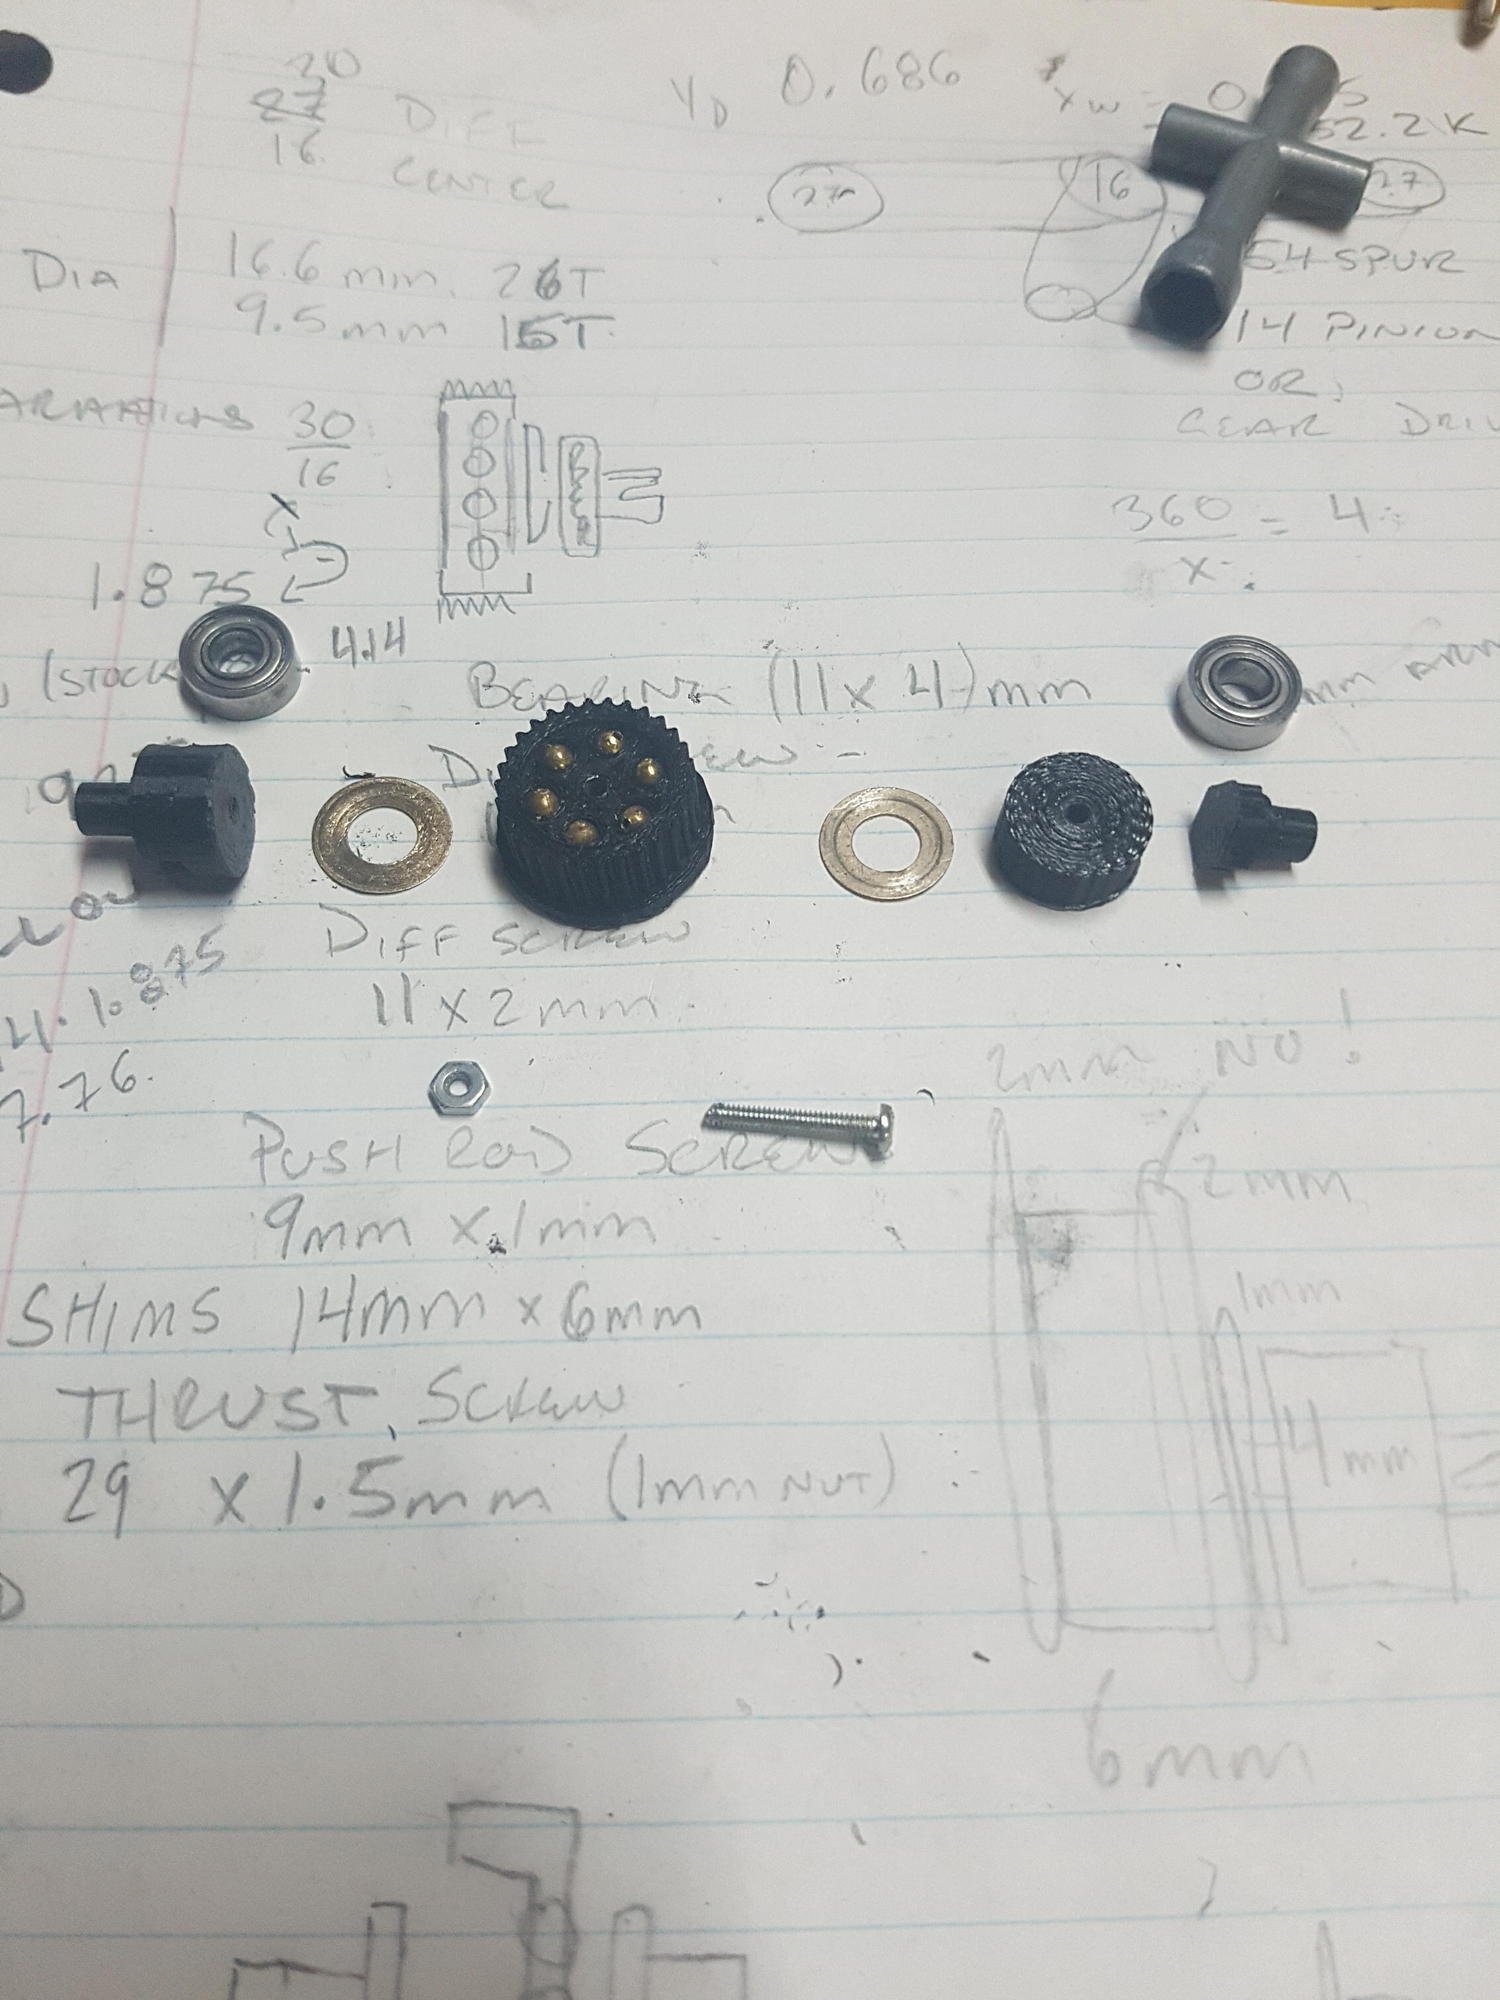
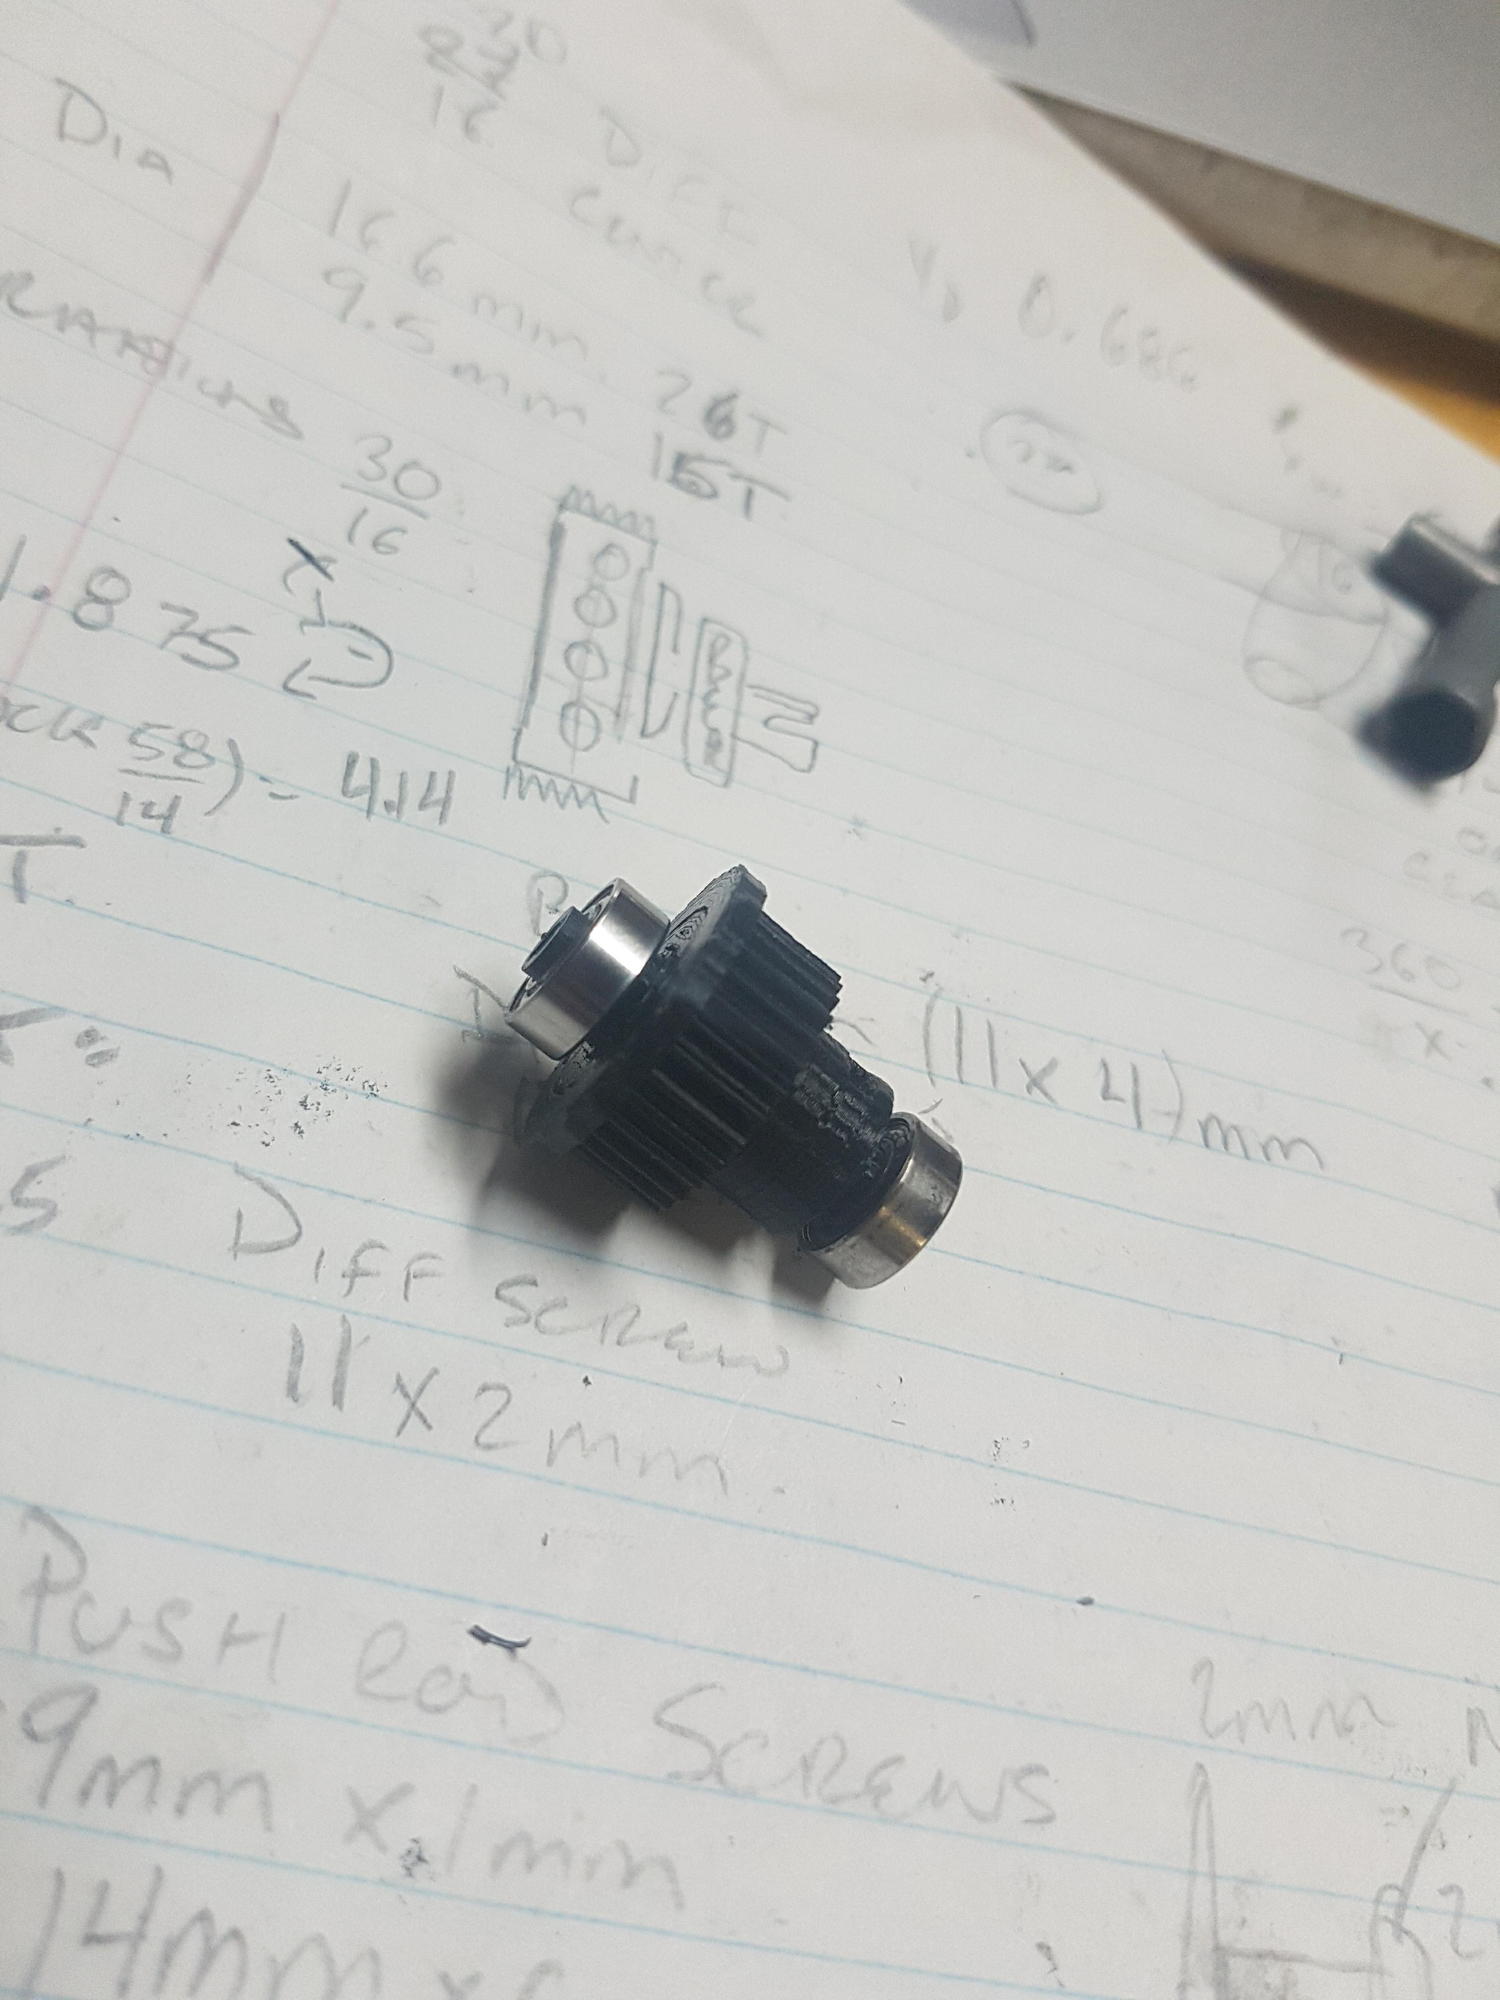
Alrighty, so here is what I have done so far.
Ball Diff is complete. Lets hope it stands up to some power.
A LOT of ingenuity on my end had to go into designing it so that it works the way it should as well as dealing with working on such a small scale.
It is now secured with a nut and bolt, might swap over to a nylon locking nut for something more rugged.
Got my gear ratios worked out so now I am turning my attention to the center pulley and the spur gear (completely belt driven).
This will get done tomorrow hopefully than maybe sunday (fingers crossed) I can have it running. Thats a very optimistic fingers crossed though..
03-31-2018 | 10:34 PM
#48
Thread Starter
Tech Apprentice
Joined: Dec 2017
Posts: 73
From: Toronto
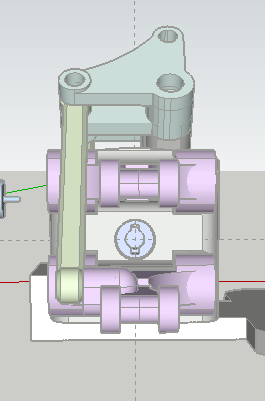
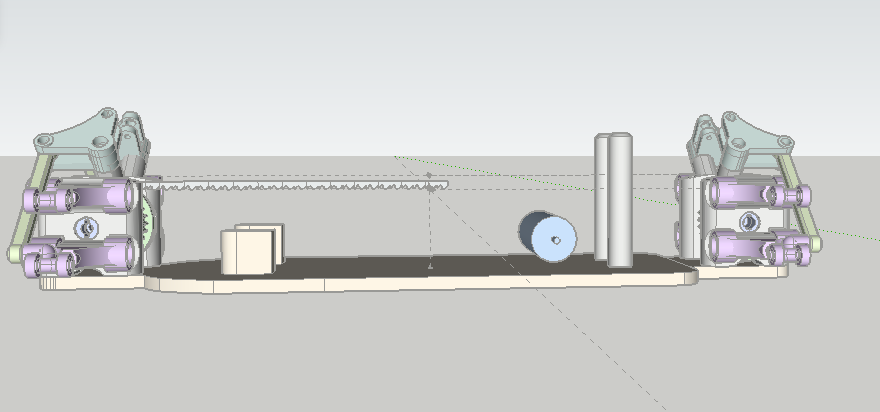
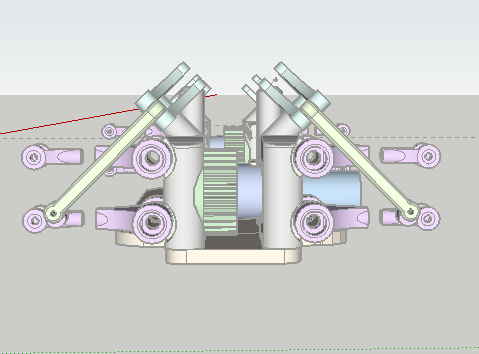
Well today was productive. Managed to get most of the chassis designed and everything arranged.
Only thing remaining is to mount the receiver above the bell crank, and to design the front shock mounts, and add in belt tensioners. Should be ready to start printing tomorrow!
The diffs are ball bearings, the center pulley and spur are on bushings. Shouldn't really hinder performance I recon.
Anyone have suggestions on the layout before I start printing?
04-02-2018 | 10:22 PM
#49
Thread Starter
Tech Apprentice
Joined: Dec 2017
Posts: 73
From: Toronto
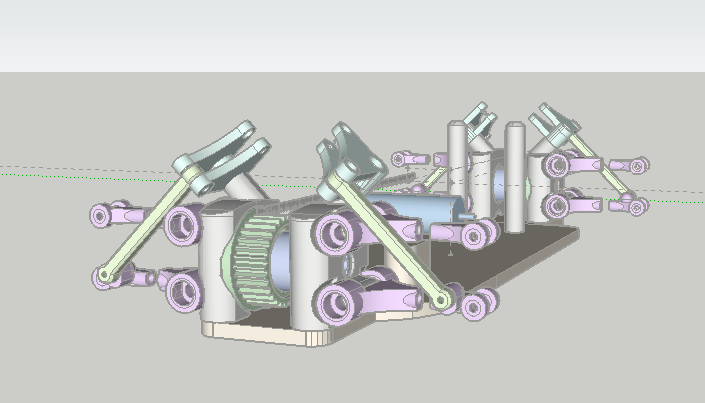
Well I *Finally* have something to show. Digging the purple/black colour scheme actually.
Reminds me of my old e-savage from HPI with its purple anodizing. Still have to figure out the belt tensioners and the front shock mounts...


Reminds me of my old e-savage from HPI with its purple anodizing. Still have to figure out the belt tensioners and the front shock mounts...
04-03-2018 | 10:09 PM
#50
Thread Starter
Tech Apprentice
Joined: Dec 2017
Posts: 73
From: Toronto
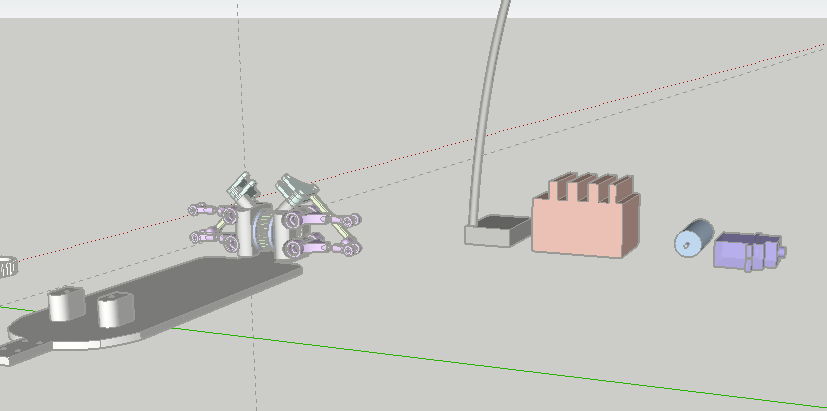
Well got the chassis printed out. You can see that there is some issues with the mounting of the diff housing on the chassis. I will have to move the mounting holes out by 1mm or so. It's probably an error on my part, 3d sketches always fit better on a computer. Not too bad for a first print though. I really am enjoying the black on purple. Might not be for everyone, but I think it makes it pop. Spur gear is printed, thing took 2 hours! But it's perfect. Centre shaft is nice and tight, and the bushings fit perfectly. Also pictured is the front Bell crank.


 04-04-2018 | 09:20 AM
#52
Thread Starter
Tech Apprentice
Joined: Dec 2017
Posts: 73
From: Toronto


Currently Active Users Viewing This Thread: 1 (0 members and 1 guests)
