The talk on these forums:
http://www.rctech.net/forum/onroad-n...eak-dutch.html
http://www.rctech.net/forum/offroad-...ak-method.html
I know the guy behind this and we have talked a lot so he did convince me to give it a try. Because I am a guy of re-useing stuff and build cheap I had an old window wiper motor as a base for this project.
I also had another look on the design, he had an hole at the side to connect the shaft, that needs to be fluid tight, with a hole on top there is no need to think about that. He also uses several heaters in the oil, I want to heat the engine directly on top of the sleeve, that will give much faster the heat in the engine and I think less power is needed.
And last of all I want to have it small and on on 12v so I can take it and use it anywhere.
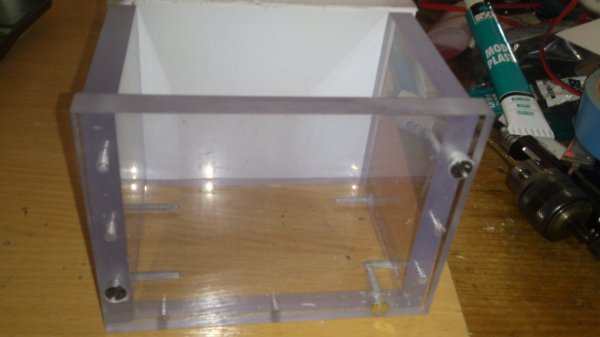
I managed to get some 10mm thick lexan cut to the right size at the local plastics shop.
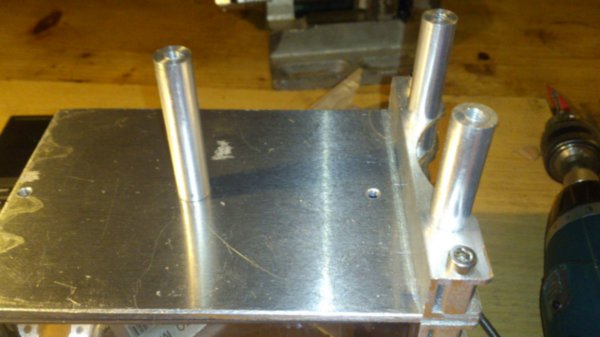
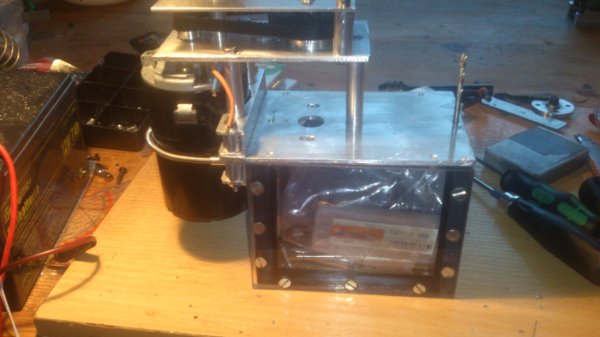
The "bathtub" made with 10mm thick lexan. It is glued with a silicone glue and screwed to make it strong.
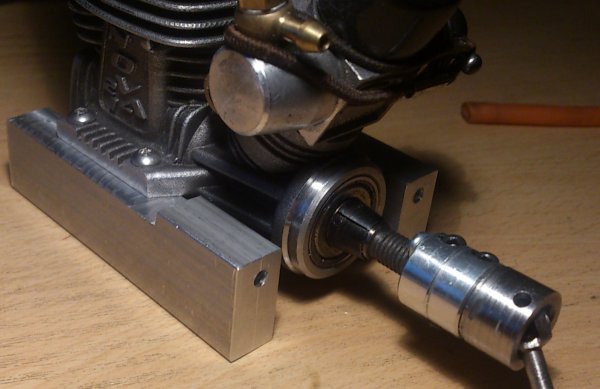
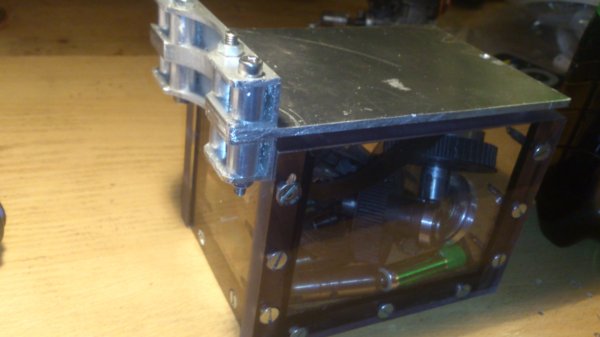
Rough setup with a car window wiper motor
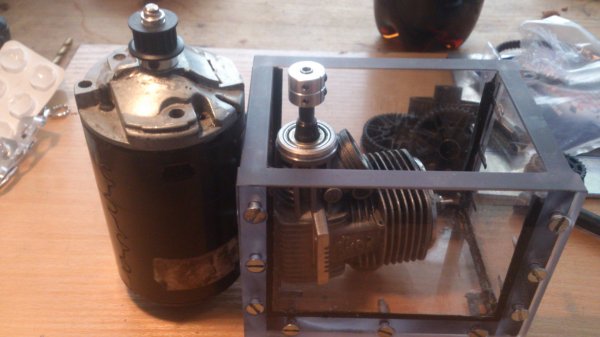
It Becoms a small and portable design
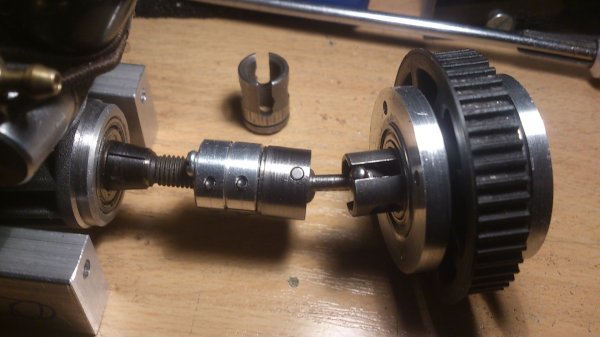
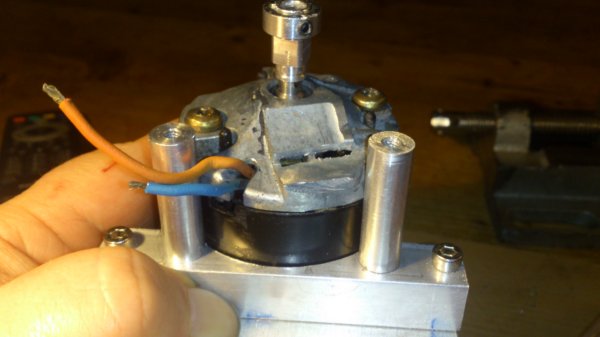
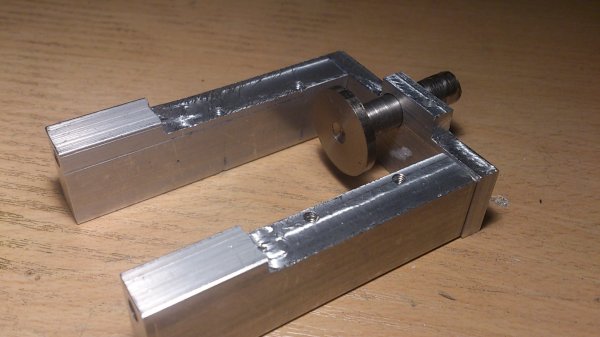
The 5mm clamps and a home made short CVD shaft to connect the crankshaft
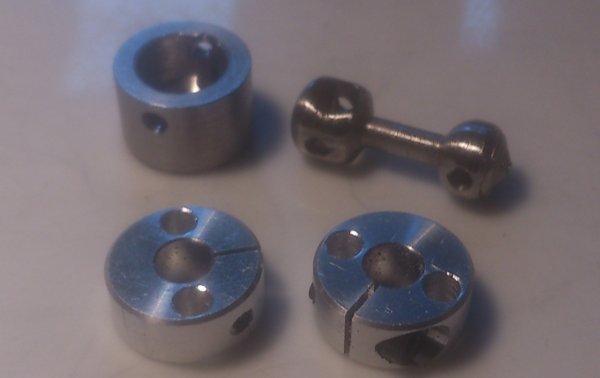
It does fit a MRX5 front shaft as well

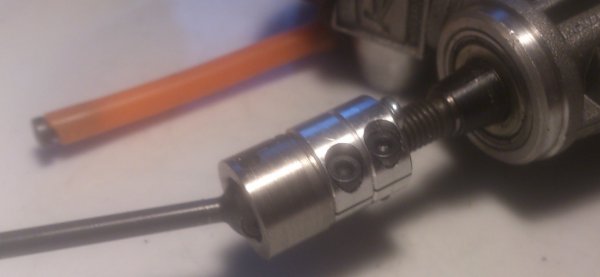
With my short shaft
Engine mounts
The beginning of the cap over the box, this will be the window wiper motor mount
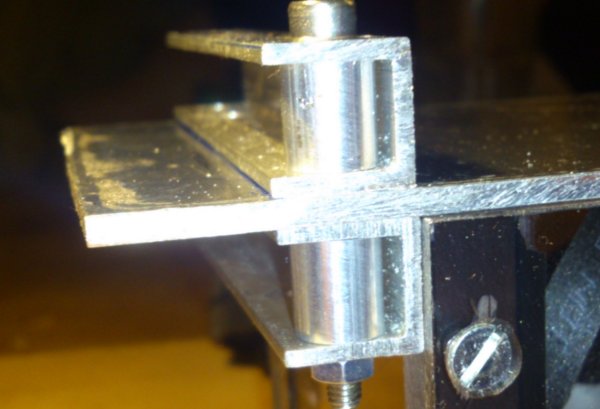
Made it fit on a rotation table on the mill
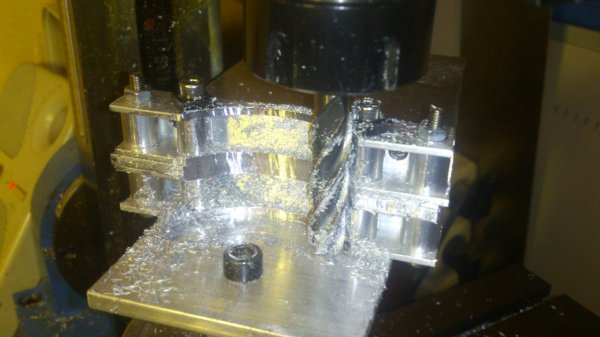
Nice 60mm rounding to fit the motor
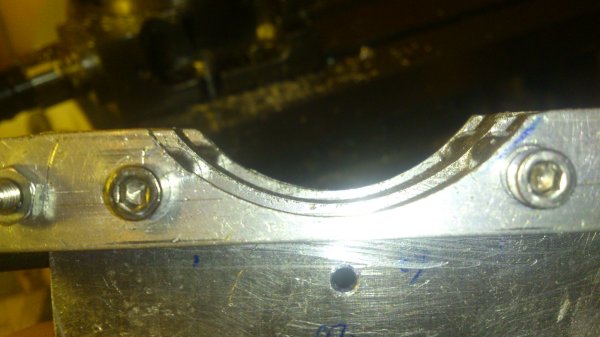
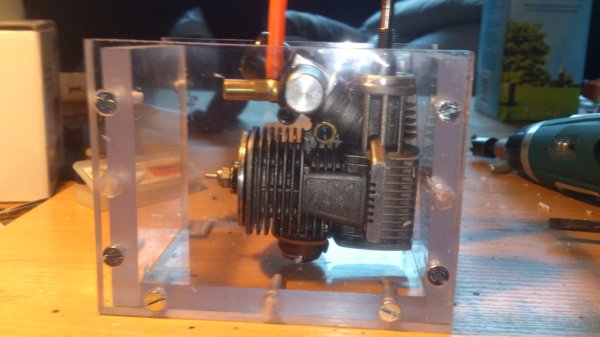
Total fit on the box
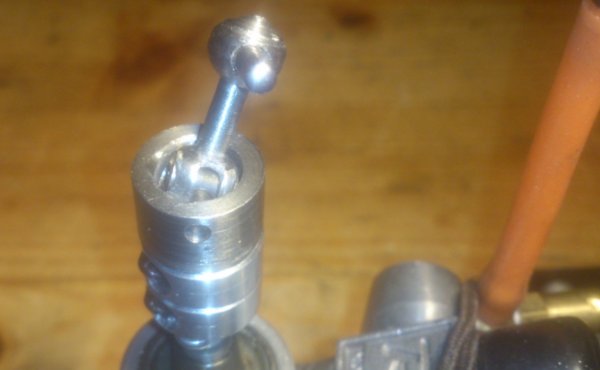
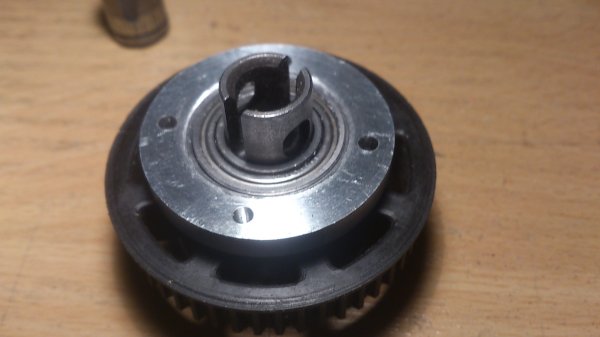
An old MRX5 rear shaft and pulley will be used to get a shaft connection above the crank shaft. 2 fresh bearing holders were made.
Cut off one side of the shaft
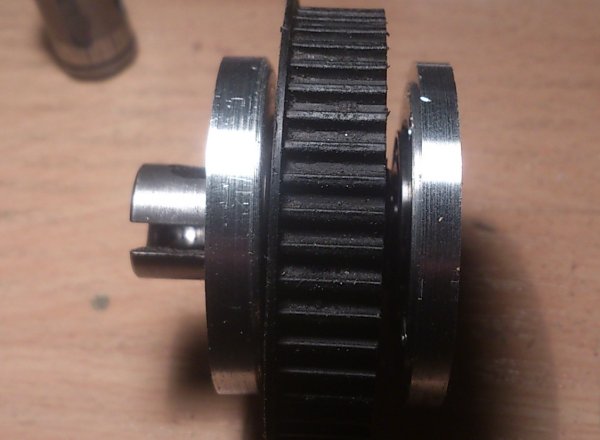
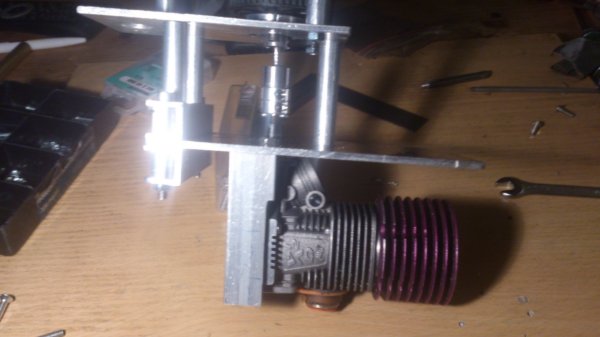
A total overview of the crankshaft connection
Time to mount the pulley with shaft on top of the cap.
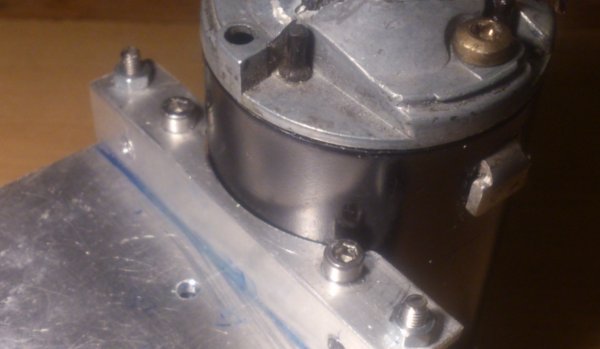
Again, the motor will fit nice, on the shaft a Mugen MRX4 pulley adapter for a 16t pulley.
A short overview, an 78 tooth timing belt of a starter box is used to get the right distance
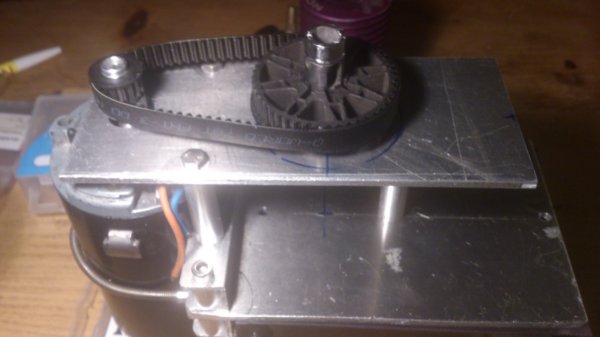
Fits nice
An RPM sensor to keep control on the used rpm, a small magnet is pressed in the pulley.

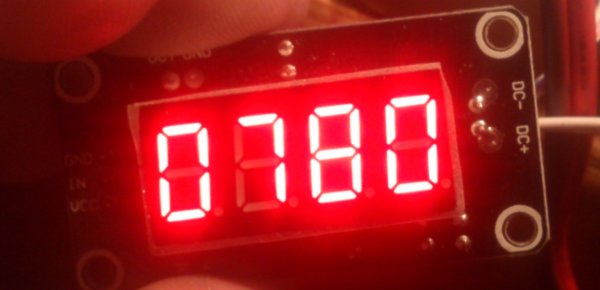
It works.

almost 800 RPM
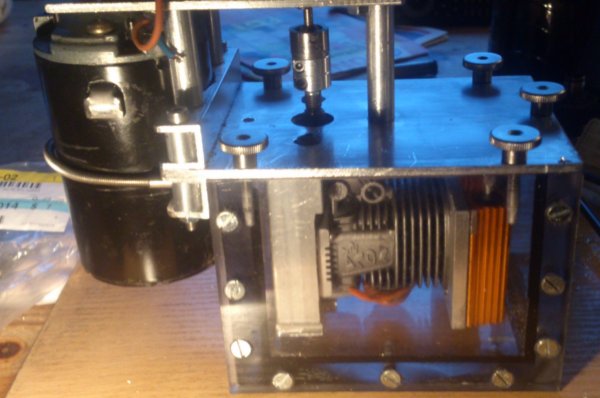
An overview of the total building og the cap.
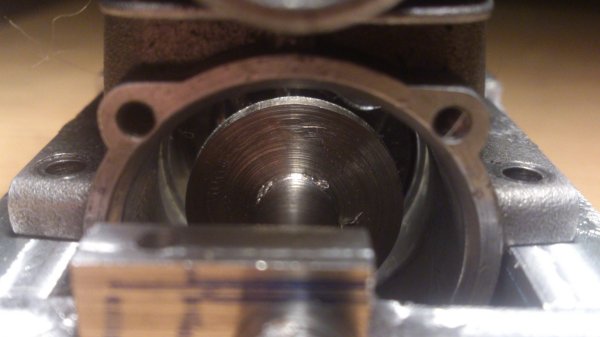
Because the engine is fully open the conrod needs to be held on its place to make it universal an adjustable disc will be used.
A look from the rear in the engine
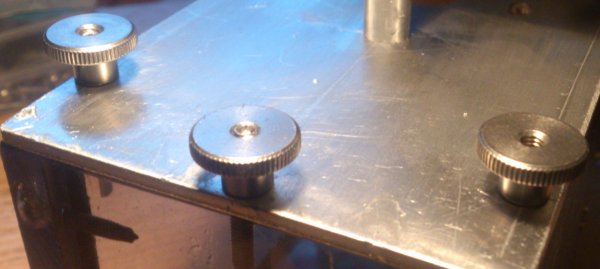
The cap will be mounted with some thumb nuts (not home made)
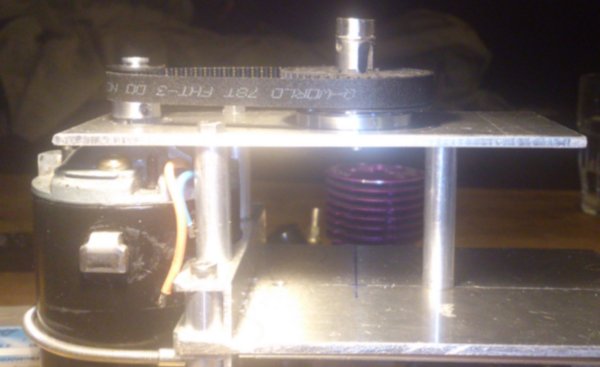
The heater plate which will be mounted on the place of the button head
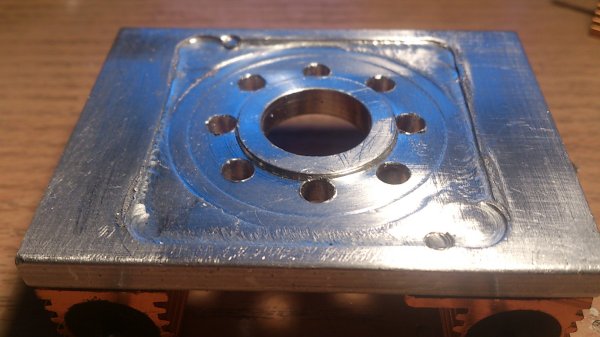
2x huge 50w resistors will be used as heaters directly in contact with the engine sleeve.

Another total overview
The start of the controll panel. It will contain a PWM motor controler, a temperature controler, a RPM meter and a current meter which will monitor the window wiper motor in the hope to see the current going down during the break in proces.
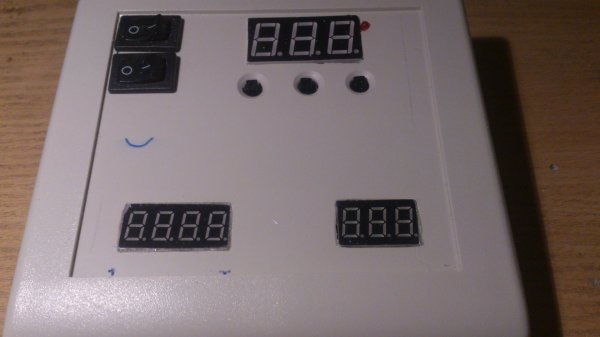
I had an idea for nice buttons for the temperature controler but this works fine.

So far the building, in the next weeks I hope to finish it and make it work.