


Made a jump for my ERBE (Build Pics and Video)
 04-08-2009, 03:03 PM
#1
So I got my ERBE a couple day ago, and ran it into a tree going off a jump on the first day. I decided to build my own jump so that I could put it where I want and hopefully not hit any more trees. Here's the build.
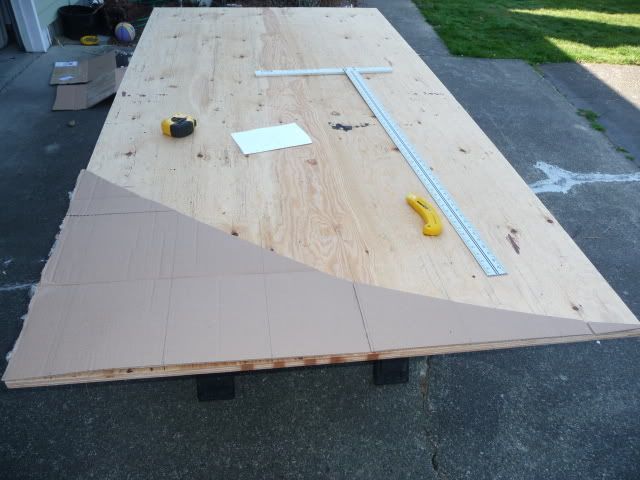
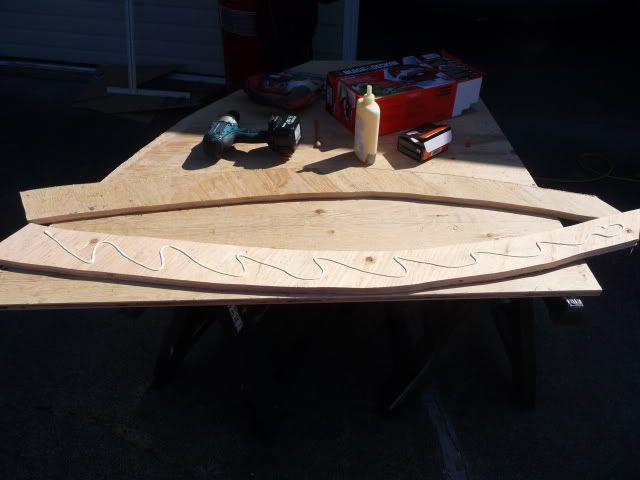
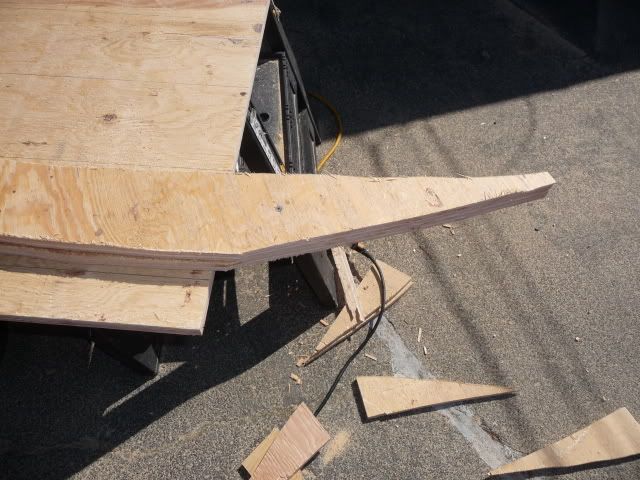
First I cut a template out of cardboard that I could use to transfer to the 3/4" plywood. This turned out to be an unneeded step. Originally I was going to try to take my supports directly off the bottom of the wood, instead of going at an angle, but as it turns out the wood wasn't wide enough to do this. I'm going to save the end piece I cut off to make another static jump out of.
The next step was to duplicate the curved line above the cut. I measured 5" above the cut on both sides of the wood, and then put the piece I just cut off of the wood on that line. This gives me another link with the same curve to cut.
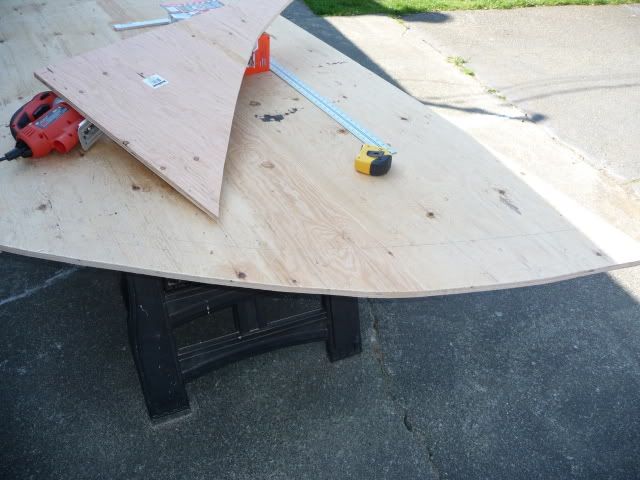
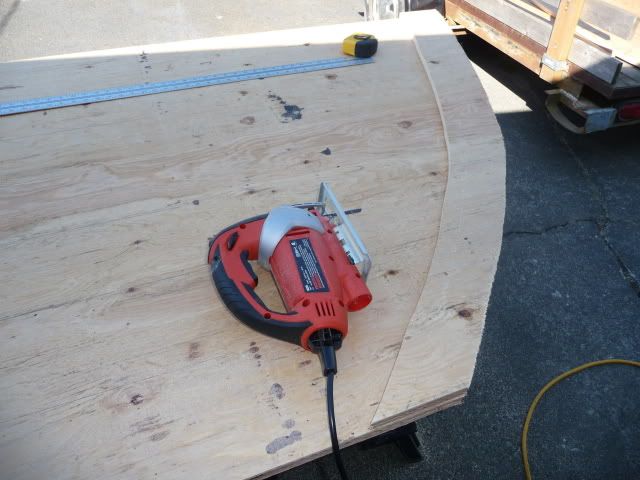
Once I had this piece cut, this gave me a template piece that I used to cut my other 11 pieces. I made sure I used the same piece for the template, because each piece you cut is going to be slightly different, and if you keep using a different piece for a template, the last piece cut will be significatly different from the first piece. I cut all of these with a jigsaw.
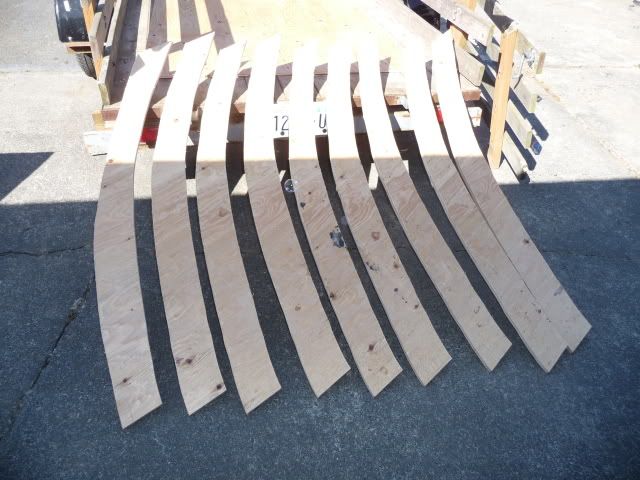
Eventually I ended up with 10 of these leg pieces (the template piece is not pictured).
The 3/4" plywood isn't thick enough by itself for the legs, so I glued and screwed two pieces together to make them thicker.
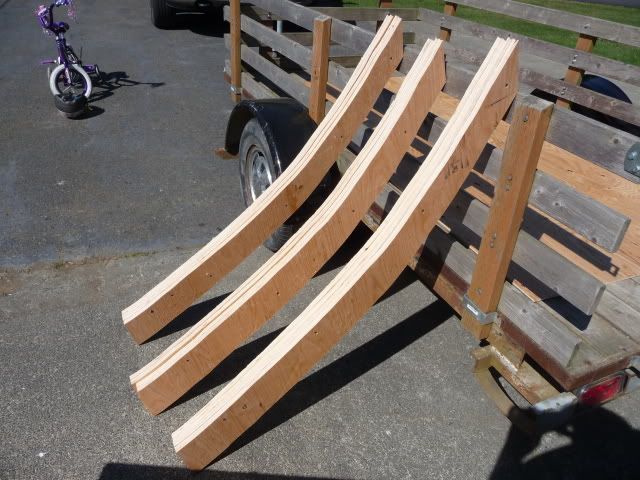
Eventually I ended up with 6 of the leg supports. Here they are pictured in 3 groups of 2, but when I installed them, they are in 2 groups of three.
I used the first piece of wood I cut off that I said I am going to save to mak another jump as a template to cut the ends of the legs so that they will sit flush on the ground. I only did this with the legs that are screwed to the jump, not the legs that fold out for support.
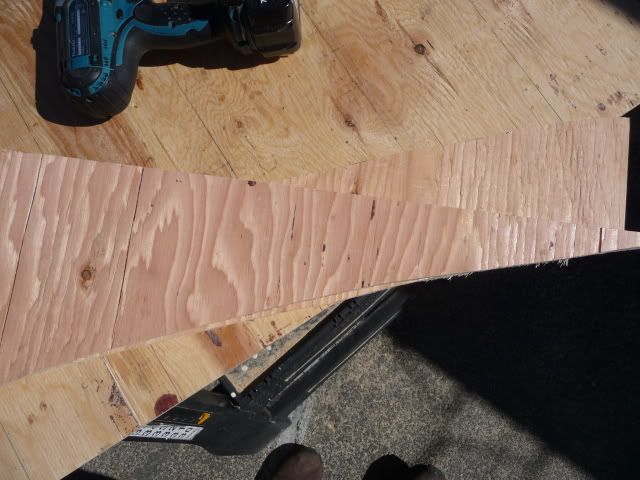
Here's the leg piece with the line drawn on it.
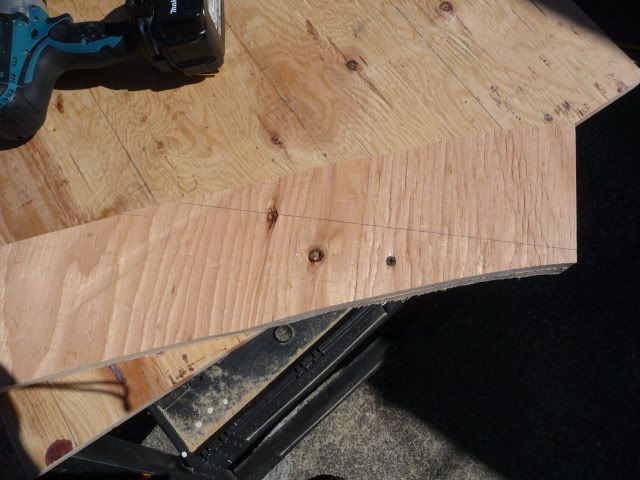
And the same piece once it has been cut. I cut it with a circular saw, but it can be cut with a jigsaw also.
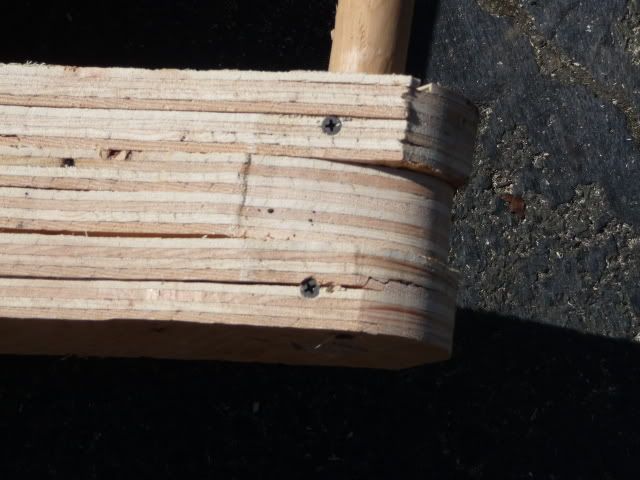
Once that was done, I drilled a 1 1/4" hole in the ends of all the leg supports. I made sure the holes lined up by drilling through one, and then starting my next hole by going through the existing hole.
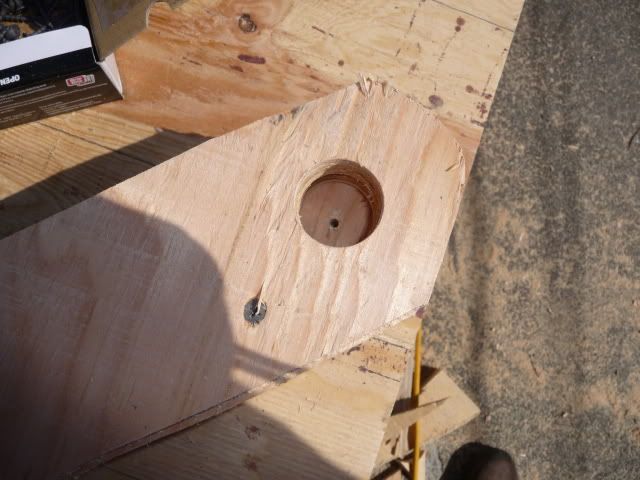
Once I had all my holes drilled, I put the legs (3 on each side) on a 1 1/4" wooden hardwood dowel. This was an old closet rod I had lying around. I cut the rod down to 4', the same width as the plywod I'm going to be using.
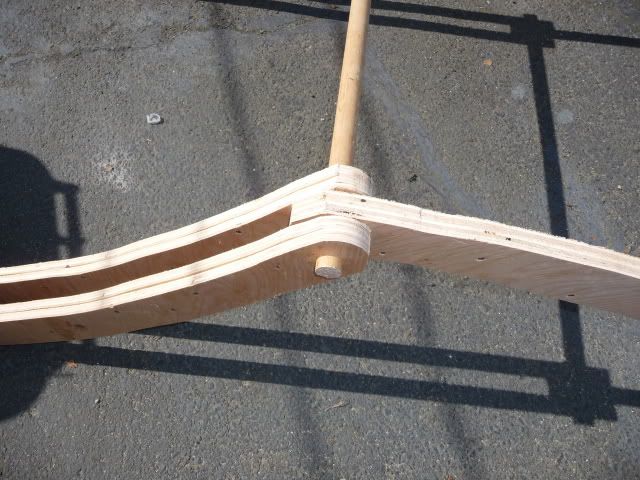
I then screwed the outside legs to the rod so that they wouldn't move. I also cut about 1/2" around the top of the middle leg on each side (the one that folds out) so that when it folds in and out it wouldn't rub on the plywood.
After that I started covering the legs with 1/4" plywood. I left about 3 inches of the plywood hanging off the end of the legs so that I would sit flat on the ground.
1/4" plywood bends easily, but it won't support a lot of weight so keep kids off the ramp.
I then cut some support braces for the back side of the ramp out of the same 1/4" plywood. I may change it to something thicker later, it just depends on how it holds up.
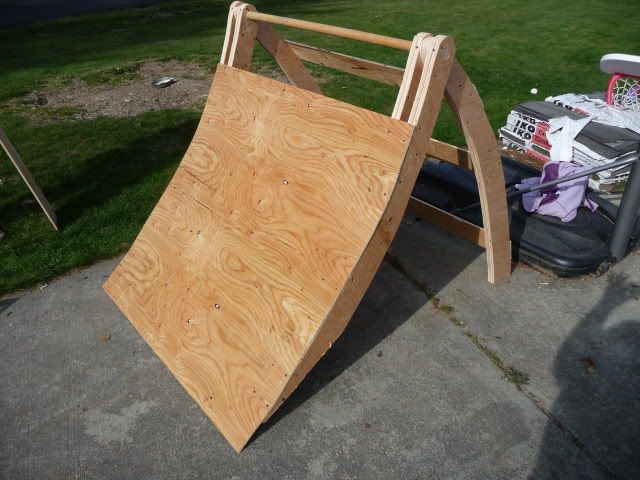
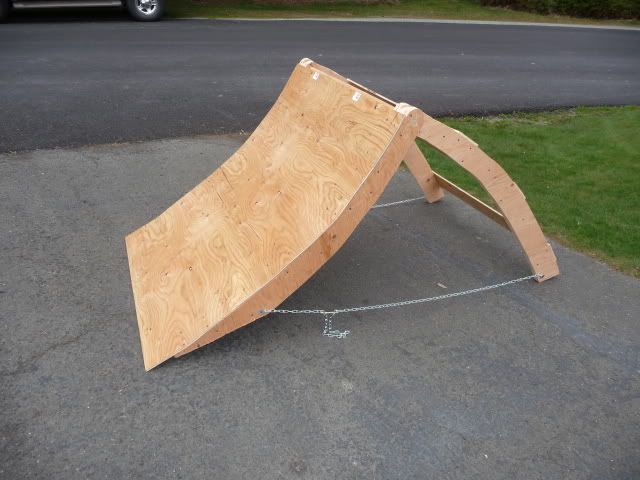
I finished covering the top of the jump with 1/4" plywood. I also put chains at the bottom on both sides of the jump. Both chains have a double end snap hook on them so I can adjust the angle of the ramp. Here's the ramp in its lowest position.

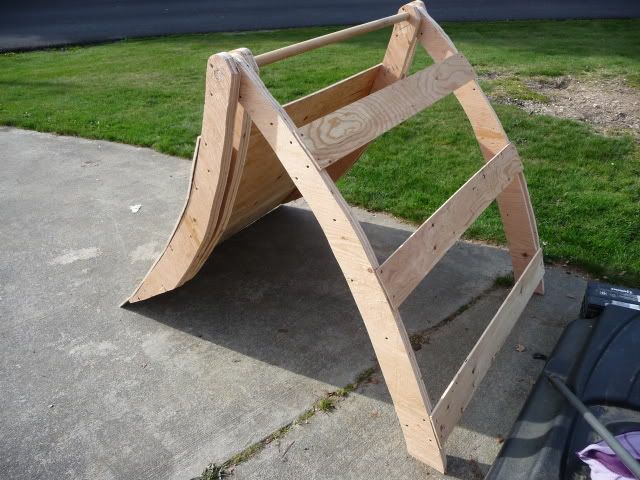
Raised up some.
And raised up even higher.
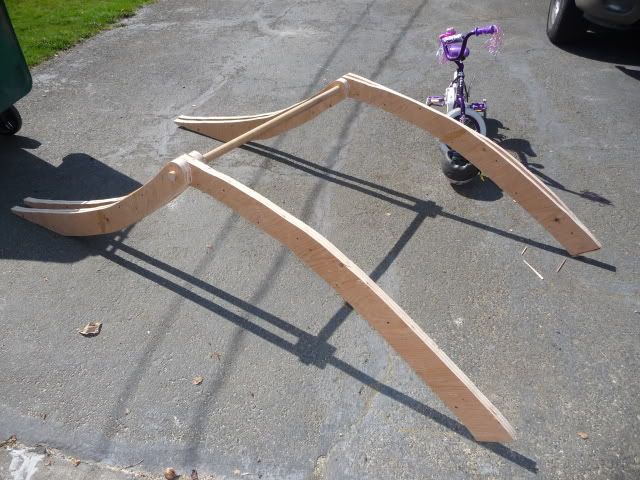
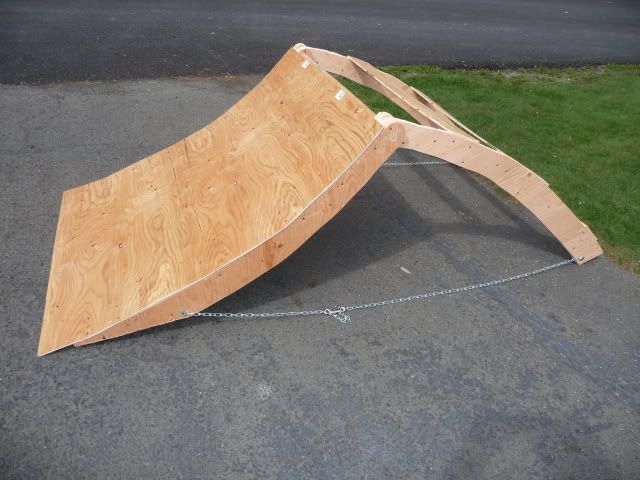
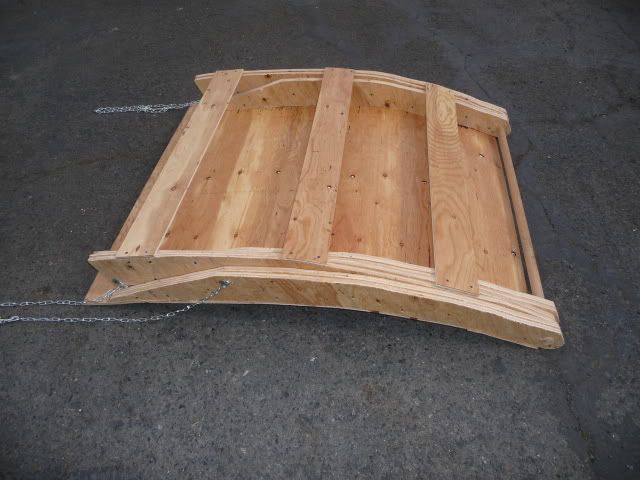
It's a fantastic design that allows me to easily change the slope of the ramp, and also fold it up for storage or transport. I wish I could take credit for it, but I found pics of it somewhere online awhile back. Here's what it looks like folded up.
Finally, here's a video of me jumping my new ERBE off it. Best part, no trees in the way!
First I cut a template out of cardboard that I could use to transfer to the 3/4" plywood. This turned out to be an unneeded step. Originally I was going to try to take my supports directly off the bottom of the wood, instead of going at an angle, but as it turns out the wood wasn't wide enough to do this. I'm going to save the end piece I cut off to make another static jump out of.
The next step was to duplicate the curved line above the cut. I measured 5" above the cut on both sides of the wood, and then put the piece I just cut off of the wood on that line. This gives me another link with the same curve to cut.
Once I had this piece cut, this gave me a template piece that I used to cut my other 11 pieces. I made sure I used the same piece for the template, because each piece you cut is going to be slightly different, and if you keep using a different piece for a template, the last piece cut will be significatly different from the first piece. I cut all of these with a jigsaw.
Eventually I ended up with 10 of these leg pieces (the template piece is not pictured).
The 3/4" plywood isn't thick enough by itself for the legs, so I glued and screwed two pieces together to make them thicker.
Eventually I ended up with 6 of the leg supports. Here they are pictured in 3 groups of 2, but when I installed them, they are in 2 groups of three.
I used the first piece of wood I cut off that I said I am going to save to mak another jump as a template to cut the ends of the legs so that they will sit flush on the ground. I only did this with the legs that are screwed to the jump, not the legs that fold out for support.
Here's the leg piece with the line drawn on it.
And the same piece once it has been cut. I cut it with a circular saw, but it can be cut with a jigsaw also.
Once that was done, I drilled a 1 1/4" hole in the ends of all the leg supports. I made sure the holes lined up by drilling through one, and then starting my next hole by going through the existing hole.
Once I had all my holes drilled, I put the legs (3 on each side) on a 1 1/4" wooden hardwood dowel. This was an old closet rod I had lying around. I cut the rod down to 4', the same width as the plywod I'm going to be using.
I then screwed the outside legs to the rod so that they wouldn't move. I also cut about 1/2" around the top of the middle leg on each side (the one that folds out) so that when it folds in and out it wouldn't rub on the plywood.
After that I started covering the legs with 1/4" plywood. I left about 3 inches of the plywood hanging off the end of the legs so that I would sit flat on the ground.
1/4" plywood bends easily, but it won't support a lot of weight so keep kids off the ramp.
I then cut some support braces for the back side of the ramp out of the same 1/4" plywood. I may change it to something thicker later, it just depends on how it holds up.
I finished covering the top of the jump with 1/4" plywood. I also put chains at the bottom on both sides of the jump. Both chains have a double end snap hook on them so I can adjust the angle of the ramp. Here's the ramp in its lowest position.
Raised up some.
And raised up even higher.
It's a fantastic design that allows me to easily change the slope of the ramp, and also fold it up for storage or transport. I wish I could take credit for it, but I found pics of it somewhere online awhile back. Here's what it looks like folded up.
Finally, here's a video of me jumping my new ERBE off it. Best part, no trees in the way!

 04-15-2009, 11:43 AM
#3
Yah thats a really nice piece of work. You should start selling them thingys
04-22-2009, 01:16 PM
#4
I like how it folds up, that makes it much easier to deal with when not using it.
Very nice !

Very nice !
04-25-2009, 09:09 AM
#5
That is definitely the most versatile ramp I've ever seen. I've been trying to find a good way to adjust the angle of my ramp, but so far the only thing I've found that works is putting a toolbox under it. This is a great looking ramp, folds up nicely, and is a winner in my book. I'm going to build one when I have extra time.
Currently Active Users Viewing This Thread: 1 (0 members and 1 guests)
