


 3Likes
MMGT V2
 02-28-2020, 07:54 AM
#1
Tech Adept
Thread Starter
Recently i acquired a MMGT parts lot with some goodies for some of my other trucks.
decided to put together a build log to share my experience refurbishing/services of the new truck!
now as you may or may not know i really love the build/refurbish process of RCs, getting them back to their golden days of blasting around.
initial layout and assessment of parts: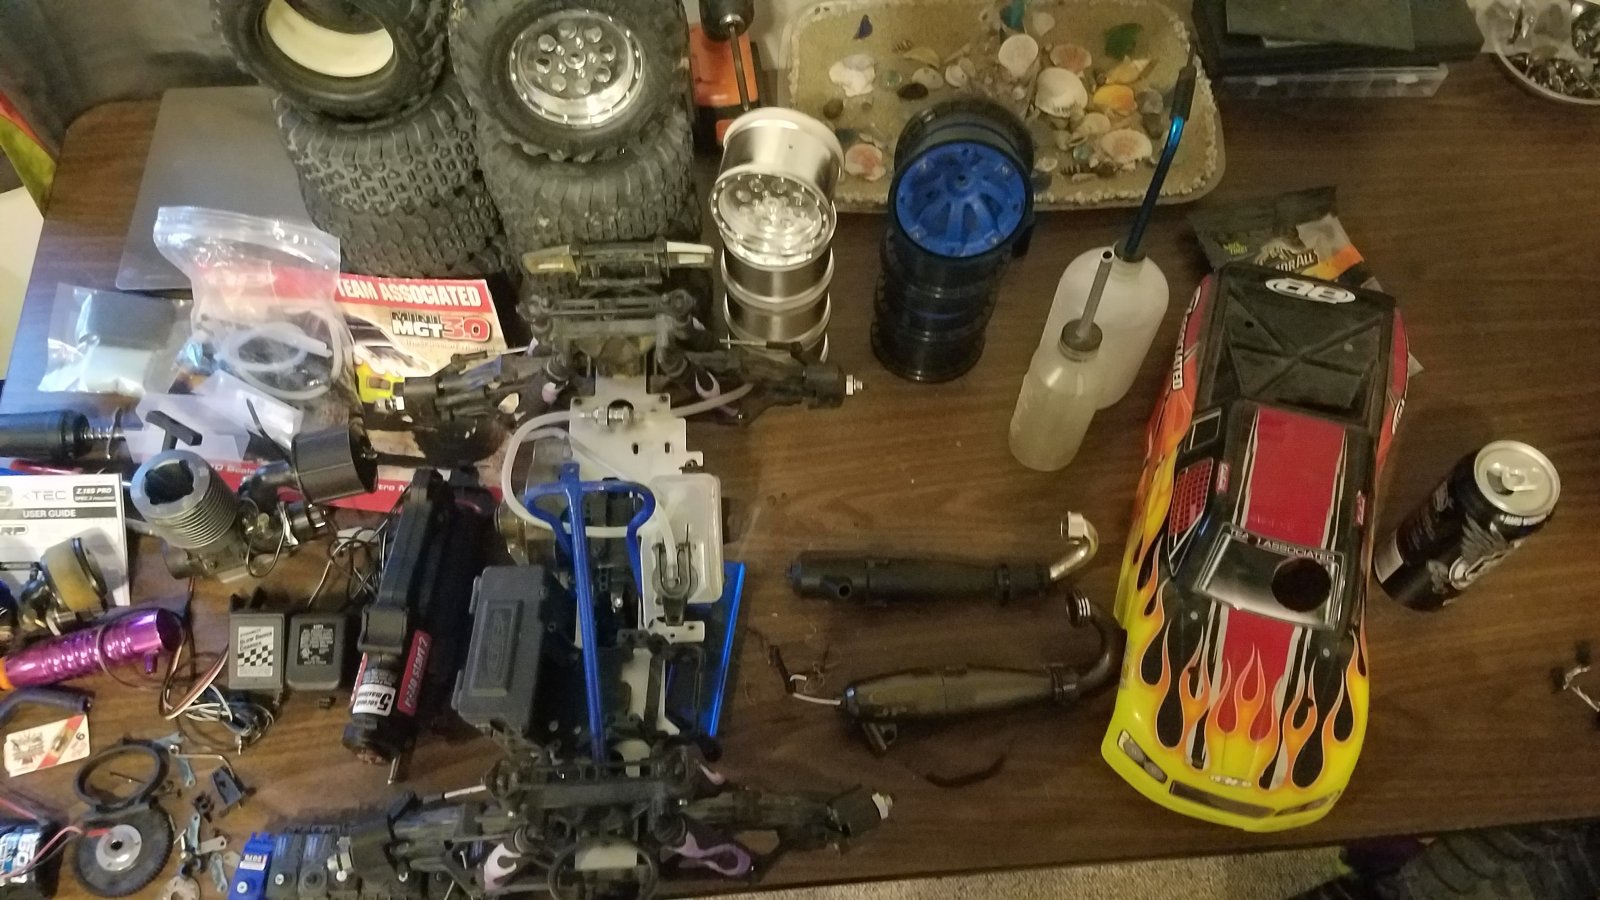
installed the radio tray, and putting in the FlySky Receiver to control this little beast! (only say little because i am very used to 1/8 scales lol)
slightly torn down, so went through and tore down just a bit more and started getting to work inspecting/ cleaning, it is in quite good condition and other than just a little bit of dust in places is quite clean.
to start off with the main components i started with the heart of the truck, the engine.
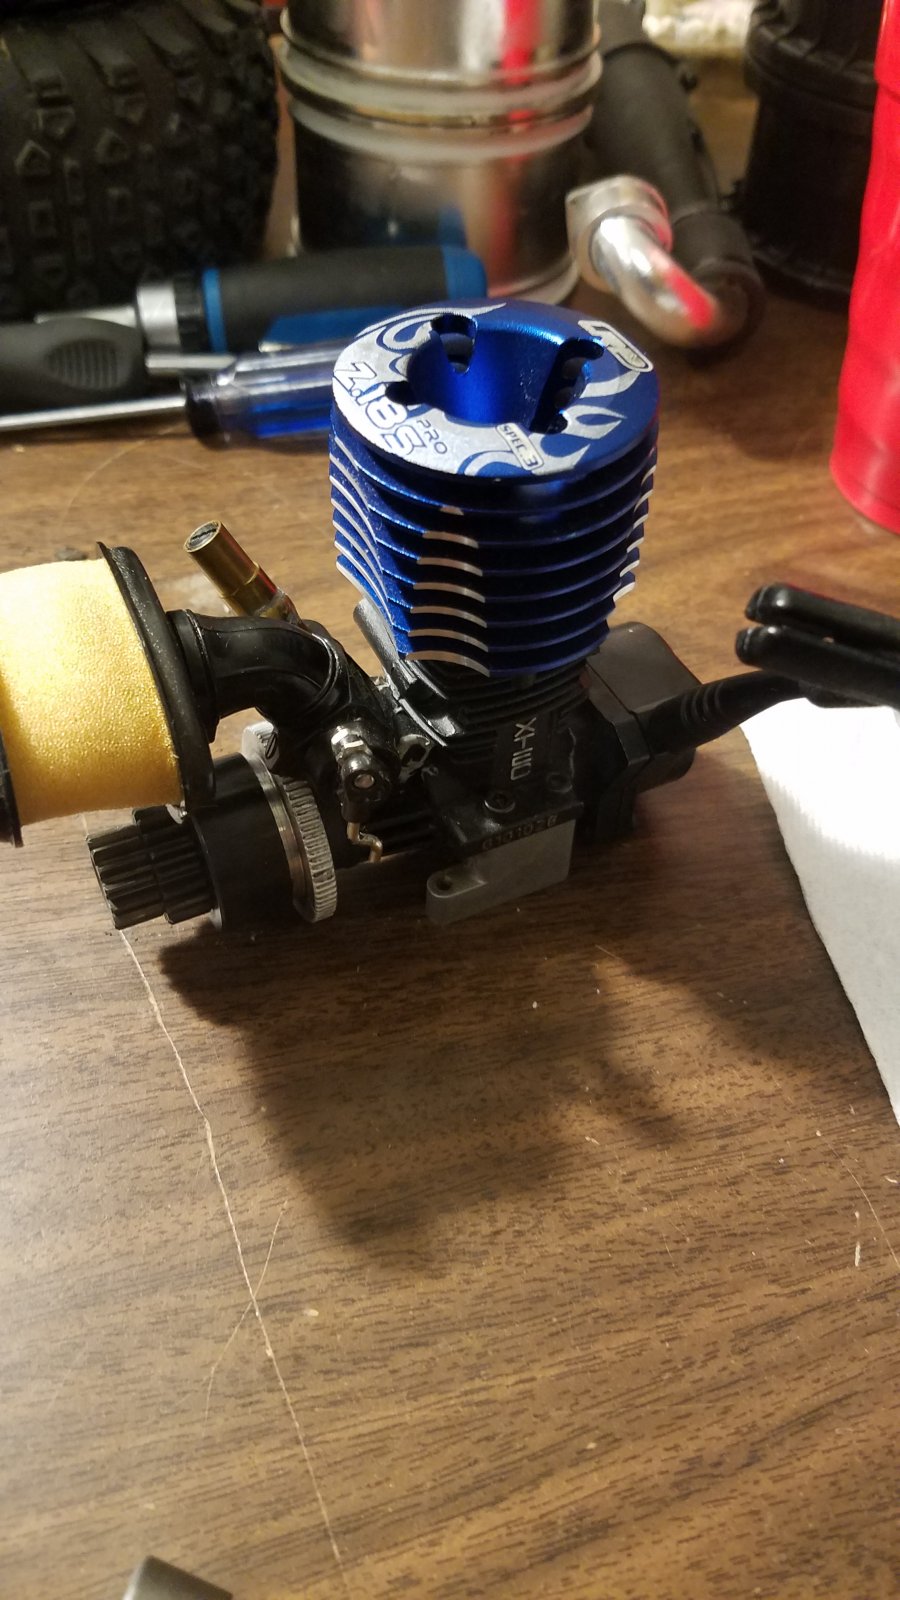
the engine as expected after sitting for a length of time was pretty locked up, i disassembled the pullstart, backplate, and tore down the head. (my phone ended up not saving the pictures of the pre-cleaning.)
was a bit of old nitro fuel gumminess that many know, so went ahead with some alcohol and started letting it soak, the starter shaft was pretty stuck in the backplate so i let that sit in some alcohol for a bit to loosen up.
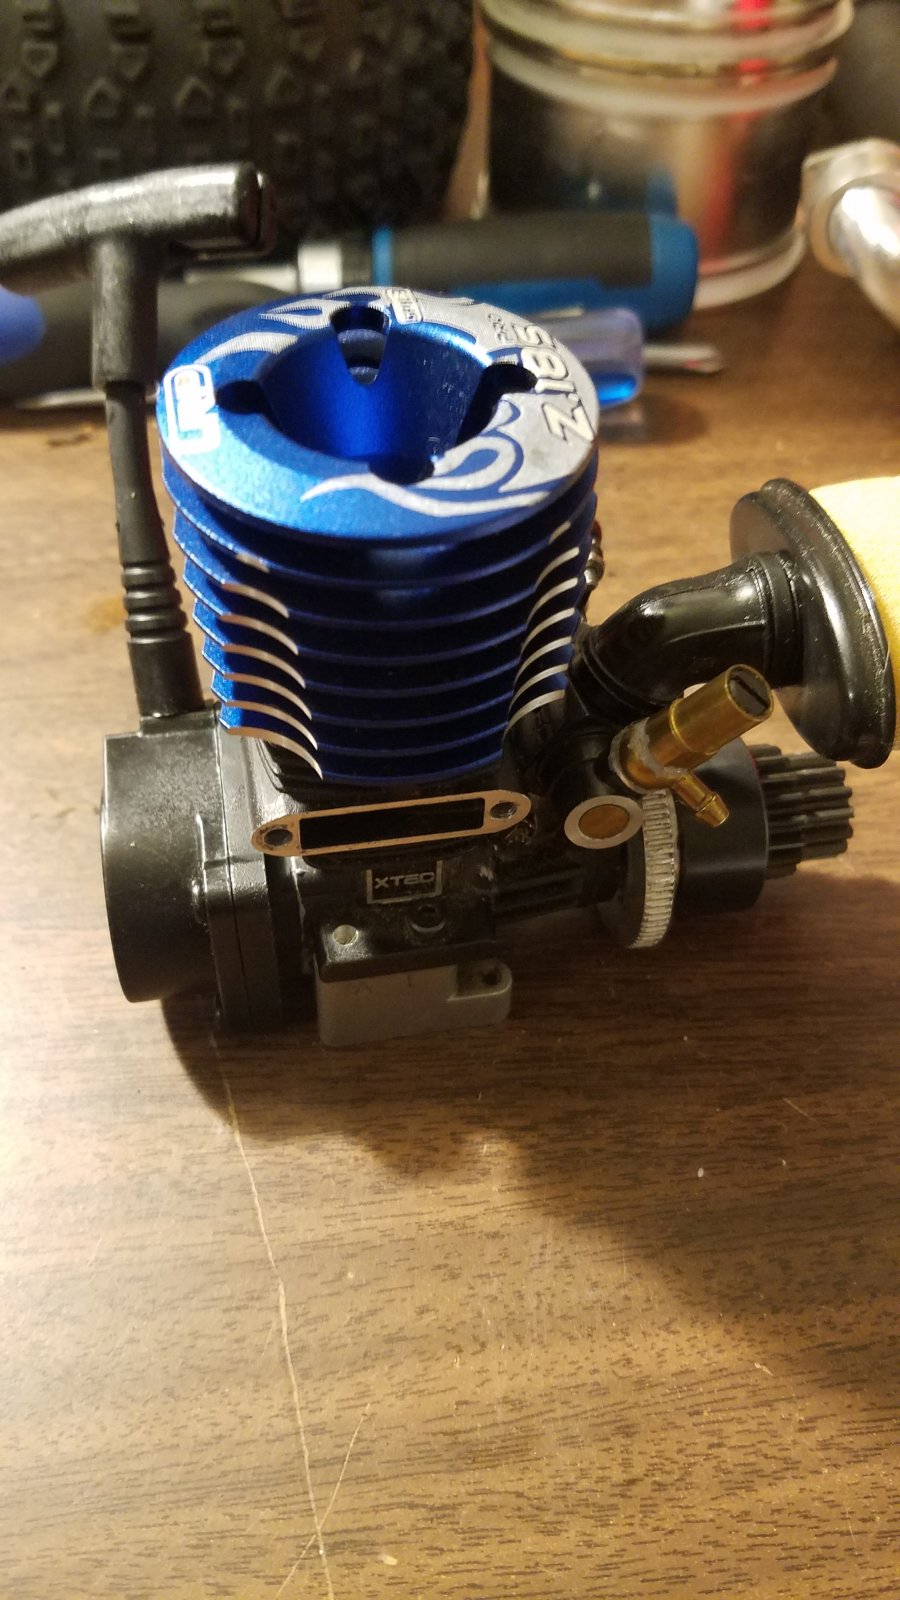
when the backplate was open, i poured a little alcohol and sloshed it around and was able to get the crank free after minimal work. i was able to get the gunk out of there and cleaned up really well. as luck would have it, very minimal rust had formed and any that did i was able to just brush off with a q-tip. once i was satisfied with how it looked in there, put in a few drops of Marvel mystery oil and spun it a few times making sure to coat all the internals and the piston/sleeve.
engine still has really good compression, not quite pinch anymore, but loads of life left on it.
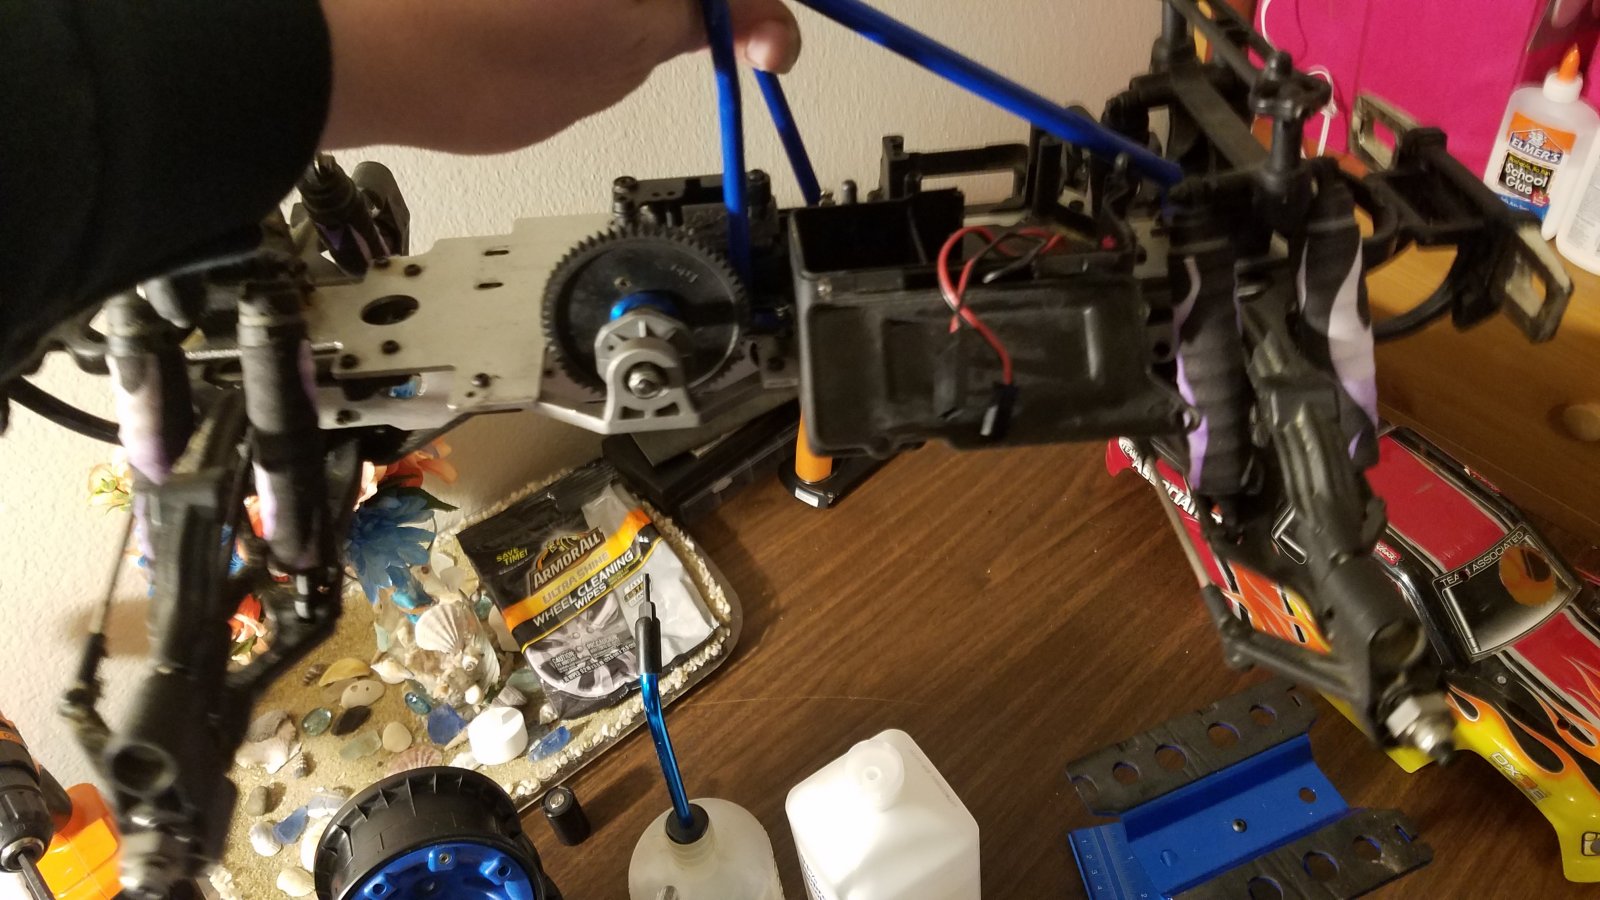
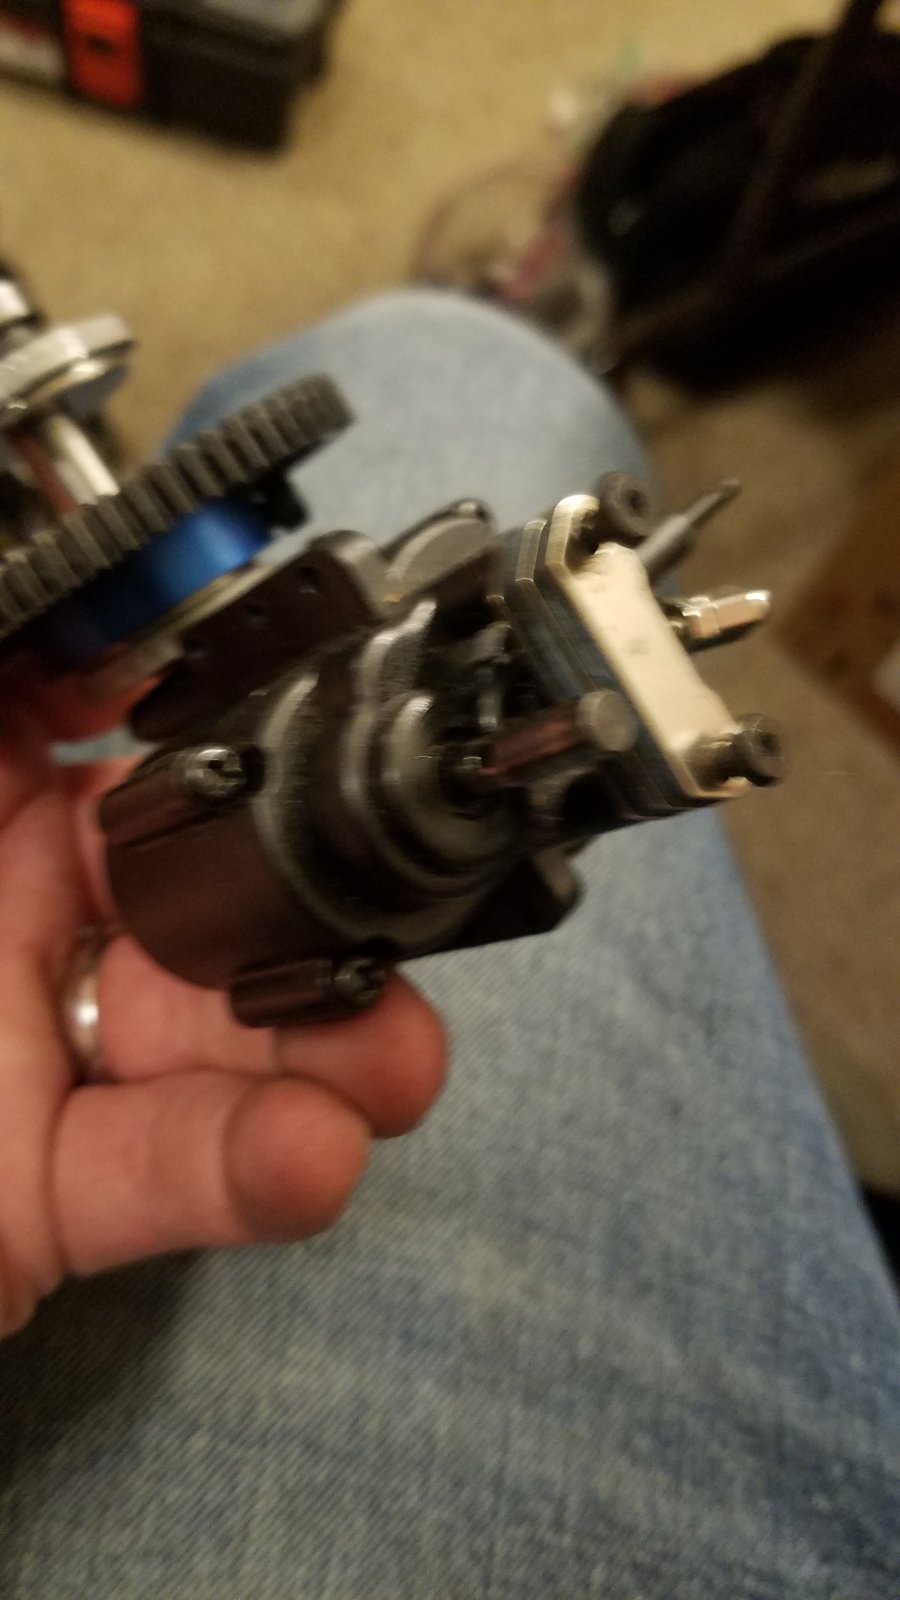
Next was onto the transmission, reinstalling brake pads, and the 2 speed assembly.
brake pads went on without a hitch, settng the shafts in place and dropping it into the truck was a PITA though.
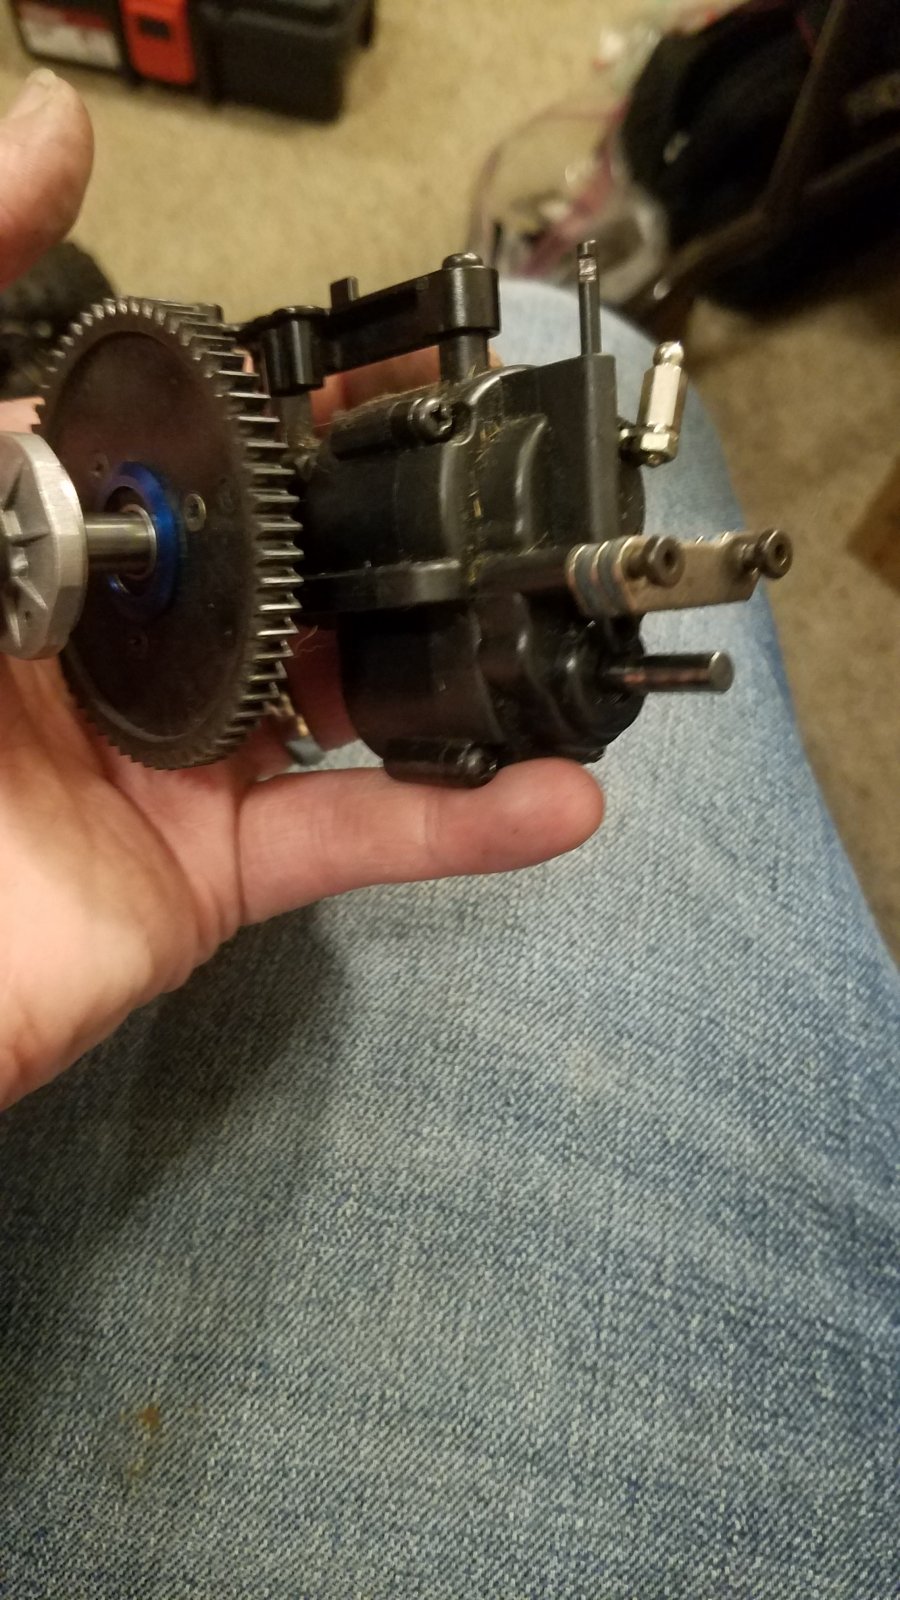
there was a screw that was set in to lock it into 2nd gear so removed that as i plan to stay nitro with it, small block might have a hard time with that, plus i want to get it back to full working order (love hearing that 2nd gear shift!)

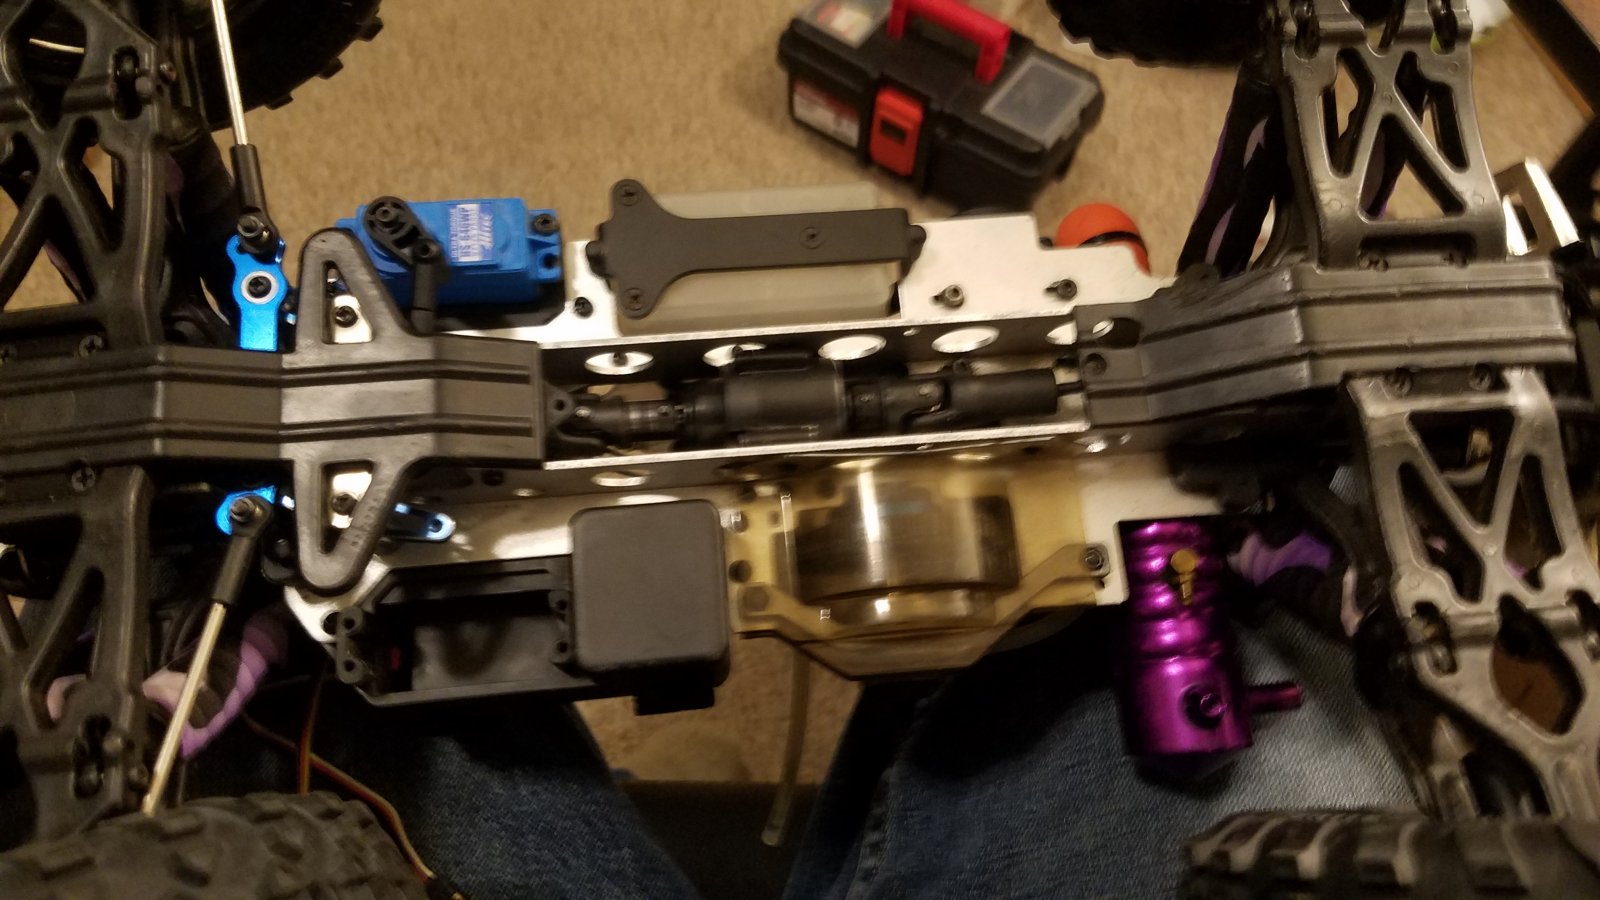
decided to install my Hitec HS646WP for the steering servo, it has enough to pull the wheels around on my 1/8 MGT so should have plenty for this!
as you can see it is really right between the brake disks and the chassis, made it quite a challenge to drop everything into place and get the driveshafts into the drive cups.
got the fuel tank installed, 2 speed put back together mostly (its missing the spring and grub screw for the 2nd gear pawl, so needing to order one.) but its all together.
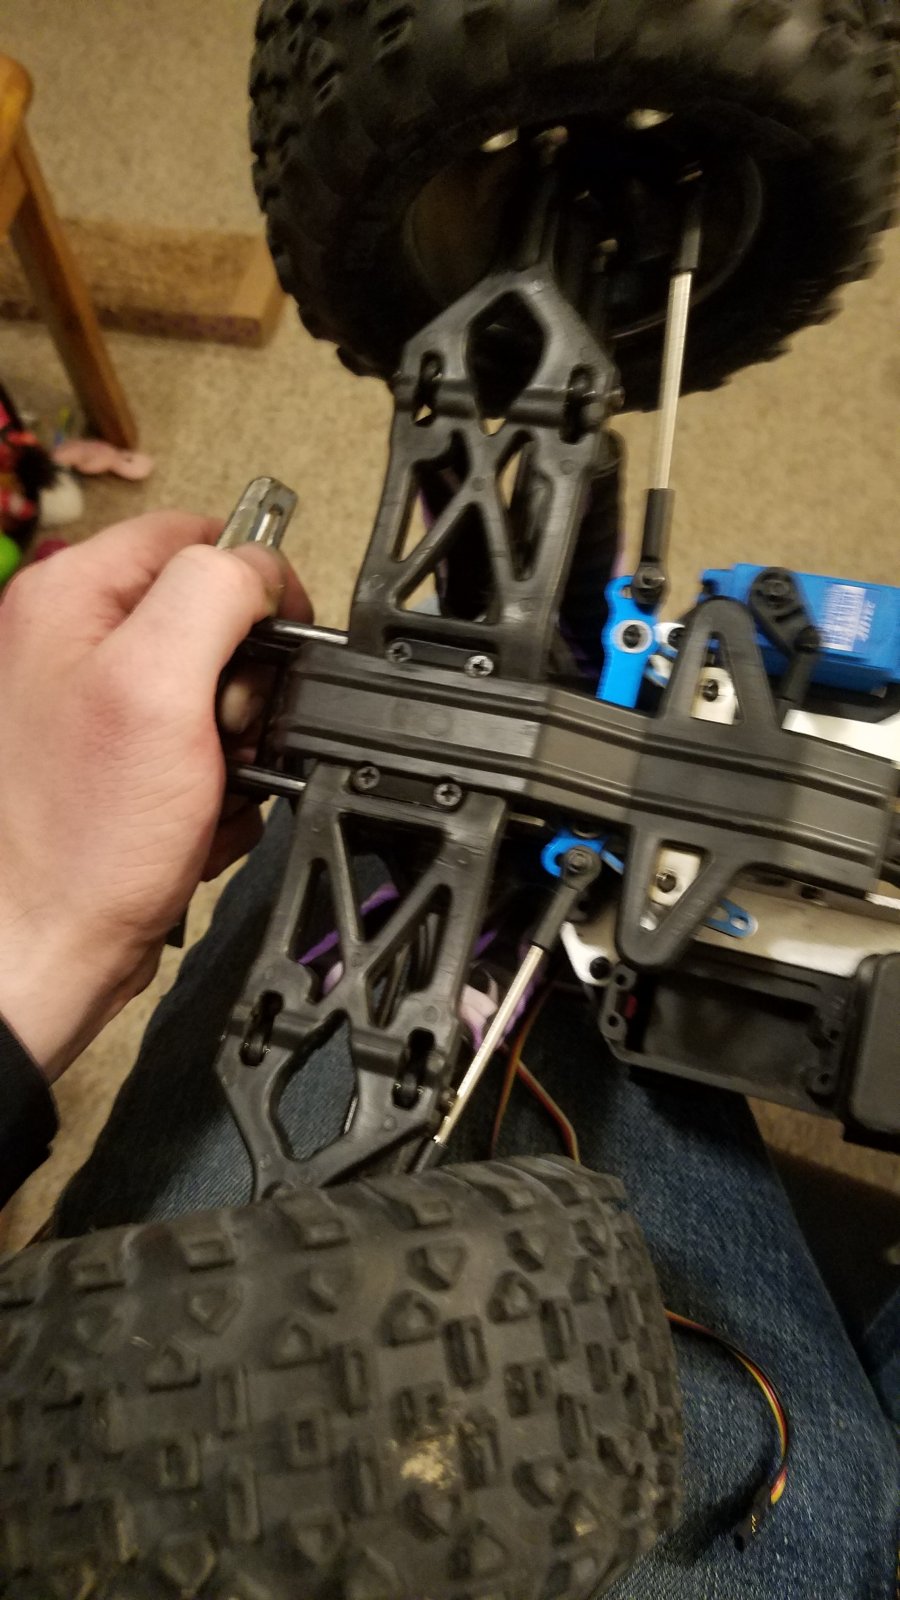
setting up turnbuckle lengths, need to adjust it a bit more though, weird how there is not a hexed portion or even a hole to rotate them, just straight smooth links.
Very excited to see the FT steering bellcrank assembly!
mostly assembled for now!!!
after assessment and assembly of what is there, very minimal stuff is missing/needing replaced, just the 2 speed pinion, and a bushing for the throttle bellcrank.
was able to get it mocked up enough for a picture next to the ladies!

i have since installed the blue beadlocks onto the truck and replaced the ladies with the stock MMGT wheels/tires, weirdly the 40 series pin type are only 20 grams heavier than the stock MMGT setup.
few more areas i need to go through and service/inspect including the diffs, shocks, and i want to get into the transmission assembly. though everything rolls very freely, and i dont see any damp or wet spots on the shock boots, but just out of peace of mind, and i want to put some 10k diff fluid in the diffs.
i have had a blast so far going through this, and hope to keep you guys tuned as i progress on the build/refurbish.
decided to put together a build log to share my experience refurbishing/services of the new truck!
now as you may or may not know i really love the build/refurbish process of RCs, getting them back to their golden days of blasting around.
initial layout and assessment of parts:
installed the radio tray, and putting in the FlySky Receiver to control this little beast! (only say little because i am very used to 1/8 scales lol)
slightly torn down, so went through and tore down just a bit more and started getting to work inspecting/ cleaning, it is in quite good condition and other than just a little bit of dust in places is quite clean.
to start off with the main components i started with the heart of the truck, the engine.
the engine as expected after sitting for a length of time was pretty locked up, i disassembled the pullstart, backplate, and tore down the head. (my phone ended up not saving the pictures of the pre-cleaning.)
was a bit of old nitro fuel gumminess that many know, so went ahead with some alcohol and started letting it soak, the starter shaft was pretty stuck in the backplate so i let that sit in some alcohol for a bit to loosen up.
when the backplate was open, i poured a little alcohol and sloshed it around and was able to get the crank free after minimal work. i was able to get the gunk out of there and cleaned up really well. as luck would have it, very minimal rust had formed and any that did i was able to just brush off with a q-tip. once i was satisfied with how it looked in there, put in a few drops of Marvel mystery oil and spun it a few times making sure to coat all the internals and the piston/sleeve.
engine still has really good compression, not quite pinch anymore, but loads of life left on it.
Next was onto the transmission, reinstalling brake pads, and the 2 speed assembly.
brake pads went on without a hitch, settng the shafts in place and dropping it into the truck was a PITA though.
there was a screw that was set in to lock it into 2nd gear so removed that as i plan to stay nitro with it, small block might have a hard time with that, plus i want to get it back to full working order (love hearing that 2nd gear shift!)
decided to install my Hitec HS646WP for the steering servo, it has enough to pull the wheels around on my 1/8 MGT so should have plenty for this!
as you can see it is really right between the brake disks and the chassis, made it quite a challenge to drop everything into place and get the driveshafts into the drive cups.
got the fuel tank installed, 2 speed put back together mostly (its missing the spring and grub screw for the 2nd gear pawl, so needing to order one.) but its all together.
setting up turnbuckle lengths, need to adjust it a bit more though, weird how there is not a hexed portion or even a hole to rotate them, just straight smooth links.
Very excited to see the FT steering bellcrank assembly!
mostly assembled for now!!!
after assessment and assembly of what is there, very minimal stuff is missing/needing replaced, just the 2 speed pinion, and a bushing for the throttle bellcrank.
was able to get it mocked up enough for a picture next to the ladies!
i have since installed the blue beadlocks onto the truck and replaced the ladies with the stock MMGT wheels/tires, weirdly the 40 series pin type are only 20 grams heavier than the stock MMGT setup.
few more areas i need to go through and service/inspect including the diffs, shocks, and i want to get into the transmission assembly. though everything rolls very freely, and i dont see any damp or wet spots on the shock boots, but just out of peace of mind, and i want to put some 10k diff fluid in the diffs.
i have had a blast so far going through this, and hope to keep you guys tuned as i progress on the build/refurbish.
 03-03-2020, 03:14 PM
#2
Tech Adept
Thread Starter
small update.
nothing that you can visually see though. found a 2 speed hub that i had laying in my parts bin from my MGT, so pulled the spring out of that and the ball for the 2 speed lever. the spring is definitely pretty shot, but i was able to just tighten it down all the way effectively locking it in first gear. i ordered the piece but first round of ordering, i managed to select the wrong piece and got a 2-speed one way hub instead of the 2-speed clutch hub assembly. so another week before i can hear that 2 speed shift.
figured out something i can use as a bushing for the throttle bellcrank. ended up using a shock bushing and a small steel sleeve, its 2 pieces but seems to work just find.
got the pipe mount bent up and holding the pipe in place where i want it.
given that i dont plan on using reverse, i installed the reverse linkage i got with the truck in my Wife's MMGT, and locked my trans in forward. in place of the servo, i took the top off a bad servo, threaded a screw through where the servo spline part pokes through and bolted that in place.
gives me more room in the RX box, and keeps the wires contained and debris out. (for the most part).
was able to get a quick video of the truck running, and tried my hand at some video editing. sadly there is a huge watermark but i dont really want to pay for the real deal until i know i want to continue doing it.
P.S. my video editing skills are severely lacking so be gentle please :-)
https://streamable.com/6c48w
had forgotten to check the idle gap for final install and assembly as seen in the video, quick correction got that figured out, i did have it running pretty rich so not super powerfull, but even at partial power this engine is very strong. i did also find out once i brought it back in that the slipper had managed to back off just a bit too.
Thanks for following! if anyone is still out there still running their MMGTs, definitely post some pics!
03-21-2020, 08:29 AM
#3
Nice ! I use to have a mmgt it was my first nitro rc . I had a new era big block conversion in it man that thing was a wheelie monster! Cool vid
03-22-2020, 02:17 AM
#4
Tech Adept
Thread Starter
ive always been curious how they handled the big block engines, from what i read half the people it did really well, the others couldnt keep driveshafts together.
so far am loving the truck
thanks for the props on the video!
so far am loving the truck
thanks for the props on the video!
10-22-2020, 08:38 AM
#5
Tech Adept
Thread Starter
small update:
kept on running into tuning issues with the little LRP, and so far the only thing i haven't been able to seal, and or replace O-rings etc on was the carb, so i decided to go the same direction as i did on the first MMGT, which was use a slide carb.
i really wasnt a huge fan of the bellcrank system for the throttle, and any slop really affects the precision of closing anyways.
total required items for install of slide carb type linkages for the truck:
1x longer linkage rod to the servo from the carb, one with a threaded end,
1x linkage stopper for the throttle side
drill the servo horn hole out to swap the brake/throttle mounting points
and slight filing in the post area of the RX box.
Carb installed, fit perfectly.
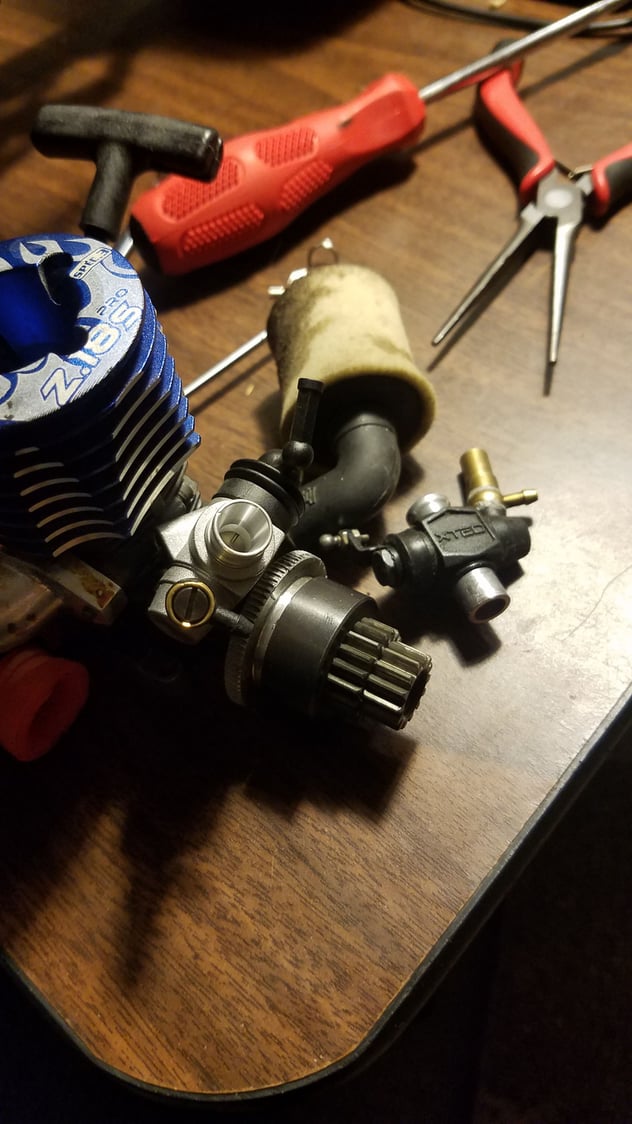
new carb installed!
front angle of the new carb installed, attempt #2 at removing the clutchbell, was not able to remove previously.
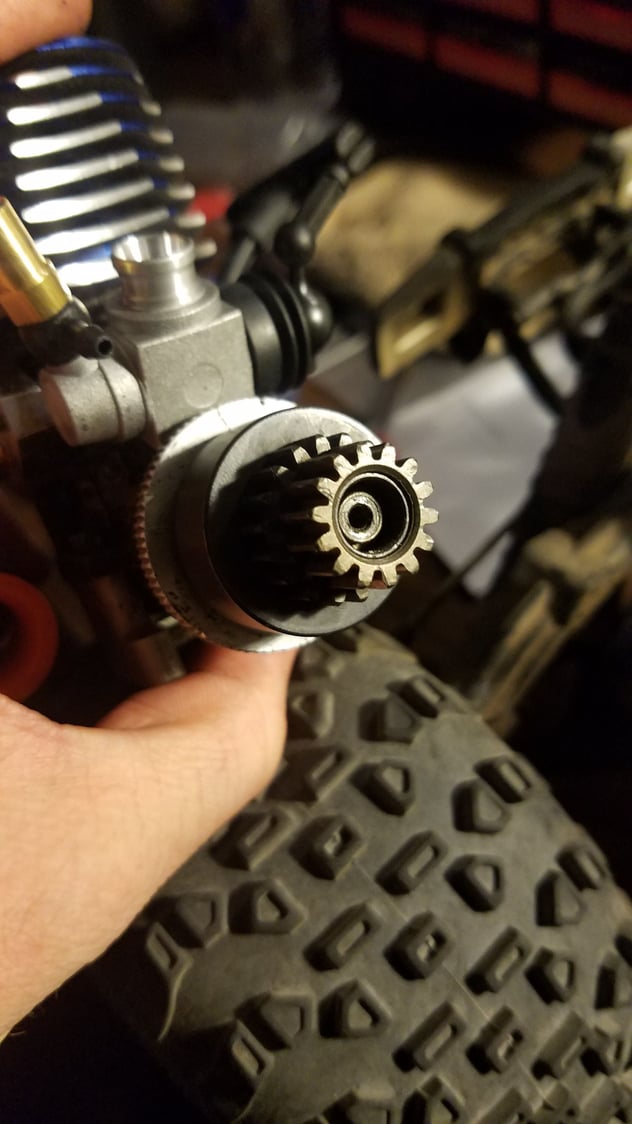
New Carb clutchbell side, CB bearings were seized on the crankshaft
upon teardown, i was finally able to remove the clutchbell, the first time i was not able to remove, was able to use heat this time and came right off, was super happy to see the DPS clutchshoes, really am liking them on my LST.
welcome surprise to see DPS clutch shoes.
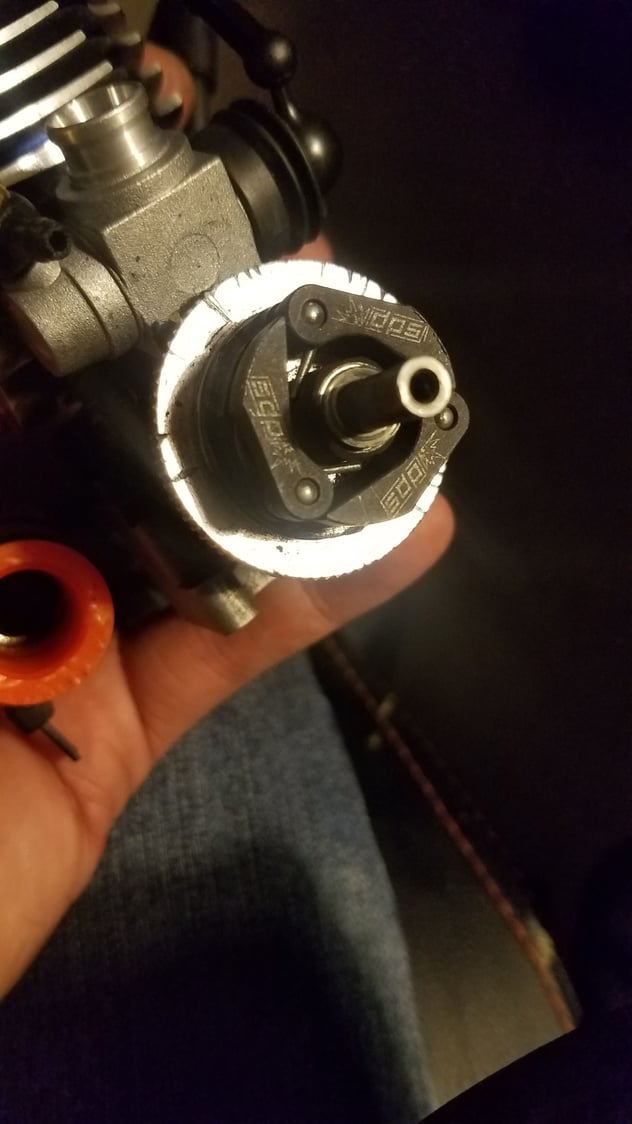
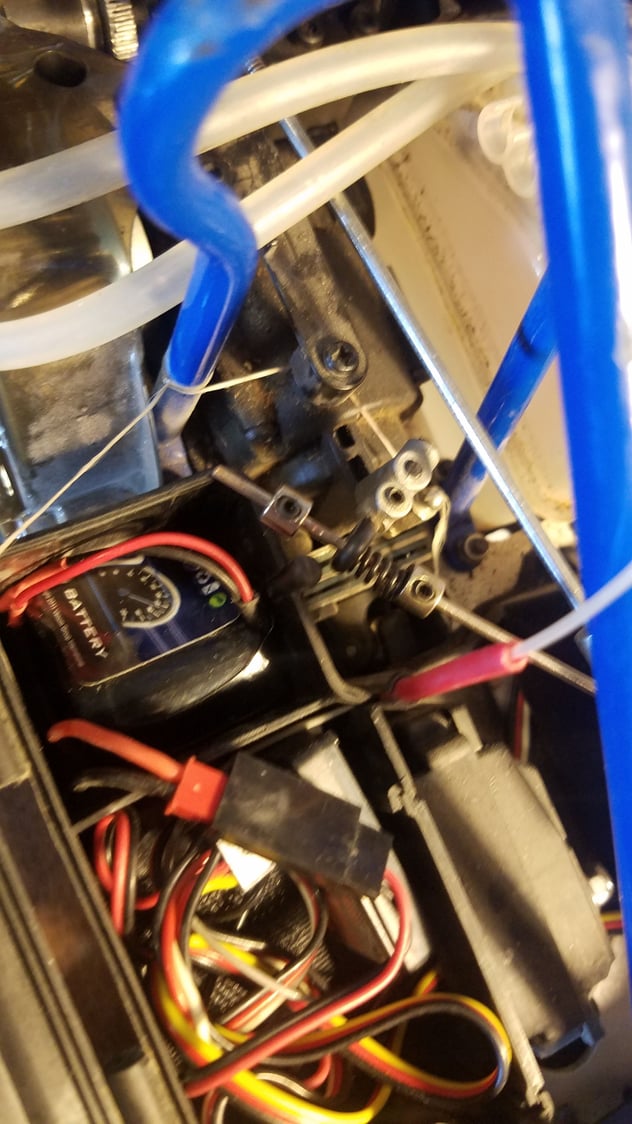
First mock up of the new linkage, with the orignal carb, pulling the carb linkage (to servo) closed the carb, pushing the linkage opened the carb, slide carb would be reverse of that, so i had to flip the brake post.
in this configuration, i would have to really trim the radio box.
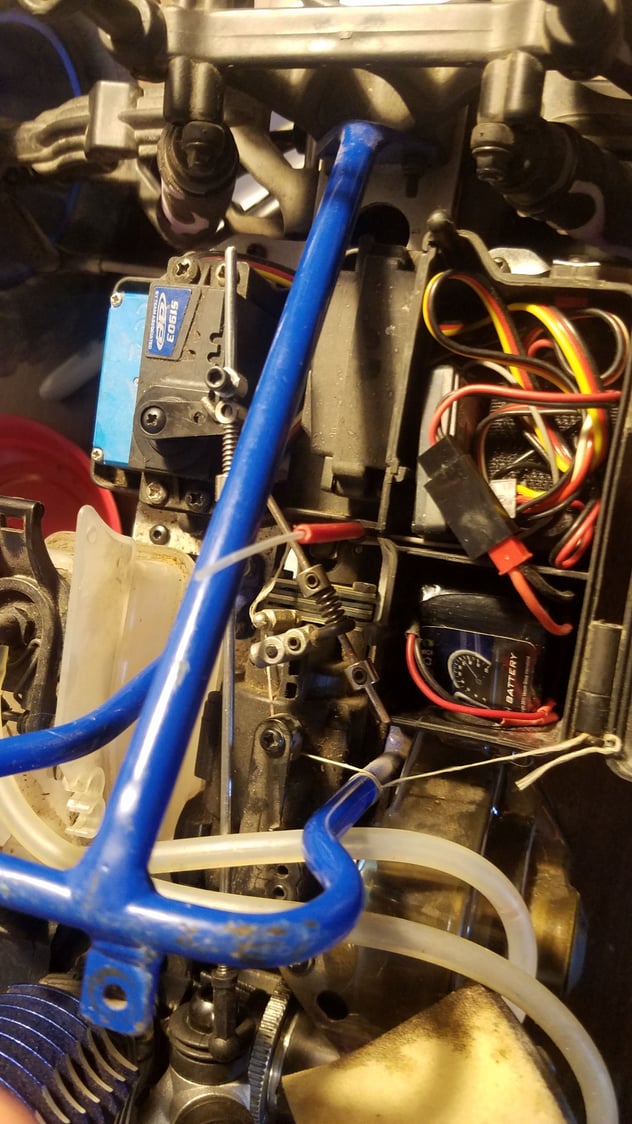
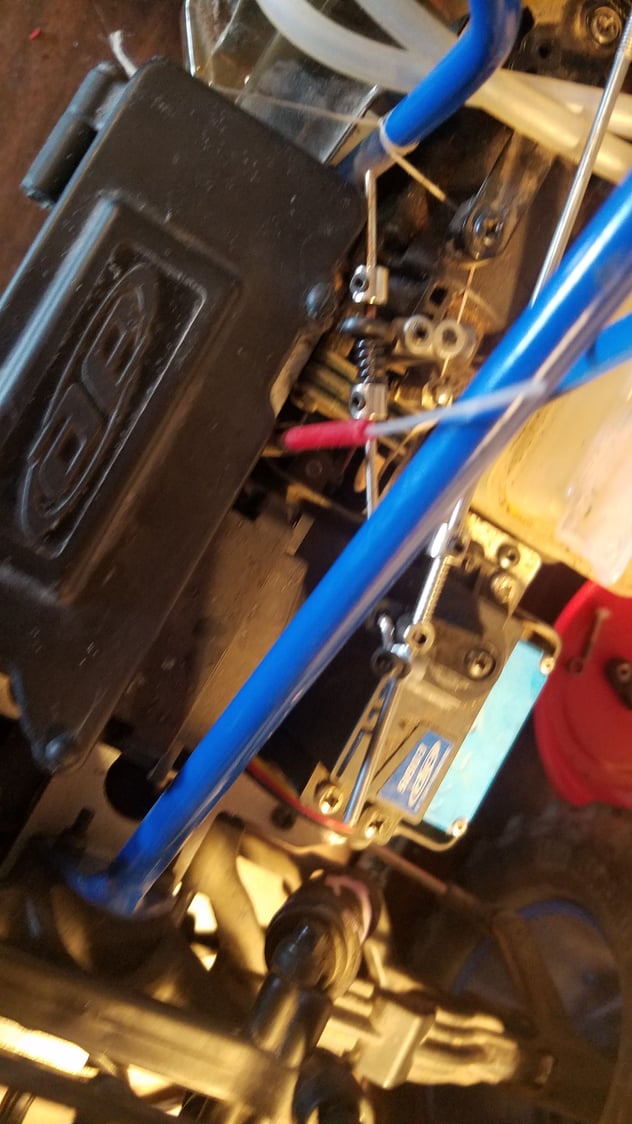
Another angle showing the impact zone:
top view, V1 linkage, severe impact to radio box
reversed the order of the brake and throttle on the servo horn, and was able to get a better angle so it would not be so perpendicular to the radio box. allowed just enough clearance that only slight filing was needed.
Another pic of the linkage
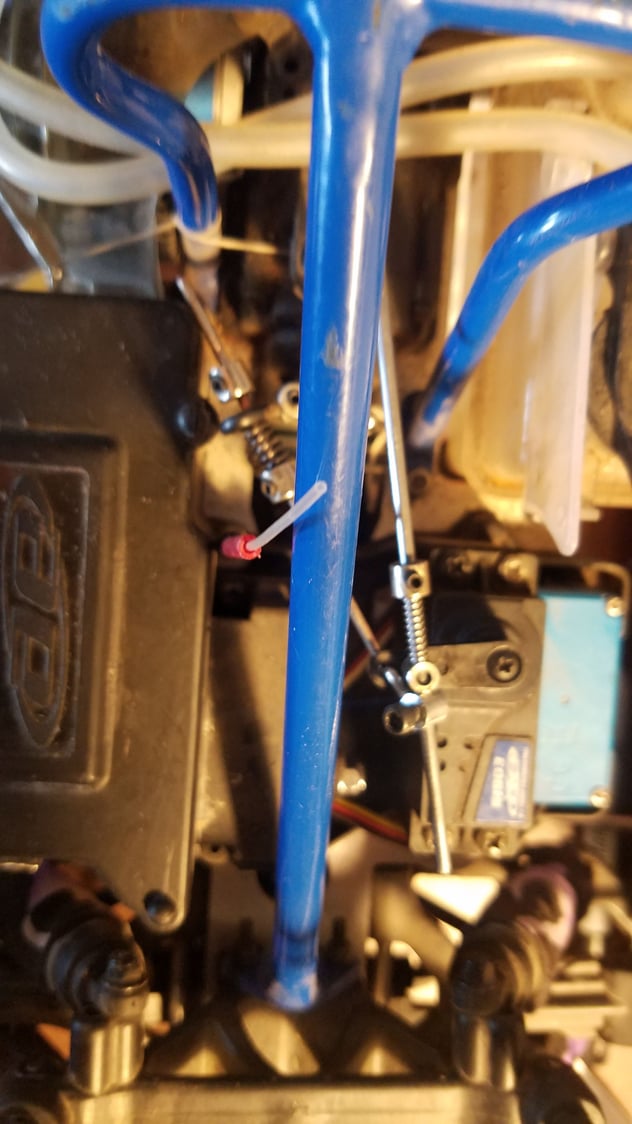
was about it really.
hope to run the truck tonight, though might have to be over the weekend.
kept on running into tuning issues with the little LRP, and so far the only thing i haven't been able to seal, and or replace O-rings etc on was the carb, so i decided to go the same direction as i did on the first MMGT, which was use a slide carb.
i really wasnt a huge fan of the bellcrank system for the throttle, and any slop really affects the precision of closing anyways.
total required items for install of slide carb type linkages for the truck:
1x longer linkage rod to the servo from the carb, one with a threaded end,
1x linkage stopper for the throttle side
drill the servo horn hole out to swap the brake/throttle mounting points
and slight filing in the post area of the RX box.
Carb installed, fit perfectly.
new carb installed!
front angle of the new carb installed, attempt #2 at removing the clutchbell, was not able to remove previously.
New Carb clutchbell side, CB bearings were seized on the crankshaft
upon teardown, i was finally able to remove the clutchbell, the first time i was not able to remove, was able to use heat this time and came right off, was super happy to see the DPS clutchshoes, really am liking them on my LST.
welcome surprise to see DPS clutch shoes.
First mock up of the new linkage, with the orignal carb, pulling the carb linkage (to servo) closed the carb, pushing the linkage opened the carb, slide carb would be reverse of that, so i had to flip the brake post.
in this configuration, i would have to really trim the radio box.
Another angle showing the impact zone:
top view, V1 linkage, severe impact to radio box
reversed the order of the brake and throttle on the servo horn, and was able to get a better angle so it would not be so perpendicular to the radio box. allowed just enough clearance that only slight filing was needed.
Another pic of the linkage
was about it really.
hope to run the truck tonight, though might have to be over the weekend.
Currently Active Users Viewing This Thread: 1 (0 members and 1 guests)
