


 759Likes
Mugen MTC1

 03-13-2018, 09:34 AM - Wikipost
|
|||
|
|||


 09-30-2017, 03:14 PM
#946
Tech Addict
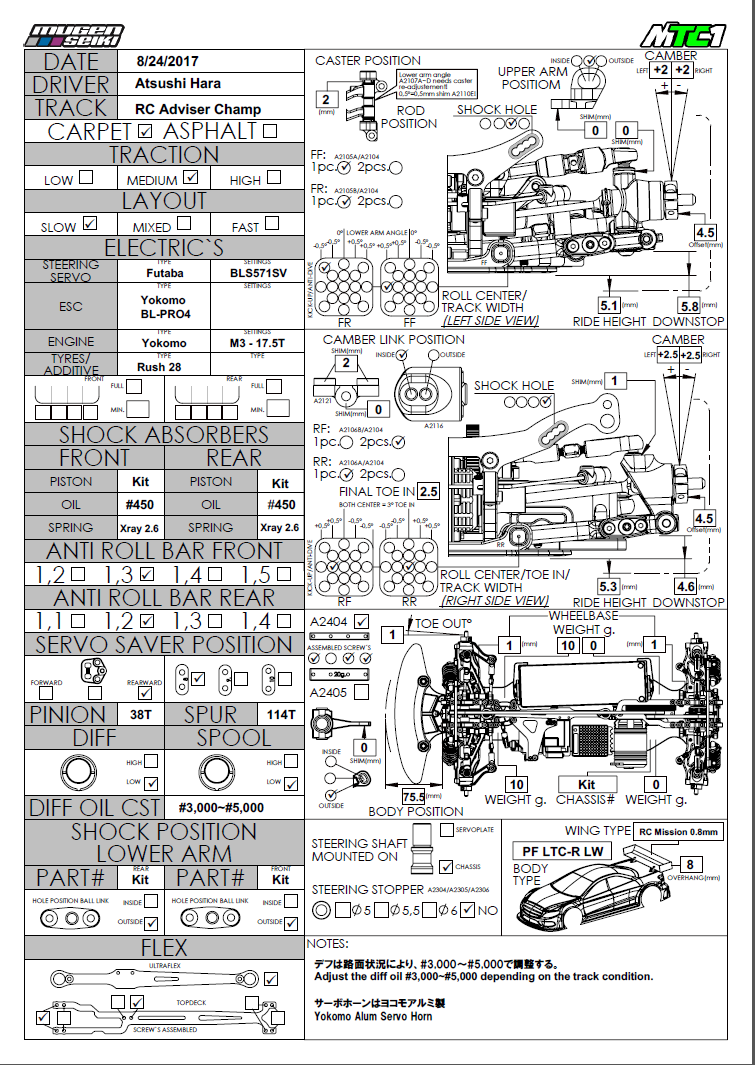
And I still struggle with reading their setupsheets. Take the following one for example http://www.mugenseiki.com/download/s..._2017_srt2.pdf
If I read this correctly he increase the rear width by 0.5 degrees and for the front he actually decreased track width added sweep by moving fr further in AND decreased kickup by one degree.
Given the feedback I read here up to now this seems to be counter intuitive for me.
If I read this correctly he increase the rear width by 0.5 degrees and for the front he actually decreased track width added sweep by moving fr further in AND decreased kickup by one degree.
Given the feedback I read here up to now this seems to be counter intuitive for me.
The deciding factor is if you should look at the inserts from the rear or from the front.
As the drawing on the set up sheet shows the car seen from the front for the front and likewise seen from the rear for the rear, I was assuming you look at the inserts like that.
i.e. the right arm seen from the rear for the rear end and the left arm (left as in seeing the car right/left from the rear - that is the arm the drawing is showing) seen from the front for the front end (would be to our right when you are looking from the front)
If that is the way, I would read the following:
Rear:
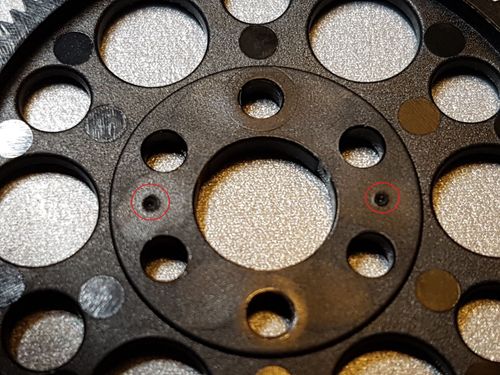
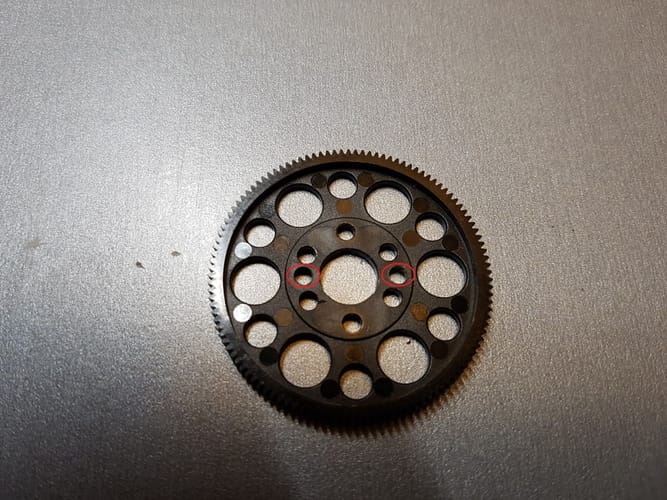
Both inserts in the middle hole means 3 degrees toe in. He has moved the RR pin out one hole. Would have given 3.5 degrees toe in if you did not change the RF pin. However, he moved that out one hole out as well. Result is 3 degrees toe in, with a bit wider car at the rear (whatever the distance between the holes in the inserts are). No other changes to roll center etc. as he kept the holes at the same height both RR and RF. Mirror that for the rear end on the left side.
Front:
If you look at the left arm from the front, this would mean the track width is narrower and height "shimmed" up at the back ("Kick up"? / "anti dive"?). No angle. Again mirror that for the right side of the front end.
However, if you view the left arm in the front from the rear instead of from the front, the result would be opposite, i.e. wider track width (with "shimmed" up rear and no angle).
Since the drawing on the setup sheet shows the car seen from the front, one would think that would be that way to look at it, but I am not sure.
Does anyone know for sure how to read it?
Actually if it is not defined, anyone drawing up a sheet could decide for themselves which way they see it and fill in accordingly. And if you don't know, you could misinterpret and get it completely opposite...
 09-30-2017, 05:12 PM
#947
Tech Rookie
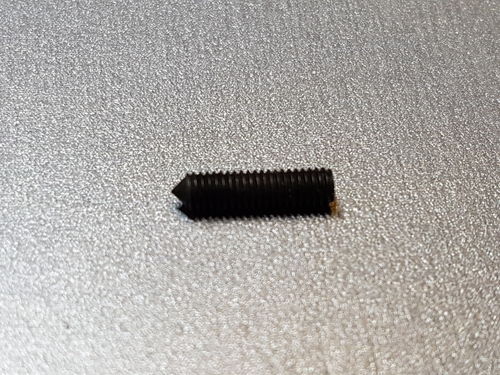
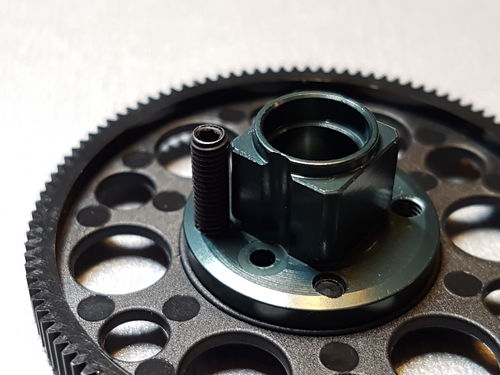
Well to report back on the screws, I found 2 screws in my tool box with lower profile heads and it seem to do the trick, I dont see anymore belt residual on the heads.
Another problem came up tho. Since I bought the single piece top deck, I thought i'll give it a try and see how that affects handling. Handling was quite a handful. The rear end kept stepping out and became quite a handful to drive. I put the 2 piece top deck back on to see if that solved the problem but the same thing happened. The car handled like it was on rails last week and I didnt make any other changes. I put on a new set of tires and that helped somewhat but still no where near like last week.
While playing around with the cars, I noticed the rear diff was really stiff. I used 10k oil but it felt like it had 100k in it. I took it apart to check on the condition of the oil and noticed the gears were severely worn and the oil had a bunch of plastic filings on it. The diff was extremely notchy and didnt run smooth at all. Im not sure why or how that happened seeing my other cars running similar 13.5T boosted setup have their diff last 6+ months without a service. I think I have around 24 packs of run time through the car and the diff pretty much destroyed itself.
09-30-2017, 11:51 PM
#948
Tech Apprentice
so for those of you whom have built this car, what is the all up wheight like. Thanks
 10-02-2017, 09:51 PM
#953
This topic was covered a few pages back. My car all built up and electronics installed was around 1260g on the scales. With the body it was right on 1350g.
10-03-2017, 01:35 AM
#954
Fenix OPT029 chassis show up at IIC

With the battery placed it's easy to notice the peculiar shape of the chassis
With the battery placed it's easy to notice the peculiar shape of the chassis
10-03-2017, 03:50 AM
#956
10-03-2017, 07:52 AM
#958
Are you saying that it is more durable than an Xray?
For the record I race off road and my Mugen (ebuggy) takes so much abuse with no broken parts. All of the ebuggies are like that.... I break one part every two years. I wish touring cars were like that....
Mugen is a great brand.....Xray now has more competition...... Parts are cheaper too....
For the record I race off road and my Mugen (ebuggy) takes so much abuse with no broken parts. All of the ebuggies are like that.... I break one part every two years. I wish touring cars were like that....
Mugen is a great brand.....Xray now has more competition...... Parts are cheaper too....


