


 2421Likes
Tekno RC EB410 Thread

 05-13-2019, 06:33 AM - Wikipost
|
|||
|
|||


 06-23-2018, 03:41 AM
#4443
Tech Rookie
06-30-2018, 06:17 AM
#4444
First race with my mini-buggy last week against the locals in OK... took 4th out of 10 
Everything worked great, large outdoor loose track had some serious ruts, bumps, and holes by the time we ran the mains... same track for everyone so made for a fun race.
Box stock on the set-up, run the upper ride height setting (20f / 23r).
27/81 on gearing with the Spec-R 13.5 with temps in the low 140's.
I need to learn a little about timing on motor... the motor came set at 30 degrees....
Lots of fun racing the 13.5 class...
Looking forward to the next road trip up north.
06-30-2018, 12:40 PM
#4445
I was looking into the exotek flite spur, since I am going to run 13.5 and any weight lifted from the driveline is a plus.. but it comes in 75t, instead of 81? I was going to buy some spare spurs, but was trying to decide between the stock tekno 81t, the exotek machined 81t spur w/ mounting plate, or the flite.. but the flite is 75t and I don't know how that would effect everything... I am running the tekin 13.5 spec-r.
07-01-2018, 01:19 AM
#4447
Looks PRO.
07-01-2018, 01:42 PM
#4448
Ok, I'll just stick with the 81t. I went with 24t/81t to try first, it was recommended in the wiki.
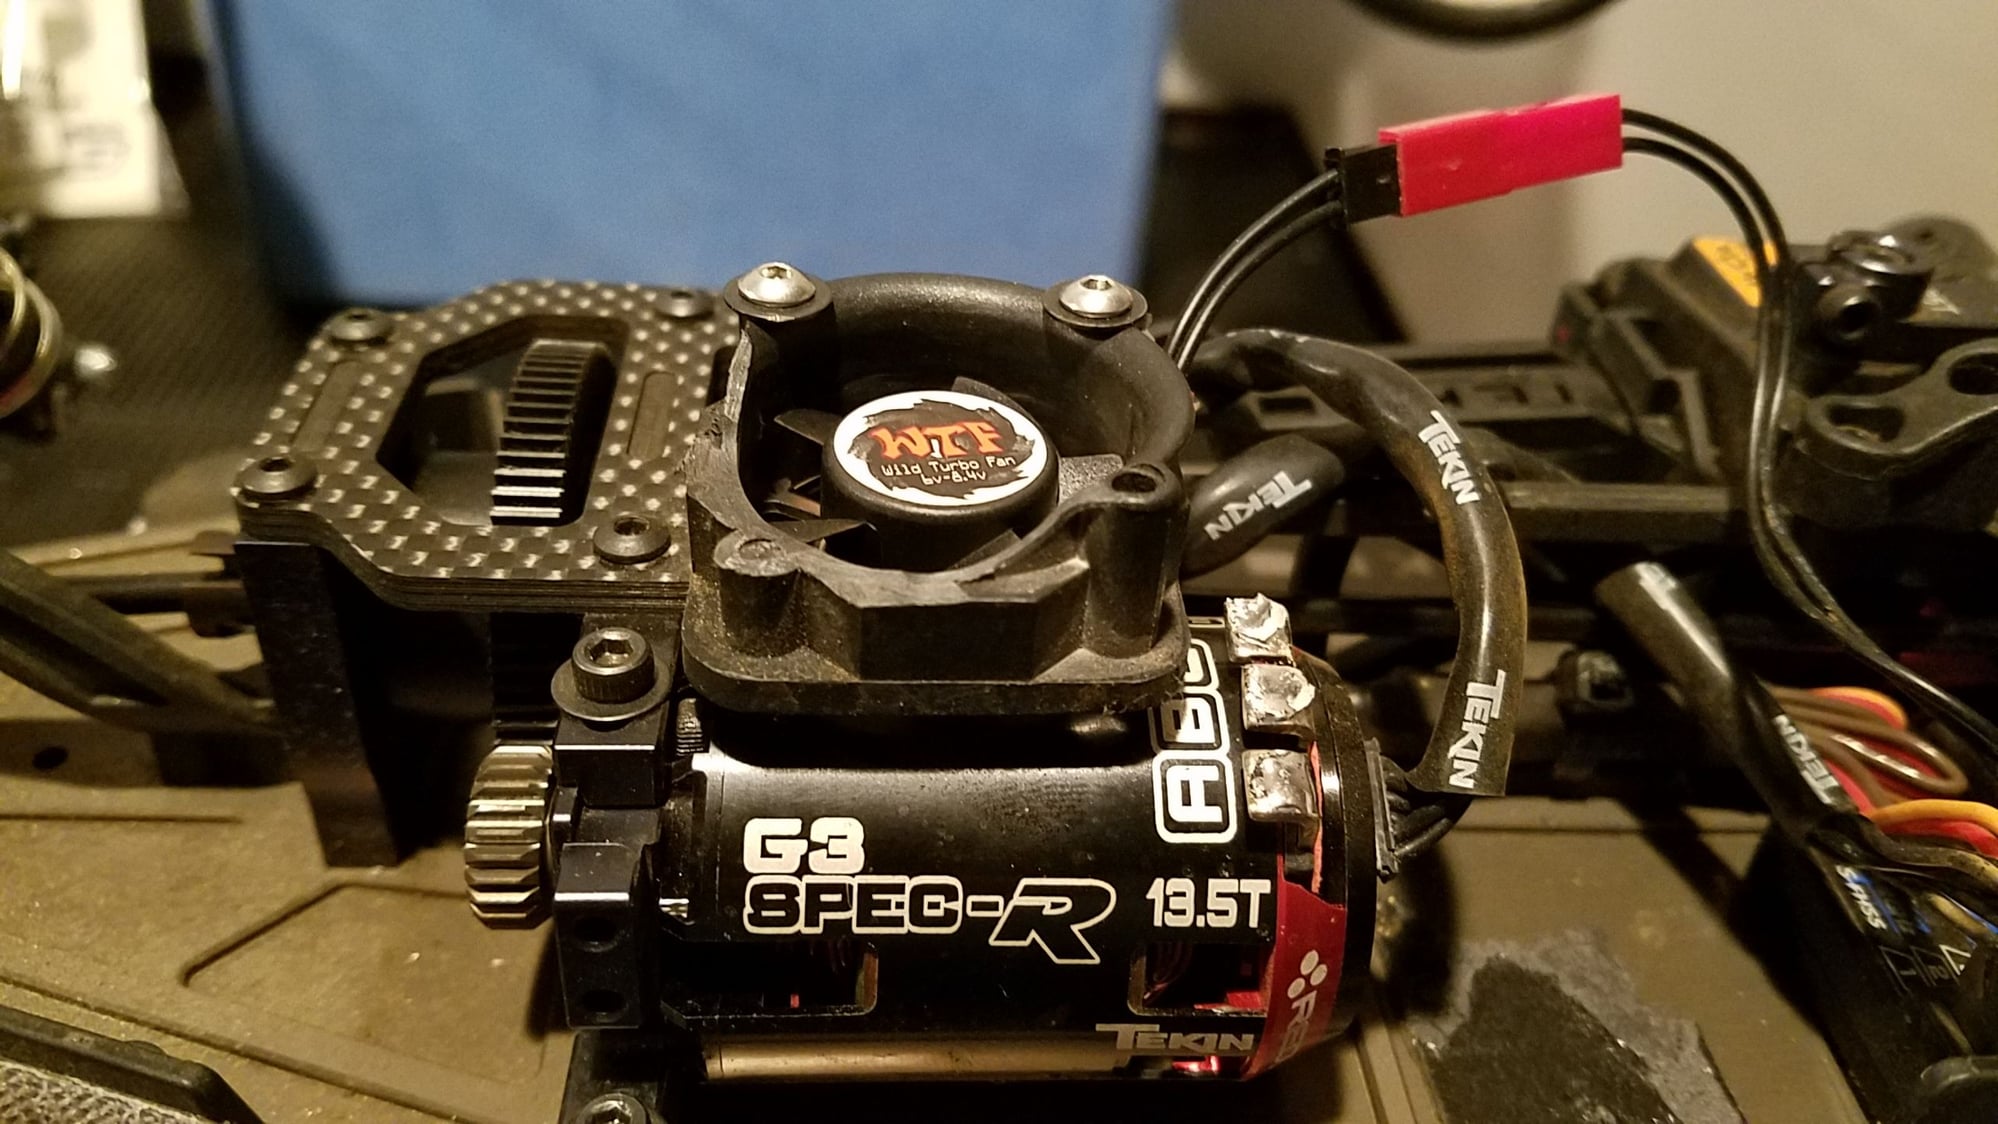
The 30mm WTF fan seems too tall to fit side mounted, is that the issue with all fans? I plan on upgrading to the top mount cf brace, but I may have to do that sooner since the fan doesn't fit right.... the body bows out away from the chassis...
The 30mm WTF fan seems too tall to fit side mounted, is that the issue with all fans? I plan on upgrading to the top mount cf brace, but I may have to do that sooner since the fan doesn't fit right.... the body bows out away from the chassis...
07-02-2018, 06:38 AM
#4449
Ok, I'll just stick with the 81t. I went with 24t/81t to try first, it was recommended in the wiki.
The 30mm WTF fan seems too tall to fit side mounted, is that the issue with all fans? I plan on upgrading to the top mount cf brace, but I may have to do that sooner since the fan doesn't fit right.... the body bows out away from the chassis...
The 30mm WTF fan seems too tall to fit side mounted, is that the issue with all fans? I plan on upgrading to the top mount cf brace, but I may have to do that sooner since the fan doesn't fit right.... the body bows out away from the chassis...
What style WTF fan? the original fits fine... the "trumpet" will not fit top or side if i recall, I run the original WTF fans in both my EBs
07-02-2018, 05:55 PM
#4451
I have the normal 30mm, not the 34mm trumpet... im going to shave off a little of the bracket I think and see if that helps...
i am running a 24t/81t and that doesn't allow the bracket to slide in far enough it seems...
i am running a 24t/81t and that doesn't allow the bracket to slide in far enough it seems...
07-02-2018, 08:57 PM
#4452
I have a trumpet on mine using the stock body.. It does lift up on one side just a little but nothing that is really noticeable. I have the Tekno fan brace as well..
 07-04-2018, 05:13 AM
#4455