


D.I.Y. $22 (plus shipping) 4500mah saddle pack
 06-26-2009, 06:09 PM
#1
After having great success with my Zippy-H "20C-30C" saddle packs (converted from two 3S 1500mah packs) that cost $20 each, I decided to order another pair for the day when the first ones finally need to be replaced. I built the first pack last september and have used nothing else in my B44 since then. I estimate over 200 cycles (of 1500-2000 mah then back to full). I only ever used it to the cutoff maybe twice, and the charger put back 4400. So these packs are underrated if that much was used before the cutoff. I'm still using the original pack, but I can finally feel less punch towards the end of a 10 minute race (hard driving on a mainly 1/8 scale track). Looking at hobbycity.com I could no longer find the original packs I used, but I thought they replaced them with these: http://www.hobbycity.com/hobbycity/s...idProduct=9273
Now they are only $10.95 each plus shipping!!
Got them today along with a few other packs for the e-1/8, decided to take a few pics along the way. It takes about an hour if you're quick, 30-60 mins more if you take your time.
WARNING: Do not do this unless you are very comfortable with soldering (quickly) and li-pos in general. I'd feel awful if somebody did something really bad trying to do this when they shouldn't.
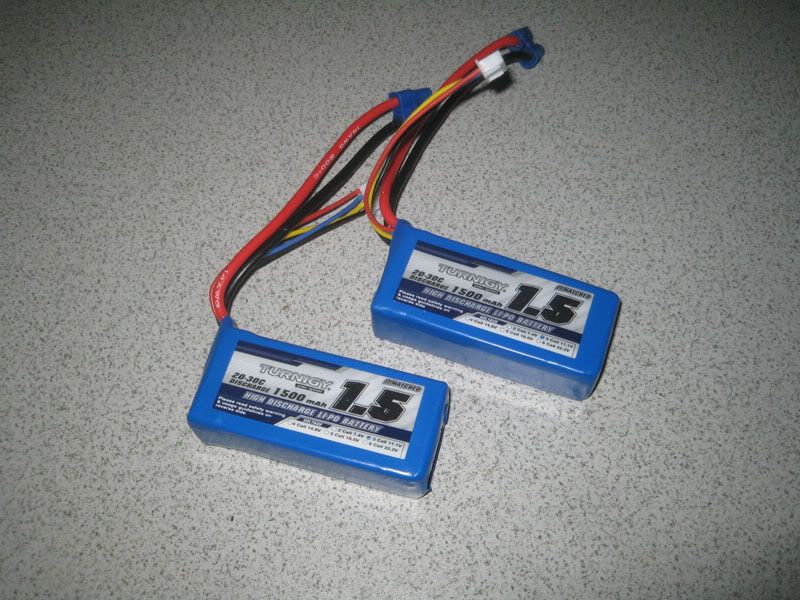
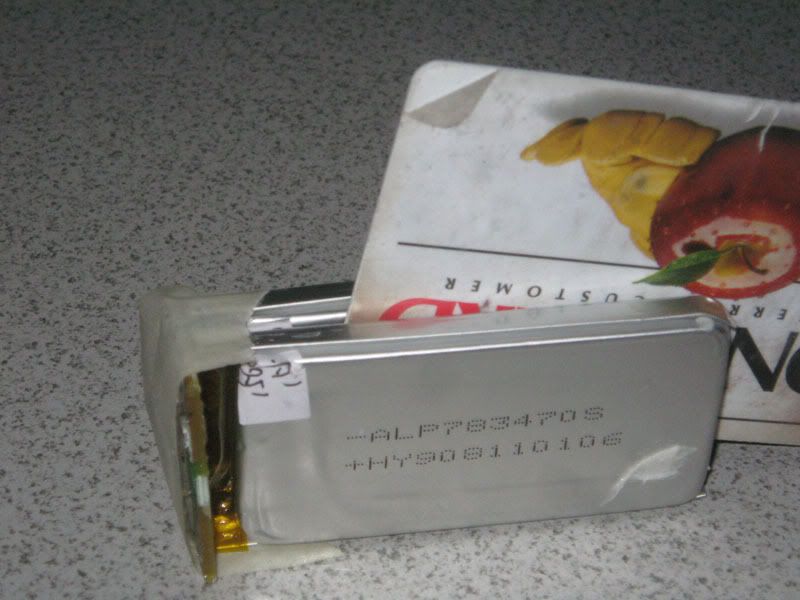
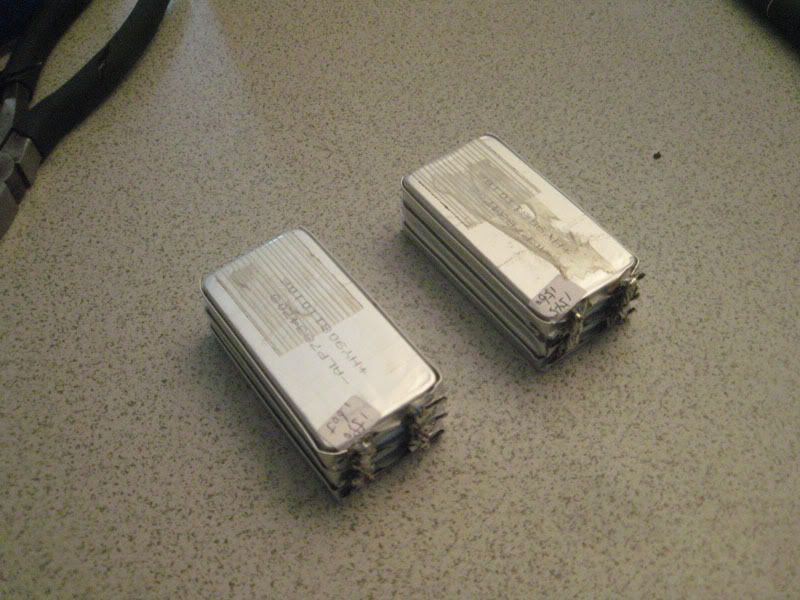
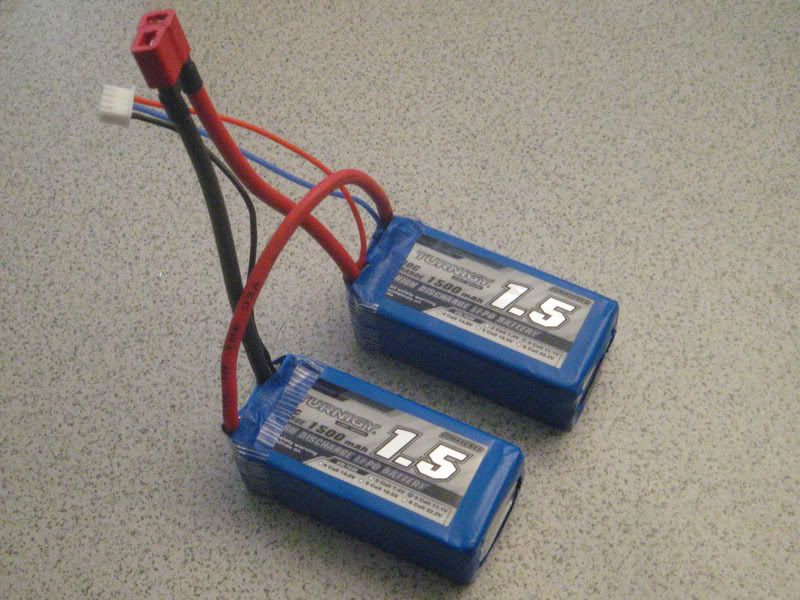
Here's the packs. They are not the same ones I got last time, but it appears they will work. Good news is they are actually easier to separate than last time. Bad news is I don't know if they will have the same excellent performance.
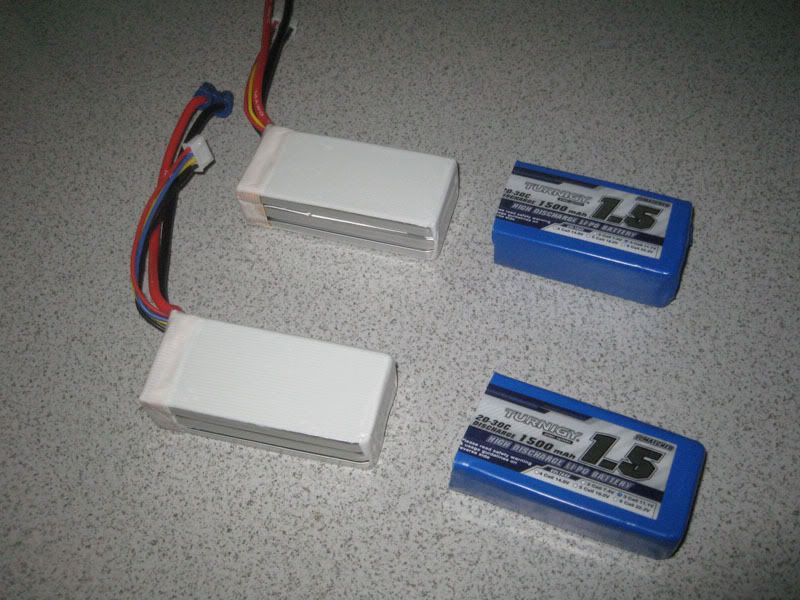
First, if you want to try to re-use the shrink wrap that they come in (I don't have any extra right now, will have to get some) carefully cut the end off the connector side of the pack and slide the cells out leaving a shell.
Remove the power wires and balancer wires
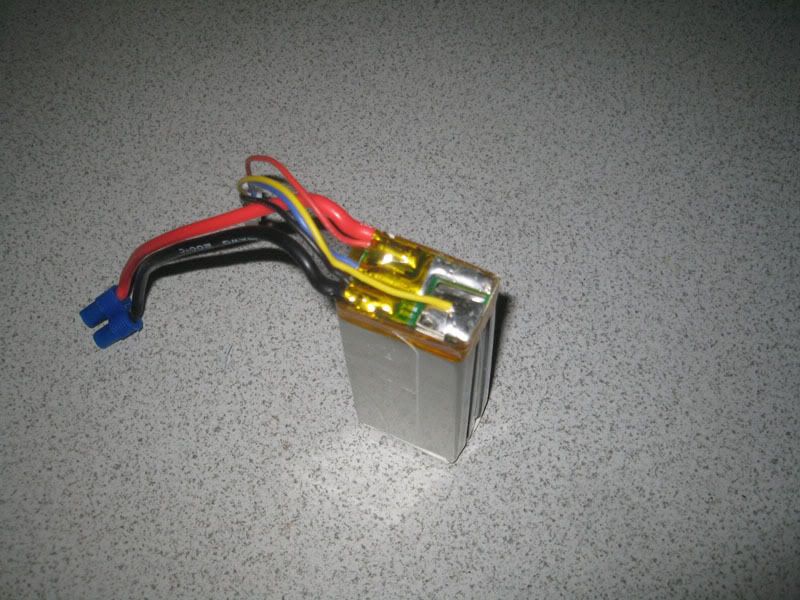
Carefully and as quickly as possible so as not to heat up the cells, remove the bulk of the solder from the board. I found that using an x-acto to pry up the tab while its molten worked the best, but it would usually take 2 or 3 attempts to get it completely free. Let the tabs cool down in between attempts or jump back and forth between the two packs while waiting for stuff to cool. Also, be very gentle with the tabs as they are the aluminum ones that have a solderable tab crimped onto them. If you break the aluminum one, it is a serious pain to connect to anything.
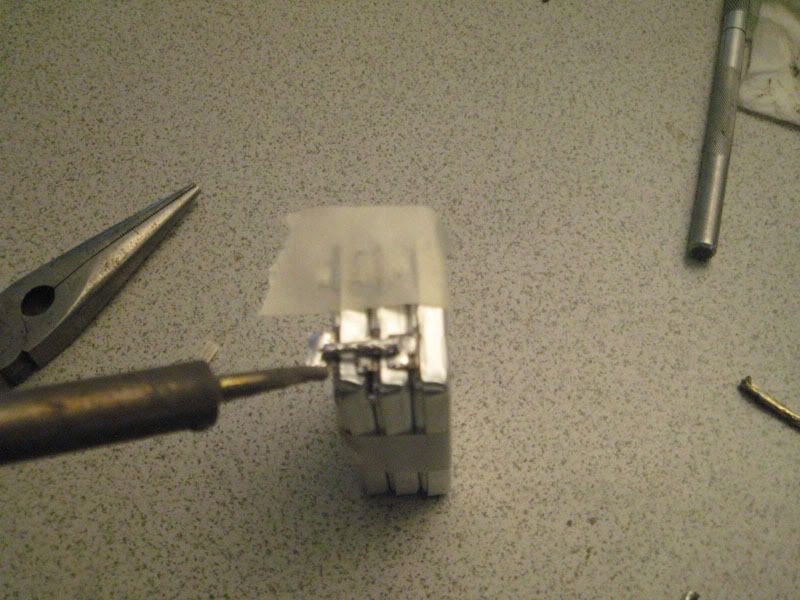
Always tape over areas that can short out with a slipped tool

When you get the tabs free, use a credit card to slowly push down between the cells to separate the sticky tape (was pretty easy with these packs, first ones were much harder)
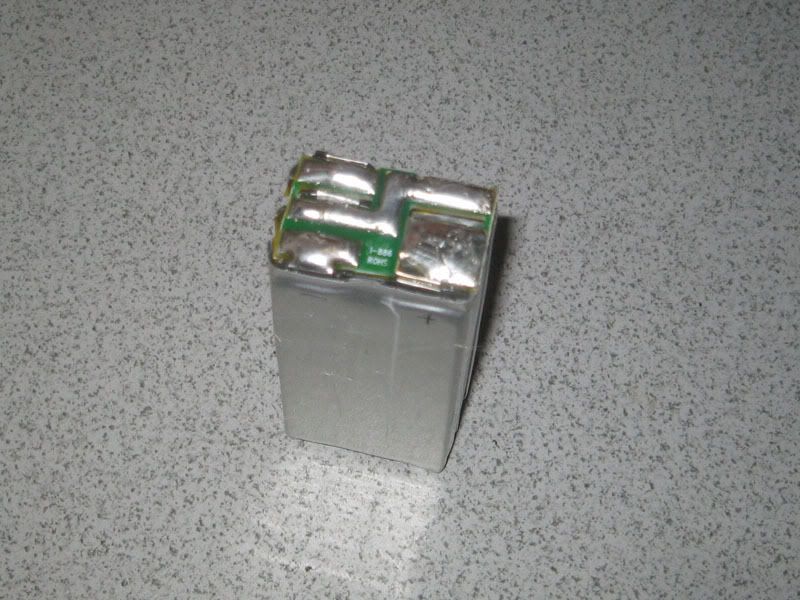
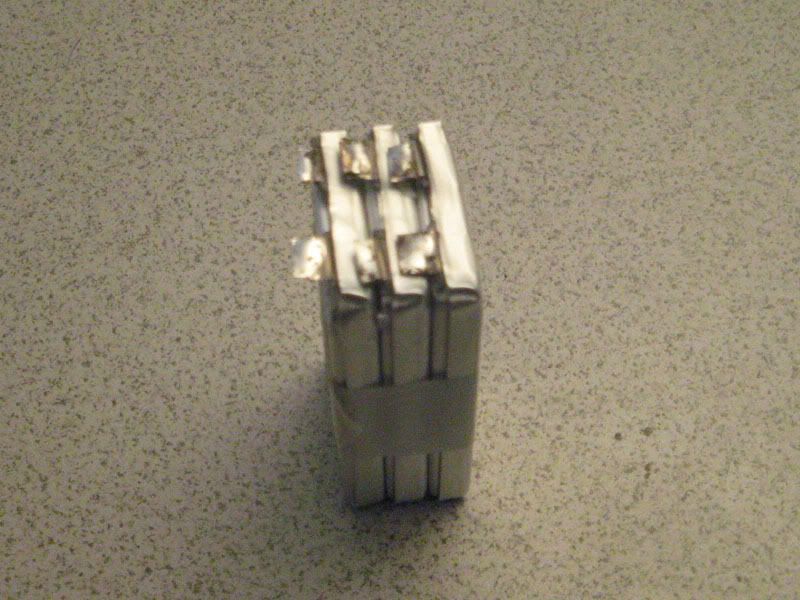
And then you have three cells

Line up all the pos and neg tabs to connect in parallel
The old packs had longer tabs that I was able to connect, these tabs were too short so I used a little 13g wire tinned.
Interestingly, the label says these packs are matched, and true enough, each cell has a handwritten label that appears to have some capacity testing on it (2 cycles? not sure how they normally match li-po cells)
Anyways, do this for both packs
Wire up your power wires and balance connector:
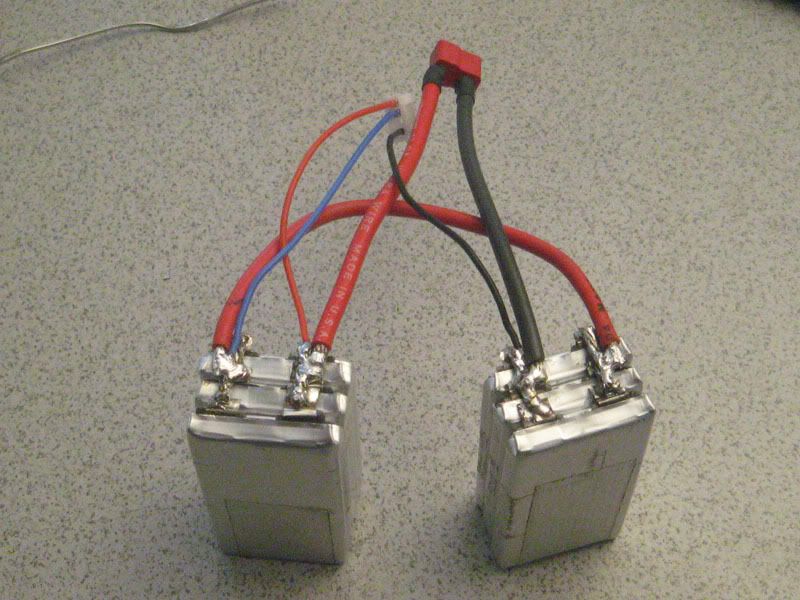
This was a "quick and dirty" job today, I might go back and clean it up a bit. But tape up the connections really well:
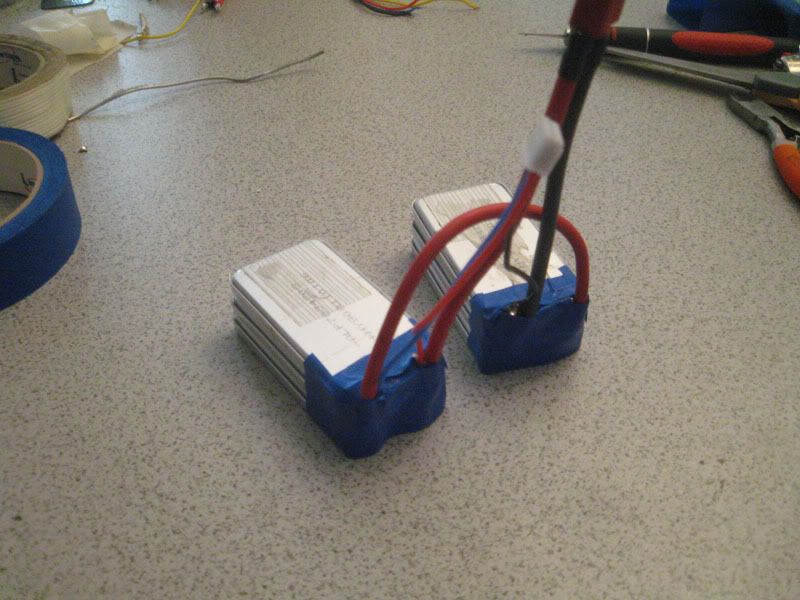
Put some strapping tape over the masking tape:
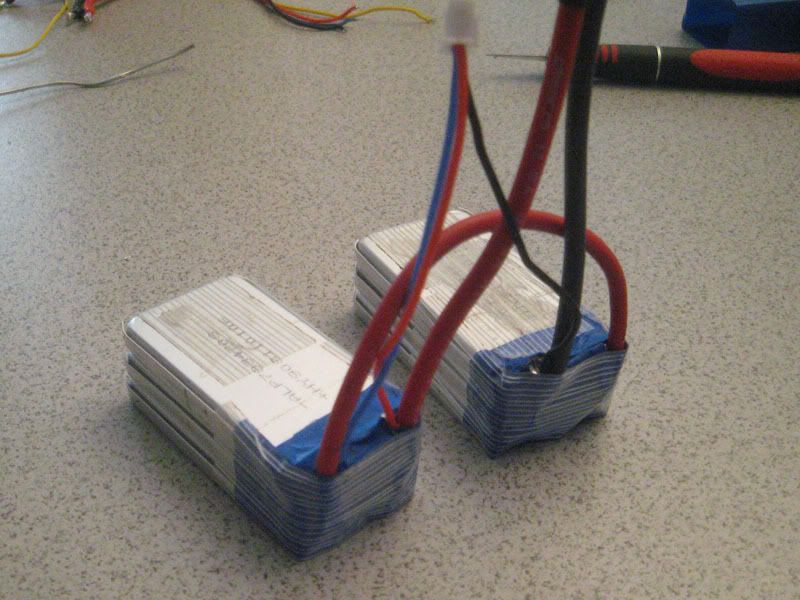
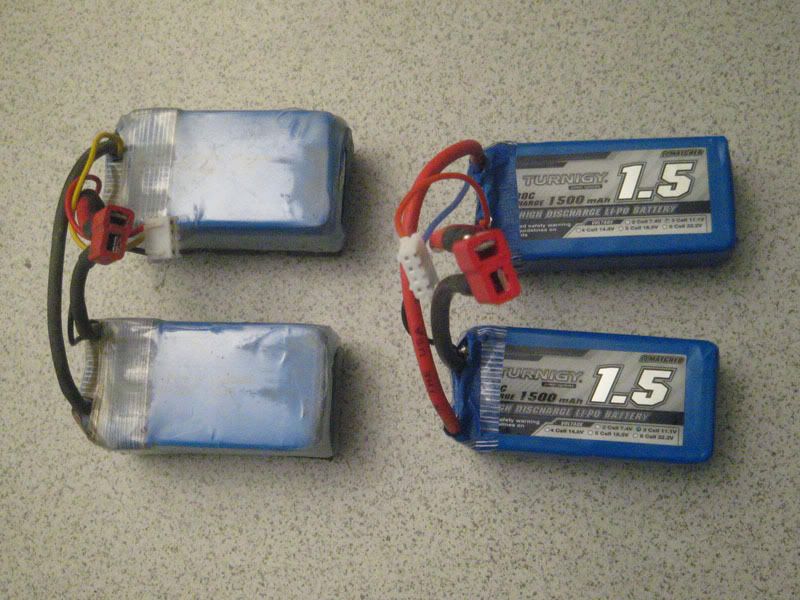
Slide the original shrinkwrap shells back on or just re-shrink with your own:
Fit is perfect:
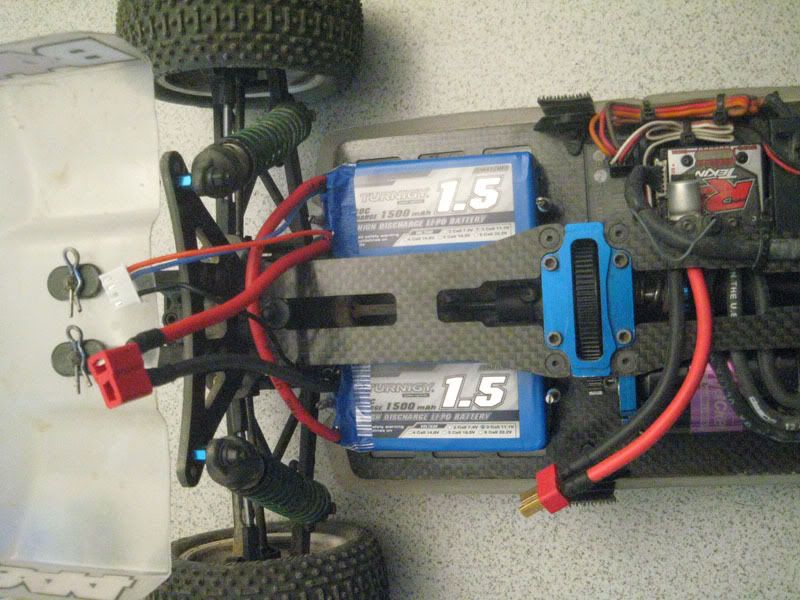
They are really small and light, so you'll probably need to add at least some weight (I had made some brass plates and stuck them to the bottom of the older pack):
That's it. I'll report back when I test them out. BTW, They were perfectly balanced even after doing this, (Both packs had the same voltage before I started) Hopefully the "matched packs" mixing won't be an issue.
Again, don't do this unless you are really good at soldering because it is not a really easy job. Way too easy to short out cells or overheat them.
Now they are only $10.95 each plus shipping!!
Got them today along with a few other packs for the e-1/8, decided to take a few pics along the way. It takes about an hour if you're quick, 30-60 mins more if you take your time.
WARNING: Do not do this unless you are very comfortable with soldering (quickly) and li-pos in general. I'd feel awful if somebody did something really bad trying to do this when they shouldn't.
Here's the packs. They are not the same ones I got last time, but it appears they will work. Good news is they are actually easier to separate than last time. Bad news is I don't know if they will have the same excellent performance.
First, if you want to try to re-use the shrink wrap that they come in (I don't have any extra right now, will have to get some) carefully cut the end off the connector side of the pack and slide the cells out leaving a shell.
Remove the power wires and balancer wires
Carefully and as quickly as possible so as not to heat up the cells, remove the bulk of the solder from the board. I found that using an x-acto to pry up the tab while its molten worked the best, but it would usually take 2 or 3 attempts to get it completely free. Let the tabs cool down in between attempts or jump back and forth between the two packs while waiting for stuff to cool. Also, be very gentle with the tabs as they are the aluminum ones that have a solderable tab crimped onto them. If you break the aluminum one, it is a serious pain to connect to anything.
Always tape over areas that can short out with a slipped tool
When you get the tabs free, use a credit card to slowly push down between the cells to separate the sticky tape (was pretty easy with these packs, first ones were much harder)
And then you have three cells
Line up all the pos and neg tabs to connect in parallel
The old packs had longer tabs that I was able to connect, these tabs were too short so I used a little 13g wire tinned.
Interestingly, the label says these packs are matched, and true enough, each cell has a handwritten label that appears to have some capacity testing on it (2 cycles? not sure how they normally match li-po cells)
Anyways, do this for both packs
Wire up your power wires and balance connector:
This was a "quick and dirty" job today, I might go back and clean it up a bit. But tape up the connections really well:
Put some strapping tape over the masking tape:
Slide the original shrinkwrap shells back on or just re-shrink with your own:
Fit is perfect:
They are really small and light, so you'll probably need to add at least some weight (I had made some brass plates and stuck them to the bottom of the older pack):
That's it. I'll report back when I test them out. BTW, They were perfectly balanced even after doing this, (Both packs had the same voltage before I started) Hopefully the "matched packs" mixing won't be an issue.
Again, don't do this unless you are really good at soldering because it is not a really easy job. Way too easy to short out cells or overheat them.
 06-26-2009, 06:18 PM
#2
Thats pretty cool
06-26-2009, 06:18 PM
#3
very nice. i think i might just do this so i can have some extra packs for my b44. i did not really want to spend 100$ on another 5100mah 35c reedy pack. lol.
 06-26-2009, 06:44 PM
#5
Tech Adept
WHAT KIND OF SODER DID YOU USE
06-26-2009, 08:01 PM
#6
Tech Initiate
Nothing like a good hack to get the creative juices flowing. Verry verry nice!!! Thanks for the guide.
BTY have you ever thought about posting this at hack a day or instructables? there would be a lot of hobbiest liking this.
Keep up the good work
BTY have you ever thought about posting this at hack a day or instructables? there would be a lot of hobbiest liking this.
Keep up the good work
06-26-2009, 09:26 PM
#7
I had, until this thread, two WinForce ($29.90 for two shipped on ebay from Hong Kong) 4000 2cell lipo's, that I used a y-connector to make a 8000.
Took about 45 minutes to get them apart and back together.
I thought my 4000 3cell was mean!!!!
This is something else!!!
Though NOT ROAR legal, my local track doesn't hold ROAR races, LET RACE!!!!!!
===
THANKS!! for the warning AND the other safety tips / how-to's for being safe!!
WARNING: Do not do this unless you are very comfortable with soldering (quickly) and li-pos in general. I'd feel awful if somebody did something really bad trying to do this when they shouldn't.
Last edited by tmail55; 06-26-2009 at 09:49 PM.
06-26-2009, 09:47 PM
#8
Tech Fanatic
iTrader: (6)
I had, until this thread, two WinForce ($29.90 for two shipped on ebay from Hong Kong) 4000 2cell lipo's, that I used a y-connector to make a 8000.
Took about 45 minutes to get them apart and back together.
I thought my 4000 3cell was mean!!!!
This is something else!!!
Though NOT ROAR legal, my local track doesn't hold ROAR races, LET RACE!!!!!!
THANKS!!!!!!!!!!!!!!!!!!!
Took about 45 minutes to get them apart and back together.
I thought my 4000 3cell was mean!!!!
This is something else!!!
Though NOT ROAR legal, my local track doesn't hold ROAR races, LET RACE!!!!!!
THANKS!!!!!!!!!!!!!!!!!!!
In an off road vehicle you have to worry more about soft packs being damage from hard landings causing the chassis to flex enough that the soft packs bend and short internally. Seen it happen when a 4wd cased a triple real hard. Lost his pack, esc, and ended up having to replace the chassis.
06-26-2009, 10:05 PM
#9
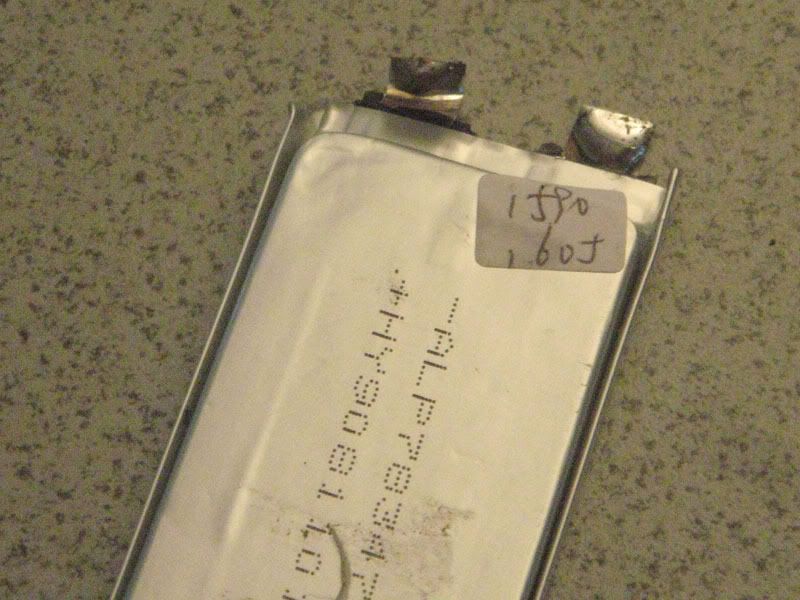
Oops, left out a small, but potentially important step. After you separate the cells, remove the orange tape and black sticky bars here:
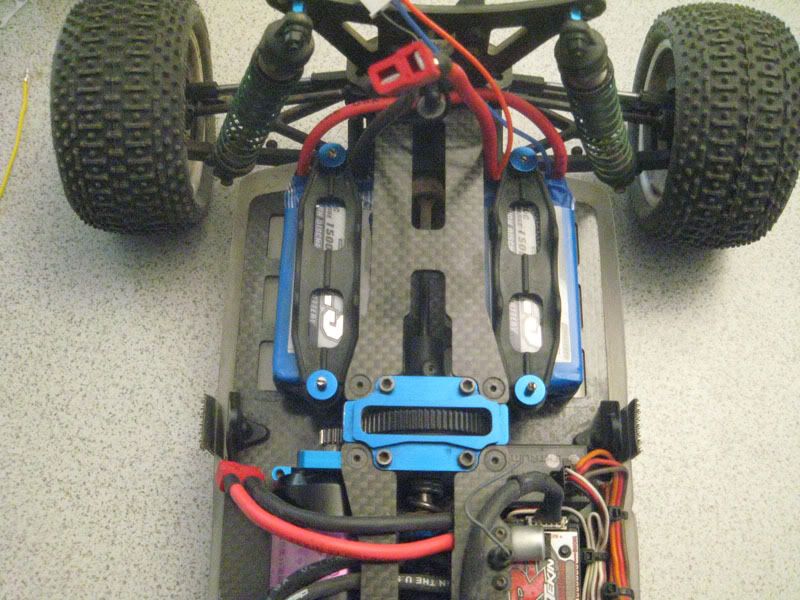
Then carefully fold the corners in and the end up over the folded in corners (did that make any sense?) to shorten the cells as much as possible. Otherwise it might be a tight fit on the B44. You can see the folded ends here. Again be real gentle so as not to break off any of the tabs, they are pretty fragile.
Then carefully fold the corners in and the end up over the folded in corners (did that make any sense?) to shorten the cells as much as possible. Otherwise it might be a tight fit on the B44. You can see the folded ends here. Again be real gentle so as not to break off any of the tabs, they are pretty fragile.
06-27-2009, 06:24 AM
#10
Excellent write-up!
A reminder for those who are new to batteries, the electricity contained in these batteries can severely hurt you due to the high discharge rate of lipo. Please do not attempt unless you are very comfortable working with live electrical equipment.
....oh.. about the ROAR approval... Who cares!
Have fun racing, those packs look good.
06-27-2009, 08:17 AM
#11
When I raced Nitro off-road I was a ROAR member. AND if my local track went to ROAR membership to race I would be a member again. One of the local tracks has a ROAR membership rule to race there and they are having a problem getting racers to show up.
Some racers don't see the need of ROAR membership or a personal transponder, above the club level!
I have six off-road, two oval and three on-road tracks within a 90 minute drive from my house.
===
I do have a ROAR Approved lipo for racing.
Some racers don't see the need of ROAR membership or a personal transponder, above the club level!
I have six off-road, two oval and three on-road tracks within a 90 minute drive from my house.
===
I do have a ROAR Approved lipo for racing.
06-27-2009, 11:21 AM
#13
Tech Adept
I don't think you would. It's not two batteries it is one battery i think you would only need one balance plug. JMO>>>
06-27-2009, 02:20 PM
#15
Outstanding intructable. You did a great job...