For those that asked, I've decided to give the detailing (loosely used phrase) play by play a shot.
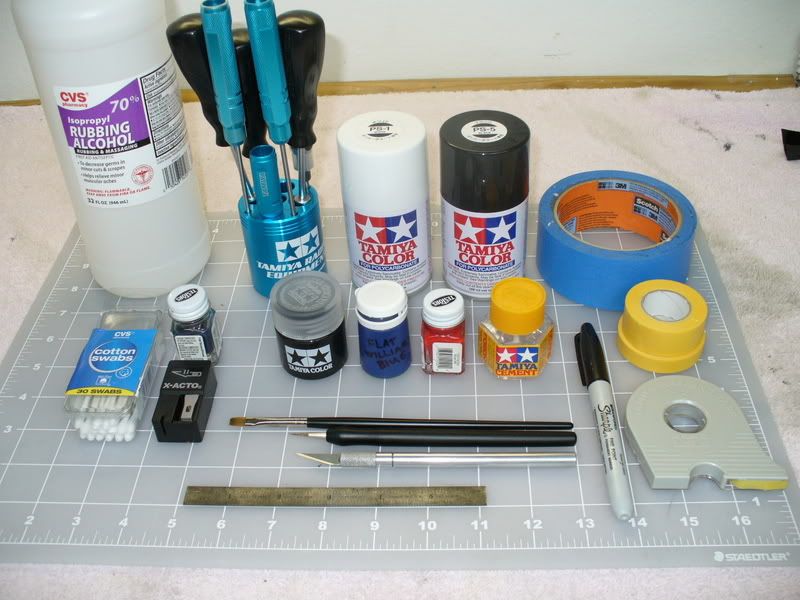
The stuff I use when I'm working on stickering a body. I use a bottle of rubbing alcohol to clean off the finger prints and any oil on the outside of the body, wings, and tires. This really helps the stickers stick. After I wipe it down with alcohol I re-wipe it with a clean microfiber towel. Then it's ready. I also use quetips for applying the stickers in the areas my fat fingers can't reach. Masking tape if I need to paint a nice straight line on the outside or inside before painting. Various tools for building and installing parts. I use allot of exacto blades. I think I went through about a dozen with the Williams FW-18. It's important to keep a sharp blade so you don't tare the sticker, plus it cuts like butter. A couple of very soft tipped paint brushes, one wide and one small. A Sharpe, glue, paint (what ever color is needed, a small metal ruler (this really helps to cut those straight lines), paint thinner. On this note I strongly suggest you use the Testors 1148 thinner. It's safe with lexan (it wont fog or crack it) and cleans the brush easily. And finally get a cutting mat or board. Keep it clean and it will work like a charm and wont dull your Exacto blades. That's basically all the stuff I use. Now onto the Sauber.
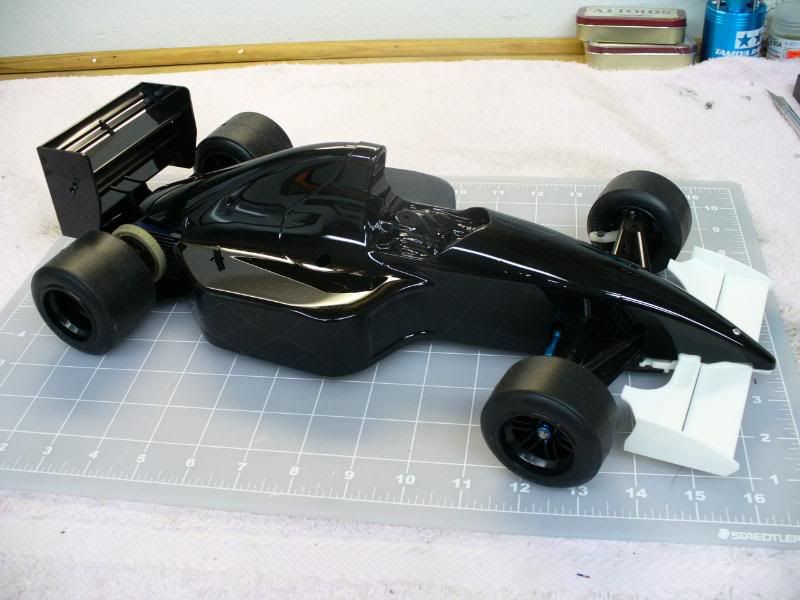
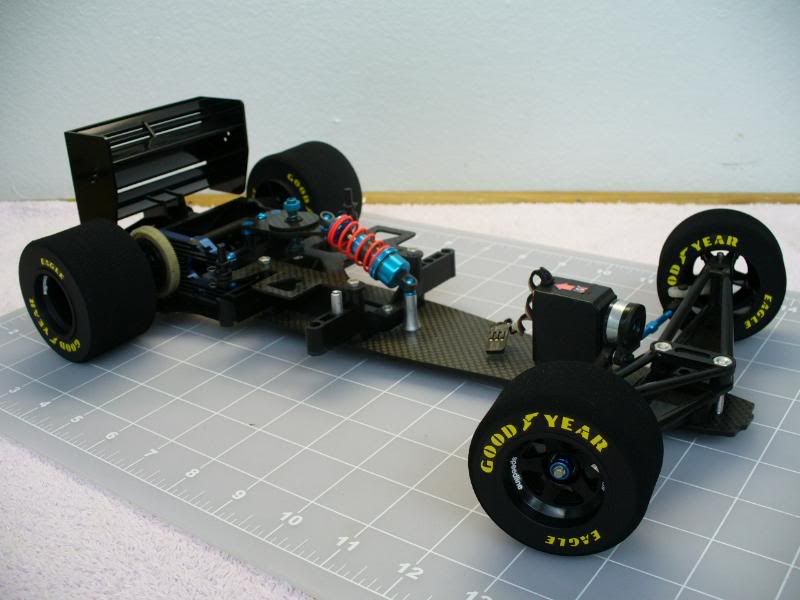
The Tamiya Sauber C12 Part# 50523

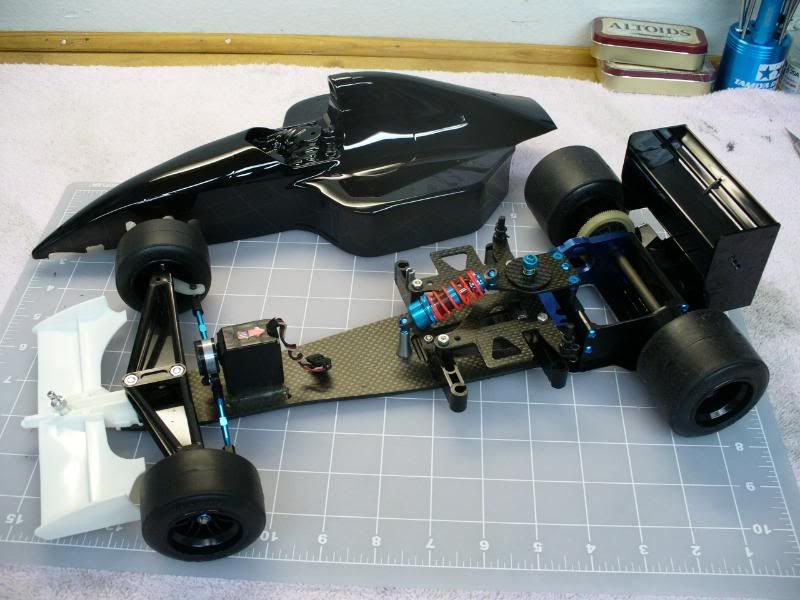
Before I started painting I cut the body out to ensure the right fit. I start here to so I can see through the body to the chassis incase I have interference problems with wires and stuff. To me it’s easier to indentify problems and make what ever adjustments are necessary. I use lexan scissors and an exacto knife. The knife works well when you’re trimming the nose and rear of the car. Just score it on the lines and wiggle back and fourth to remove. Some people prefer to paint first then trim the body. I’ve never had much luck with this method. I always end up scratching the paint.
Once the body is trimmed I wash it out with soap and water to remove any oils or particles that might keep the paint from sticking. Then I tape off the outside of the body so it doesn’t get covered with overspray. If I get any bleeds it’s easy to fix with the Testors 1148 Thinner.
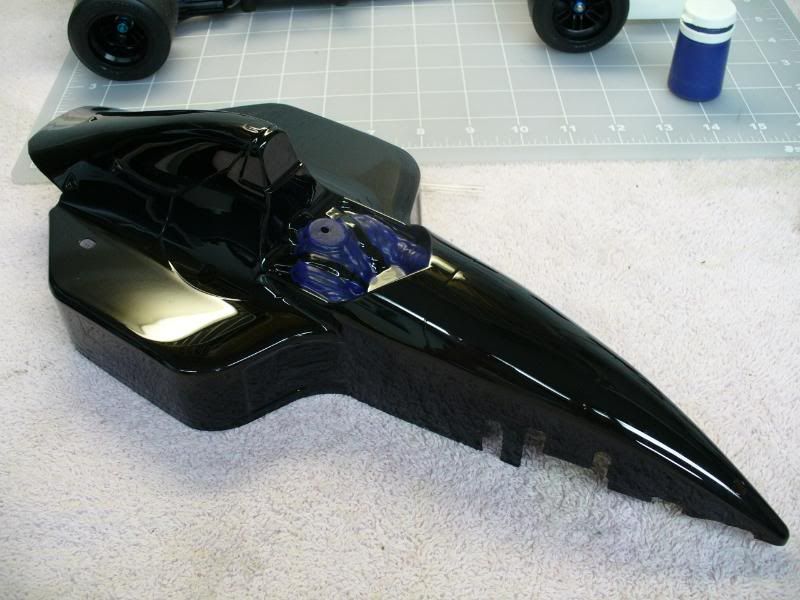
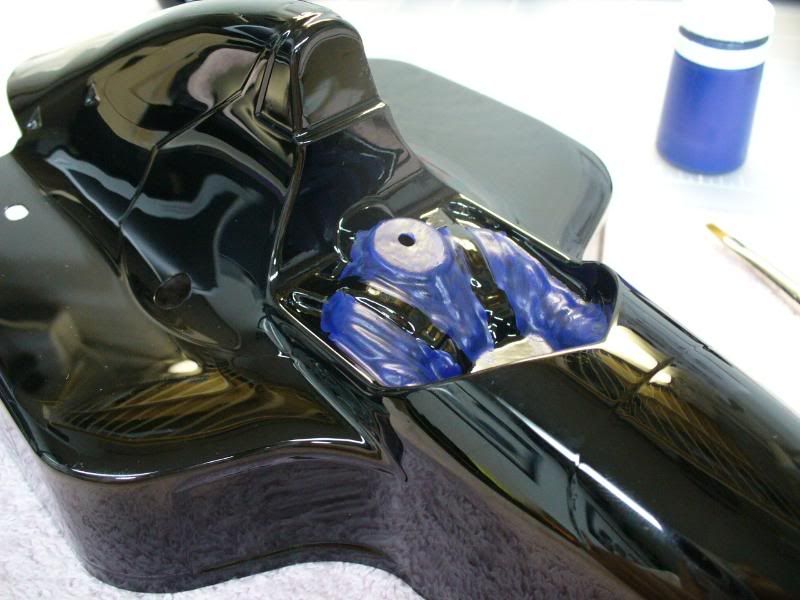
After the paints had time to dry I wiped the car down with rubbing alcohol. Since I’m starting with the interior I gave it a little extra attention. Once I was done with that I gave it one more wipe down with a clean micro fiber towel. Now it’s ready to be painted on the outside. I used some flat blue paint I mixed up a long time ago to match the blue of the Williams cars. I used the wide paint brush to get the driver suit with the first coat of paint. I let it sit about an hour then reapplied a second coat.
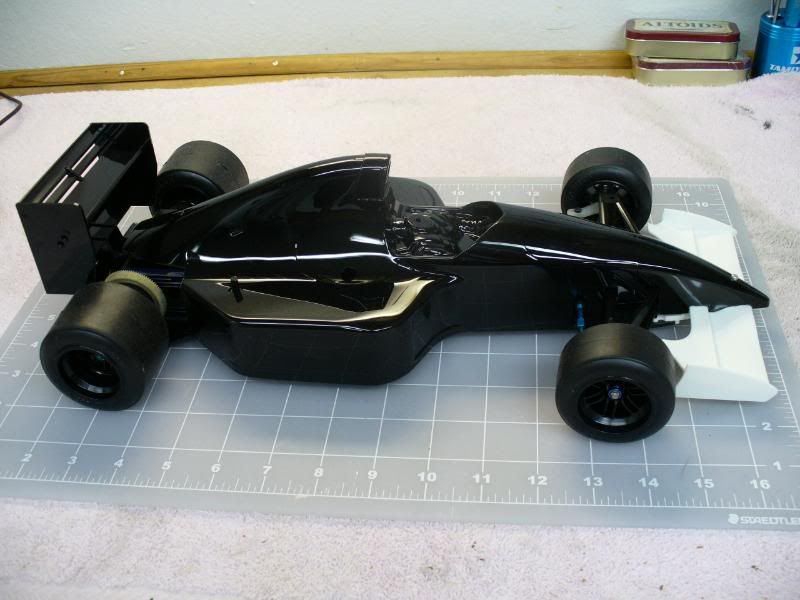
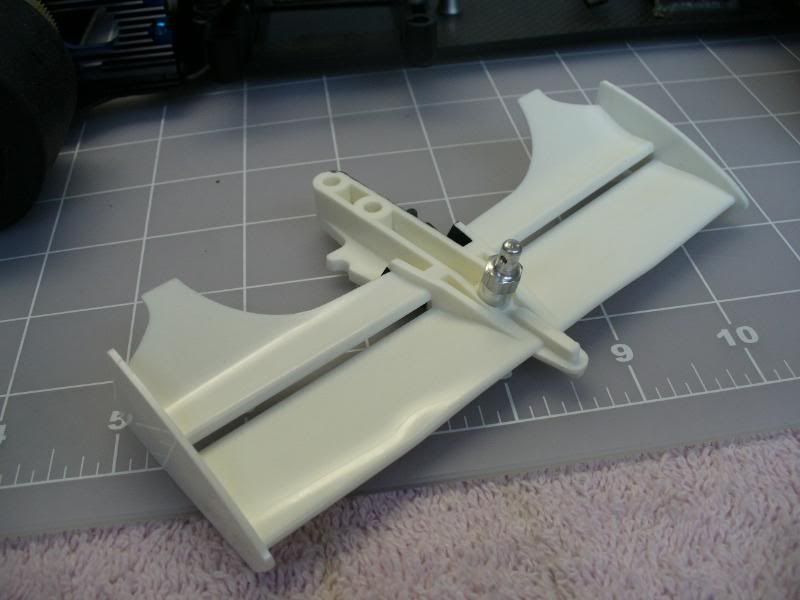
Then I moved to the front wing. Since the wing is white and the body is black I've never liked the way you can see the underside of the wing below the A-arm, where it mounts to the chassis, and below the front nose-overhang. You can see the white in the pics below. I used Testors Model Master Flat Black and my wide brush again to apply the paint.
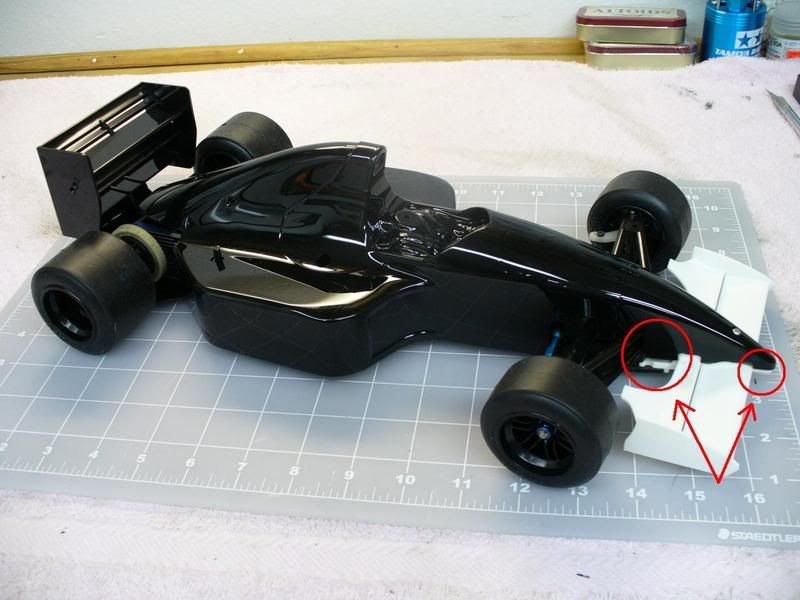
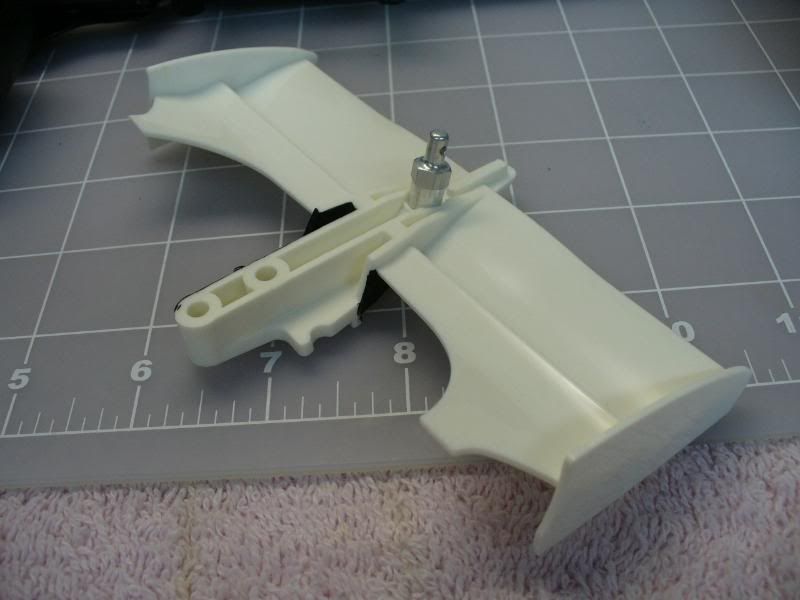
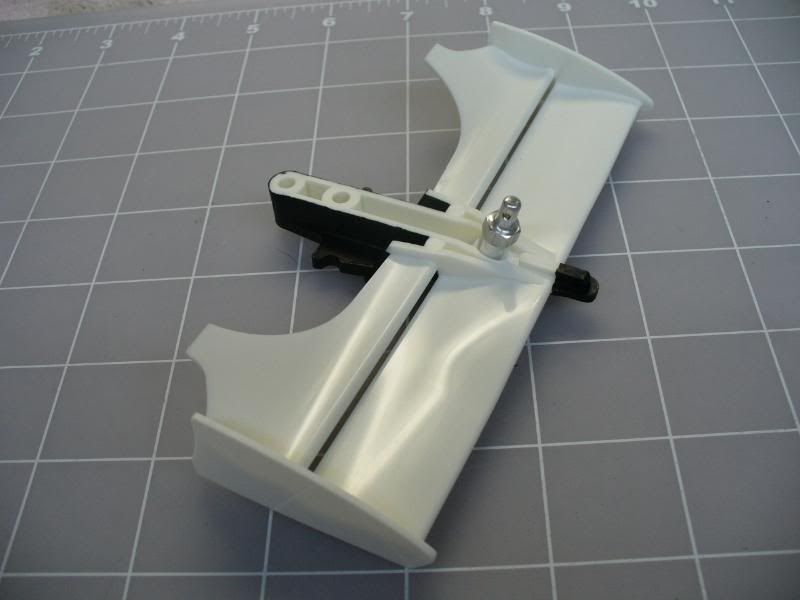
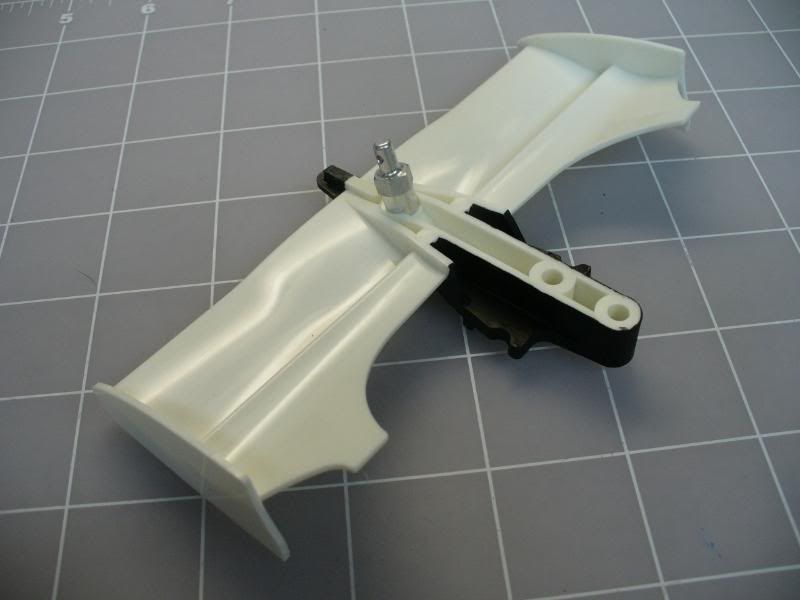

And with the front wing painted with a little flat black the white plastic dissapears...better looking in my opinion.
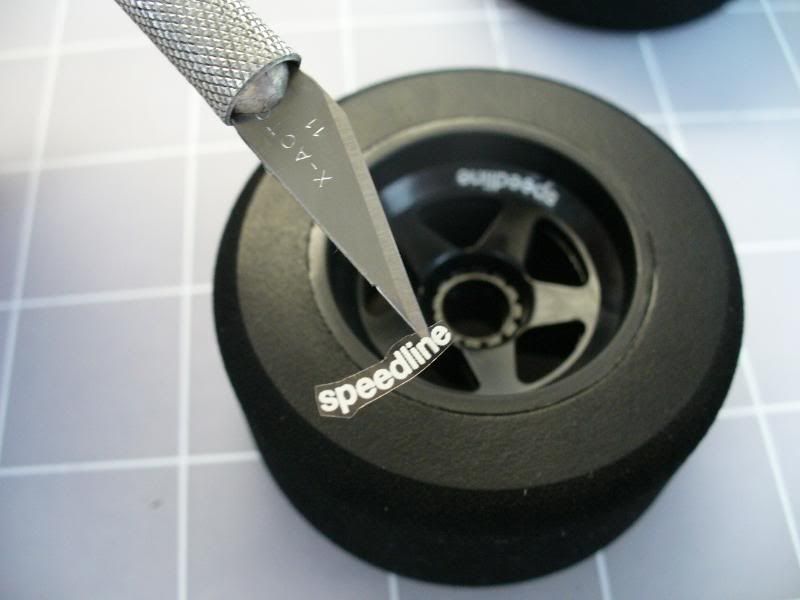
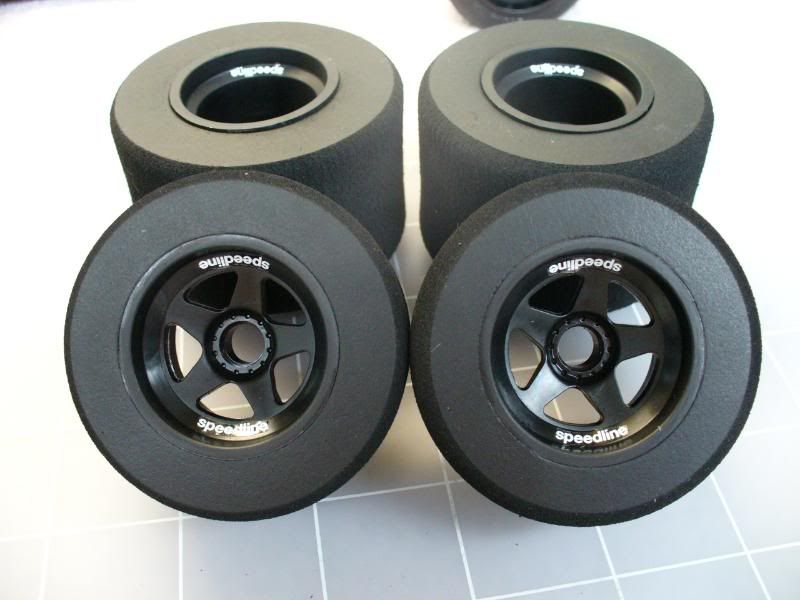
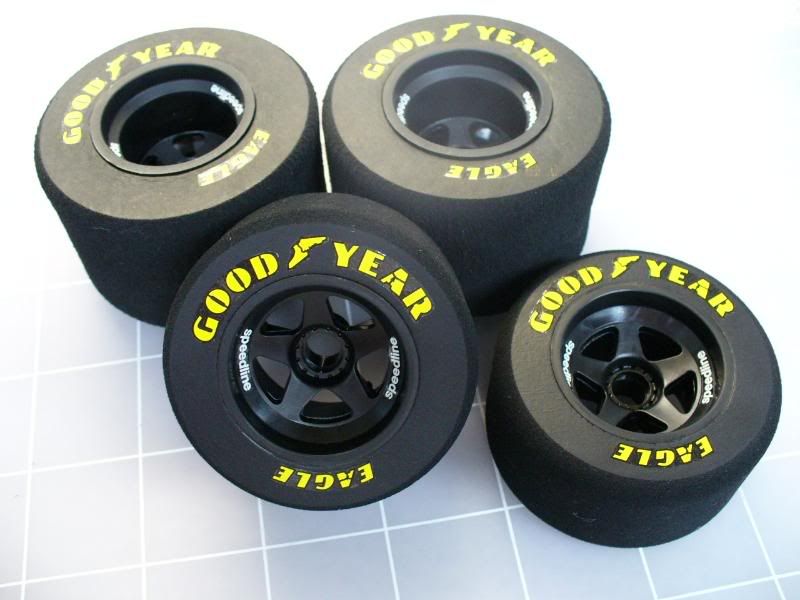
OK, since paint was drying all over the place I moved my attention to the wheels and tires. As I mentioned earlier I wipe them down really well with rubbing alcohol. The side walls seem to have a little dust on them, probably something to help them release from a mold. What ever it is it keeps the stickers from sticking. I always try to cut the decals as close as I can to the edge of the print. This helps them sort of disapear and you don't get that "decal line". That always bugs me.

Keep in mind I said I try to cut it as close as I can. At my age my eyes aren't what they use to be. When I saw this pic of the sticker on the tip of the blade I was like "DAMN! that was close". I use the tip of the blade to lightly apply it to the wheel. Since I didn't press it down I can move it where I need to, carefully.
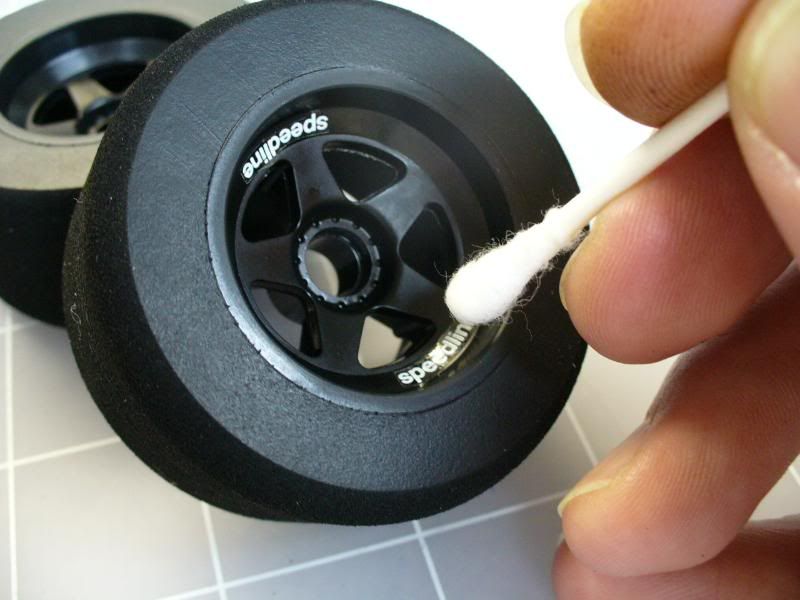
Then once it's in place I use a Quetip to press it on. I press in the middle and wipe outwards, this keeps the fuzz from the Quetip from getting under the sticker. From here I cut and applied the Goodyear stickers on both sides of the tires. I chose to use the F1 tire sticker sheet from D-Drive instead of the kit supplied stickers. Because there’s no white backing, the Tamiya tire stickers aren’t as yellow and actually look sort of green once on the tire. However the D-Drive stickers are bright yellow even on the tire, but, they don’t have the same arch so I cut them out into three separate pieces and applied each of them separately to get the desired affect.
And that's all for now.