Alright guys, got a lot more done today and finished a couple of key items. After I got the flooring down and completed it was time to start the task of putting up the white board to help finish off the inside. I first put up a full sheet on the bottom of the wall. Just as plywood, tile board comes in a 4'x8' sheet. My interior is 6' high so a full piece and a half piece is needed to complete the walls. I went ahead and put up these basically just so it would be two less pieces of board I was moving in and out every time I was ready to work in the trailer. I did make sure to use the PVC trim pieces on my edges just to continue that clean and finished look. After I had those two pieces up I moved on to the ceiling. I decided it would be eaiser to have the ceiling up before I did the top part of my walls. This would allow me to get an accurate measure from the botton board to the ceiling board and leave no gaps. On my ceiling boards I decided to run one seam up the center rather than multiple seams if I ran the across the the roof.
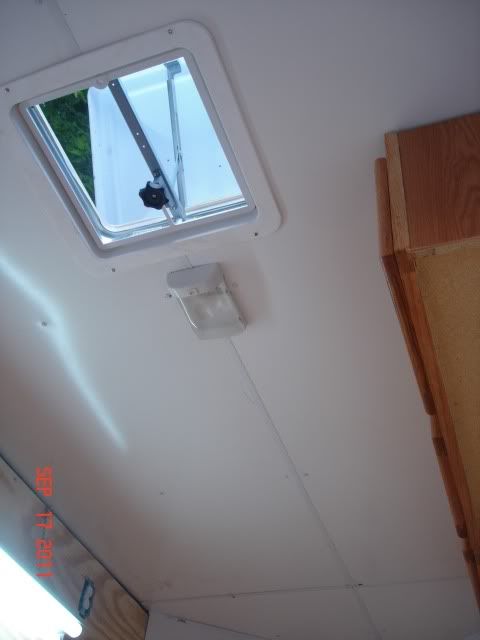
I tried to measure as close as I could to go around my vent and small light, again details make a huge differance. Since my trailer is slightly longer than 8' I did have to have one seam running across the front up by the nose. Again, they make lots of differant PVC trim pieces to clean up and hide all your seams...use them!
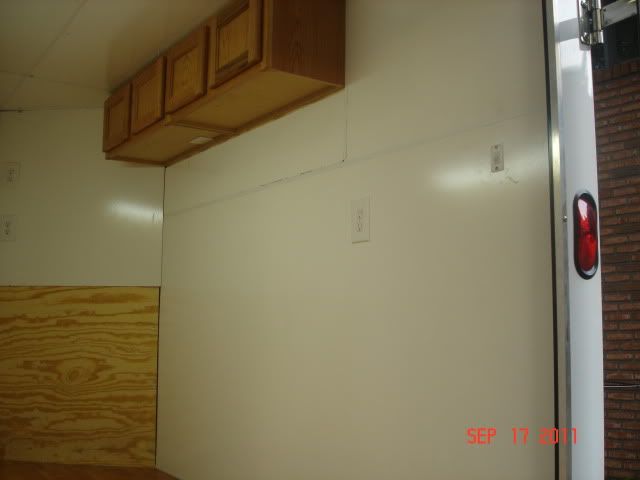
Once the ceiling was complete I was ready to hang my cabinets. I already had my cabinets stained and ready to install before I hung them.
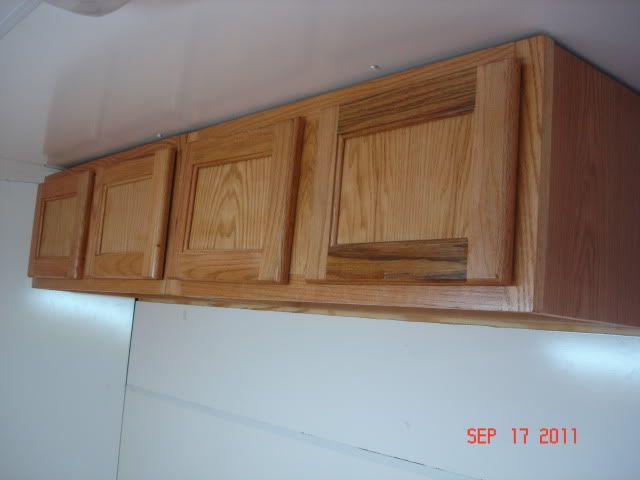
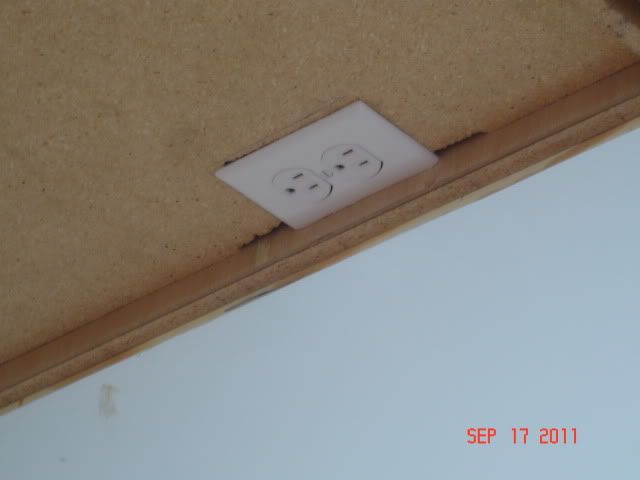
Getting these cabinets in was a major step to completion as it allowed me to go ahead and mount my last plug under them and complete my electrical circuit. So even though my insulation and wiring was in my first few steps I still had to complete all the other steps before I could mount the cabinets and install the plug.
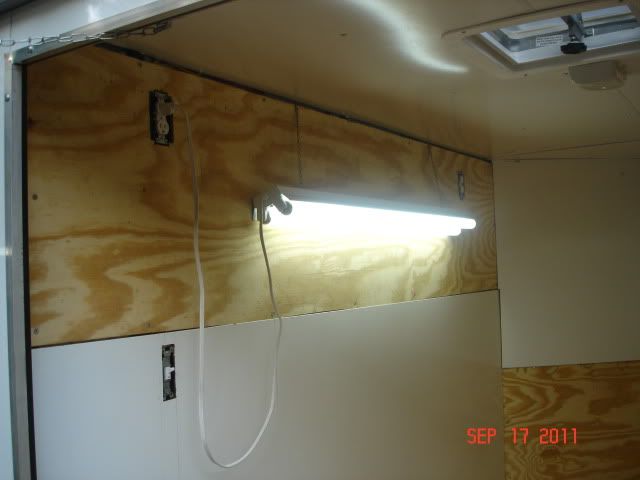
Remember those wires that were hanging out of the walls eariler?
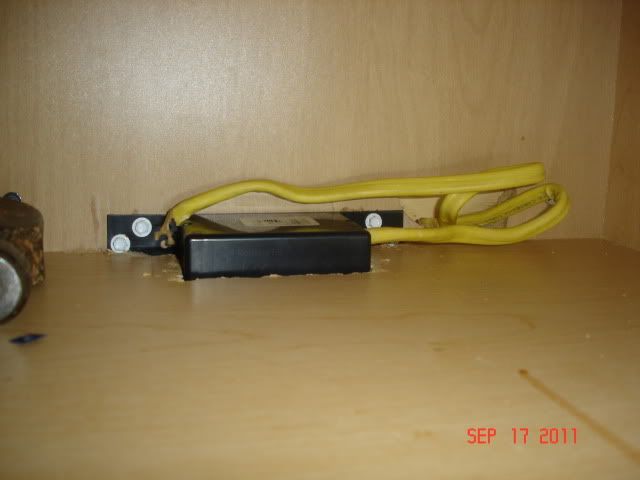
With the plug in and installed, the electricty is complete and ready to use. I did go ahead and plug in the trailer and check all the plugs and switch and everything worked perfect, notice where the light is plugged in now? No more extension cords and power strips!
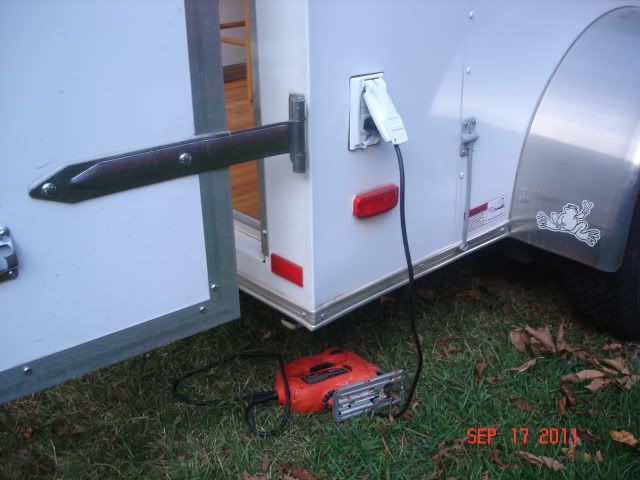
Also was able to start using the outside plug for my saw now too!
With all the work done today I decided to go ahead and put up a couple more pieces of tile board, finished up the right side and put the second piece up in the nose.
All thats left now is to get the final piece up on the top of the left wall and then I'll move on to some shelves and a cabinet in the nose. Got a busy Sunday planned so I'm probably finished for this weekend.