Alright guys, after a couple of very busy weeks and a weekend of racing i was finally able to get the flooring down in the trailer. Overall it was a pretty painless task and went down pretty easy. My first problem was the height of the flooring on top of the trailer flooring. The flooring I got was 3/8th" thick so without some type of threshold it wasn't going to look finished. The trailer flooring did have one small "L" shapped strip that ran across the top to cover the unfinished end.
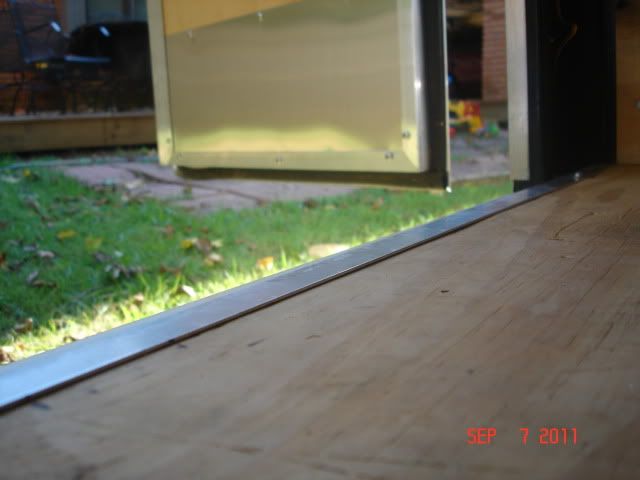
As you can see this just isn't going to work...
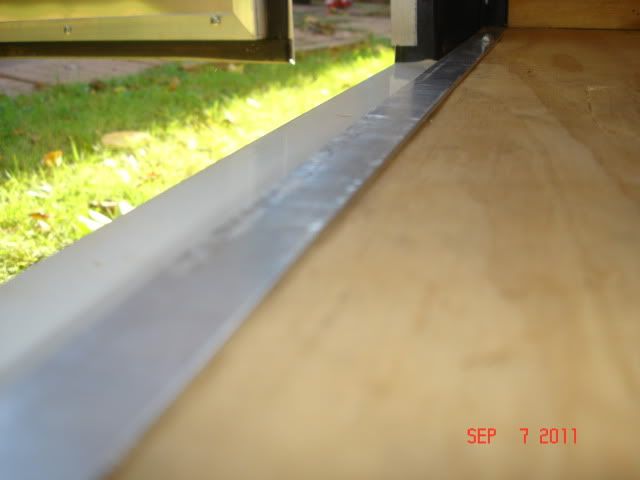
While searching the hardware store I came across some striping made for tile flooring that fit the height of my wood perfect.
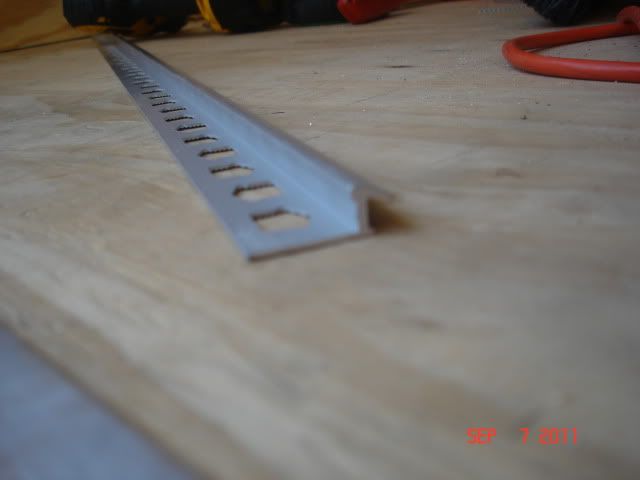
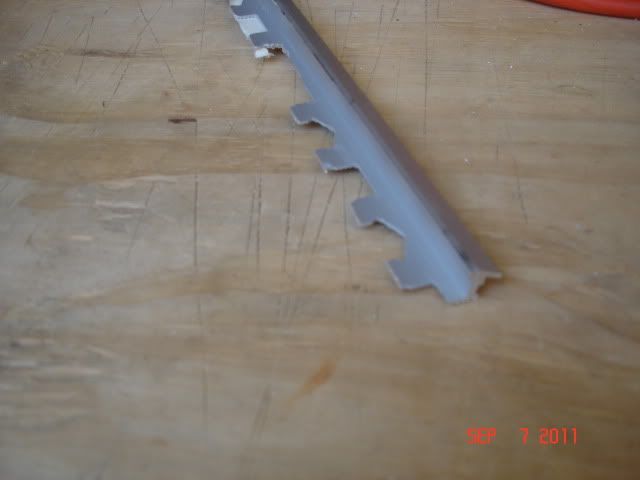
My next problem was that my tile strip was to wide across the bottom so i had to trim that back some so it would fit under my existing "L" strip.
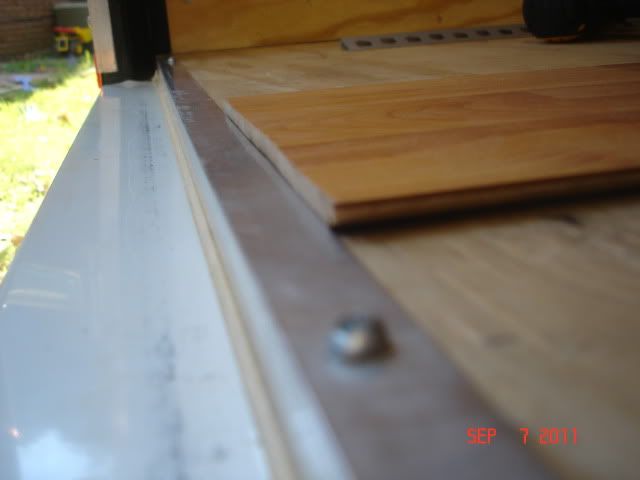
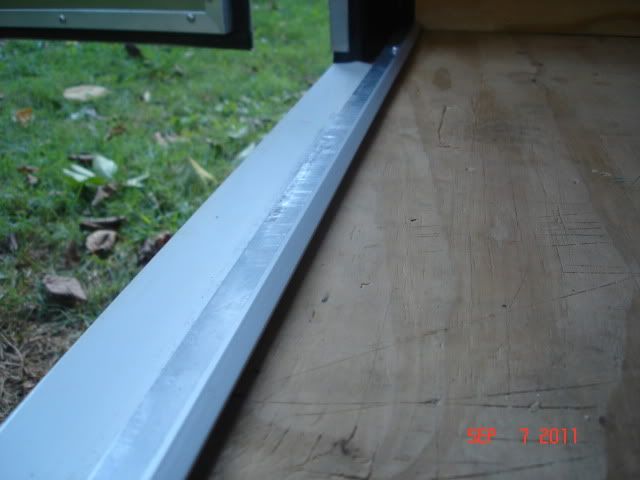
Now that I had my new threshold cut to size I pulled the existing strip up, slid the new one underneath and screwed it back down.
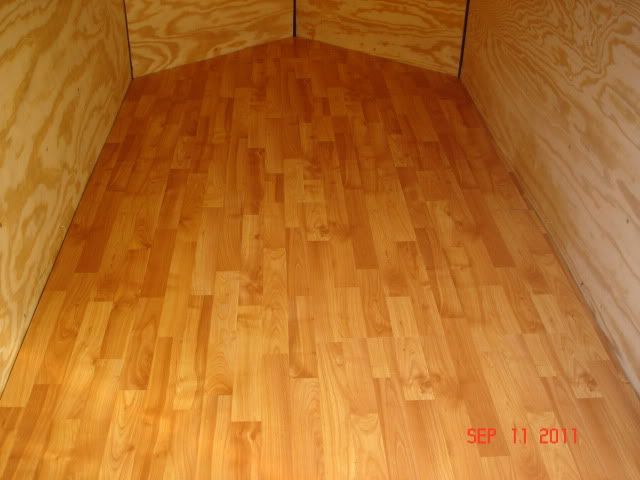
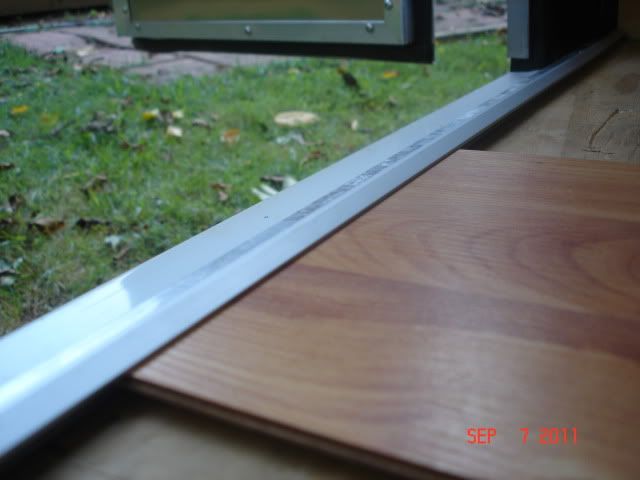
Now it's ready to have the flooring installed and leave a perfect fit and a clean finished look
Once this was completed it was time to make a few corner cuts around the back corner and get my whole piece/half piece ends all together. Here are a few tips for installing the flooring:
Spend the few extra bucks to get the tool that is used to hammer the pieces together without damaging them. You can get away without the block used to hit the sides by using a scrap piece of flooring. Most of the time you can do the same when you are tapping the ends together. You will save yourself some agrivation if you go ahead and buy the metal pull bar. It will allow you to pull the ends in and also room to swing a hammer. Also if you are flooring a V-nose, I would suggest only flooring up as far as you can go and keep a straight line across. It's very hard to try to pull in the ends on a piece that is tapered to fit the nose. Much eaiser to go ahead and make the cuts for the nose and custom fit each piece. After a couple hours it all came together nicely. I did need to nail down the very edge pieces on the right side because it was just too tight to try to squeeze the narrow pieces in. All in all I'm very pleased with the finished flooring.