Note the V2 shocks, V2 slipper assembly and trick 2-piece hub carriers.
B4.1 Gear Ratio Chart (Internal Gear Ratio 2.60:1)
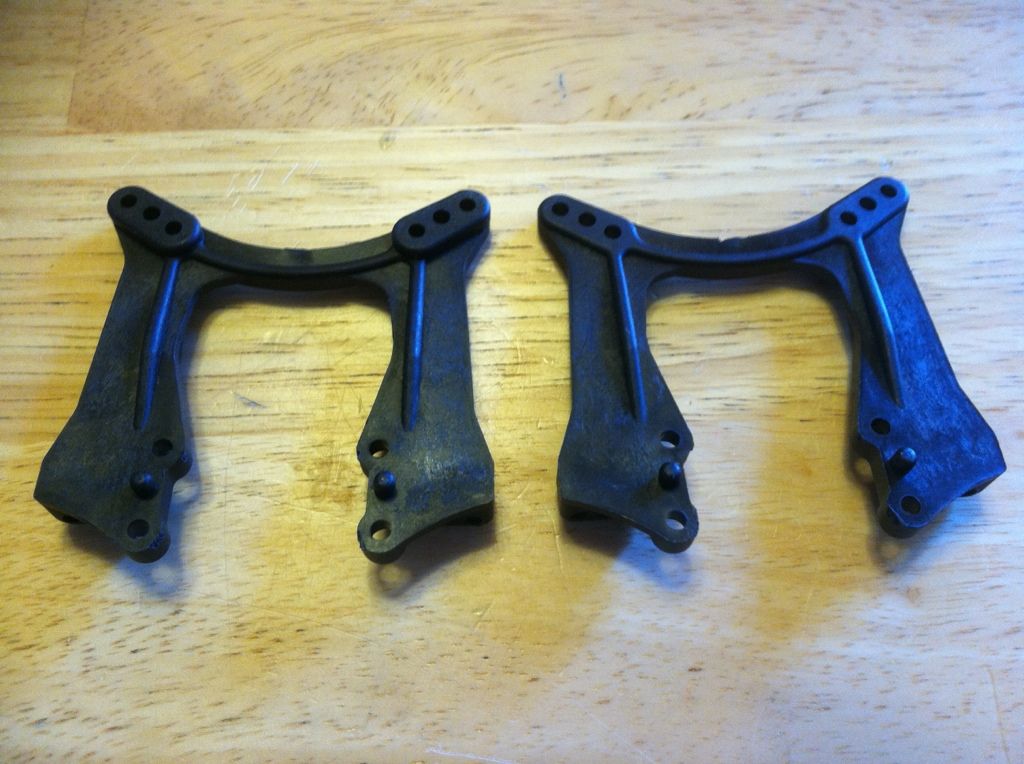
 Rear upper hubs for the B4.1 aluminum carriers
There has been a lot of discussion on the A versus C hubs for the B4.x platform. The Factory Team Kit comes with A and B plastic uppers. The difference between the A and B hubs is the hole position, while the hole high are the same. The B hub is often referred to as have "in between" hole. Mean the holes are shifted over from the A hub or in between the A holes. The B hub is rarely used for setups. Instead the A hub is used in conjunction with washers under the inner ball stud to achieve similar results as the B hub. The C hub has the
same hole positions at the A hub but the holes are
lowered 2mm. This is almost used in conjunction with a the shaving of the carbon U-Brace. The "hump" on the ubrace is about 2mm high. So, shaving the brace and lowering the hub mount with the C hub, will overall lower the entire link 2mm. There has been great debate on what the C hub actually does for the handling of the car. Some say it makes the rear rotate better in the corner, but allows for more power coming out and better "square" up. C Hubs more
most often used on medium to high bite tracks. A hubs are
most often used on lower bite tracks. The big question becomes what is high or low bite. Well the definition is different from region to region. So, in my experience there is one fairly common tool you can use to figure out what yours is. Although it is not a perfect tool, I find it is more often than not correct. It is simply the tires you use.
- If you are running Brocodes, broken in Barcodes or other bar type tires, you are probably medium to high bite. (C hub)
- If your track is perfectly smooth and concrete hard, you are probably med to high bite. (C Hub)
- If you run Double Dee, Holeshots or a Losi stud tire, you are probably low to medium bite. (A hub)
- If your track surface has loose pebbles and debris, you are probably low to medium bite. (A hub)
In the end, you can/should try both and determine for your self which you like best. The information above is simple for new owners that want to know where the C hubs and A hubs are
most preferred.
Note: If you are upgrading to the B44 hubs or FT Aluminum Hubs from the RTR plastic hubs, you will need the appropriate crush tubes and outer hub bearing.
ASC7933 - GT2 Crush Tubes
ASC7935 -.187x.50x.196" Ball Bearing [/quote]
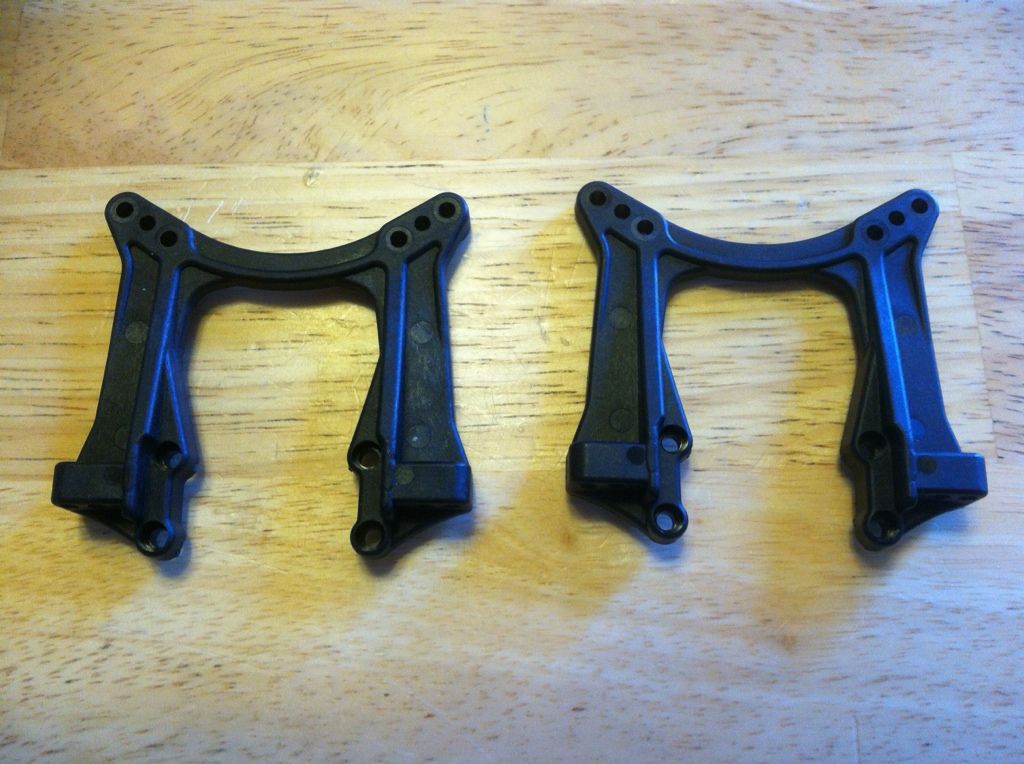
Rear Optional Hub Uppers
B44 Plastic Rear Hub Carrier (A Hub)
Factory Team C-Hub
Avid A/C hub
JC Hub Set
Gluing Servo Savers and Aluminum Racks
Why do drivers lock their servo saver(glue it together) or run aluminum racks? We the short answer is "deflection". When corning they tires exert a force on the servo saver and cause it to twist or deflect. This can lead to inconsistent handling. So to remove the deflection, drivers often glue the plastic servo saver together or run and aluminum rack.
But you must beware.. The servo saver is there to "save" your server and servo horn. The next weakest link is often the plastic servo horn. So on a hard crash, then servo horn is more likely to break. If you replace the plastic servo horn with an aluminum horn, then your servo will take a beating and could possibly fail. Although the locked or aluminum rack is a performance upgrade, it is not a durability upgrade.
Optonal Aluminum Racks
Factory Team Aluminum Servo Saver
JConcepts Aluminum Servo Saver
Avid Aluminum Servo Saver
Hex Conversion
The hex conversion is not really a performance upgrade. It is more of a convenience upgrade. For owners of the RB5 or Losi 22, it allows them to reuse their wheels. The Losi 22, RB5 and B4 Hex wheels have the same offsets in the rear. The RB5 and the B4 hex fronts have the same offsets. the Losi 22 fronts DO NOT have the same offsets as the B4.1. Another advantage of the B4 hex conversion, is the ability to change front wheel or clean the front wheels without removal of the bearings. Lastly, the conversion in the rear will eliminate any issues of the axle pin stripping out the rim due to improper wheel mounting.
You will need the Team Associated front hex hub, front hex axles, low profile 8-32 wheel nuts, F/R hex rims and F/R hex adapters to complete the conversion.
Note: You need to
REMOVE the rear axle spacers when installing the rear hexes.
Option parts - here is a list of parts that can be used in the conversion.
Axles
JConcepts B4 Front Hex Axle
or
Team Associated B4 Front Hex Axle
Hub
Team Associated Front Hex Hub
Hexes- I realize there are many manufactures of the hex adapters, so I only listed the most popular.
Team Associated Plastic B4 Hexes
Team Associated B4 Rear Aluminum Hexes
Team Associated B4 Front Aluminum Hexes
Avid B4 Aluminum Hex Set (F/R)
JConcepts B4 Rear Aluminum Hexes
JConcepts B4 Front Aluminum Hexes
Low Profile Wheel Nuts There are many places to get the wheel nuts. Ace Hardware, JConcepts, XFactory and etc. I am only listing the AE part.
Team Associated 8-32 Low Profile Steel Wheel Nuts
Hex Wheels -Too many to list. Proline, AKA, Avid, JConcepts, Team Associated and a few others make wheels for the B4 Hex. Just remember for the fronts you need a RB5/B4 hex wheel. And for the rear Losi 22/RB5/B4 hex wheel are required.
Big Bore Spring Conversion
The big bore spring conversion accomplishes a couple things. Firstly, the springs are more consistent on compression, because they do not rub the shock body. Secondly, they feel more "plush" on jumps and the rougher parts of the track.
Parts Needed: 12mm Springs, 12mm Lower spring cups and 12mm upper spring retainers.
Ghea BB Collars
Traxxas Uppers
Avid Uppers
Note: In "my" opinion, the Team Associate 12mm lower cups are ideal because of the low cost and ability to use them on the T4/SC10 as well. Team Associated used a standard(short) spring size for the fronts of the B4/T4/SC10. This was accomplished with the usage of the +0, +5 and +9 cup offsets. The AE spring cup tree comes with 4 of each kind.
Team Associated 12mm Spring Cups
Big Bore Rear Spring Rates: - The springs in italics are the "most" commonly used springs for the b4.1
• ASC91335 - 12mm Rear Spring (Black/1.90lbs)
• ASC91336 - 12mm Rear Spring (Green/2.00lbs)
• ASC91337 - 12mm Rear Spring (White/2.10lbs)
• ASC91338 - 12mm Rear Spring (Gray/2.20lbs)
• ASC91339 - 12mm Rear Spring (Blue/2.30lbs)
• ASC91340 - 12mm Rear Spring (Yellow/2.40lbs)
Big Bore Front Spring Rates:
• ASC91325 - 12mm Front Spring (Brown/2.85lbs)
• ASC91326 - 12mm Front Spring (Black/3.00lbs)
• ASC91327 - 12mm Front Spring (Green/3.15lbs)
• ASC91328 - 12mm Front Spring (White/3.30lbs)
• ASC91329 - 12mm Front Spring (Gray/3.45lbs)
• ASC91330 - 12mm Front Spring (Blue/3.60lbs)
• ASC91331 - 12mm Front Spring (Yellow/3.75lbs)
• ASC91332 - 12mm Front Spring (Red/3.90lbs)
• ASC91333 - 12mm Front Spring (Orange/4.05lbs)
• ASC91334 - 12mm Front Spring (Purple/4.20lbs)
Common Losi BB Springs:
Shorty Pack: Losi Red front and white Rear
Full pack: Losi Orange front and Yellow rear.
Updated Shock Towers. This will be a running upgrade, no new part numbers.
B4.2 on the left, B4.1 on the right.
Rear Tower...
B4.2 (The only change vs B4.1 rear tower, is the notch for the BB's)
 Setup Sheets
Team Associated B4.1 Setup Sheets
PetitRC Team Associated B4.1 Setup Sheets
B4.1 Manual
Team Associated B4.1 Documentation, Parts Lists and Manuals
Setup Sheets
Team Associated B4.1 Setup Sheets
PetitRC Team Associated B4.1 Setup Sheets
B4.1 Manual
Team Associated B4.1 Documentation, Parts Lists and Manuals
JQ The Guild - Great guide to help you better tune your B4.
JQ Tuning Guide
Useul Videos
How to Build a ball diff
How to build shocks
Mods
Grub Screw for Rear Hubs: This should eliminate all slop associated between the hinge pin and the hub. You may still experience the bearing slop. Also, if you are experiencing inner hub bearing failure(explosion), upgrade to a better inner hub bearing. After upgrading to AVID hub bearings, I have had no failures.
Tools Needed:
-
Dubro Tap set - This will work, but a "Bottom 4-40" tap would work best. It has a flat tip and allows entry into the hinge pin hole better. With the Dubro, you might need to drill a little deeper, so the thread can be tapped all the way through easier.
-
4-40 grub screw The length does not really matter, but don't use a super long set/grub screw. A standard pinion sized grub strew will work nicely.
1. Use a fine pointed "punch" or nail to "indent" where you want to drill. This will help prevent the drill bit from "wandering".
2. Drill a hole into the bottom of the rear hub all the way through until you reach about the middle of the hinge pin
3. Tap hole with 4-40
4. Insert 4-40 grub screw that will go down into the hinge pin.
Note: You can use 1 or 2 grub screws. I used 2 so that each end of the pin was supported, but 1 grub screw in the middle would suffice.
 Saved U-Brace Mod
Thus Mod is used in conjunction with the C hub and will lower the inside ball stud by about 2mm. To remove the material or "shave" the brace you will need a dremel or an equivalent too for grinding/sanding/milling. Below is a picture describing where to remove the material. The red circled areas need to me shaved to the same level as the u-brace top (yellow arrow).
 Big Bore Rear Shock Tower Relocation Mod
Hardware required:
2ea 5-40x1/2” Flathead screws AE P/N 9269
2ea 4-40X7/8” Flathead screws Pro tek P/N PTK-H-7107 (Amainhobbies.com)
2ea �” spacers (I used 4 3mm spacers Kyosho P/N W0143
Tools required:
#40 Drill bit
Dremel or drill
Countersink
On the “U” brace drill two #40 holes 1/4 “ in front of the original REAR shock tower mounting holes. Using you new holes mount the shock tower and mark the location to drill the front holes, remove the tower and drill those two holes.
Using your countersink, countersink the REAR “U” brace mounting hole that will be covered by the shock tower.

[/IMG]
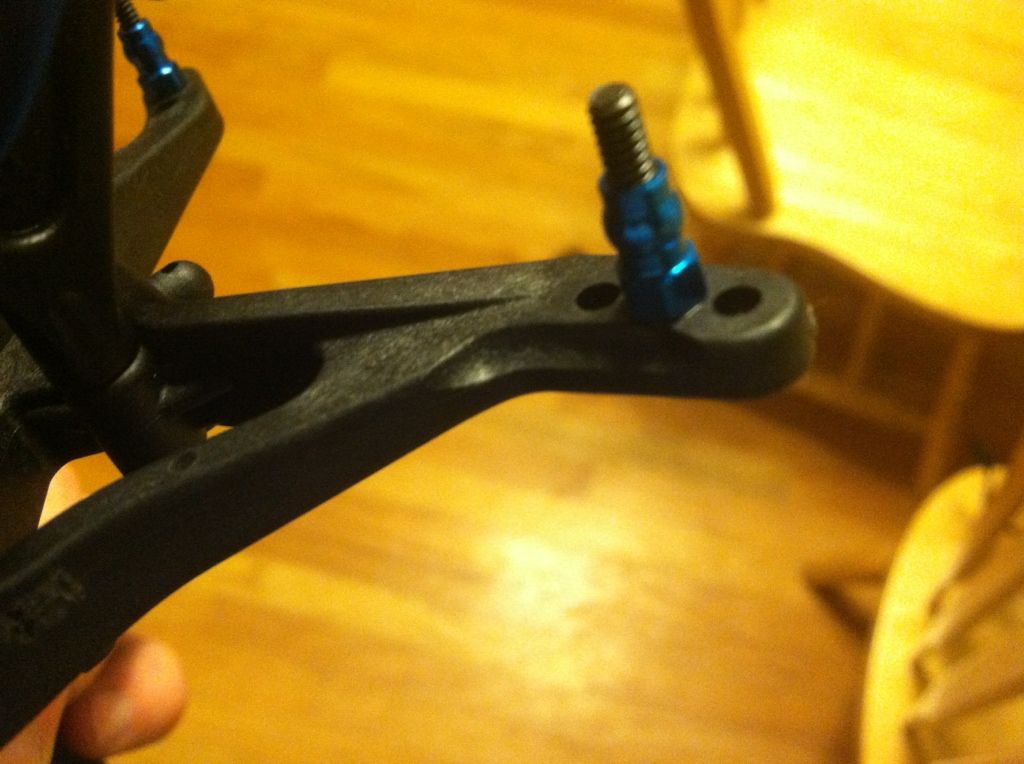
Mount “U” brace in car using the 5-40 flathead screws, mount shock tower using your new holes. Using the 4-40x7/8” flathead screws and �”extend the wing mounts to the proper location. Mount shocks win races.

[/IMG]
You can also find it here.
http://www.petitrc.com/setup/associa...ower4BBShocks/