Section B: Rear Axle Assembly
Yay, we move on to the axles!
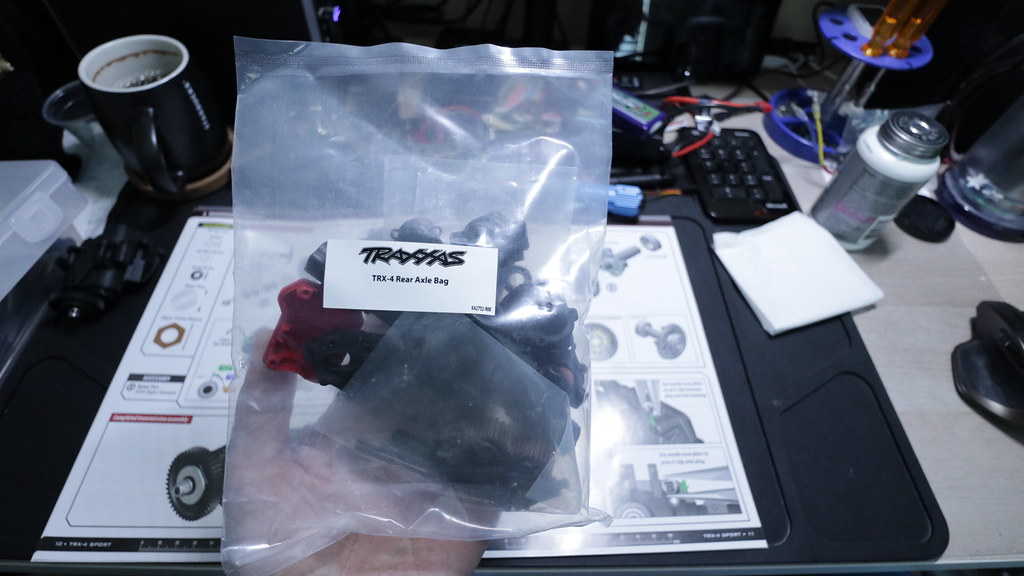
You need this rear axle parts bag.
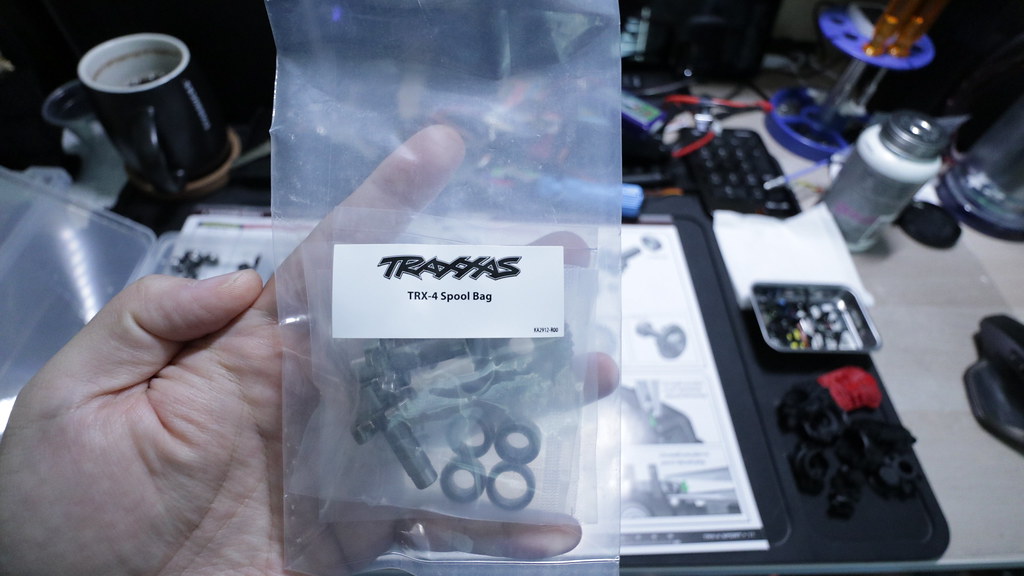
You also need the spool bag.
Step B1 Parts
Step B1 Complete

Step B2 parts

I think some have had issues with getting the diff plugs go though easily, but it didn't seem to be an issue on my build at all.
The e-clips on the other hand.... yeah we all know by now that I hate e-clips.
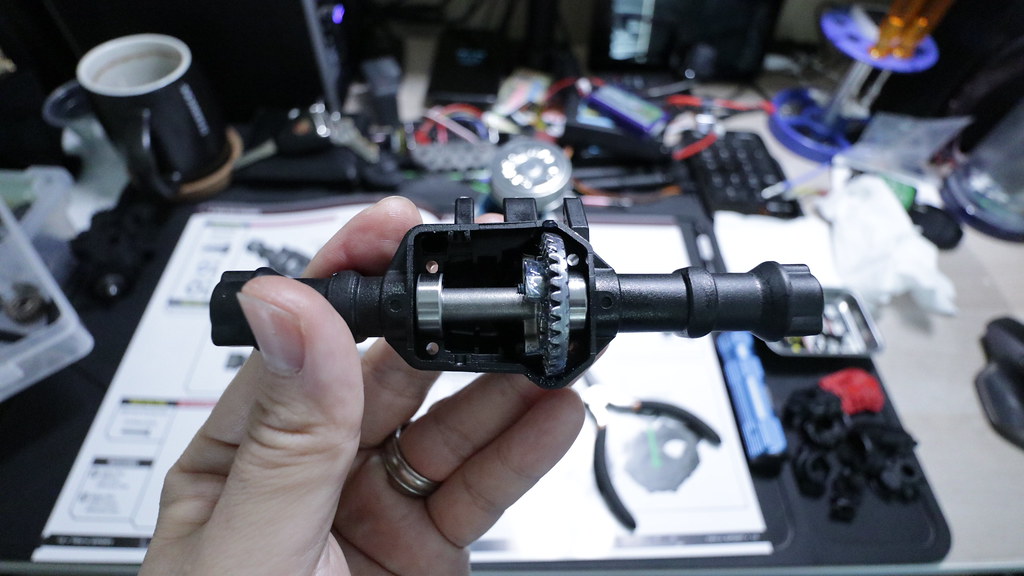
Step B2 complete
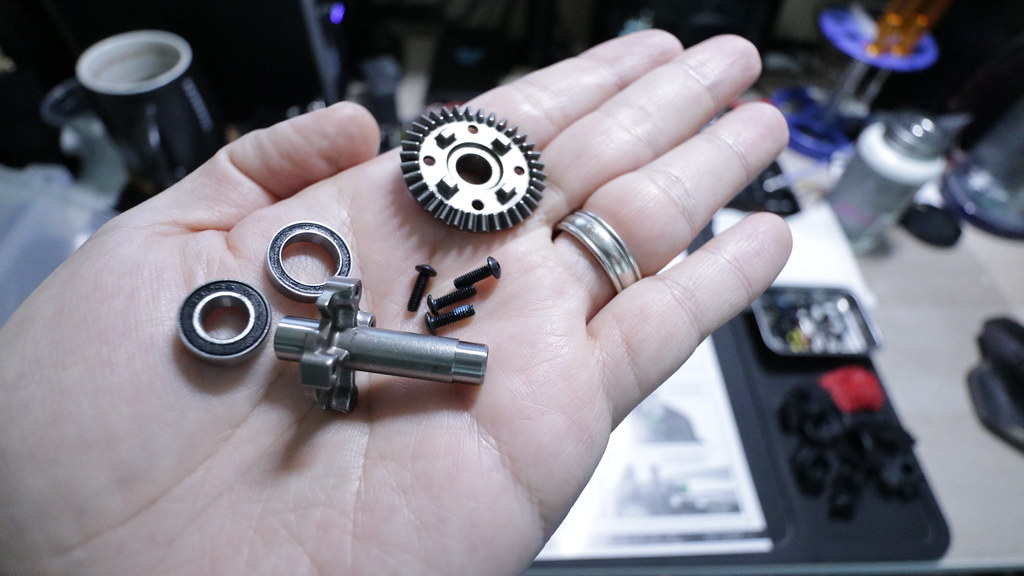
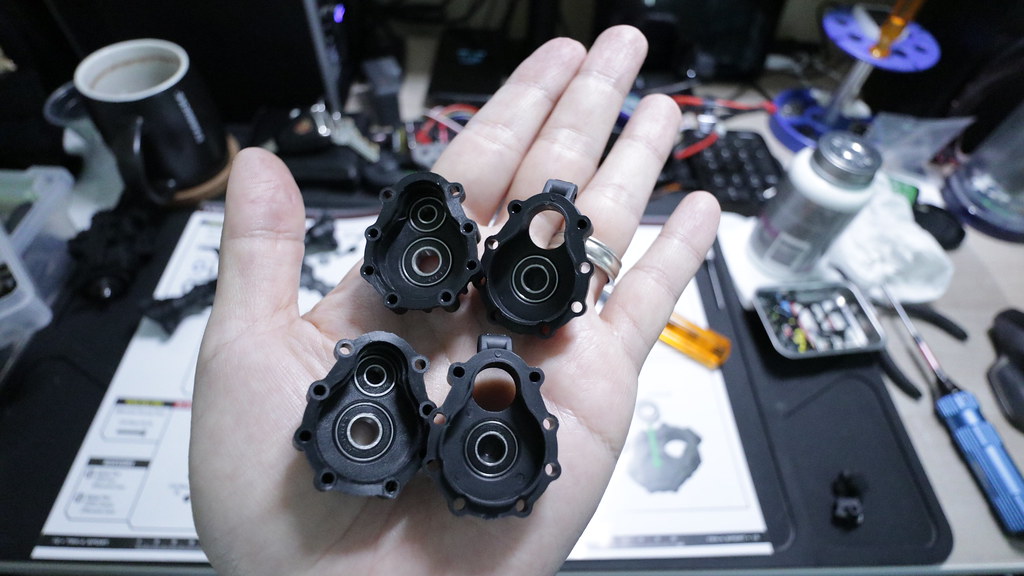
Parts for Step B3

You need to be very careful with the ball bearing sizes used in this step. The 5x11x4mm bearing is shown with blue shield in the instructions, but in reality it's black. So carefully measure the bearing sizes, or just match it up with the instructions since it's 1:1 scale.
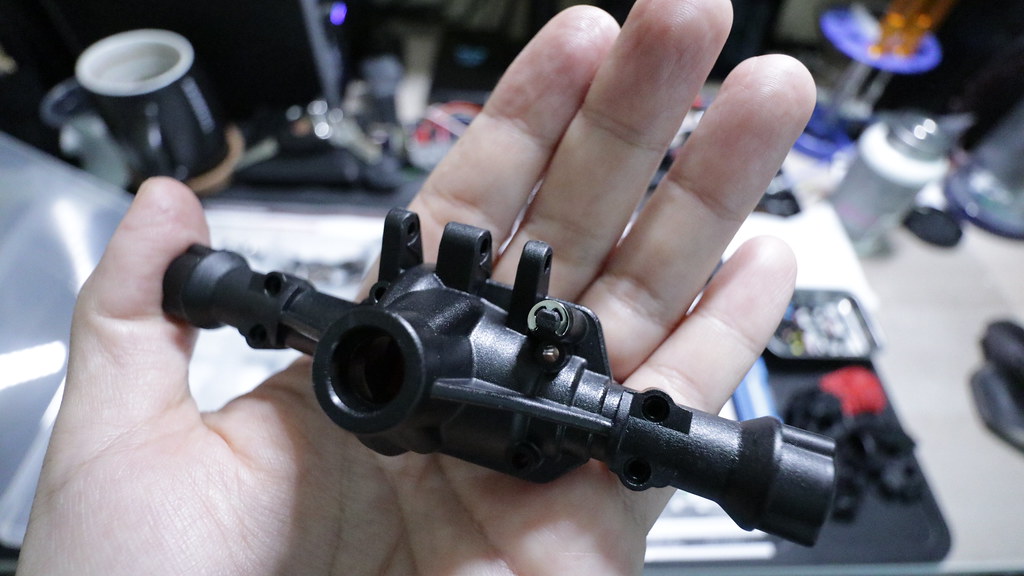
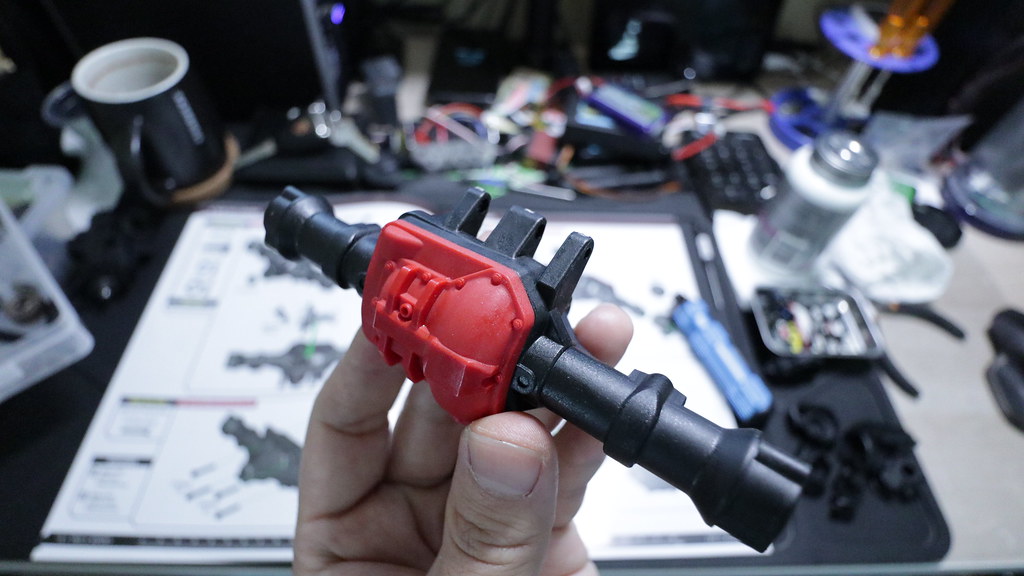
Step B3 complete
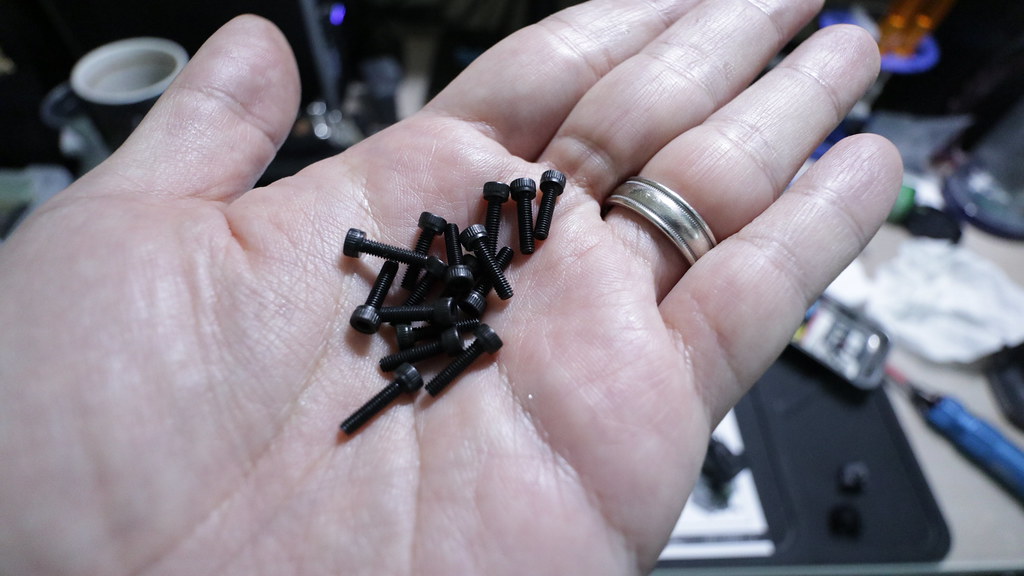
Parts for Step B4

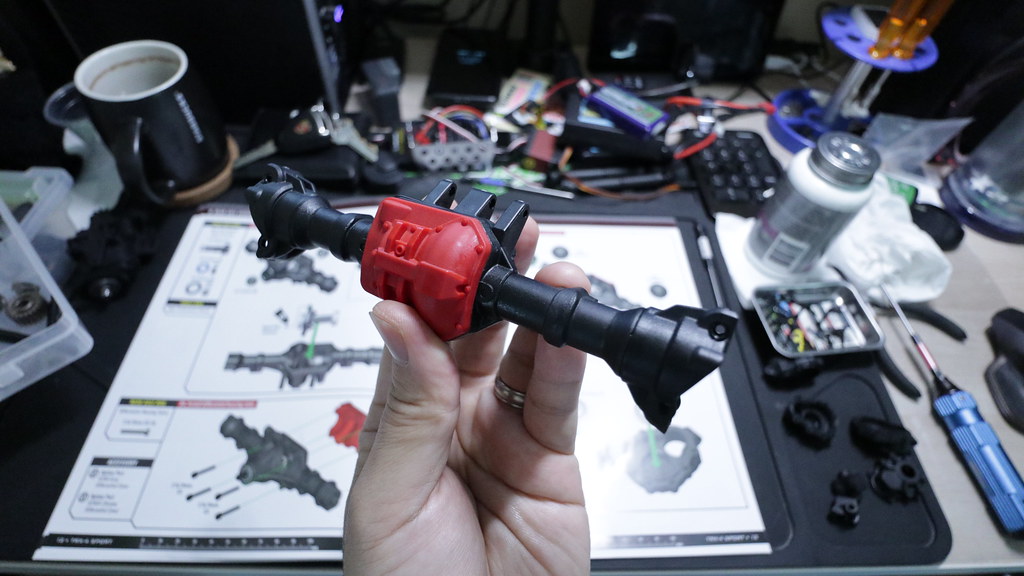
Step B4 complete. Make sure to not overtighten the diff cover.
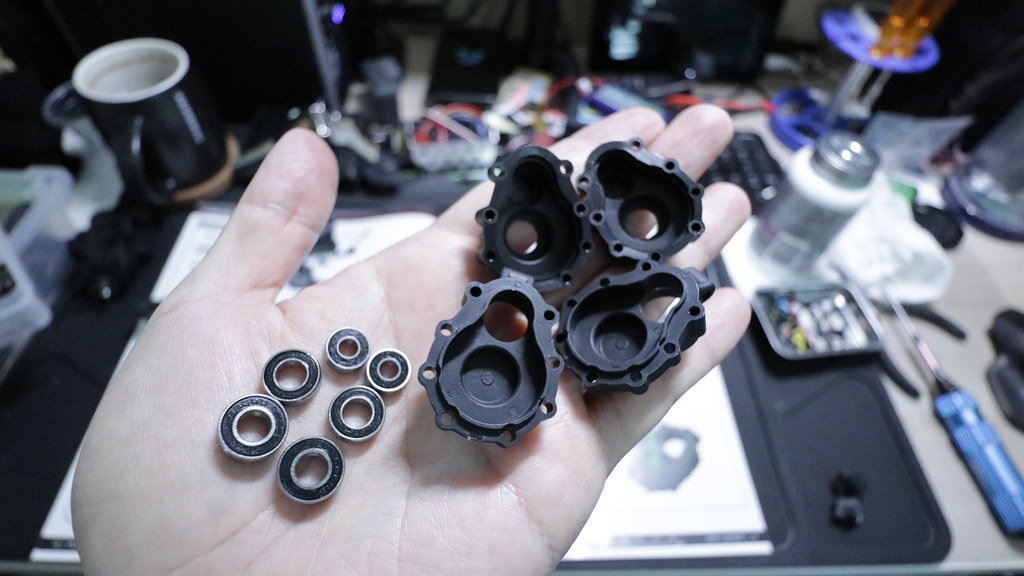
Parts for Step B5

What I liked about the parts for this step is that the parts clearly had identifying markers for which part goes on the left and right. Nothing left up to vagueness.
Step B5 complete.
Parts for Step B6
Again, with this step, you need to carefully match up the ball bearing sizes. The 6x12x4mm is shown with blue shield in the instruction manual, but they are all black shielded. Measure carefully, or match up carefully with 1:1 illustration in the instruction manual.
Step B6 complete
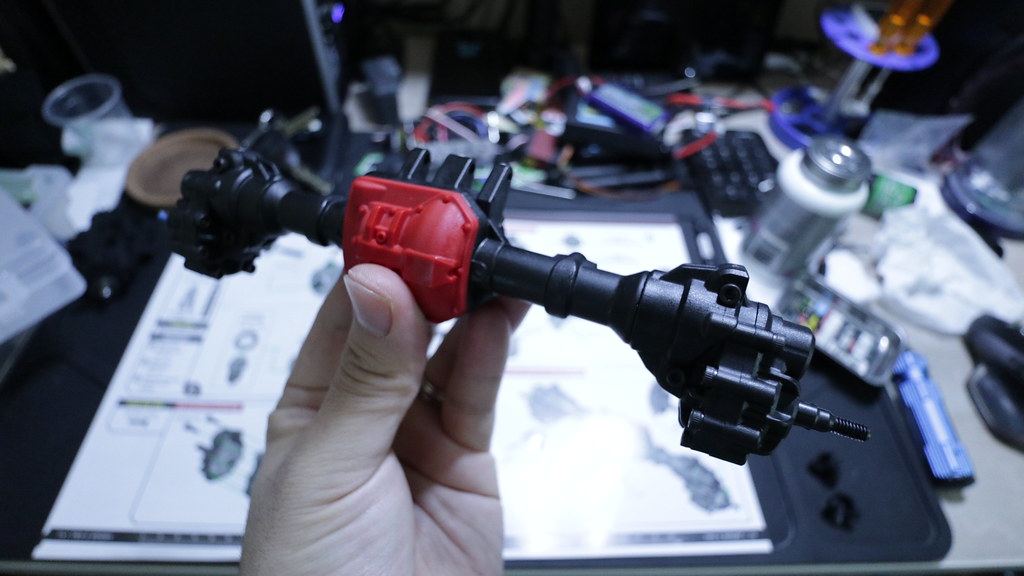
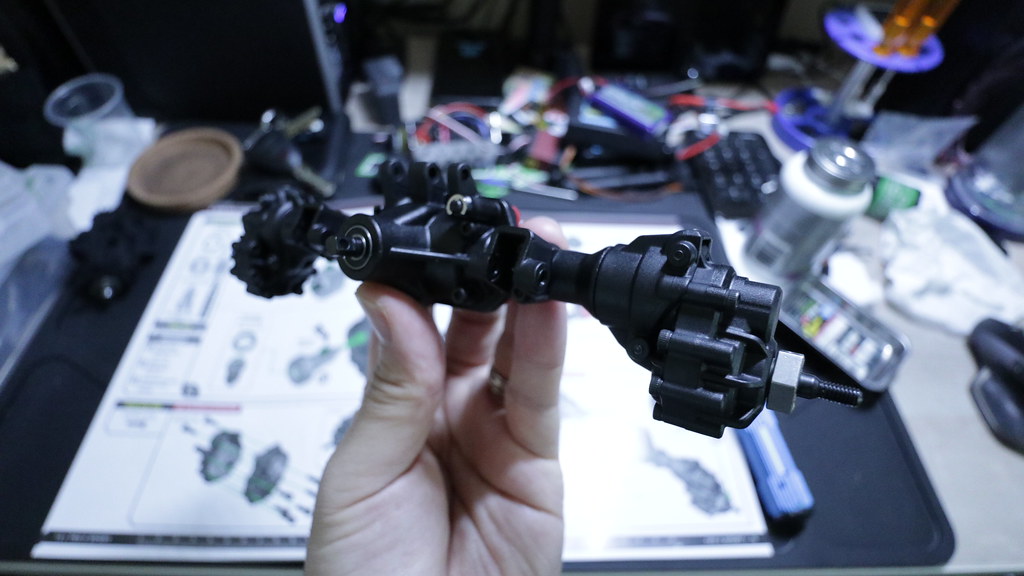
Parts for Step B7

Step B7 complete. In the picture it looks like I used too much grease, but that's not the amount that it actually ended up with. What I usually do is pack the grease on thick, close up the assembly and give it a good few rotations to spread the grease out, then remove the excess. Didn't bother to or rather forgot to another picture post excess removal though.

Parts for Step B8
Step B8 complete. Be sure not to over-tighten the screws in this step.

Step B9 parts

Step B9 complete
Parts for Step B10
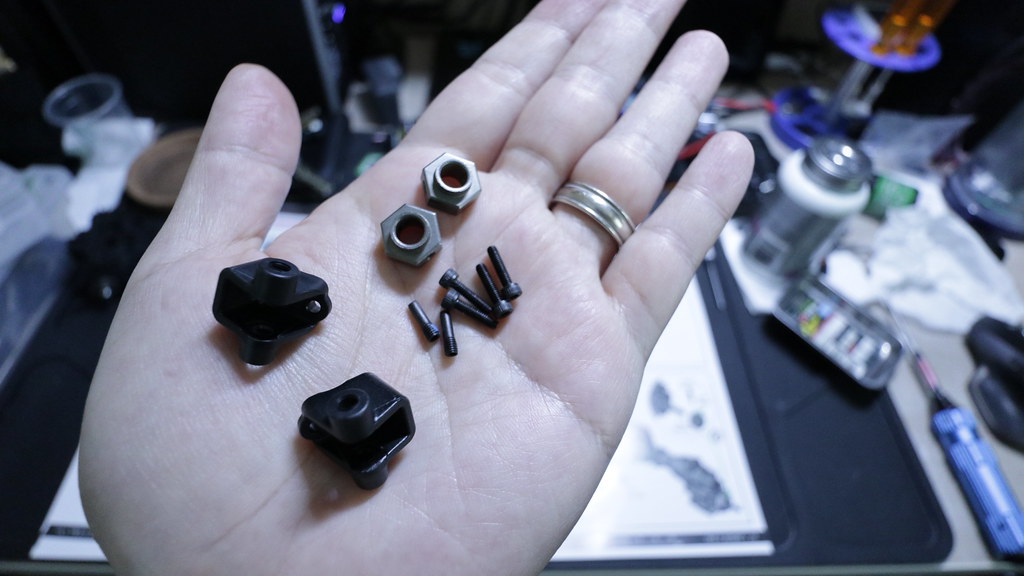
No need for fiddly pins that fall out of the hexes! Thank you Traxxas! Was nice that this kit comes with metal wheel hexes and locking screw pins.
Step B10 complete

And... we're done with Section B - Rear Axle Assembly.