Good guys !!!!
After time without leaving and doing very little of the hobby, I return to the load. After this stop of almost two years, I only have the Blazer as a whole car and material, so I have to make a battle to give it a trot.
So, I start:
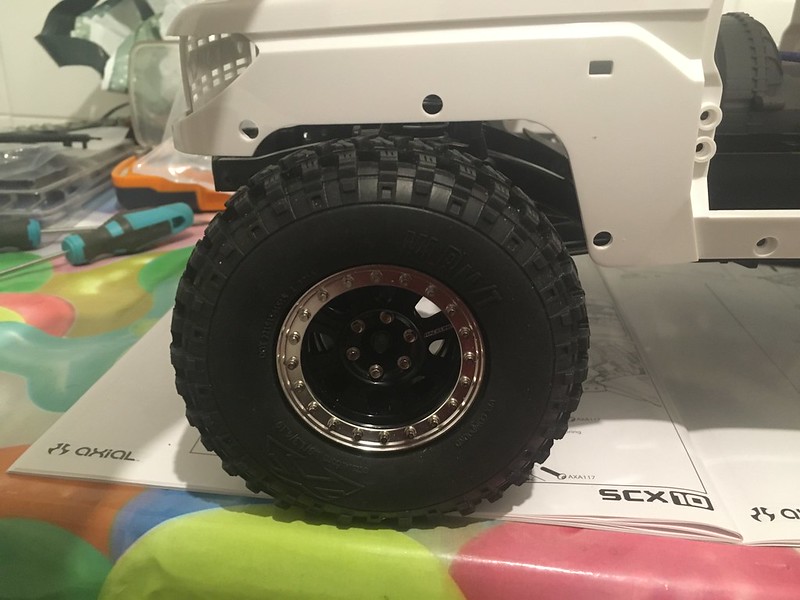
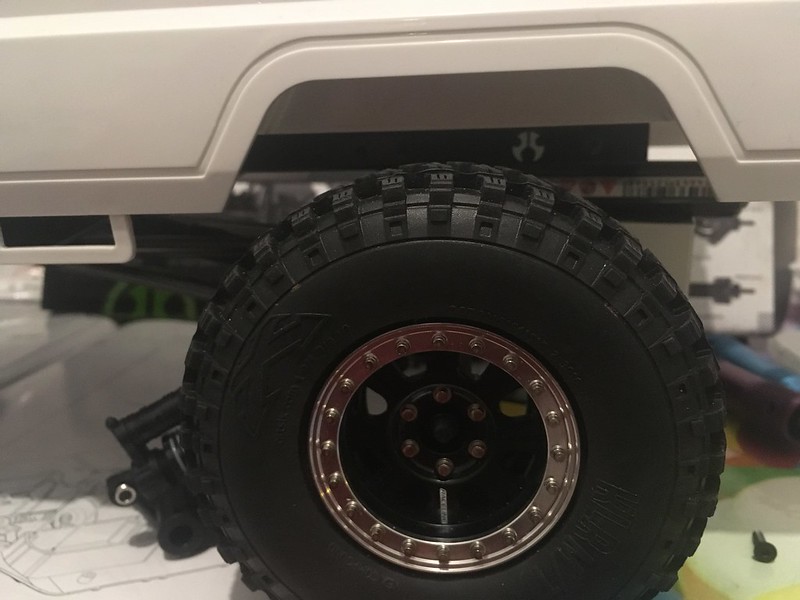
I will use the electronics, I have the Servo Turnigy MG959 V2 from 30kg to 6V, thanks to the variator and known by the analysis QUICRUN WP 1080 of Hobbywing. I will also use the RC4WD Raceline tire set in 1.9 that came with the Blazer with its hubcaps, although it will not have the Prowlers, it will have a Voodoo KLR that I already have mounted with Crawler innovation foams interior medium and soft exterior.
" target="_blank">

by https://www.flickr.com/photos/126459290@N04/, en Flickr
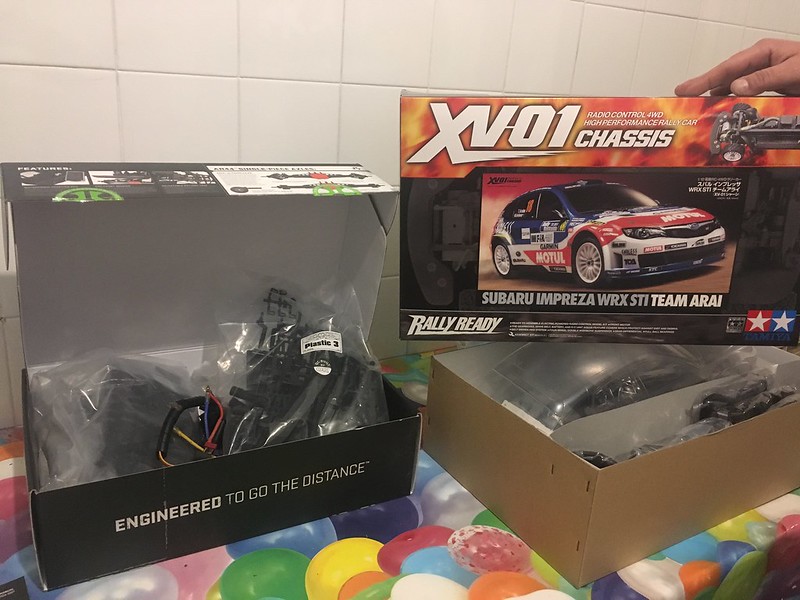
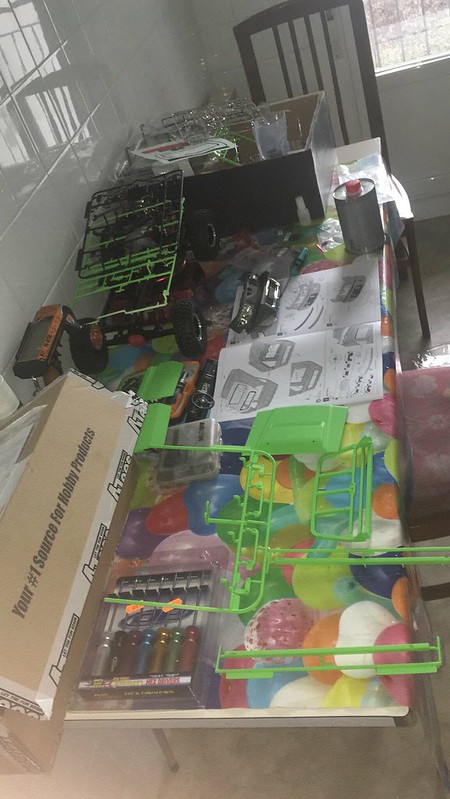
And today I will start assembling the Raw Builders kit of Axial SCX10 II acquired in the Team-Tracker store at an unbeatable price thanks to the friend I�igo:
" target="_blank">

by https://www.flickr.com/photos/126459290@N04/, en Flickr
I had an entertaining weekend ...:
The SCX10 and a Tamiya XV01 for a friend ...
" target="_blank">
by https://www.flickr.com/photos/126459290@N04/, en Flickr
Here the body too, again thanks to I�igo de Tracker, for the service and the price:
" target="_blank">

by https://www.flickr.com/photos/126459290@N04/, en Flickr
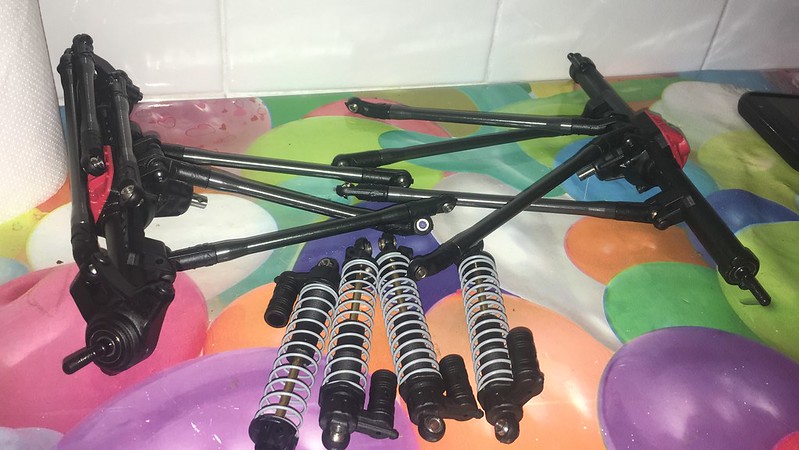
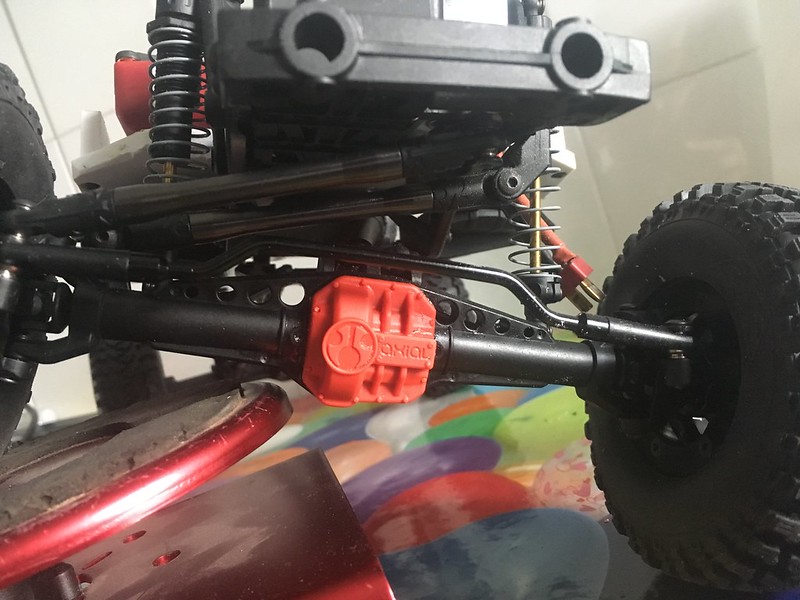
Here the first things, the axles had to be adjusted with washers, and I told a fellow that these used to need:
" target="_blank">
by https://www.flickr.com/photos/126459290@N04/, en Flickr
Here already mounted, the tranny mount it to the back of as they ask for the instructions not to have to cut the base of the box and that everything enters the body:
" target="_blank">

by https://www.flickr.com/photos/126459290@N04/, en Flickr
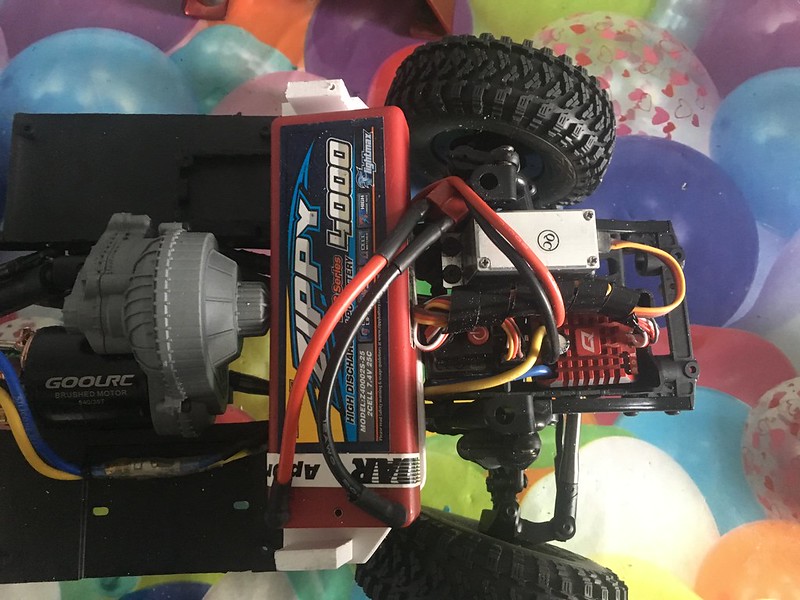
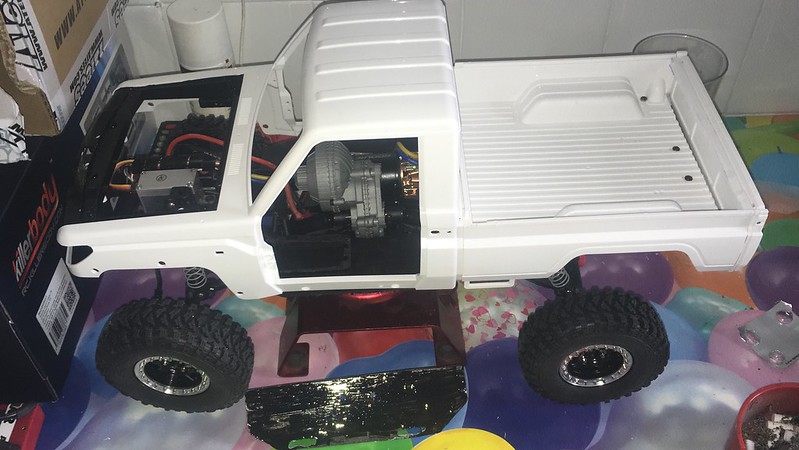
I cut the battery holder as it comes standard, in the gap left I put the electronics and I made a cross bracket that painted black for the battery:
" target="_blank">
by https://www.flickr.com/photos/126459290@N04/, en Flickr
" target="_blank">
by https://www.flickr.com/photos/126459290@N04/, en Flickr
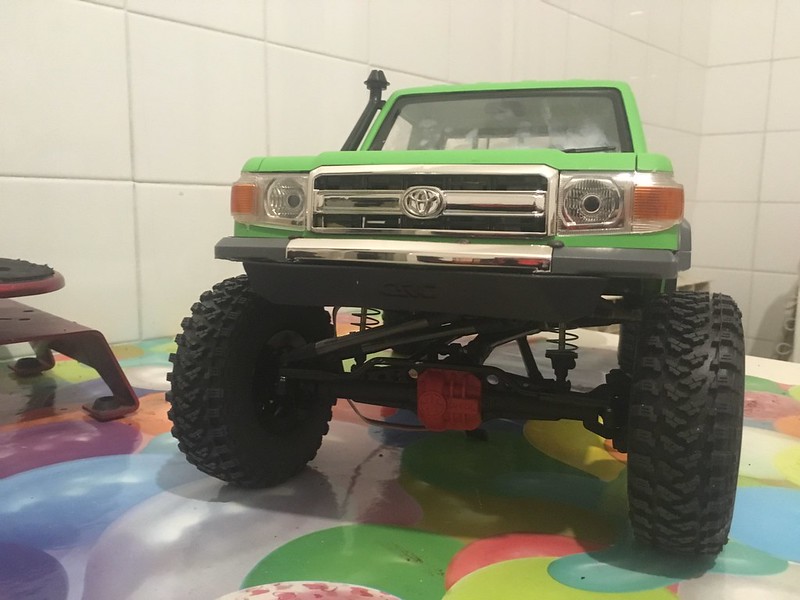
And the servo so that it does not rub with the panhard I have raised it a little more and I have mounted the bar of curved direction of rc4wd:
" target="_blank">
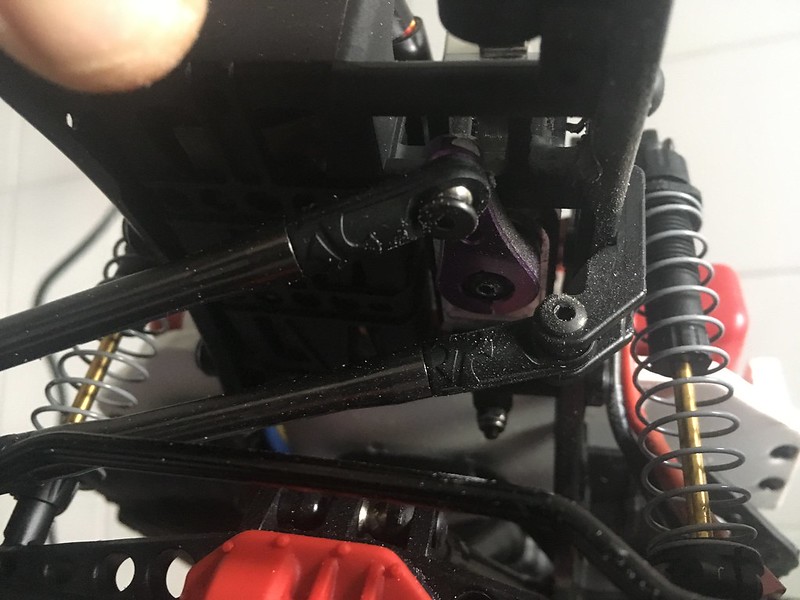
by https://www.flickr.com/photos/126459290@N04/, en Flickr
" target="_blank">
by https://www.flickr.com/photos/126459290@N04/, en Flickr
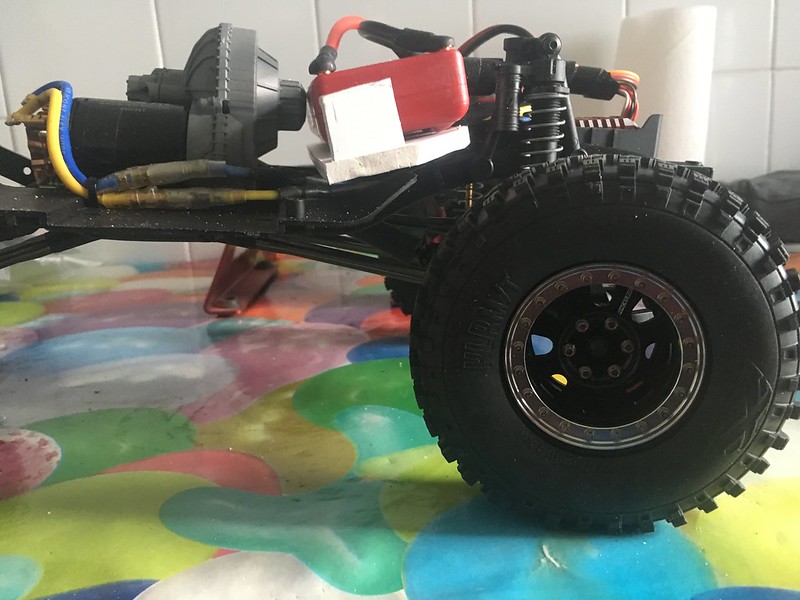
Here you can see the height left before, compressed to the top:
" target="_blank">
by https://www.flickr.com/photos/126459290@N04/, en Flickr
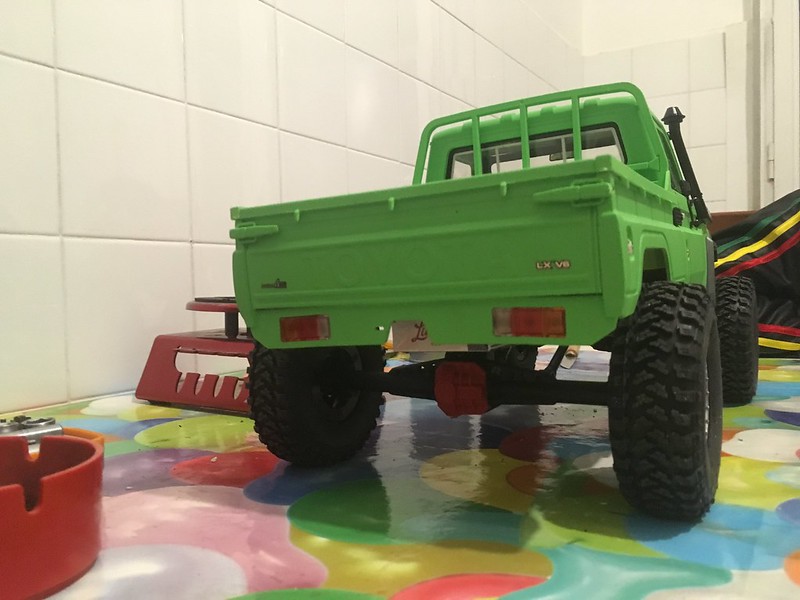
And here behind, where you see that the body can not go below:
" target="_blank">
by https://www.flickr.com/photos/126459290@N04/, en Flickr
Well, I've already taught him the dremel:
" target="_blank">
by https://www.flickr.com/photos/126459290@N04/, en Flickr
Removed the rear overhang, now caulking etc ...:
" target="_blank">
by https://www.flickr.com/photos/126459290@N04/, en Flickr
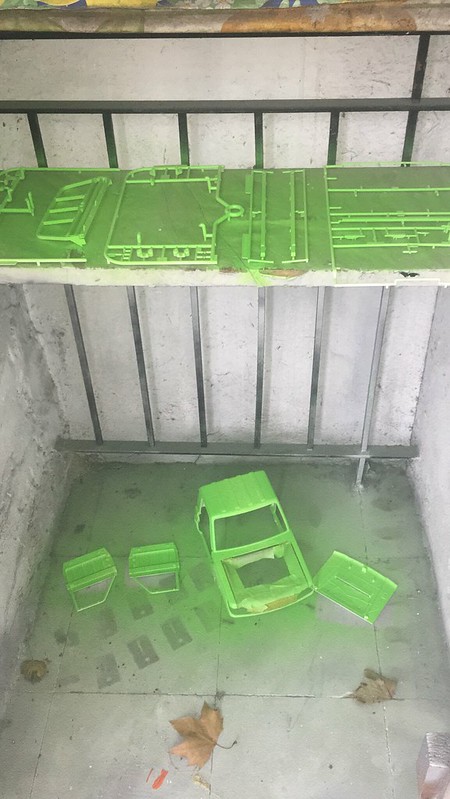
And I started with the paint while the putty dries:
" target="_blank">
by https://www.flickr.com/photos/126459290@N04/, en Flickr
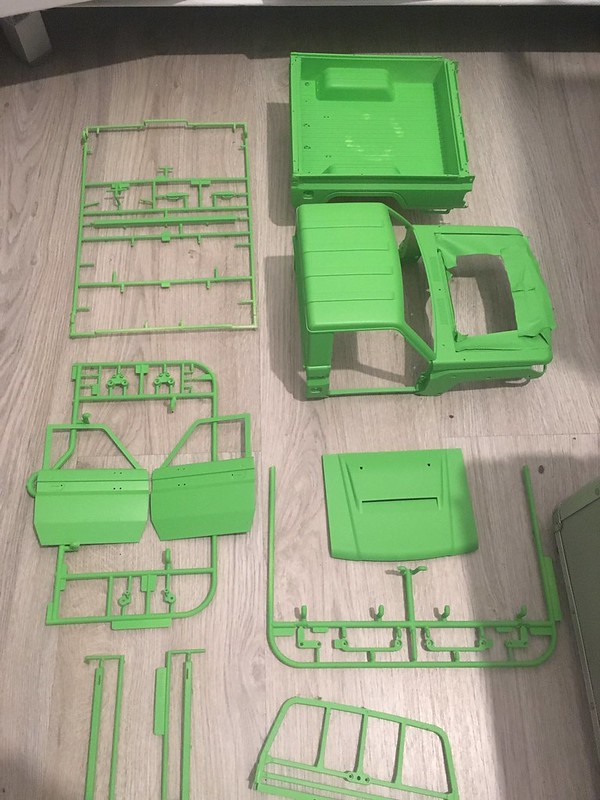
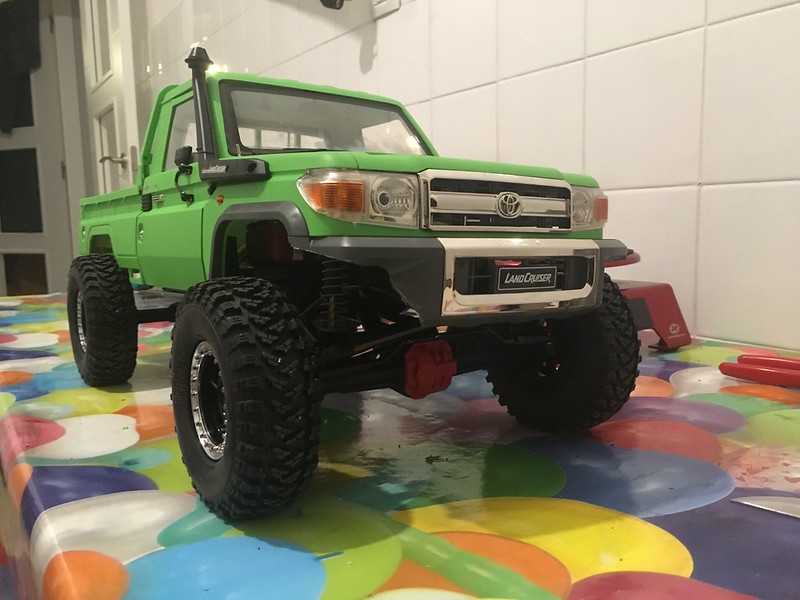
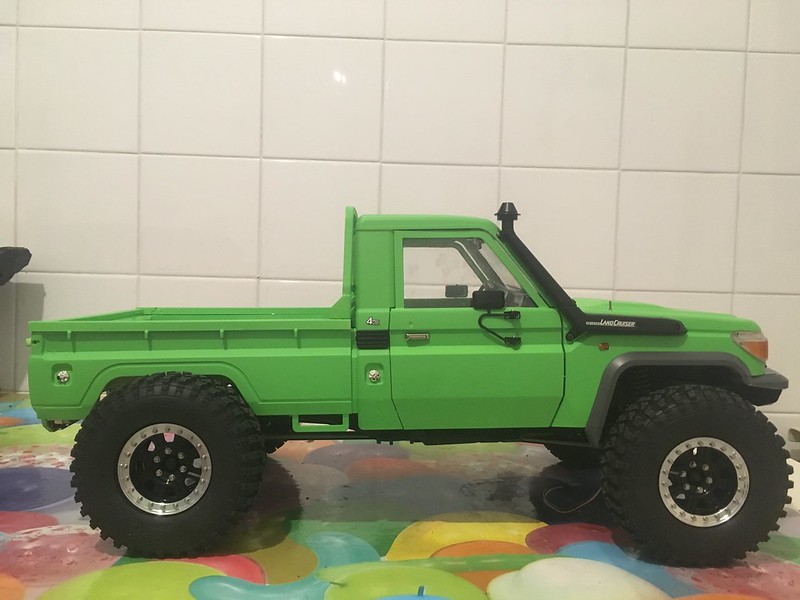
Finished painting:
" target="_blank">
by https://www.flickr.com/photos/126459290@N04/, en Flickr
Horror House hahahaha :
" target="_blank">
by https://www.flickr.com/photos/126459290@N04/, en Flickr
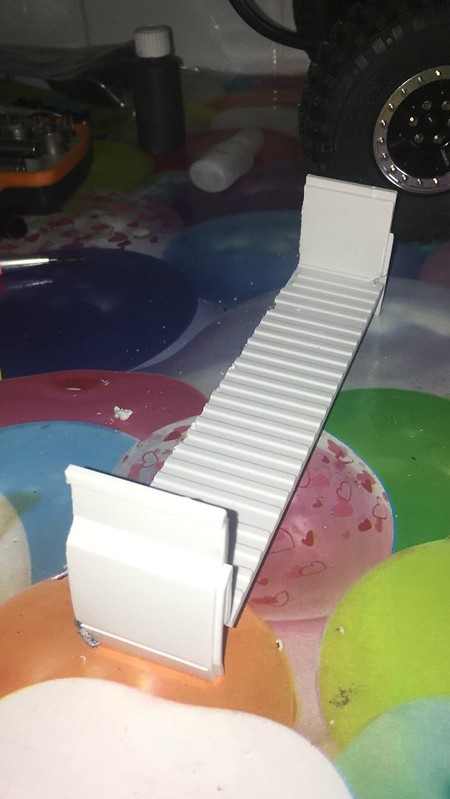
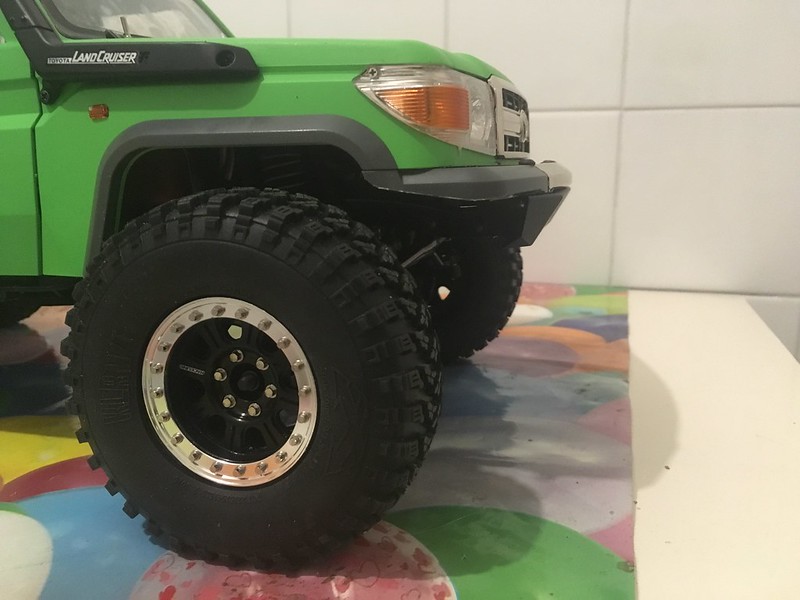
And well, for lack of details, fasten the body and cantilever suspension system that is printing a friend in 3d (the bumper I have cut it because it will take another, but until it arrives if I use it to carry something):
" target="_blank">
by https://www.flickr.com/photos/126459290@N04/, en Flickr
" target="_blank">
by https://www.flickr.com/photos/126459290@N04/, en Flickr
" target="_blank">

by https://www.flickr.com/photos/126459290@N04/, en Flickr
Waiting for money for loops bumper , with this , better ... hehehe :
" target="_blank">
by https://www.flickr.com/photos/126459290@N04/, en Flickr
" target="_blank">
by https://www.flickr.com/photos/126459290@N04/, en Flickr
" target="_blank">
by https://www.flickr.com/photos/126459290@N04/, en Flickr