Inspired from the new T4'18 and its short shock absorbers I thought about a conversion for my T4'17 (originally T4'15) to keep it on pace with other LCG cars like the A800. The upcoming indoor season should favour a lower CG with its high grip surfaces.
As we have already seen, Xray reduced the length of some parts of the absorber, but not of the shock shaft, which causes issues if the absorber is fully compressed. Also the chance that the "old" longer shock will have a comeback for the upcoming 2018 outdoor season by the pro drivers is quite high.
So why not save a little money, use the absorber we have and install them lower... How about 6mm lower (to be better than the T4'18

)

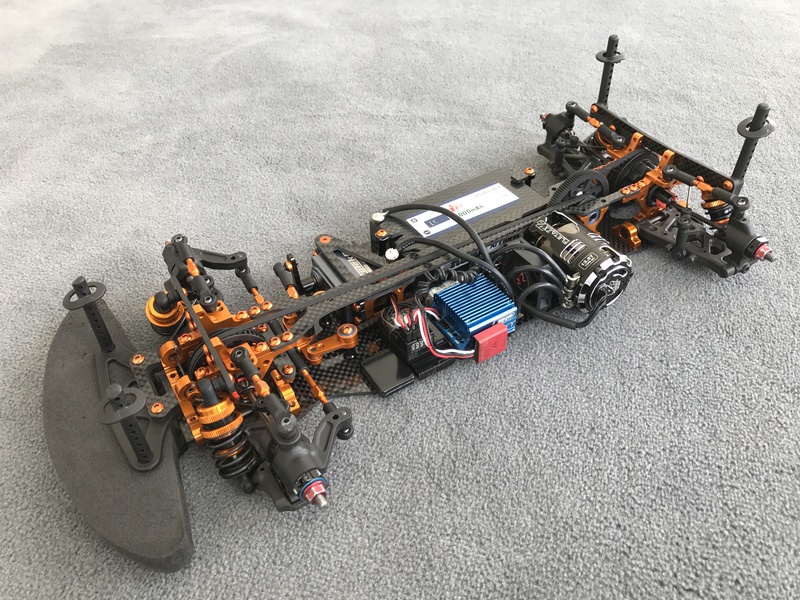
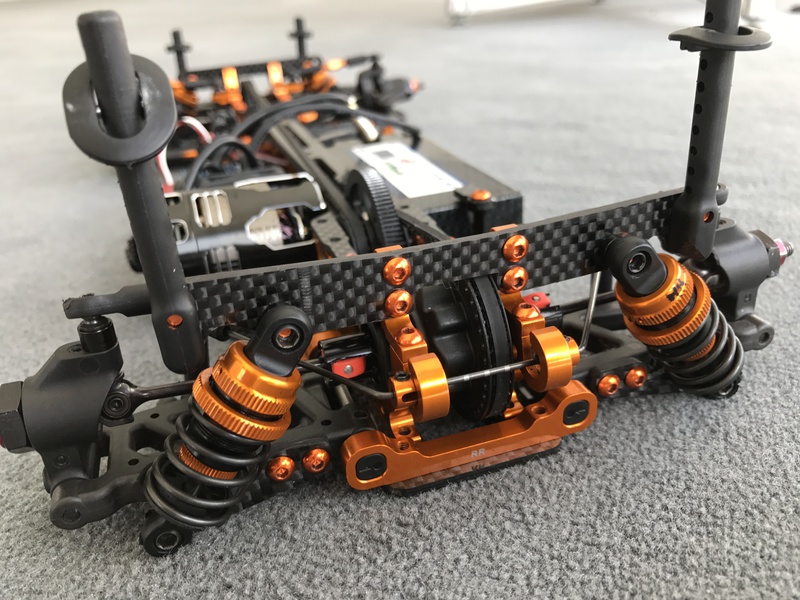

I have already tested this conversion outdoor and indoor. And it works very nice. Even though the lower shock mounts are 6mm lower they don't make contact with curbs or make any other issues.
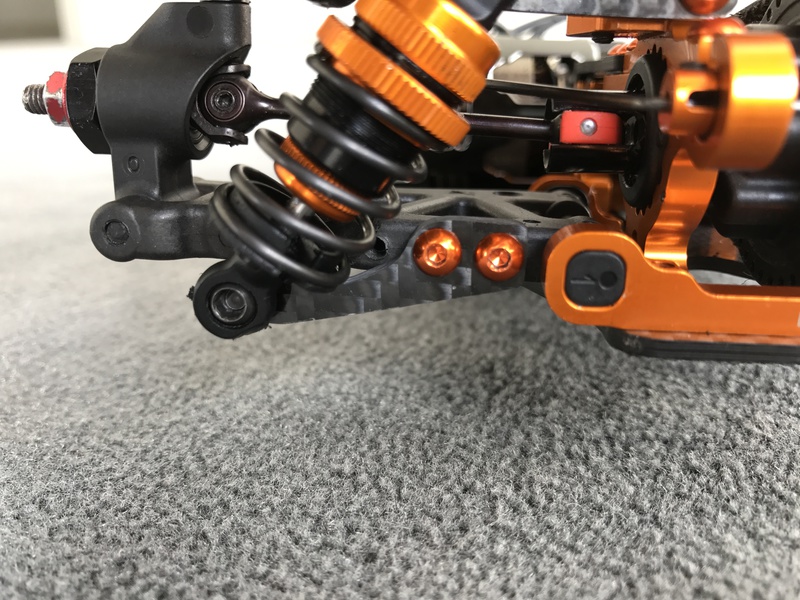
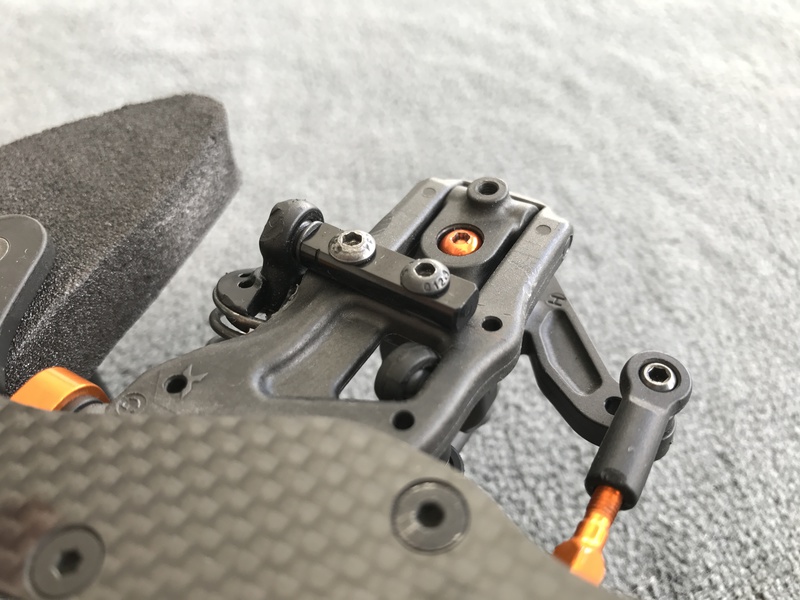
For the front I recommend buying two servo posts, drill holes in the suspension arms and istall them like that:
I really tried to make this a low budget conversion, but of course it will need some material, tools and a little skill...
What I built:
- one front shock tower
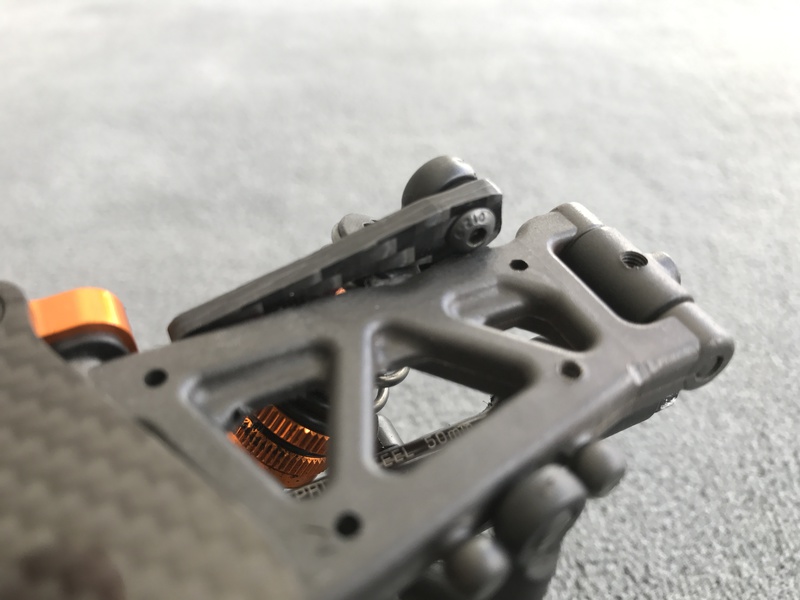
- one rear shock tower
- two rear lower shock mounts
Material:
- 2.2mm-3mm thick carbon fiber (depending on what I had/you have laying around) preferably an old chassis plate
Tools:
- a rotary speed tool with different inserts and self centering drills
What to do:
1. Draw the geometry of the graphite parts on the carbon/old chassis plate. Make sure all measurements are as accurate as possible!
2. Put on protective clothes, respiratory protection, safety goggles and gloves. I also use an old hairdryer.
3. Prepare your working space outside. Place the hairdryer in a way that it is between you and the rotary tool and /or arrange everything that the wind blows the dust away from you.
4. Now take a self centering 3mm drill and start to dill all holes first. Make sure you drill slow and with little pressure. You have to be very precise at this stage!
5. Put on the sanding tip and break the edges of the drill holes.
6. Install the diamond disc on the rotary tool and cut out the shape.
7. Sand away excessive material and correct the shape.
8. Clean the part, fit it on the car, if needed optimize the geometry.
Unfortunately there is one downside to this conversion:
The suspension arms have to loose quite a lot material where the spring plate is located to prevent rubbing and to to install them properly. This will not effect the handling or durability in a negative way.
That's it for the moment. Later pictures with part dimensions will follow.