


 1Likes
Review of the RB One R competition buggy
 04-17-2013, 12:44 AM
#31

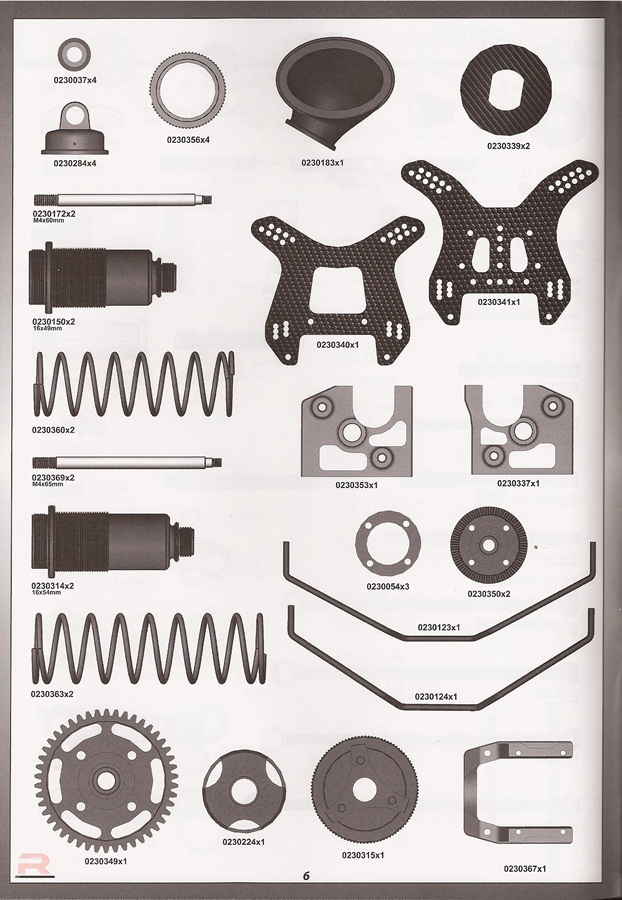
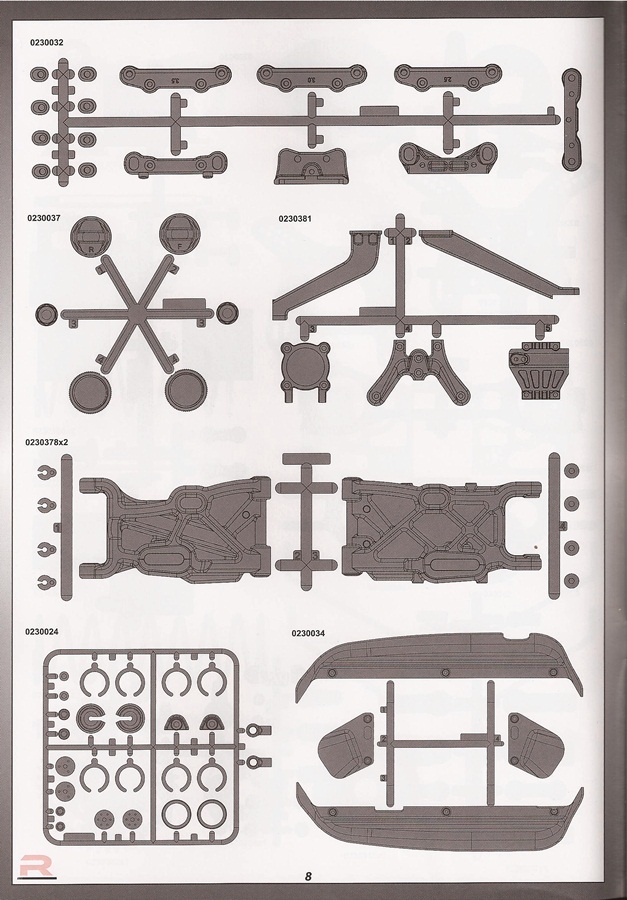
One can notice the many parts, taken from the plain One version, that are still present on the grappes of plastic parts,
this is certainly done from an economical point of view:
it would have taken time and costs to cut the parts apart or to produce them separately
this is certainly done from an economical point of view:
it would have taken time and costs to cut the parts apart or to produce them separately


Last edited by speedy2; 08-10-2013 at 03:52 PM.
 04-17-2013, 12:52 AM
#32
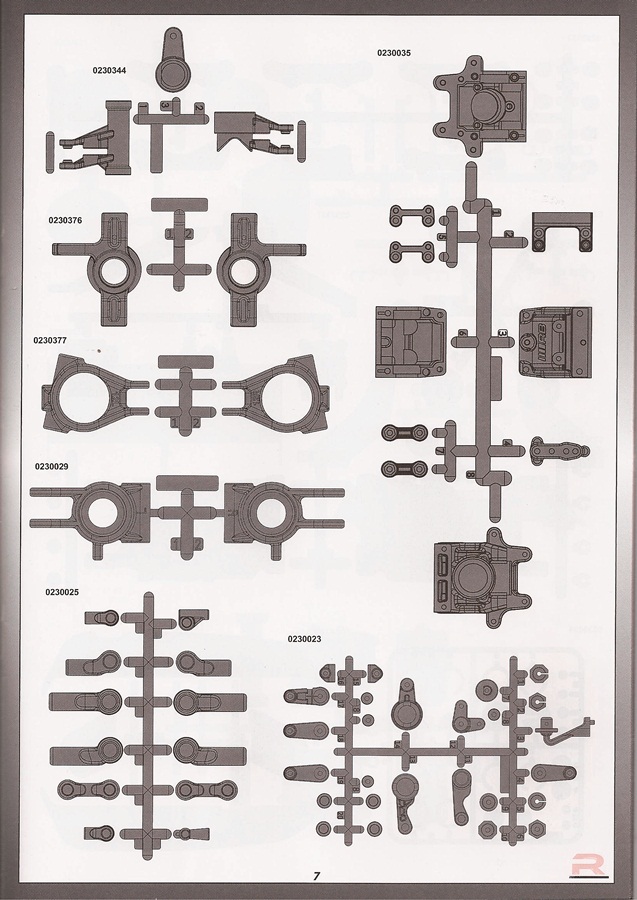
On the pages showing construction stages, here the center mount, one notices the parts in 1/1 on the left side, together with their order # and the bags to open
on the right side, drawings show the ongoing assembly, with special instructions where needed and the liquids to use in text balloons
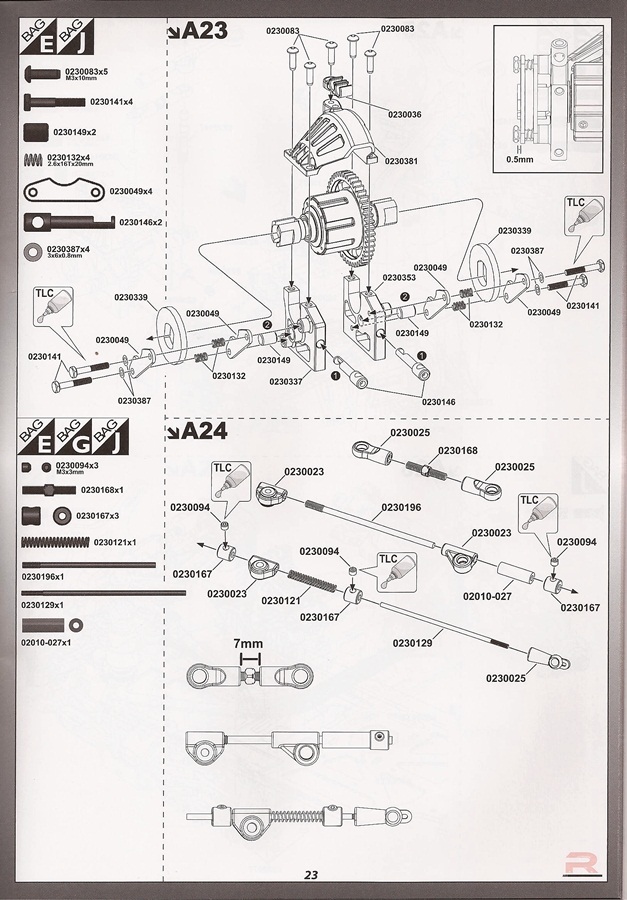
This manual is efficient and straightforward, showing all parts in 1/1 is very helpful: during assembly one has got to keep focussed a fear bit sometimes, to select the right parts for the R on the grapes against the rtr dedicated parts
or f.i. for the right lenght of driveshafts as they are not marked
same goes for the screws all collected in 5 smaller bags
a good sharp cutter is needed too to cut the needed parts from all the grappes
Last edited by speedy2; 09-07-2013 at 08:02 AM.


 04-17-2013, 01:41 AM
#41
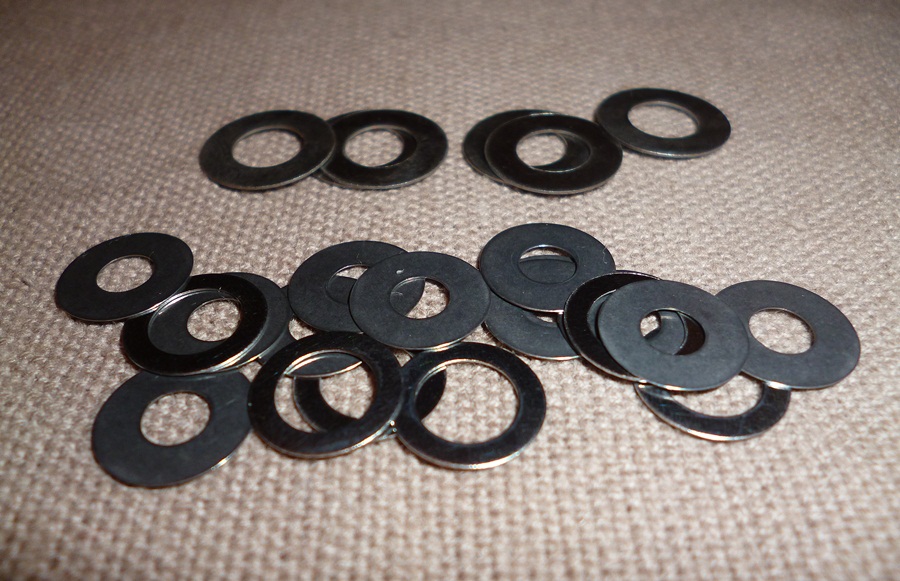
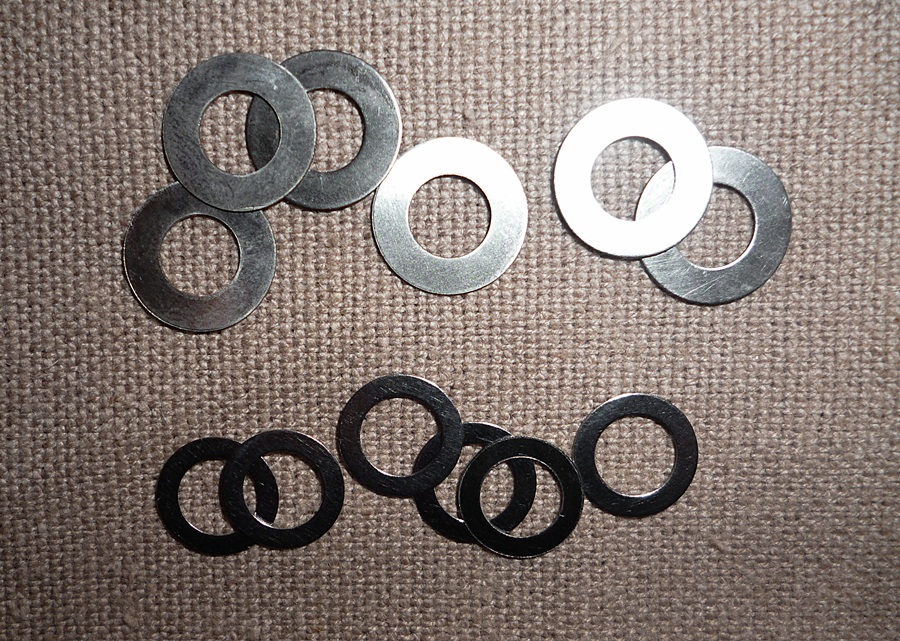
the satelittes and planetary washers
the ticker 6x12x0.3 mm upgrade washers supplied in the manual, have to be used under the planetary gears instead of the original 6x12x015 washers, to eliminate a bit of excesive play found by the test drivers between the internal gears
else making the cars pull away to one side when accelerating
the ticker 6x12x0.3 mm upgrade washers supplied in the manual, have to be used under the planetary gears instead of the original 6x12x015 washers, to eliminate a bit of excesive play found by the test drivers between the internal gears
else making the cars pull away to one side when accelerating


Last edited by speedy2; 07-16-2013 at 01:57 PM.


 04-17-2013, 02:03 AM
#45
just don't forget to screw in the 4x4 mm before pouring in the oil.. like me 2 times as I never didn't have the habit of these..
the oil doesn't flow much but you better than clean the threads with methanol and in general use threadlock or another sealant
you also got to leave the screw sticking out by the top, or about 0.5 mm

I always put a tab of graphite powder in my diffs, it keeps them lubricated even almost empty ...

the oil doesn't flow much but you better than clean the threads with methanol and in general use threadlock or another sealant
you also got to leave the screw sticking out by the top, or about 0.5 mm

I always put a tab of graphite powder in my diffs, it keeps them lubricated even almost empty ...
