


 595Likes
LC Racing EMB-1H Official Thread
 05-28-2019, 07:24 PM
#1891
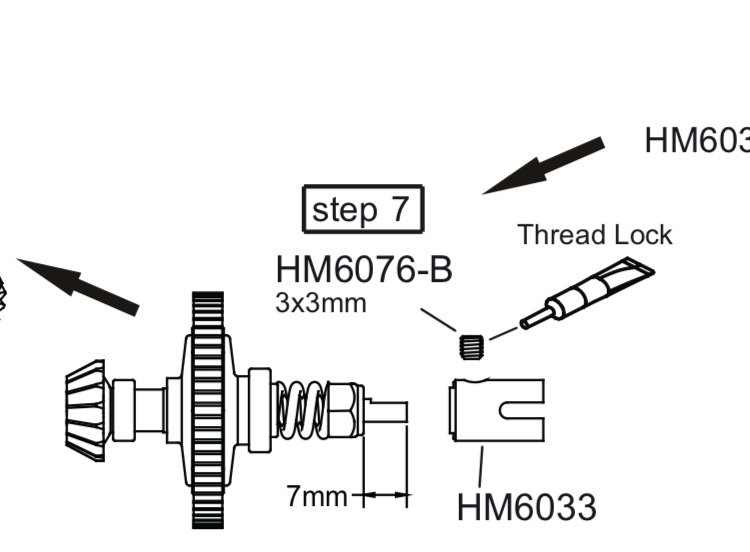
Yikes! That’s some heavy wear. Never seen anything like that on the ring and pinion, though I have seen egged outdrives like that. The slipper nut should be 7mm from the end of the shaft. You can find the manuals at Warren RC or Riptide RC. Really good things to have around. https://riptiderc.com/
 05-29-2019, 02:05 AM
#1892
Tech Apprentice
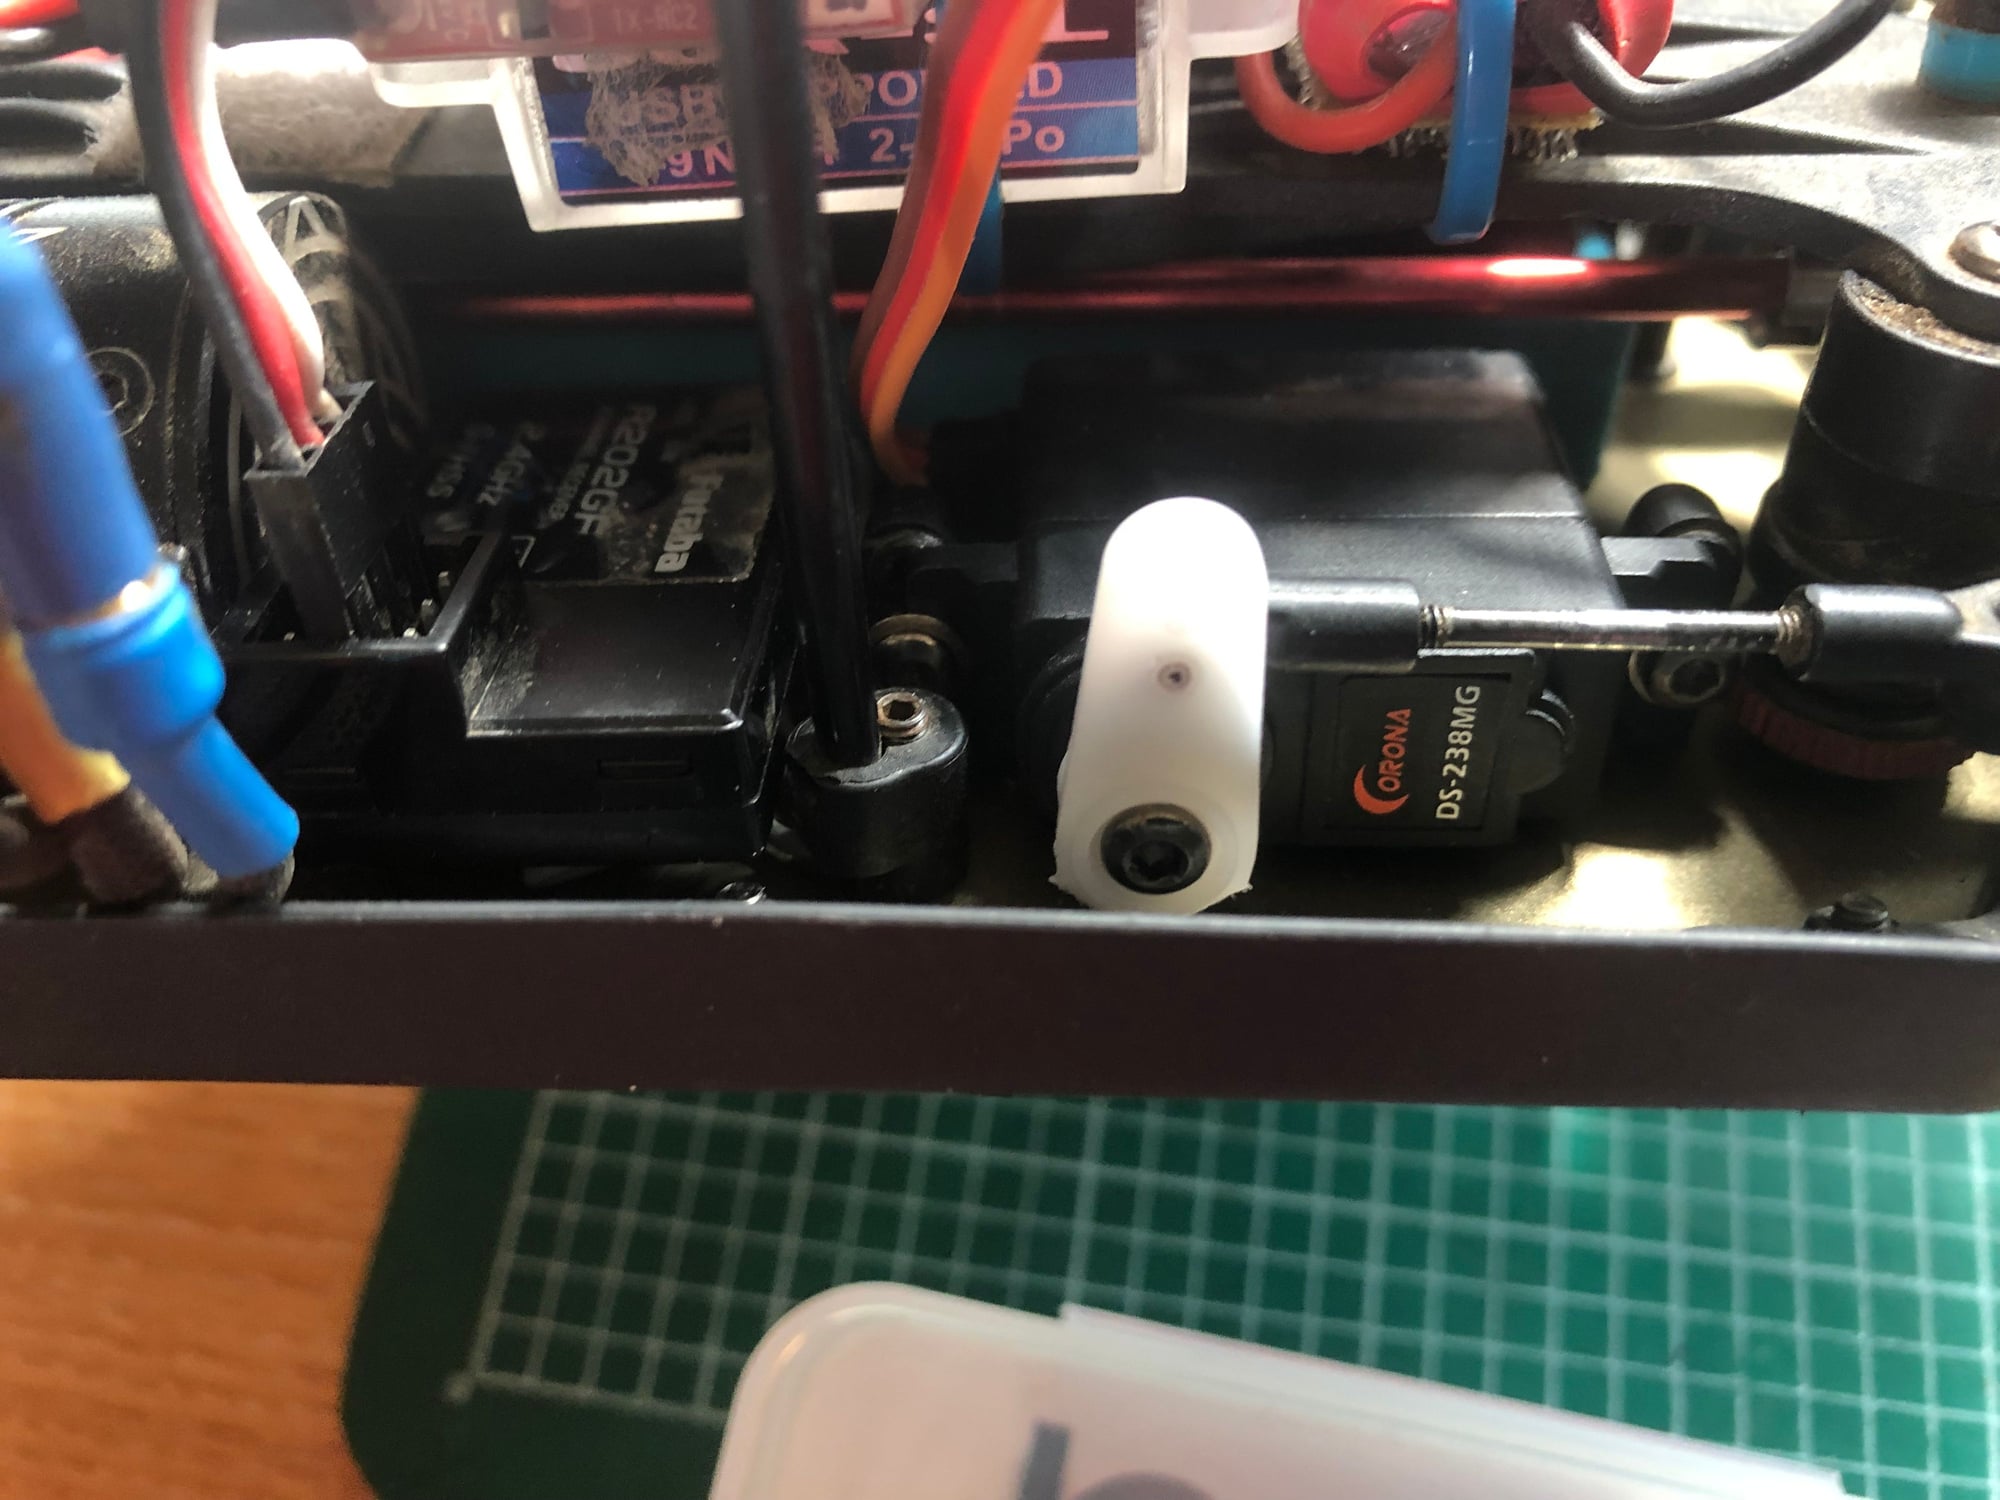
So I picked up the trackstar 1/14 and the corona ds238mg to try in the swb and have ended up using the corona for the moment, the trackstar would just fit but would need at least one of the mounts removed off the servo and stuck down with tape apposed to the corona that bolts straight in albeit a fraction narrow but you can still use the stock mounts. I know the speed is not as good but from wha I can tell it’s feels more than good enough and the centring seams good allso. We shall just have to see how long it lasts.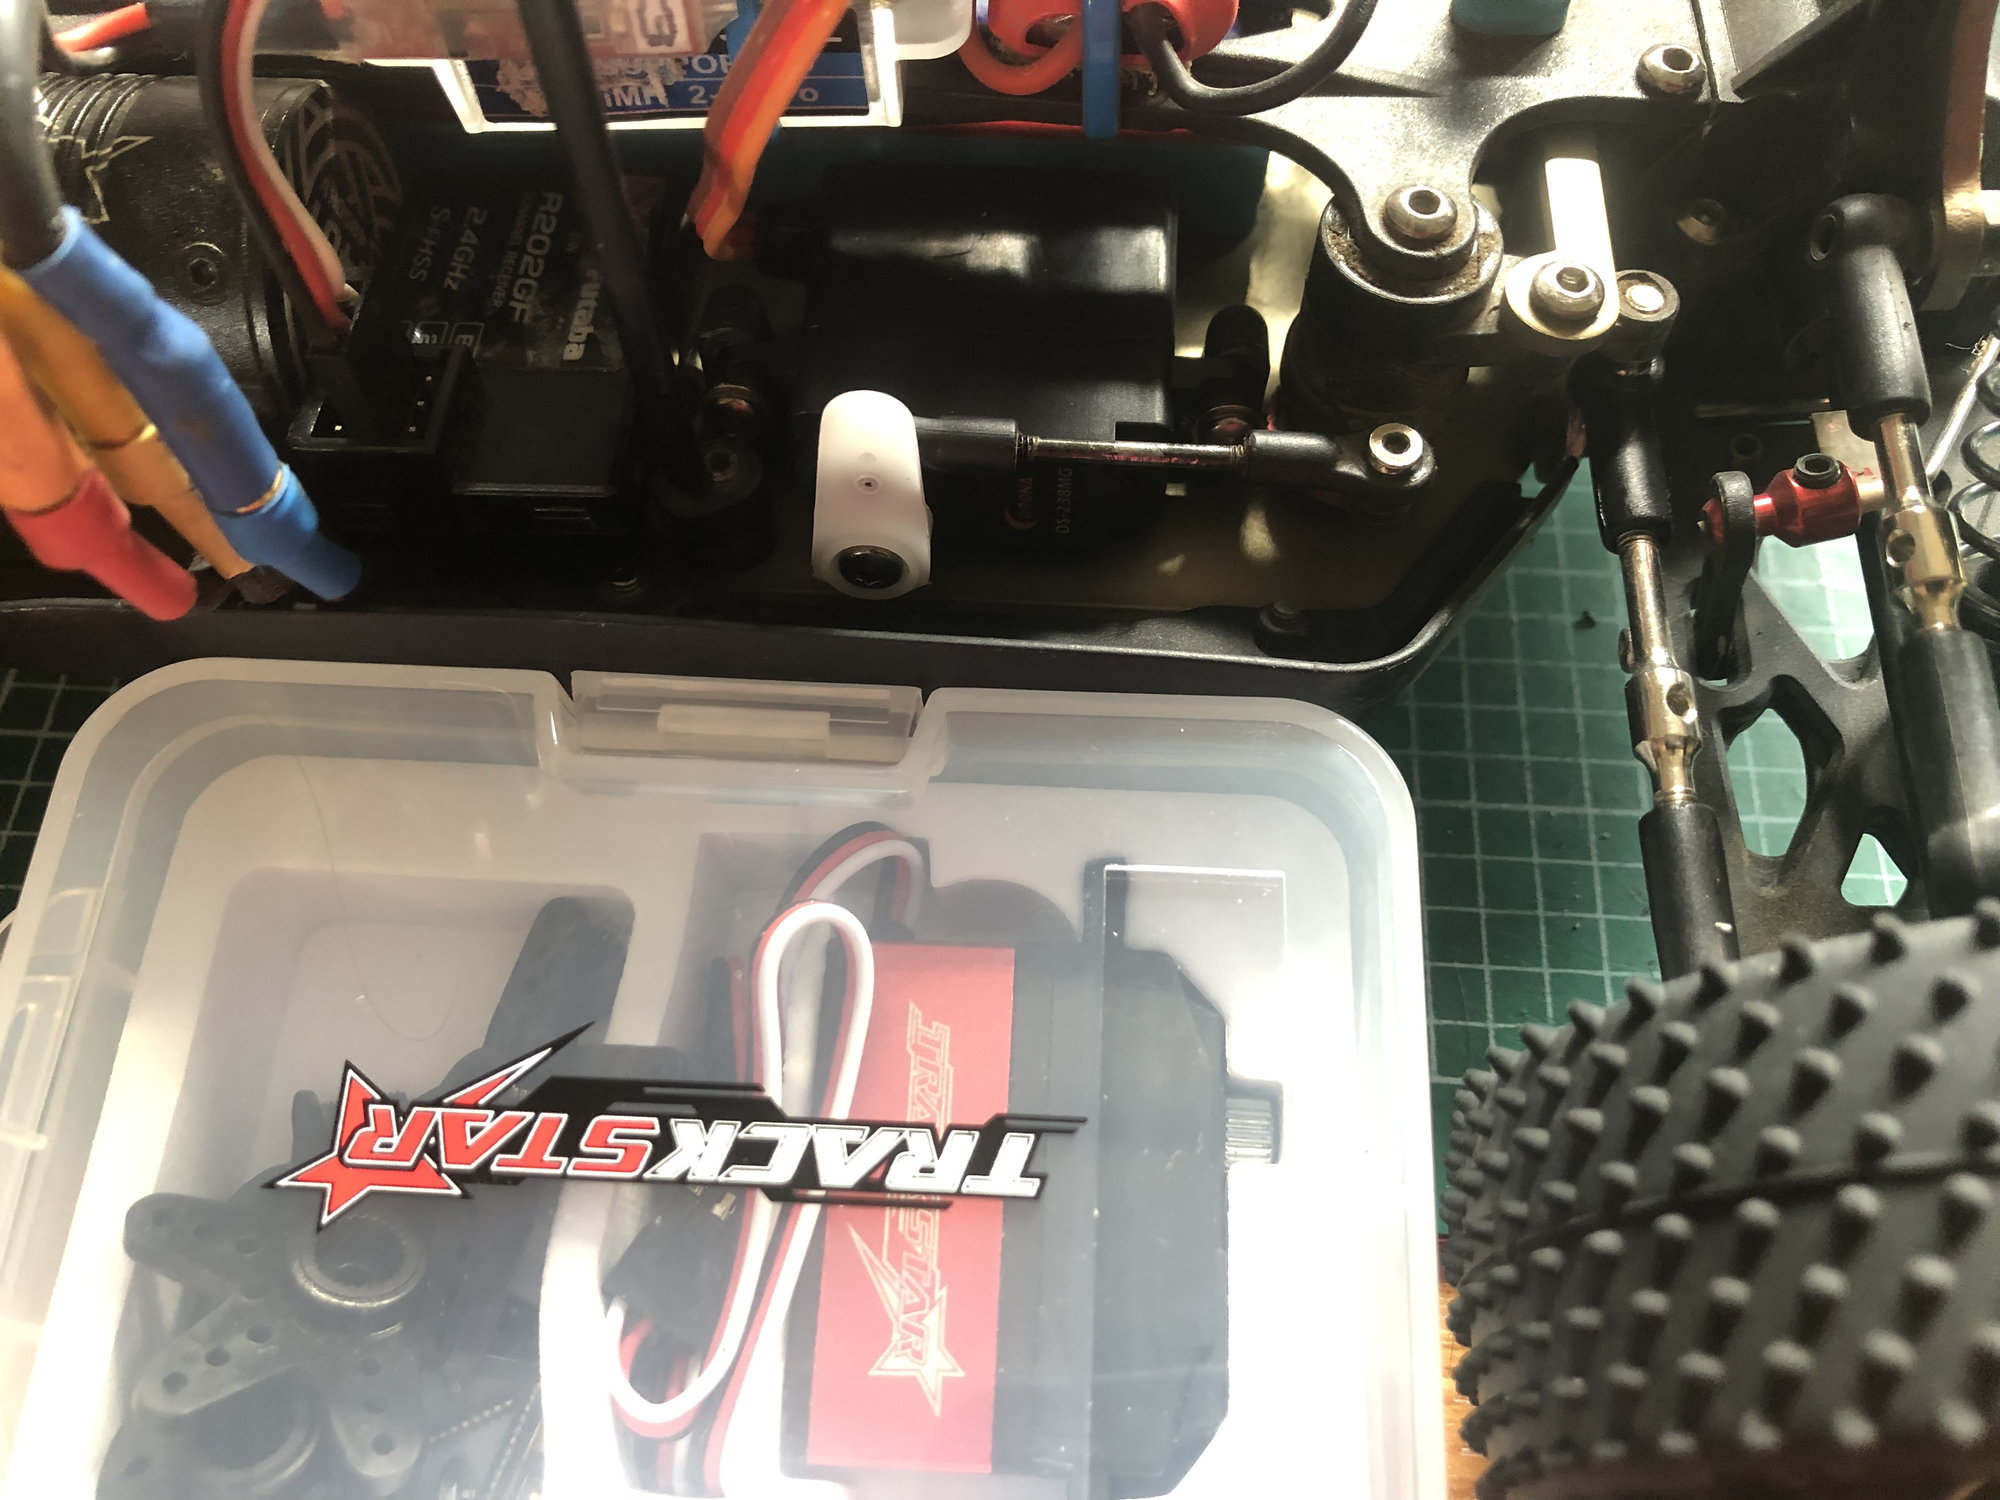
05-30-2019, 02:30 PM
#1893
Tech Apprentice
From direct side by side comparison the AE is basically the length of the EMB1 buggy.
There are some CVDs that someone linked to on facebook that could be better, the bones look thicker, these:
https://www.aliexpress.com/item/2PCS-Drive-Shaft-Iron-Black-Steel-Silver-Cvd-For-Rc-Hobby-Model-Car-1-14-Lc/32838025322.html?spm=2114.search0604.3.36.169721a3 ULoNaq&ws_ab_test=searchweb0_0%2Csearchweb201602_5 _10065_10068_319_10059_10884_317_10887_10696_321_3 22_10084_453_10083_454_10103_10618_10307_10820_103 01_10821_10303_537_536_10902%2Csearchweb201603_51% 2CppcSwitch_0&algo_expid=d8deda18-84fc-4d2c-82d6-83d0fb4add2e-5&algo_pvid=d8deda18-84fc-4d2c-82d6-83d0fb4add2e&transAbTest=ae803_3&fbclid=IwAR3Azm2n 9WJ-0aaZlW_HmT_HUGPDL3W6Y370BdF3ySymKUSLPYk5uJ3oavM
am I correct that for the LC12B1 racknpinion that the cvds are exactly the same? If so, be curious to maybe try these.
Lastly, what items do you know of that are specific to the LC12B1 and won't work on the other cars and / or are upgrades that the LC12B1 comes with that will work on the other cars? The stiffer a-arms come to mind as one as I think those come on teh LC12B1, so curious what else like spur gear, etc to order up right away.
So I ordered a set of these and they do in fact fit. The stock CVDs are 2.5mm diameter all the way down. These new ones start out at 3.5mm and work down to 3.0mm. Still waiting on a part for the slipper assembly but hope to be able to test tomorrow.
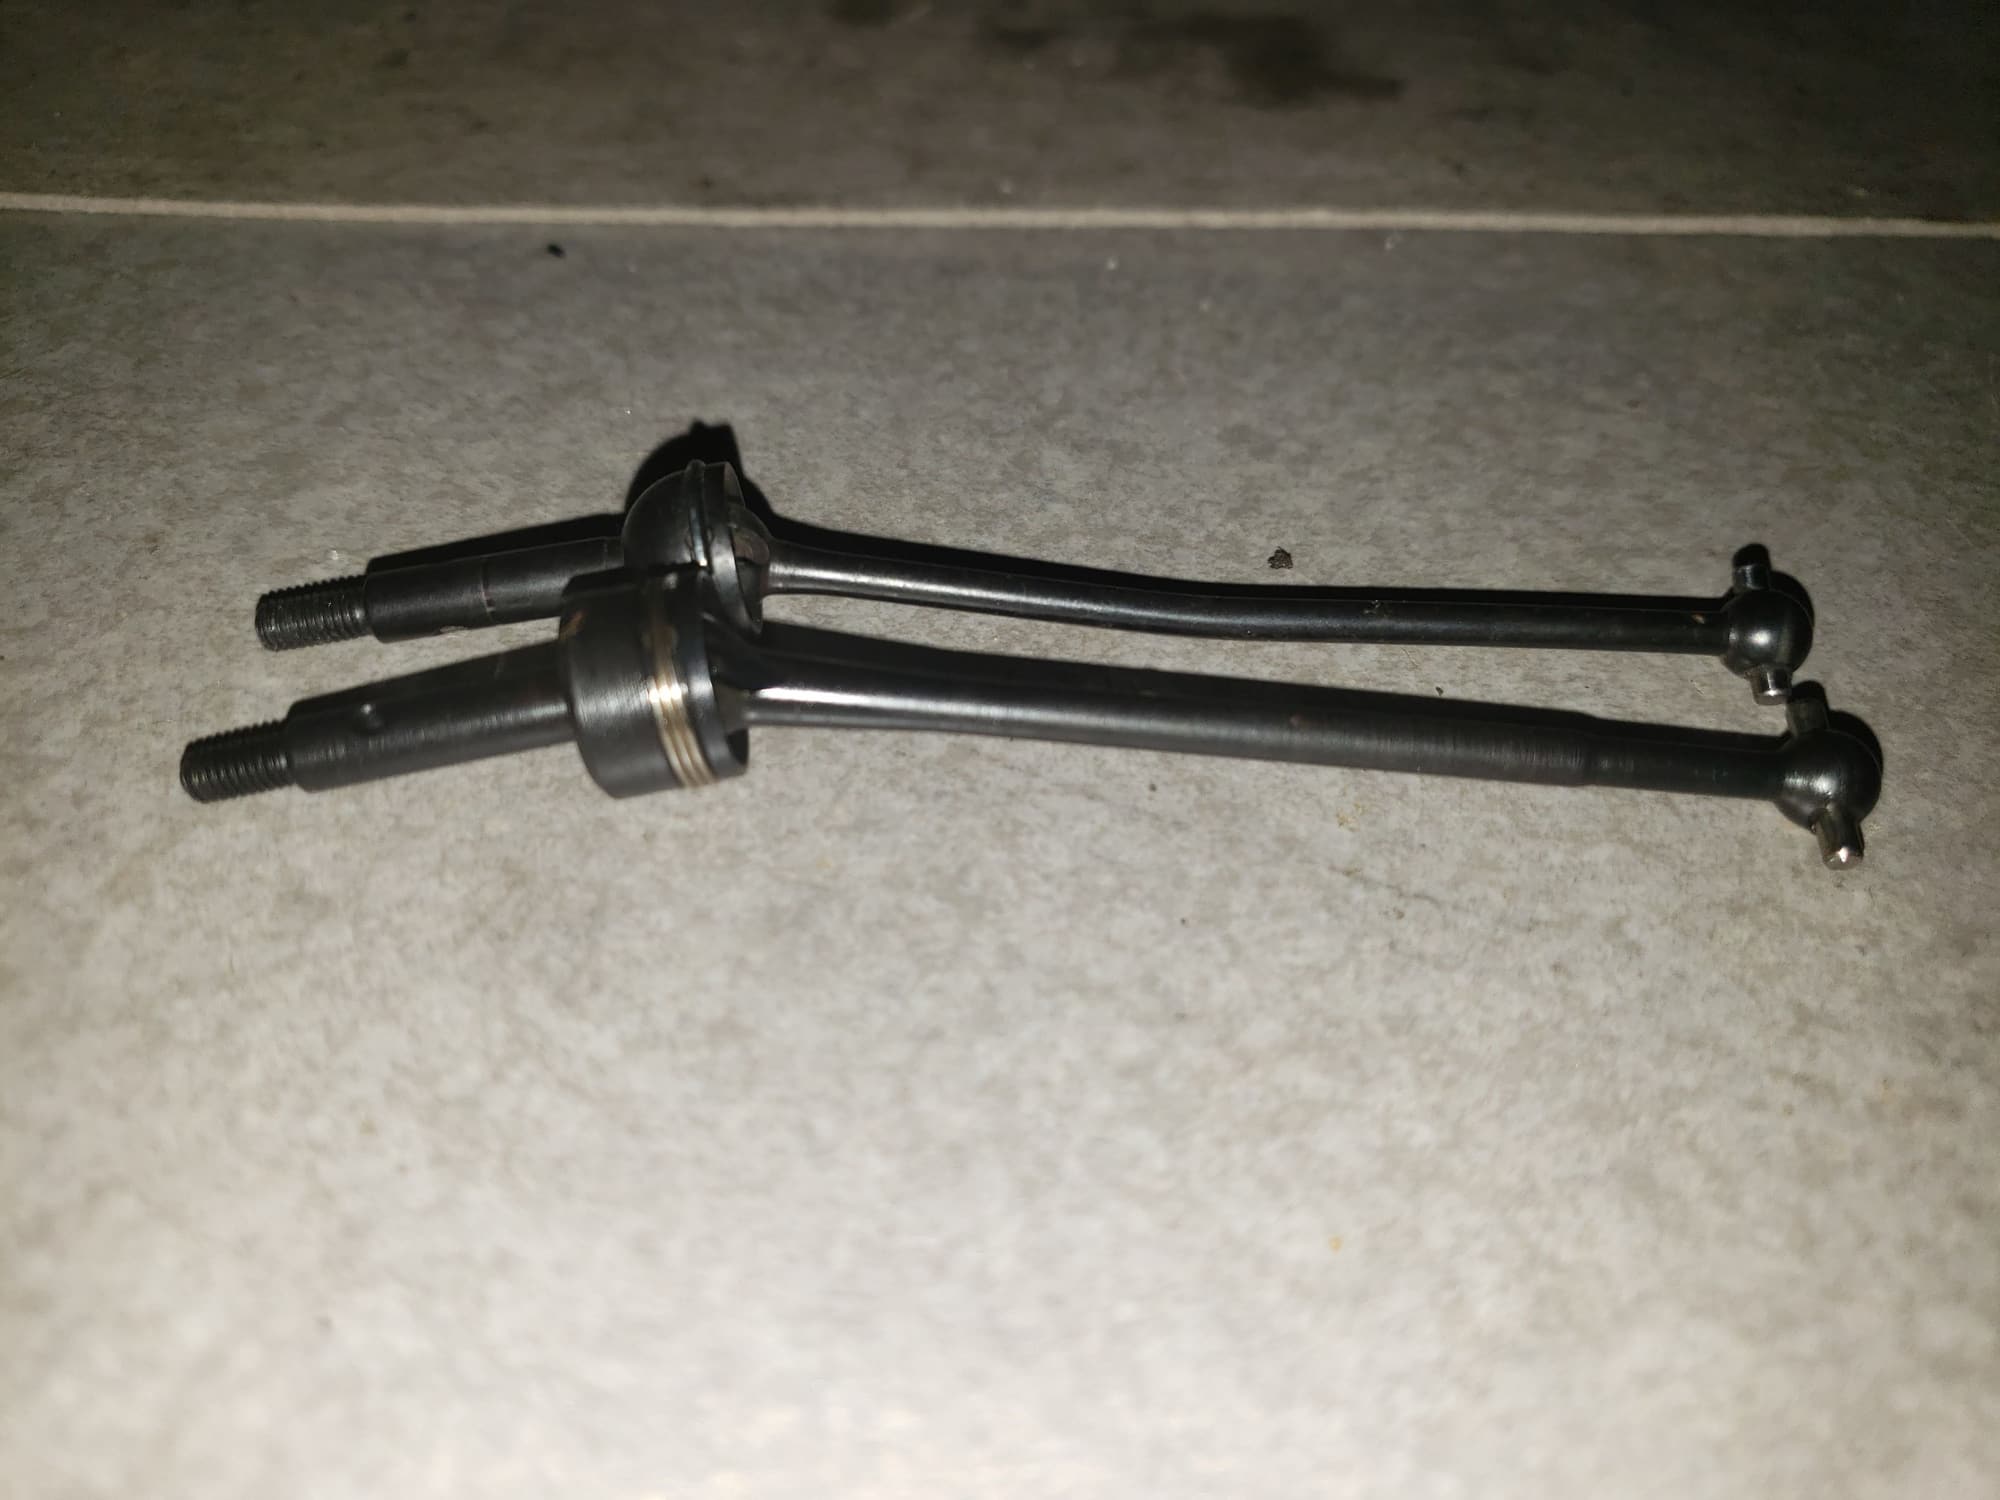
Bent stock on top, new beefy replacement on the bottom.
Last edited by Reaper802; 06-29-2019 at 02:46 PM. Reason: These are JUNK!
05-30-2019, 08:20 PM
#1894
Tech Adept
Are they the same exact length? Or (hopefully) I tiny bit shorter...
Edit:
Shoot nevermind. I mistook these for the associated axles. Sorry!
Edit:
Shoot nevermind. I mistook these for the associated axles. Sorry!
05-31-2019, 06:08 PM
#1895
Tech Apprentice
The final part I needed showed up today. Test run went great. I don't recall the Truggy ever being this quiet. It's damn near silent now.
Still only getting six and a half minutes before LVC cuts in. It always kicks in on the long straight away. I'm guessing the voltage is just sagging a little extra when going wide open for that length of time. Does anyone run a capacitor to prevent such dips? I guess I could also drop my LVC value another setting.
Still only getting six and a half minutes before LVC cuts in. It always kicks in on the long straight away. I'm guessing the voltage is just sagging a little extra when going wide open for that length of time. Does anyone run a capacitor to prevent such dips? I guess I could also drop my LVC value another setting.
05-31-2019, 11:12 PM
#1896
Tech Apprentice
Never used aliexpress before so on your recommendation I thought I would order these and give them a go, fingers crossed the shipping is quicker than they say!
So I ordered a set of these and they do in fact fit. The stock CVDs are 2.5mm diameter all the way down. These new ones start out at 3.5mm and work down to 3.0mm. Still waiting on a part for the slipper assembly but hope to be able to test tomorrow.
Bent stock on top, new beefy replacement on the bottom.
Bent stock on top, new beefy replacement on the bottom.
06-01-2019, 05:23 AM
#1897
Tech Apprentice
Shipping took at least two weeks to get here. They seem to perform well though so worth the wait.
06-01-2019, 07:45 AM
#1898
Tech Apprentice
06-01-2019, 01:27 PM
#1899
Tech Apprentice
How long do peoples pinions, spur and bevelled gears last? Just took my diff out and noticed the drive shaft gear is very worn as is the pinion and spur!
06-01-2019, 01:57 PM
#1900
Tech Apprentice
My pinion and spur still look new after a year. Photos a few posts back so how my beveled gear off the slipper looked after the same amount of time.
06-01-2019, 03:44 PM
#1901
Tech Apprentice
06-01-2019, 04:54 PM
#1902
I think I replaced the spur on my truggy once in 8 months and it wasn’t toast, a couple teeth were just slightly rounded off. Did it because I had the spare and I changed pinions. The two have a tendency to wear in together so when I change pinions I usually pop a fresh spur on. I’m also particular about the car too, I admit.
Never worn my diffs or the diff pinion either. On the truggy or the LC12. A lot of factors go into why they’d wear out prematurely or get outright thrashed, but from everything I’ve seen, it’s generally user error during assembly or abuse of some kind. Not saying that’s the case with anyone here, but that seems to be a pattern I see.
Never worn my diffs or the diff pinion either. On the truggy or the LC12. A lot of factors go into why they’d wear out prematurely or get outright thrashed, but from everything I’ve seen, it’s generally user error during assembly or abuse of some kind. Not saying that’s the case with anyone here, but that seems to be a pattern I see.
06-01-2019, 05:18 PM
#1903
Tech Apprentice
I now have my slipper spring set at the recommended 7mm but I think it's just a shade too loose. The Truggy seems sluggish for the first lap and a half or two and then picks up where I would expect it to be. I'm thinking that's the slipper assembly warming up and finally expanding just enough to not slip due to the grass. Is there a way to tighten the slipper without removing it? Taking that whole assembly out is a PITA...
The wear on my diff pinion had to be some kind of mistake I made. Last season I tried heavier diff fluid in the rear and the diff wouldn't seal right. It was so tight I couldn't turn it by hand. It ended up breaking a diff cup where the hole is drilled for the pin. I'm guessing the damage was started there and just kept getting worse. I believe the design is solid.
The wear on my diff pinion had to be some kind of mistake I made. Last season I tried heavier diff fluid in the rear and the diff wouldn't seal right. It was so tight I couldn't turn it by hand. It ended up breaking a diff cup where the hole is drilled for the pin. I'm guessing the damage was started there and just kept getting worse. I believe the design is solid.
06-01-2019, 05:58 PM
#1904
Tech Rookie
You shouldn't have to take anything apart for slipper adjustment. Use the small wrench that came with the car to adjust it. Put the wrench on the slipper nut from the battery side and roll the car forward with the wheels firmly on the ground. Roll forward to tighten, backwards to loosen.
06-01-2019, 06:13 PM
#1905
Tech Apprentice
I don't recall mine coming with a wrench. I'll check my box again.