


 60Likes
VBC D10


 11-20-2017, 09:41 AM
#77
I have fondled my brothers new D10 quite a bit during his build - no slop anywhere. As others have mentioned - the new front end is really impressive. The spool out drive issue was fixed in his kit, we did have to shorten the inner hinge pins a smidge, wrong spur but we had to change size anyway. One rear drive shaft blade was a bit tight but a quick sand and it was perfect. So the kit isn't perfect - yet anyway, but wow what a serious racing machine this thing is! I guess with so many parts with super close tolerances you have to expect a little hand fitting - no show stoppers however. I'm still in awe of the car's lack of slop!
11-20-2017, 03:33 PM
#78
A very tight car will be very precise and controllable, but might be slow if the drivetrain bearings, etc, fit too tight in the hubs. A few racedays might be necessary to improve speed, but you can always strap in a 3.5t motor and take it for a spin to loosen things up a bit....
PS: I know plastic blades are hot now, but I always felt that they broke too easily, causing lots of DNF's, specially in the Destiny tc's even with great drivers....
PS: I know plastic blades are hot now, but I always felt that they broke too easily, causing lots of DNF's, specially in the Destiny tc's even with great drivers....
11-21-2017, 08:43 AM
#79
The bearings in the rear hubs seem hard to install but if you use the rear axle to align the bearings (as someone mentioned) and press them in straight - it's easy. No bearings are binding on my brother's car. We've never used blades with a spool before so we'll see.
11-21-2017, 11:20 AM
#81
Hi guys, someone has already used the car on the track ? Is the car better that the D09 ?
thanks in advance.
thanks in advance.
11-21-2017, 11:29 AM
#83
Tech Fanatic
I was competitive with Gary Lanzer when he was running his d09. His lap times have gotten much faster with his D10. D10 also looks easier to drive....very smooth with good corner speed.
11-24-2017, 03:39 AM
#84
....
Last edited by patorz31; 11-24-2017 at 03:40 AM. Reason: Wrong thread
11-26-2017, 02:17 AM
#85
happy the new setup sheet is out.
here you go: https://document.li/08h9
Based off of Lucas' D09 setup and tweaks I've been running on my D09.
Carbon knuckle extension is below the mount instead of ontop, and I've flipped the knuckle mount as well.
Tire sidewalls glued to 59.5 on CRC Black for easy predictable handling. Dual Rate around 70%
12-04-2017, 09:19 PM
#86
Tech Rookie
I ran the d08 and d09 and they are great cars i can just imagine the d10 vbc racing got something good going
12-05-2017, 04:51 AM
#87
Finished my build!!! Now time for setup and a good old race on Friday night.
(finally finished my work project and I'm on leave, so plenty of time to sort things out for the first race in 2 months)
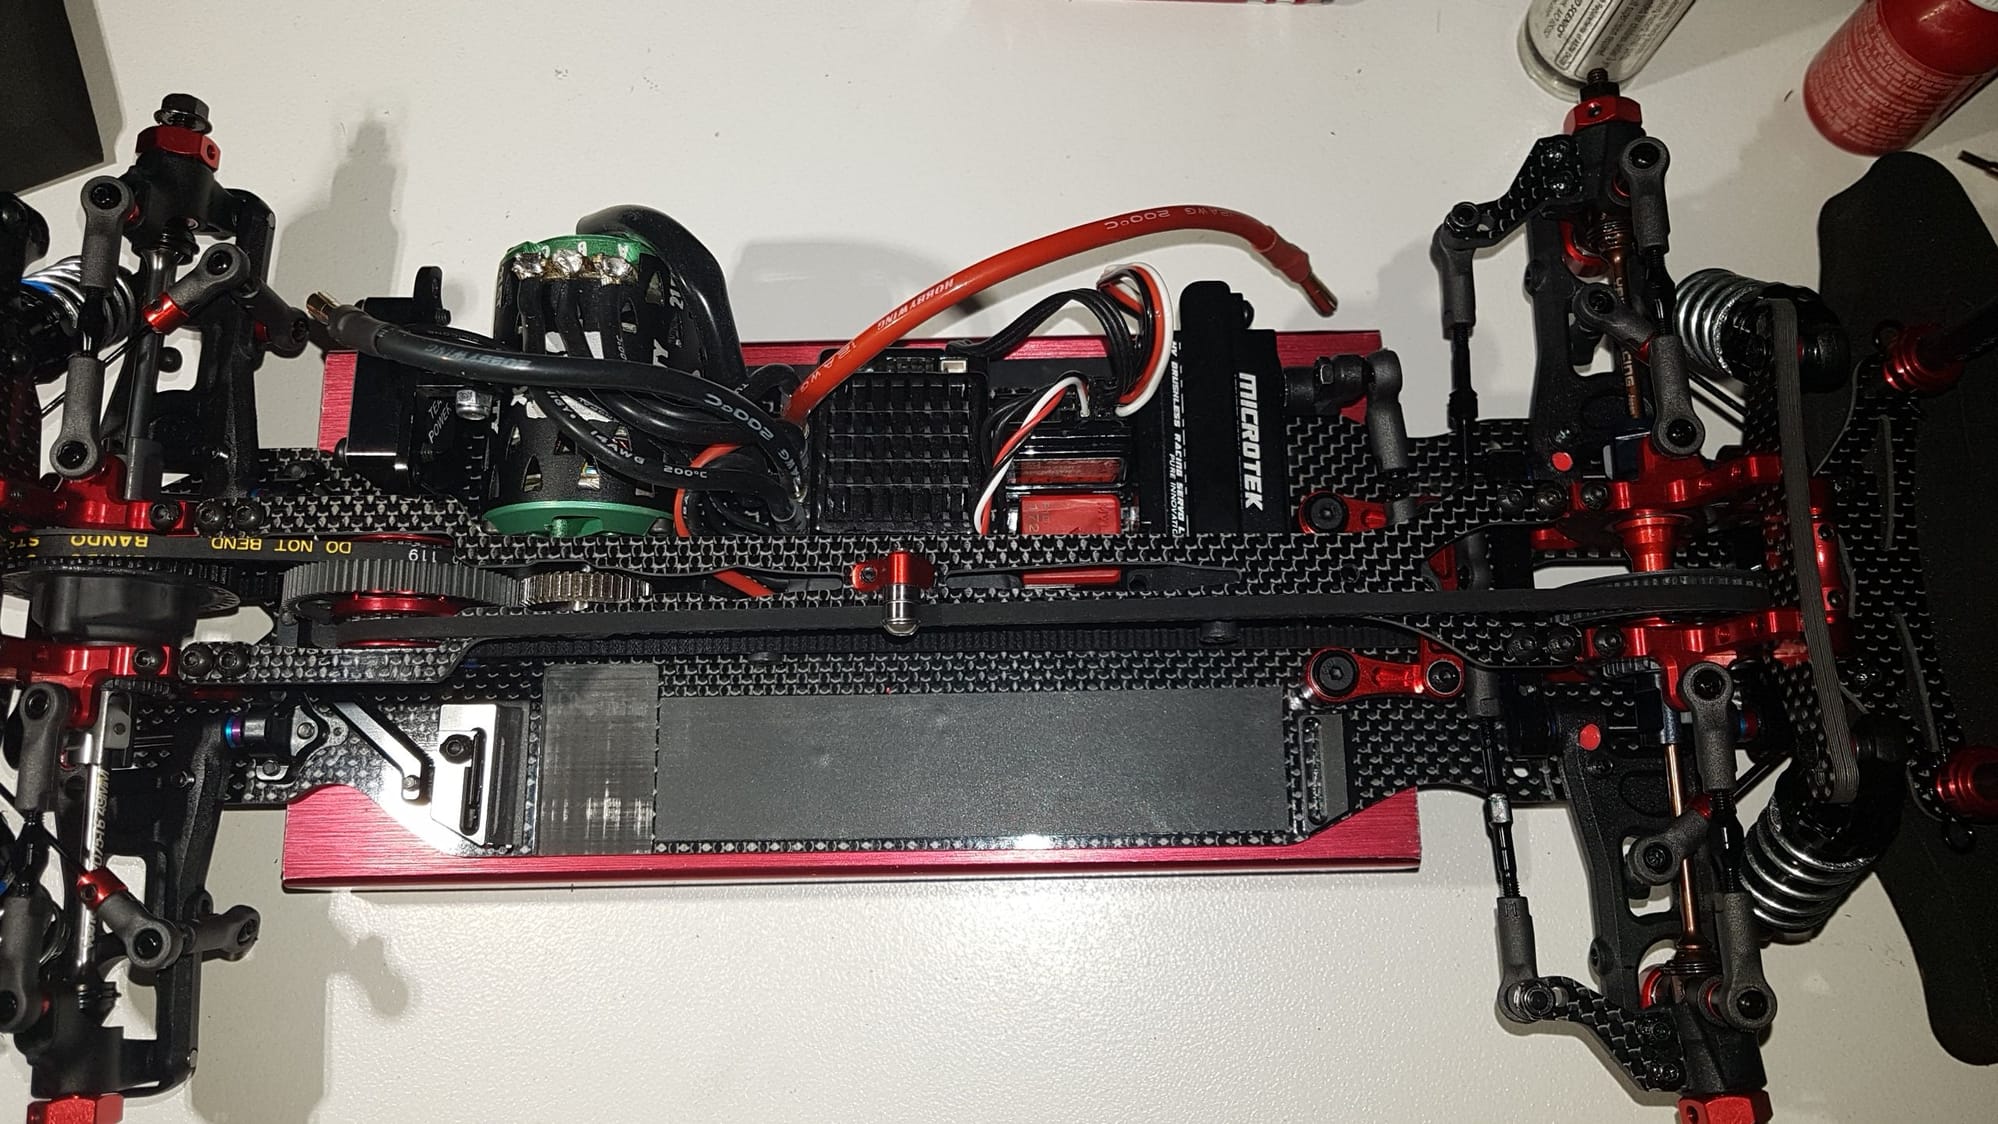
So my extra parts came in during the week prior and I've been slowly adding them in. Pics are below, but I opted for the battery tape option rather than the newer tabs. When I had the tabs set up I was running about 6.5mm of spacers on top of them to reach the height of my battery. It just felt a little too tall and went with the older option. I was also able to reduce the battery forward and back slop as well, which was bothering me immensely.
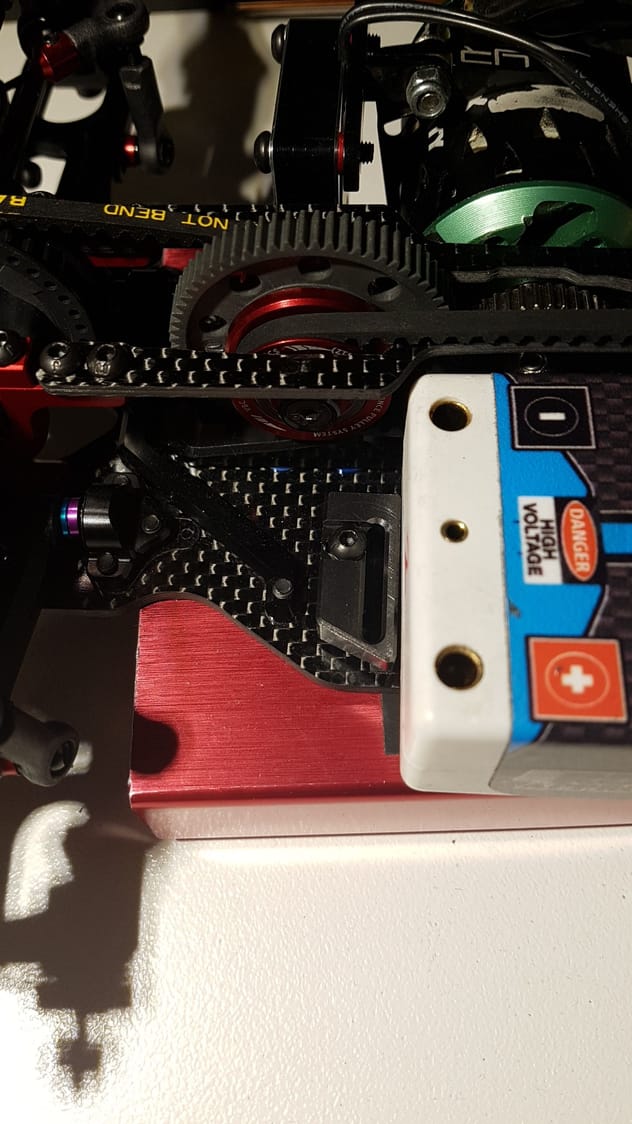
On the topic of slop, I had to make a few adjustments. The carbon fibre against the center pulley was rubbing the pulley itself, so I had to file about 'half a square' back. I believe this is because I am using an Arrowmax spur and it feels a little wider than the Kawada design stuff. Swapped out the button head screws for some flat heads in order to keep the whole unit as narrow as possible. May have to check it after a few runs, but there's now only a quarter mil between the pulley and the deck. In all honesty, a slightly wider gap between the two sides wouldn't hurt.
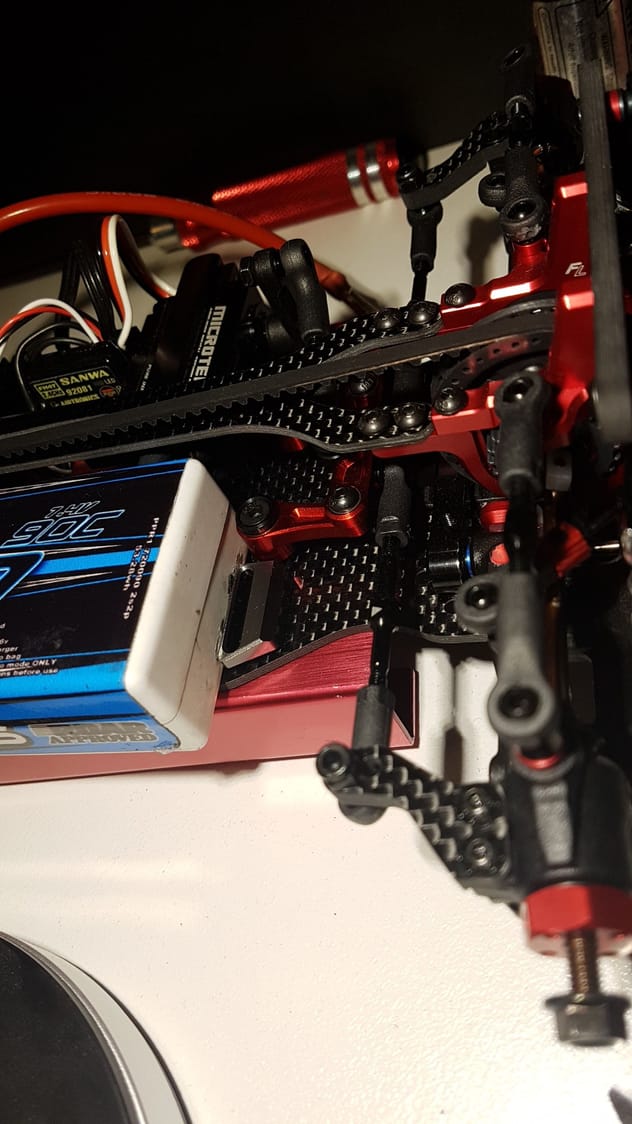
Next onto the front. As you can see I have the battery mount added in there too and the gap between the battery and the steering rack is now a millimeter rather than a hairline. I also swapped out the button head screws on the steering arms for some flat heads and spacers in order to allow me to insert a shin between the washer and the bearing below. Not much, but I noticed some movement in there and it was an easy fix.
You can also see the 8mm ball screw and lock nuts on the steering. This is going to be a huge recommendation as that one race you do not check that joint will be the one race that it comes apart.
Yokomo battery tape�best way to prevent a battery flying out when not using stops. Caps for the speedy under the top deck so I have room to place my receiver and transponder in their current position. Yeah Racing fan mount so I can easily access the center pulley screw as the V brace does not allow for the VBC brand fan mount to fit.
All in all its a decent car with a few quirks and unique challenges. I saw I was quoted on Petitrc along with Tyree Phillips, so I'm glad my experience can be shared in order to help others build their car as easily as possible. So thanks to whomever did that.
Might get some better photos when it's all set up with my shell and stuff.
(finally finished my work project and I'm on leave, so plenty of time to sort things out for the first race in 2 months)
So my extra parts came in during the week prior and I've been slowly adding them in. Pics are below, but I opted for the battery tape option rather than the newer tabs. When I had the tabs set up I was running about 6.5mm of spacers on top of them to reach the height of my battery. It just felt a little too tall and went with the older option. I was also able to reduce the battery forward and back slop as well, which was bothering me immensely.
On the topic of slop, I had to make a few adjustments. The carbon fibre against the center pulley was rubbing the pulley itself, so I had to file about 'half a square' back. I believe this is because I am using an Arrowmax spur and it feels a little wider than the Kawada design stuff. Swapped out the button head screws for some flat heads in order to keep the whole unit as narrow as possible. May have to check it after a few runs, but there's now only a quarter mil between the pulley and the deck. In all honesty, a slightly wider gap between the two sides wouldn't hurt.
Next onto the front. As you can see I have the battery mount added in there too and the gap between the battery and the steering rack is now a millimeter rather than a hairline. I also swapped out the button head screws on the steering arms for some flat heads and spacers in order to allow me to insert a shin between the washer and the bearing below. Not much, but I noticed some movement in there and it was an easy fix.
You can also see the 8mm ball screw and lock nuts on the steering. This is going to be a huge recommendation as that one race you do not check that joint will be the one race that it comes apart.
Yokomo battery tape�best way to prevent a battery flying out when not using stops. Caps for the speedy under the top deck so I have room to place my receiver and transponder in their current position. Yeah Racing fan mount so I can easily access the center pulley screw as the V brace does not allow for the VBC brand fan mount to fit.
All in all its a decent car with a few quirks and unique challenges. I saw I was quoted on Petitrc along with Tyree Phillips, so I'm glad my experience can be shared in order to help others build their car as easily as possible. So thanks to whomever did that.
Might get some better photos when it's all set up with my shell and stuff.
12-05-2017, 09:57 AM
#88
If your going to use the CFC option with the car, which is highly recommended, your caps are going to be in the way.
12-05-2017, 02:11 PM
#89
 12-05-2017, 02:22 PM
#90
If your trying to get the car to turn it may be what your looking for, something to consider for testing. I'd use the graphite bars, that way you can probably squeeze the caps between it and the top deck.