


 759Likes
Mugen MTC1

 03-13-2018, 09:34 AM - Wikipost
|
|||
|
|||


 09-04-2017, 10:00 PM
#542
09-05-2017, 12:47 AM
#543
Tech Initiate
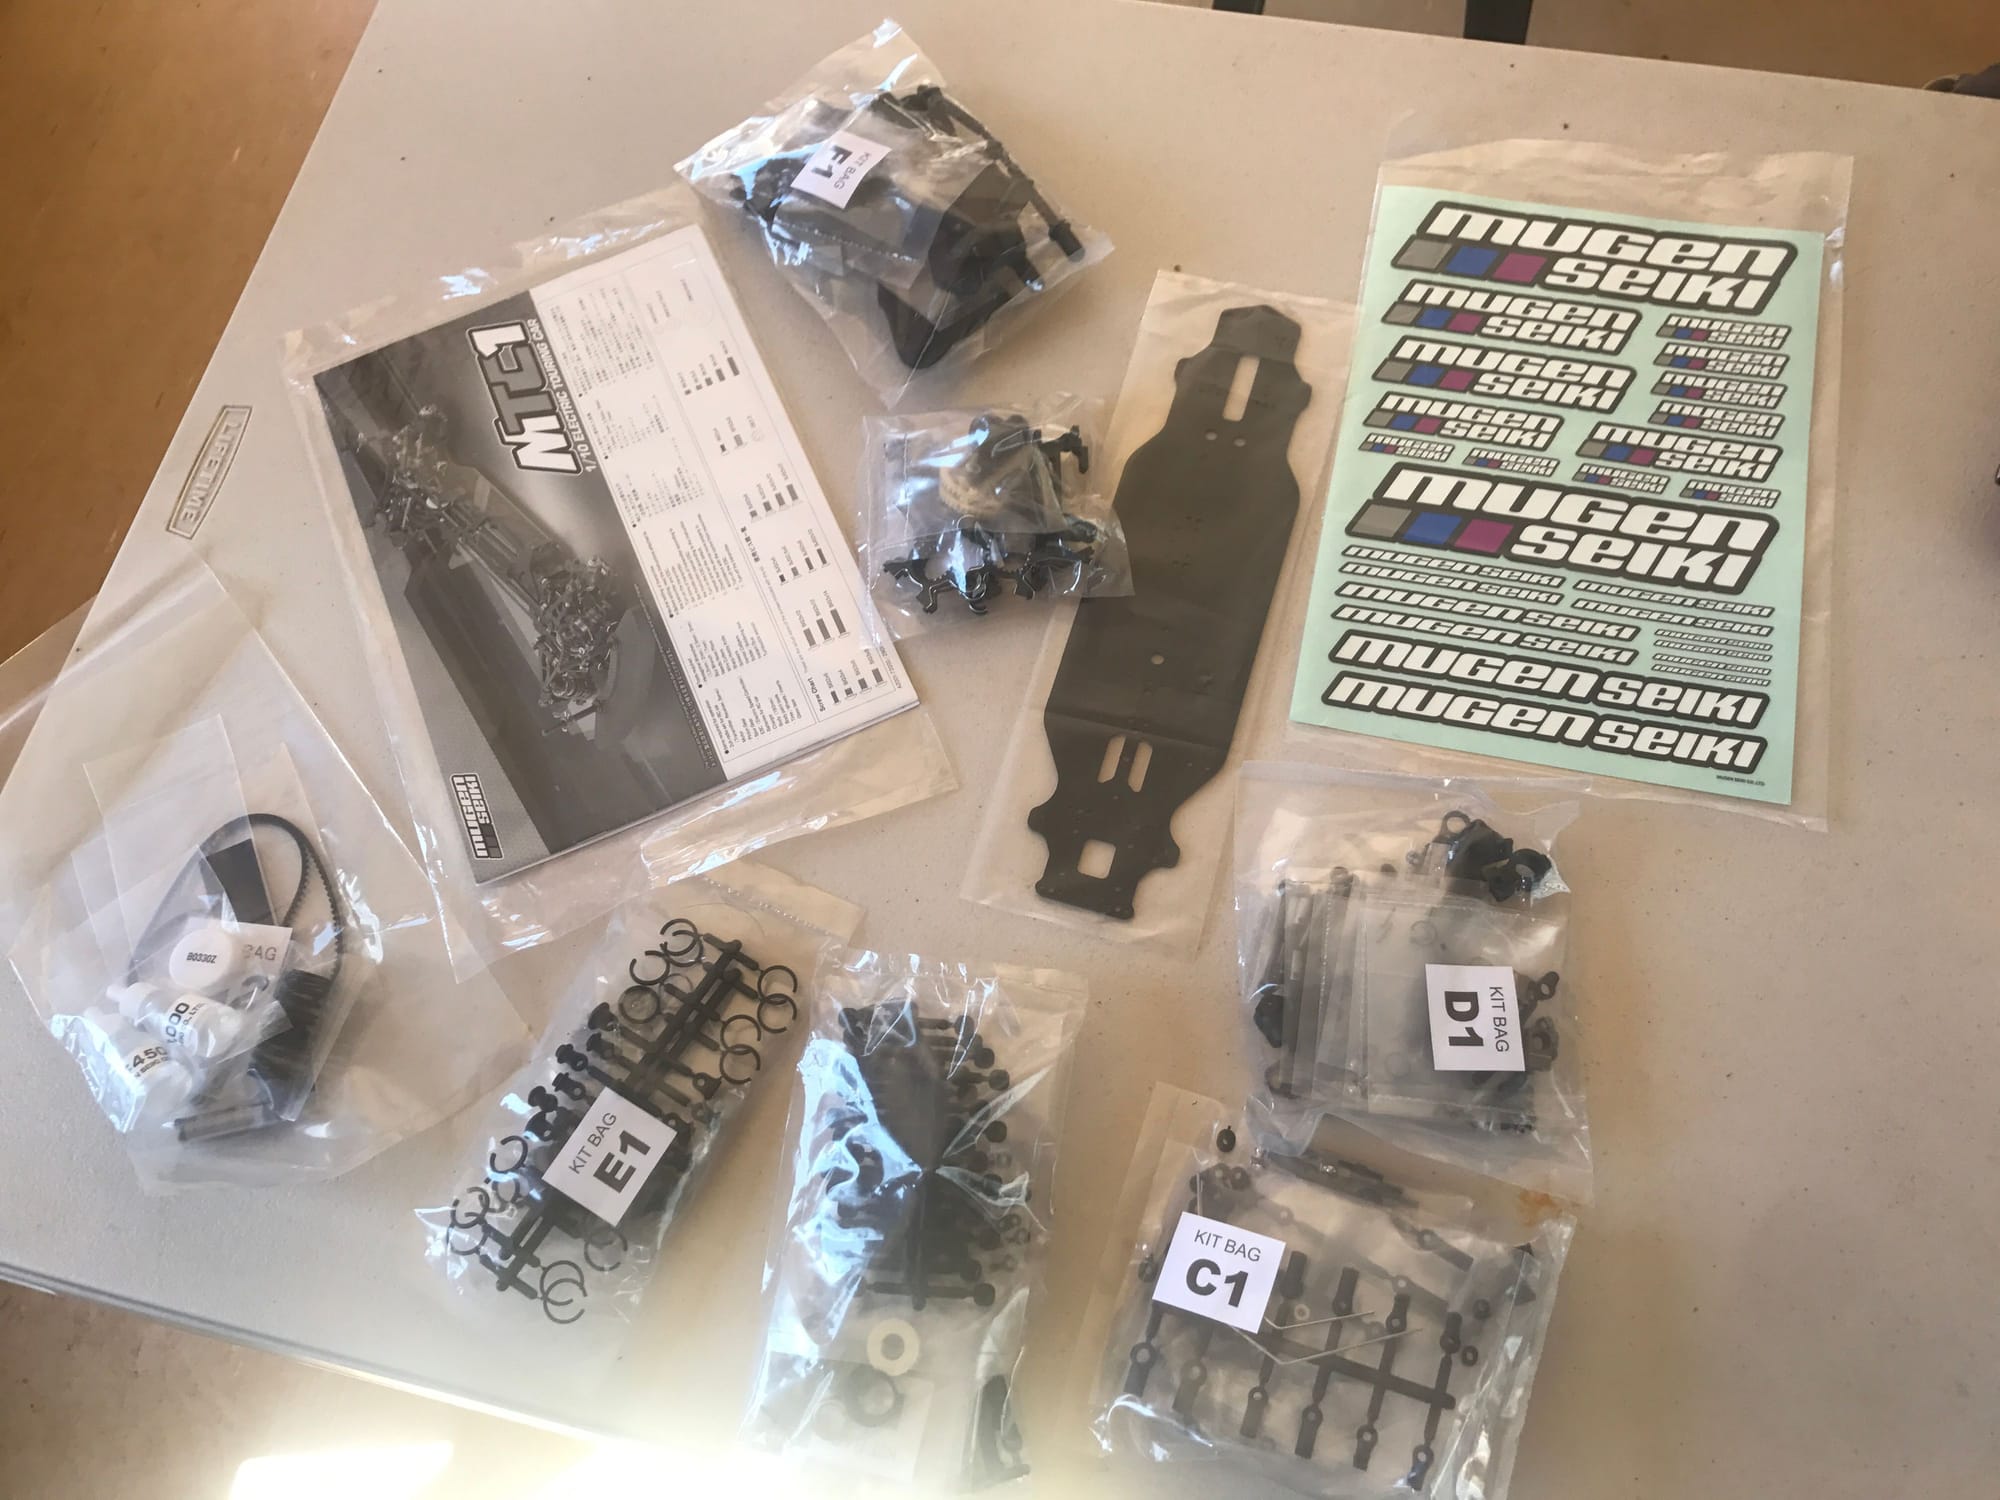
Started building my new buddy yesterday evening.
Coming from Awesomatix, I have to say the quality of all parts is very very nice with little details which make the car built up very easy.
Just for example all parts which are connected to the chassis (bulkheads etc.) are pinned which leads to zero misalignment. Bullet proof !!
Diff is note quite smooth yet, I guess I have to give it some run-in of course.
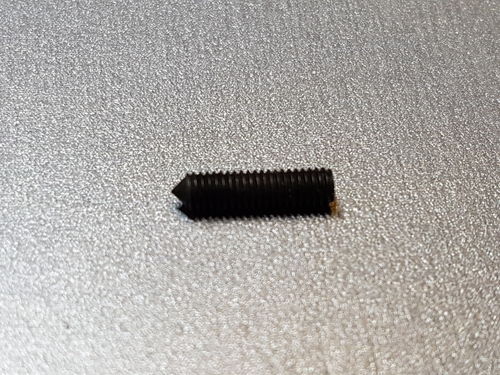
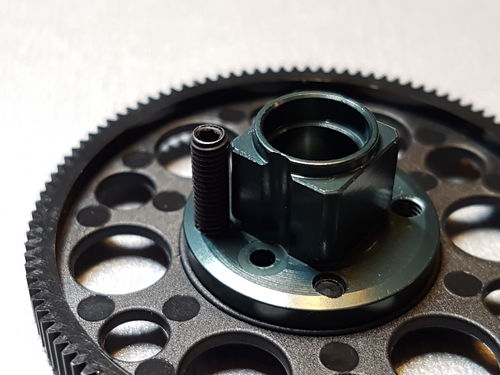
One thing which was not nice was the rear drive shaft. When screwing the little grub screw the inside sleeve is pulled towards one direction which results in a little overhang of the sleeve. Because of this it was not possible to fully rotate the drive shaft in all directions because the overhang of the sleeve was blocking it.
I tried different things but finally grinded down the sleeve one one direction (about 0,05mm). Now it is working.
However the drive shaft still feels not very smooth, I hope this improves during run-in...
Apart from that I had to ream the suspension parts a little bit (but no big deal). I also used aluminium shims instead of the plastic version. The suspension moves really smooth, with almost zero slop, no need to shim anything (don't know if it's different with plastic shims).
I hope to finish the rest of the kit today.. I still need to grind some more carbon parts.. but that is just for optical reason
cheers,
Felix
Coming from Awesomatix, I have to say the quality of all parts is very very nice with little details which make the car built up very easy.
Just for example all parts which are connected to the chassis (bulkheads etc.) are pinned which leads to zero misalignment. Bullet proof !!
Diff is note quite smooth yet, I guess I have to give it some run-in of course.
One thing which was not nice was the rear drive shaft. When screwing the little grub screw the inside sleeve is pulled towards one direction which results in a little overhang of the sleeve. Because of this it was not possible to fully rotate the drive shaft in all directions because the overhang of the sleeve was blocking it.
I tried different things but finally grinded down the sleeve one one direction (about 0,05mm). Now it is working.
However the drive shaft still feels not very smooth, I hope this improves during run-in...
Apart from that I had to ream the suspension parts a little bit (but no big deal). I also used aluminium shims instead of the plastic version. The suspension moves really smooth, with almost zero slop, no need to shim anything (don't know if it's different with plastic shims).
I hope to finish the rest of the kit today.. I still need to grind some more carbon parts.. but that is just for optical reason
cheers,
Felix
09-05-2017, 01:58 AM
#544
Tech Initiate
update:
seems like I have mixed up the sleeves for drive shaft (black) and front steering (silver shiny)..although both have almost identical geometry it seems.. so probably unnecessary grinding of the sleeve ..
Will give it a new try this evening. Man that's stupid ^^
seems like I have mixed up the sleeves for drive shaft (black) and front steering (silver shiny)..although both have almost identical geometry it seems.. so probably unnecessary grinding of the sleeve ..
Will give it a new try this evening. Man that's stupid ^^
 09-05-2017, 06:50 AM
#547
xray's won't fit
09-05-2017, 08:31 AM
#548
09-05-2017, 08:43 AM
#549
Tech Regular
09-05-2017, 12:16 PM
#550
Tech Master
You are lucky your LHS actually carries relevant stuff than stocking the shelf with all RTR stuff like the ones here. I would so get this car if it wasn't for... on-road racing is dead here, no one cares , corrupt officials that misuses land, etc, etc
 Just gonna sit here and drool over the build pics...
, corrupt officials that misuses land, etc, etc Just gonna sit here and drool over the build pics...
09-05-2017, 01:29 PM
#551
Started building my new buddy yesterday evening.
Coming from Awesomatix, I have to say the quality of all parts is very very nice with little details which make the car built up very easy.
Just for example all parts which are connected to the chassis (bulkheads etc.) are pinned which leads to zero misalignment. Bullet proof !!
Diff is note quite smooth yet, I guess I have to give it some run-in of course.
One thing which was not nice was the rear drive shaft. When screwing the little grub screw the inside sleeve is pulled towards one direction which results in a little overhang of the sleeve. Because of this it was not possible to fully rotate the drive shaft in all directions because the overhang of the sleeve was blocking it.
I tried different things but finally grinded down the sleeve one one direction (about 0,05mm). Now it is working.
However the drive shaft still feels not very smooth, I hope this improves during run-in...
Apart from that I had to ream the suspension parts a little bit (but no big deal). I also used aluminium shims instead of the plastic version. The suspension moves really smooth, with almost zero slop, no need to shim anything (don't know if it's different with plastic shims).
I hope to finish the rest of the kit today.. I still need to grind some more carbon parts.. but that is just for optical reason
cheers,
Felix
Last edited by Mitchy1986; 09-05-2017 at 02:47 PM.
09-05-2017, 07:57 PM
#555
about halfway finished mine. flawless build amd quality so far. only Issue I have/had is the spacers on the upper arm. will probably replace them with metal spacers instead. otherwise looking forward to running the car.