Tamiya mini cooper
Anyone else experience some troubles installing the motor in the 07's???
Looks like I have to add spacers inbetween the motor and the heatsink for it to fit comfortably!!!
Looks like I have to add spacers inbetween the motor and the heatsink for it to fit comfortably!!!
Tech Master
iTrader: (2)
Ok I have a gold edition m05 with no droop settings what do I need to convert it to a square pack and be able to set droop without putting limiters in the shocks
You need to pick up the M05 Version II swingarms, and chassis. You need to order two of the swingarms, as they come in a set of "one front, one rear" arm. You also need to eithe rorder the M05v2 pivot pins, or some longer screw pins for the rear arms. Finally, you need 4 m3 setscrews to do the droop settings.
You'll lose most of the gold.
You'll lose most of the gold.
Ok, my turn.
I put the blue/white spring combination on my M05. It seems excessively stiff. Even the red/yellow setup seems far to stiff.
Is this compensation for the floppy M05 chassis? Or can going down the "really soft setup" rabbit hole be the right thing to do?
I put the blue/white spring combination on my M05. It seems excessively stiff. Even the red/yellow setup seems far to stiff.
Is this compensation for the floppy M05 chassis? Or can going down the "really soft setup" rabbit hole be the right thing to do?
You need to pick up the M05 Version II swingarms, and chassis. You need to order two of the swingarms, as they come in a set of "one front, one rear" arm. You also need to eithe rorder the M05v2 pivot pins, or some longer screw pins for the rear arms. Finally, you need 4 m3 setscrews to do the droop settings.
You'll lose most of the gold.
You'll lose most of the gold.
If you're using an alloy motor mount you'll want to get the v2 version of that too.
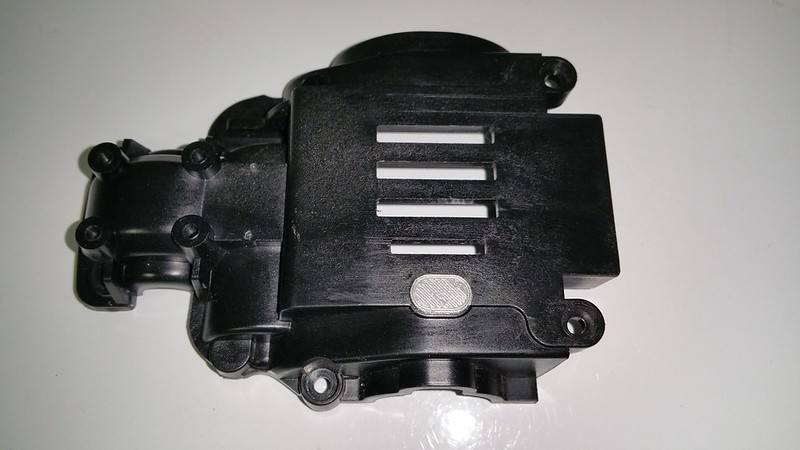
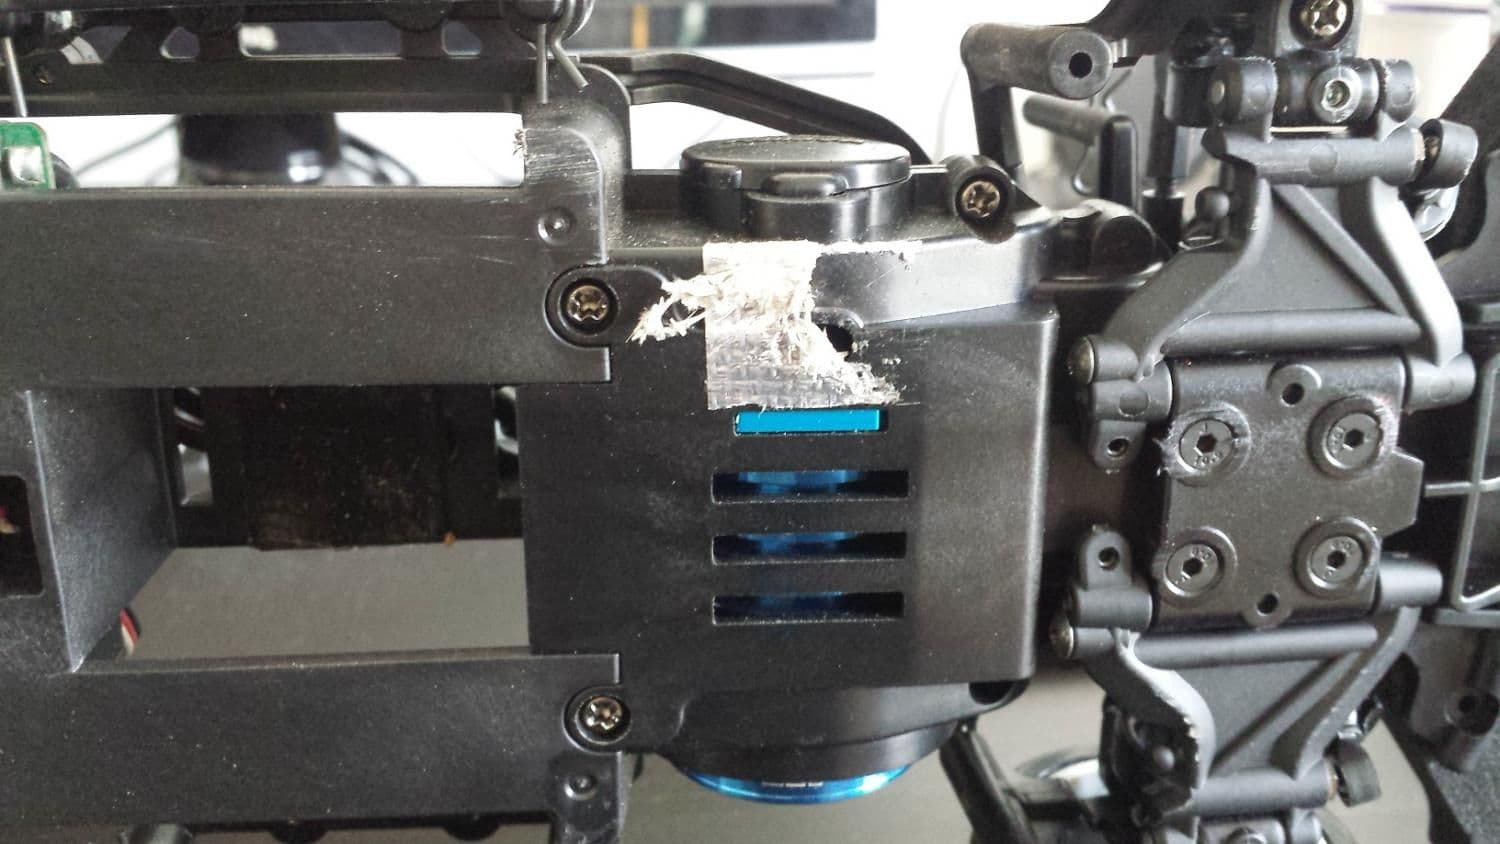
The pinion access hole in the bottom of the chassis is a huge mistake by Tamiya. Including tape to cover the hole is a Band-Aid that just doesn't work. I designed a reusable plug. I printed mine on my home printer and I'll try it out this week. I have uploaded my design on Shapeways for sale.
https://www.shapeways.com/product/SE...t-chassis-plug
 20170807_212150 by JatoTheRipper, on Flickr
https://www.shapeways.com/product/SE...t-chassis-plug
 20170807_212150 by JatoTheRipper, on Flickr
Last edited by JatoTheRipper; 08-08-2017 at 09:26 AM.
So I think I found out why my M05v2R was pulling left when accelerating. I checked the corner weights using 4 small scales and found that the front right and rear left wheels were carrying a lot more weight than the opposing ones. I checked the preload of the shocks, and the corners carrying the most weight were set quite a bit shorter than the others, yet those wheels touched the ground first when testing droop.  I suspected the chassis was twisted, so I loosened all the screws connecting the front half to the rear half of the chassis, gave it a wiggle, then tightened it back up. The corner weights balance pretty close to even now with roughly equal length shocks. Hopefully it runs straighter next time I take it for a spin.
 I suspected the chassis was twisted, so I loosened all the screws connecting the front half to the rear half of the chassis, gave it a wiggle, then tightened it back up. The corner weights balance pretty close to even now with roughly equal length shocks. Hopefully it runs straighter next time I take it for a spin.
Obviously it works the other way around too.. if tracks right on throttle raise rear left ride height.
The pinion access hole in the bottom of the chassis is a huge mistake by Tamiya. Including tape to cover the hole is a Band-Aid that just doesn't work. I designed a reusable plug. I printed mine on my home printer and I'll try it out this week. I have uploaded my design on Shapeways for sale.
 Wish I could do stuff like that. For real car mods too.
I posted this a long time ago but if your car tracks left on throttle while it coasts straight, easy remedy is to raise rear right ride height by a 1/2 turn or so on the damper spring seat collar. The benefit of running the hopup aluminum housing dampers vs the spring perch dampers to get that refined sus tuning. 
Obviously it works the other way around too.. if tracks right on throttle raise rear left ride height.

Obviously it works the other way around too.. if tracks right on throttle raise rear left ride height.
I had the same problem. Not sure if it'd help, but I backed off a bunch of screws, twisted the chassis around a bit and tightened it all back up. Seemed to help.
I had already attempted to compensate with the collar adjustment, with 5 or more full turns and it still wasn't enough. The car was tweaked too much for fine adjustments like that to help. Fingers crossed the weather will hold out for some testing this weekend to see if it's now fixed.

If you ever want to try your hand at 3D CAD design download AutoCAD Fusion 360. It is free for hobbyists and there are tons and tons of good tutorials online including excellent YouTube videos.
 I really don't think this is overengineering though. I personally believe Tamiya should have included a plastic or rubber plug, similar to this one, in the kit. The tape is a Band-Aid and if you listen to the manual and only put tape on the bottom of the chassis it doesn't last more than a run or two.
The short spring set that is usually recommended for the M-05 is pretty soft. I think you may have one of the hard on-road sets meant for touring cars.


 288Likes
