


 423Likes
Tamiya TRF420 Thread


 look at page 15 and do that exactly
 01-31-2020, 05:07 PM
#246
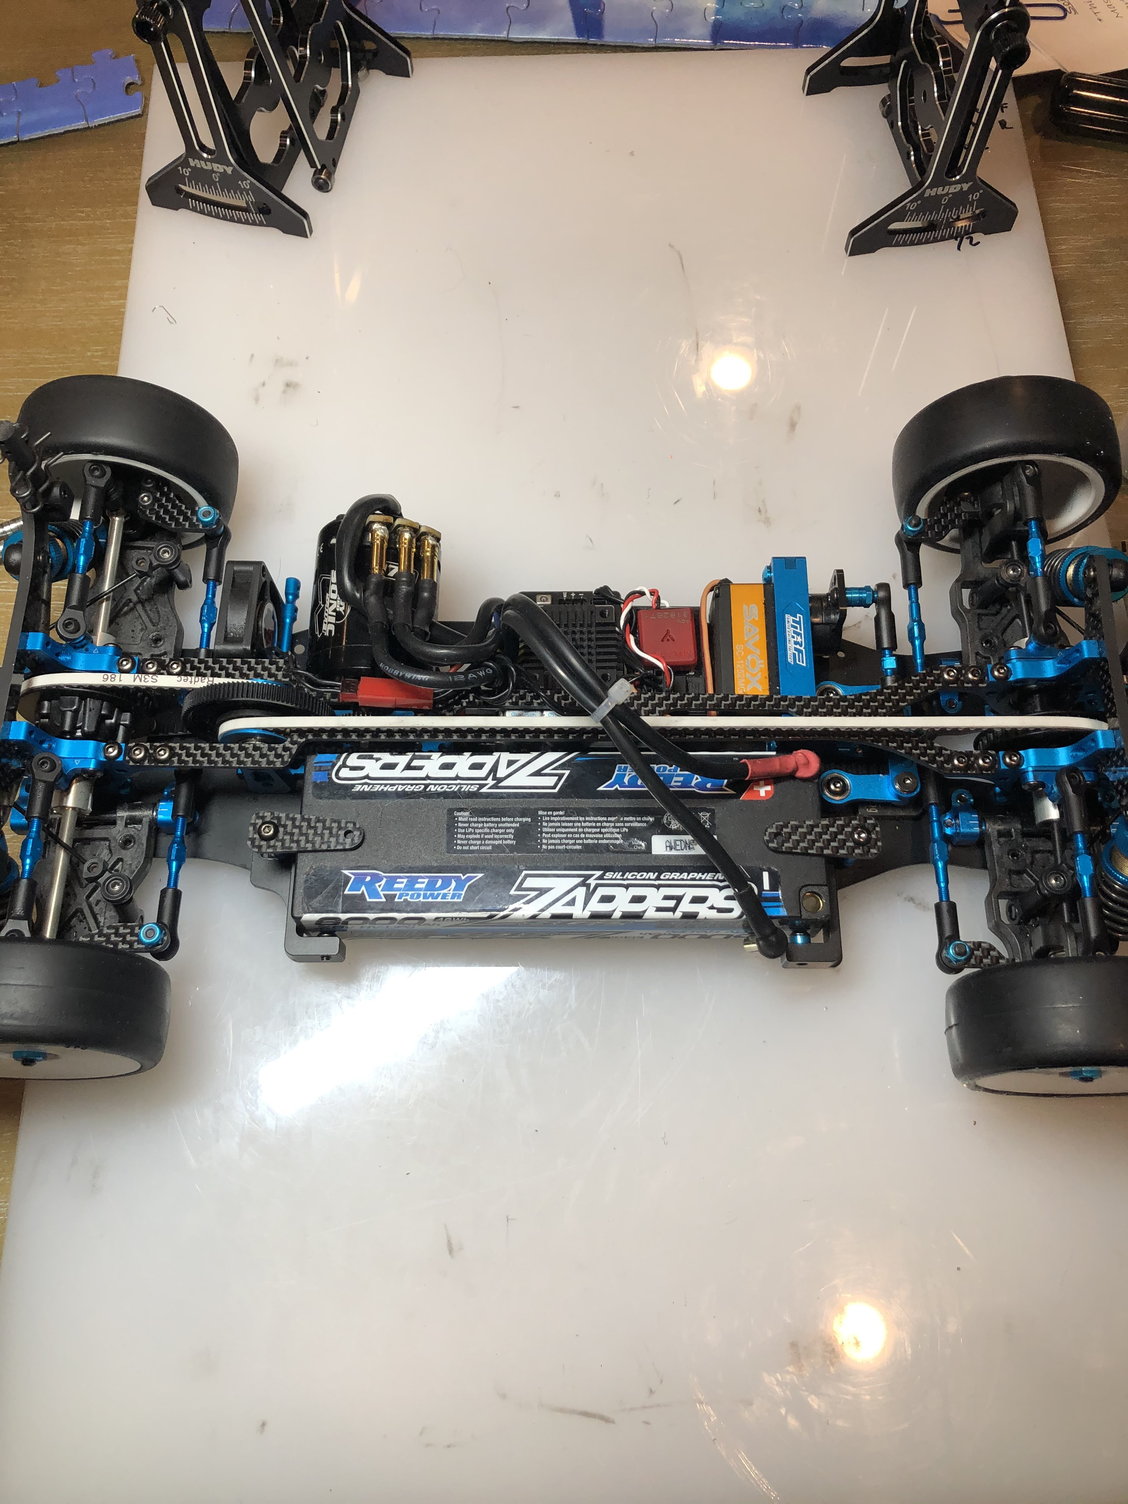
Okay you're going to laugh at this one so my buddy and I both set up our cars identical but his car had way more steering than mine and they were the same down to the shock oil and I couldn't figure out what the heck is going on how do you have so much more steering than me and then we figured out his car was built with the servo saver 5� to the left and the arm angled back towards the servo just like the manual says to set it,m was exactly like yours because in my mind I was thinking why would they put this so far back and why is the servo saver not centered on the servo so i did the same thing I spaced out the arm to make it even with the turnbuckles and I put the servo saver dead center and what we had found out is the engineers designed the servo saver to be over 5 degrees to the left and for the arm to be angled backwards with only a 2 mm shim in there and that is all to get the steering geometry to work the way it is intended for maximum throw maximum effectiveness efficiency and whatever else you can think of but as soon as I made that one single change to my car I actually had to dial my steering back I know it sounds crazy but there is a reason why they don't have everything lined up perfectly in the manual. Trust me on this it's the difference between third place and first place and constantly fighting your setup trying to figure out why you don't have enough steering or can't get it to turn exactly how you want Good luck Nice and neat build BTW
02-01-2020, 07:22 AM
#248
Tech Master
Thread Starter
On the up side once it�s all done, my new man-cave will allow me to do some things I�ve been after sorting for a while.
02-01-2020, 11:44 PM
#249
Tech Rookie
Okay you're going to laugh at this one so my buddy and I both set up our cars identical but his car had way more steering than mine and they were the same down to the shock oil and I couldn't figure out what the heck is going on how do you have so much more steering than me and then we figured out his car was built with the servo saver 5� to the left and the arm angled back towards the servo just like the manual says to set it,m was exactly like yours because in my mind I was thinking why would they put this so far back and why is the servo saver not centered on the servo so i did the same thing I spaced out the arm to make it even with the turnbuckles and I put the servo saver dead center and what we had found out is the engineers designed the servo saver to be over 5 degrees to the left and for the arm to be angled backwards with only a 2 mm shim in there and that is all to get the steering geometry to work the way it is intended for maximum throw maximum effectiveness efficiency and whatever else you can think of but as soon as I made that one single change to my car I actually had to dial my steering back I know it sounds crazy but there is a reason why they don't have everything lined up perfectly in the manual. Trust me on this it's the difference between third place and first place and constantly fighting your setup trying to figure out why you don't have enough steering or can't get it to turn exactly how you want Good luck Nice and neat build BTW
I would love to understand more of the geometry involved.
02-02-2020, 01:42 AM
#250
Generally you want to aim for a right-angle between the steering link and the servo arm. Because most cars now have steering cranks that sit below the level of the servo arm, this means that the servo arm needs to be canted in towards the middle of the car.
Also, at full lock you would want the steering link to be straight when you look at it from above, rather than angled.
You can normally get a car to run with different alignments, but if you take a bit of time over the spacing of the steering link and the angle of the servo arm, you will find that the steering motion is more even left to right, and reaches/holds full lock more confidently.
It's a little detail in car preparation that is easy to overlook - and a lot of cars come with bad alignment out of the box. Bear in mind that no two servos are exactly the same dimensions, so you have to make some changes to get them to work correctly.
I think the model aircraft community spend a lot of time on their linkages for the same reasons.
 02-02-2020, 02:23 AM
#251
Tech Rookie
Generally you want to aim for a right-angle between the steering link and the servo arm. Because most cars now have steering cranks that sit below the level of the servo arm, this means that the servo arm needs to be canted in towards the middle of the car.
Also, at full lock you would want the steering link to be straight when you look at it from above, rather than angled.
You can normally get a car to run with different alignments, but if you take a bit of time over the spacing of the steering link and the angle of the servo arm, you will find that the steering motion is more even left to right, and reaches/holds full lock more confidently.
It's a little detail in car preparation that is easy to overlook - and a lot of cars come with bad alignment out of the box. Bear in mind that no two servos are exactly the same dimensions, so you have to make some changes to get them to work correctly.
I think the model aircraft community spend a lot of time on their linkages for the same reasons.
Also, at full lock you would want the steering link to be straight when you look at it from above, rather than angled.
You can normally get a car to run with different alignments, but if you take a bit of time over the spacing of the steering link and the angle of the servo arm, you will find that the steering motion is more even left to right, and reaches/holds full lock more confidently.
It's a little detail in car preparation that is easy to overlook - and a lot of cars come with bad alignment out of the box. Bear in mind that no two servos are exactly the same dimensions, so you have to make some changes to get them to work correctly.
I think the model aircraft community spend a lot of time on their linkages for the same reasons.
So if I understand correctly, when looting from above I have to make the steering link straight between the servo saver and the steering cranks when it is at full lock, regardless of the angle it has when steering is centered.
This is the opposite of what I was doing: I was moving the servo saver ball connector forward to make the link straight when centered.
I have another curiosity: provided that you are able to keep the same right angle between the servo arm and the steering link, does the length of the servo arm makes any difference in the final steering behavior?
02-02-2020, 12:39 PM
#252
This is the opposite of what I was doing: I was moving the servo saver ball connector forward to make the link straight when centered.
I have another curiosity: provided that you are able to keep the same right angle between the servo arm and the steering link, does the length of the servo arm makes any difference in the final steering behavior?
I have another curiosity: provided that you are able to keep the same right angle between the servo arm and the steering link, does the length of the servo arm makes any difference in the final steering behavior?
02-10-2020, 08:49 PM
#254
If your are referring to the rings retaining the axle pins, try using the blunt end on a pair of tweezers or something similar to hold the end of the ring and twist the axle. The ring should expand, once it does, push the ring sideways to remove/force it out of the groove.
02-11-2020, 02:20 PM
#255
I need more Tamiya help. Can anyone give the the details on these springs? Im finding it difficult to find much of the information I think would otherwise be relatively standard. I purchased these springs to give me some tuning options, however i spent most of my racing night trying to find out the details on them. Coming from an Off Road racing background running AE or TLR, that info is more than readily available.
Here's the listing
https://www.tamiyausa.com/shop/optio...t/touring-car/
Item# 42306
RC LG DIA SHORT SPRING SET
These springs are made for use on the super short big bore dampers (Item 42305) that debuted on the TRF419X. The set includes 3 different stiffness’s, which you can use to swiftly alter your setup.
• Short Spring (Soft) x2
• Short Spring (Medium) x2
• Short Spring (Hard) x2
• Marking sleeves for hard (yellow) and soft (red) x2 each
• Free length: 20mm
• Compatible with super short big bore dampers.
The real colors in the package are Green Red and Black or Clear maybe.
Thats from TamiyaUSA which isn't the best website. So If I go to the Tamiya main site and manually find the items
https://www.tamiya.com/english/products/42306/index.htm
It describes them as:
These 20mm springs are perfectly suited to TRF Super Short Big Bore Dampers. ★The set features two each of medium, soft and super soft springs, with red and green markings included to help ensure they do not get mixed up.
(at least they got the colors correct)
What i'm getting at is, It specifies there are Medium Soft and Super Soft, but doesn't say which is which. And what are the spring rates?
Is there anywhere that has a Chart that breaks the springs down? I'm looking for a spring chart by Item#, Color, Rate.
Just looking for basic info on these cars, it seems like it's either unavailable, very difficult to find, or videos posted in languages other then english.
I like to read, and study my cars as part of my enjoyment of the hobby, and am getting frustrated trying to find some of the simple basic stuff about some of their products.
sorry for the rant.
Last edited by thirtydaZe; 02-11-2020 at 06:08 PM.