


 2421Likes
Tekno RC EB410 Thread

 05-13-2019, 06:33 AM - Wikipost
|
|||
|
|||


 01-21-2018, 07:44 AM
#3286

 01-21-2018, 12:51 PM
#3290
The Schelle slipper measures exactly the same length as my Tekno center diff, just requires the rear center drive shaft from the B64D with the center diff. Can pick them up cheap from the kit dismantlers online(probably the stock 64 AE slipper for that matter as well if you want to go that route).
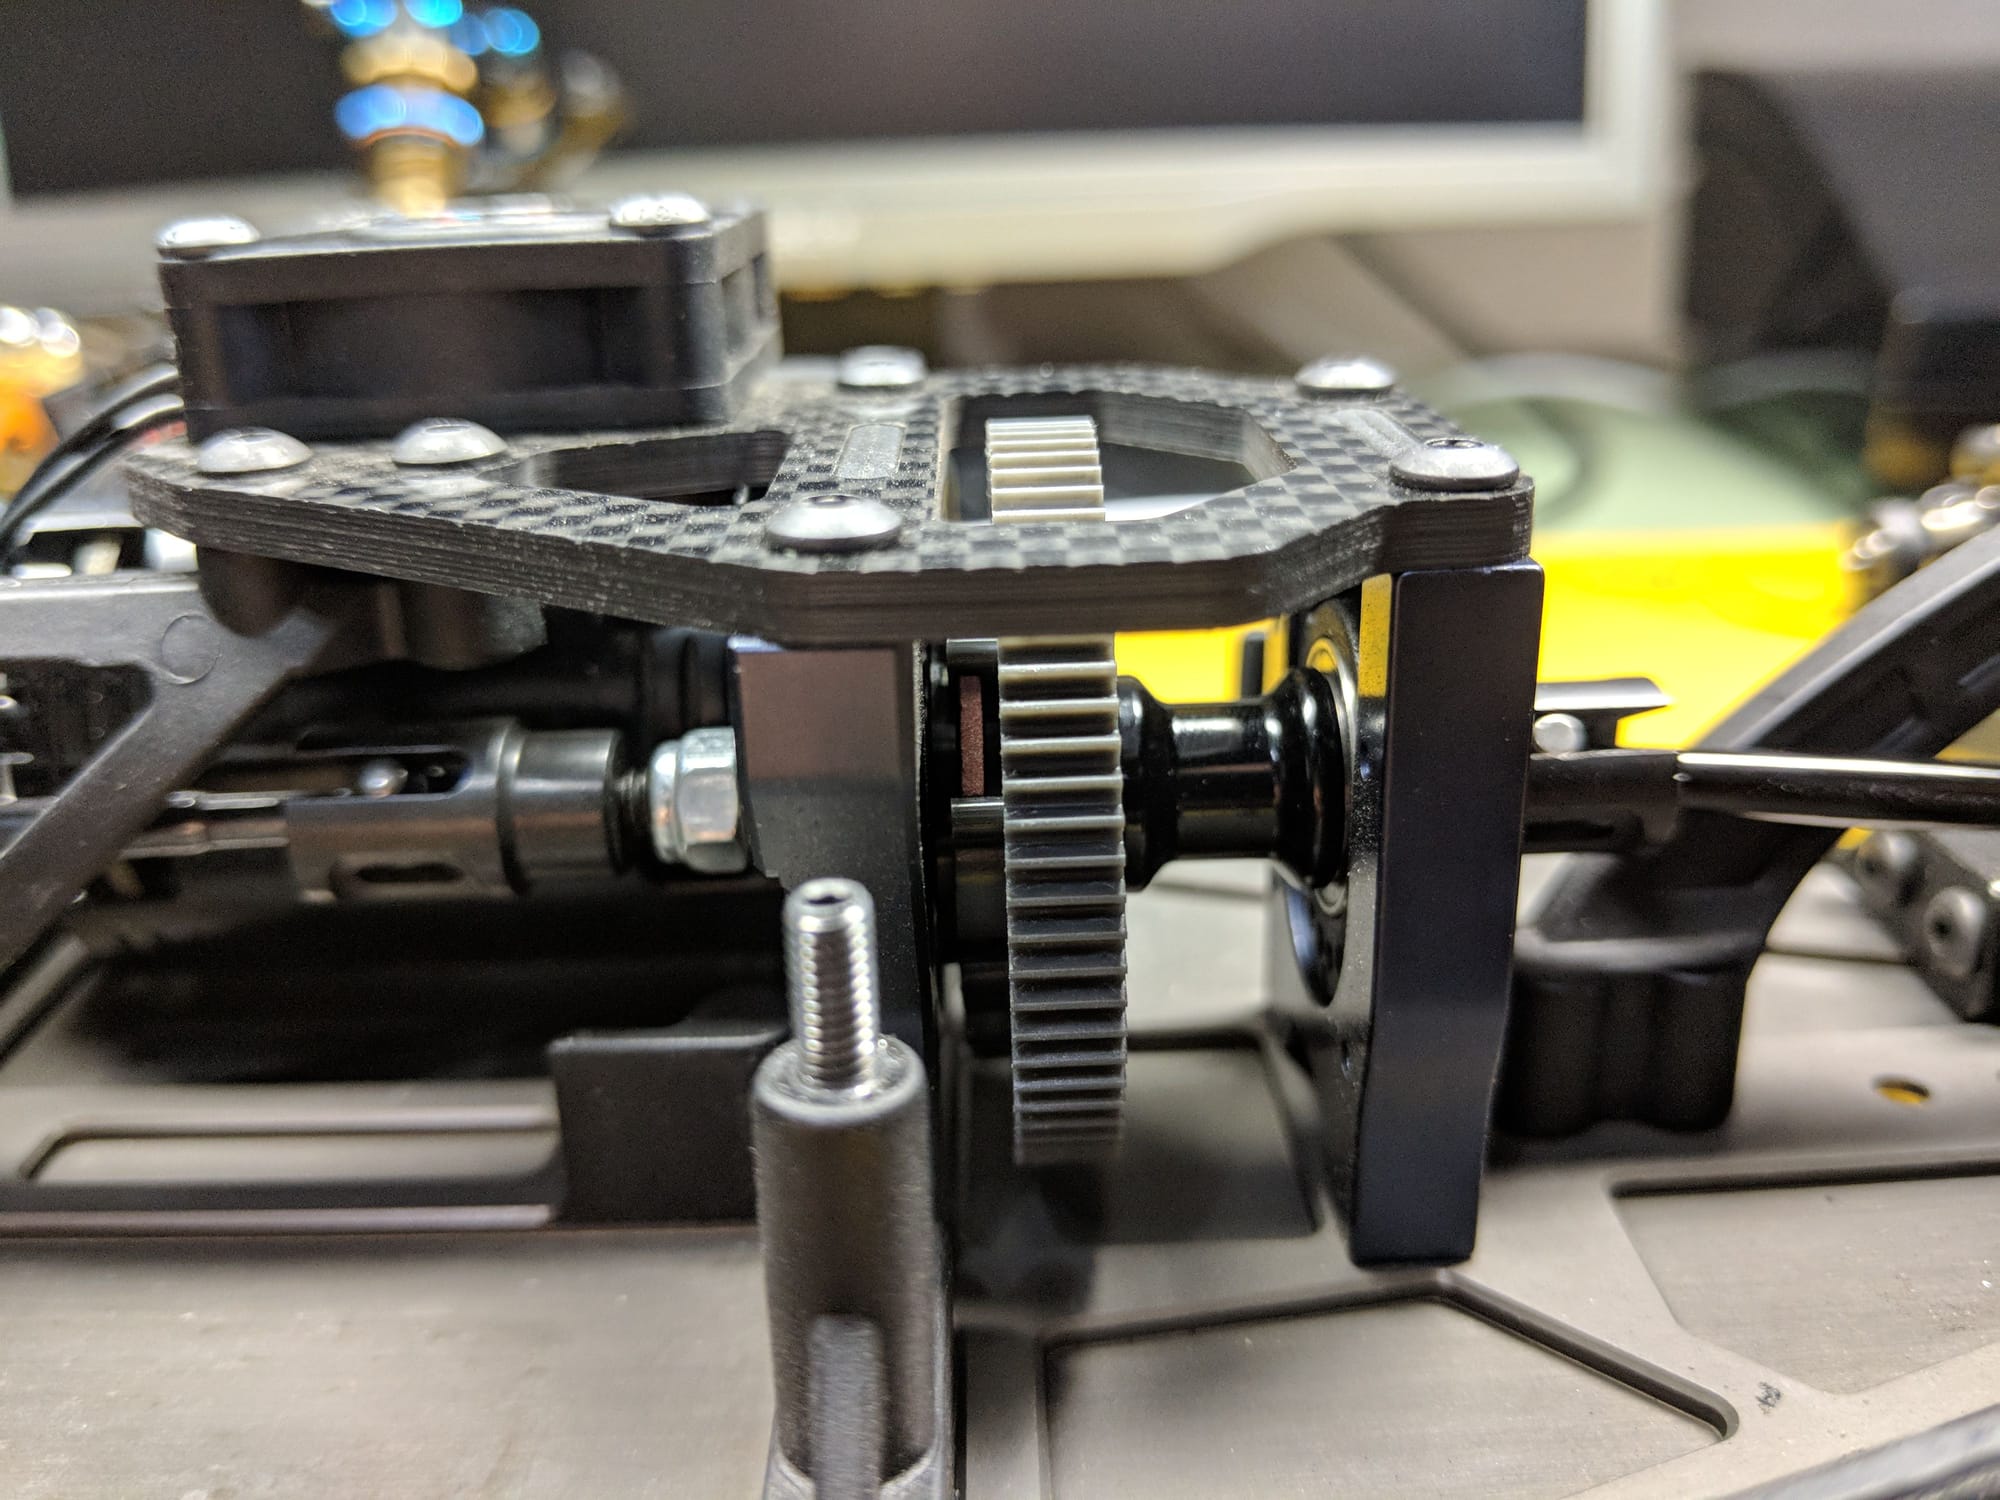
I run O-rings in the front cups to ensure the bone doesn't go too far one way or the other.
I run O-rings in the front cups to ensure the bone doesn't go too far one way or the other.
01-21-2018, 07:40 PM
#3291
Anyone know why the shocks are built only emulsion style in the manual?Is there some reason for not using bladders as an option as well?
01-21-2018, 09:32 PM
#3292
I had the chance to drive a few of these lately, just wanted to post about how impressed I was. I drive a B64D with pucks and titanium, and my car is fast... but the Tekno is quite a different animal.
There are probably 6-8 guys at the track with EB410s now and I have driven 3 of them. In a 3-Main night, one of these guys was an A main driver, one was a B main driver, and one was a C main guy. We race on indoor hard packed dirt with Clay tires, and I got to try the car across a variety of Track conditions.
C main guy got his car first, and had added a bunch of weight to the back but was otherwise close to box setup. The car didn�t have enough steering off power, but jumped and landed very well. I was at least a half second off the pace, so I advised him to stiffen it up and try to dial in some off power steering (wheelbase, diffs, etc). I was amazed at how free the drivetrain was, and even more shocked when he told me that was with 0 shimming needed (don�t ask me how much time I have spent shimming my B64 perfectly).
B main guy got his car second, and went HAM on the upgrades, car was very light and not weighed down in the back. I was only a couple tenths off of the pace, but the car still didn�t have enough off-power steering to carry speed through 180s. You would either understeer if you came in too hot, or be nearly stopped in the middle of the corner even when you hit the line perfectly. My big takeaway from this was that the rear weight being absent actually made the car a lot better. Given how soft the car felt (making tons of grip) I was actually surprised at how well the car jumped and landed without bottoming out. I felt like my B64 would not jump and land that well with a spring package that soft.
A main guy and I are pretty evenly matched on the Track, and he had done quite a bit of work on the car and setup by the time I got to drive it. I drove it right after a club race finished, and put down a lap a couple tenths faster than I went in my 64 all night within the first 2 minutes. This guy had done the testing with different diff fluid, wheelbase, and Ackermann to get the thing to steer in harder off power, and the car is unbelievably dialed. It is more forgiving on landing than my 64 (which itself was much more forgiving than the 22-4 it replaced) and it is especially good at letting you get on the power without getting unsettled after a landing.
I haven�t plunked down an order for one yet, but I think this car is a serious threat to the XB4/B64/YZ4-SF layout and design in the same way that laydown 2wd cars have made standup cars look like turds.
01-22-2018, 07:11 AM
#3293
The Schelle slipper measures exactly the same length as my Tekno center diff, just requires the rear center drive shaft from the B64D with the center diff. Can pick them up cheap from the kit dismantlers online(probably the stock 64 AE slipper for that matter as well if you want to go that route).
I run O-rings in the front cups to ensure the bone doesn't go too far one way or the other.
I run O-rings in the front cups to ensure the bone doesn't go too far one way or the other.
I'll see about putting the Vision Racing pads this week and when Feb 3rd rolls around give it a try.
As for b1narych0ice comment, its true, love the way these just steer. I wish I had a bit more time locally to practice here and really dial in setup, but it was good enough to lead the amain the whole way till an ending bobble.
Just need to solve a slight bit of jump bounce, so any tips on that let me know, i'll post my setup but I did go with the 2.0 pistons rear.
01-22-2018, 07:18 AM
#3294
Tijuana is right on there. Definitely you want orings for the cups or the front bone can slide out. Only thing else I noticed is that the getting the diff in an out for me personally was bit more of a chore. But I don't exactly plan to be pulling it a bunch either. I may even try this outdoors.
I'll see about putting the Vision Racing pads this week and when Feb 3rd rolls around give it a try.
As for b1narych0ice comment, its true, love the way these just steer. I wish I had a bit more time locally to practice here and really dial in setup, but it was good enough to lead the amain the whole way till an ending bobble.
Just need to solve a slight bit of jump bounce, so any tips on that let me know, i'll post my setup but I did go with the 2.0 pistons rear.
 01-22-2018, 08:20 AM
#3296
01-22-2018, 08:56 AM
#3297
Cool, I'll give these a look. Need to place an order anyway. Should I adjust my pistons too (I run 2.0s right now) and oil to something or just go with what I have initially? (oil is quick so no worries there, just don't have 725cst on hand, up to 700)
 01-22-2018, 08:56 AM
#3299
Tech Initiate
Hello everyone,I’m the new guy here.Just wanted to say that it’s not everyday you get a chance to read so many interesting opinions and reviews and truly benefit from them all without seeing someone bashing another or arguing like children over lego’s. So after reading through this entire thread I decided to see what all the hype was about. Being new to San Diego I looked up my local track and headed to SDRC,Watched some drivers and asked a few questions.I then talked to the guys working there,Man did I get a ton of helpful information from Adam and after two trips out to watch drivers I knew I needed to quit watching and start driving so I bought it. I spent this past Saturday building it,and Sunday finishing it with last minute adds. Titanium turnbuckles and a front sway bar kit,nothing to serious but today i will be hitting the track and I’m so looking forward to my first donkey flip,lol. So this is a thank you to everyone posting,I find it very helpful. The guys at SDRC,thank you for all your help seriously. And Tekno for building something inspiring enough to bring an old guy back into a hobby he enjoyed. Looking forward to fine tuning with you all.
01-22-2018, 08:58 AM
#3300
Thanks, yeah just a slight bit of pack bounce but there really isn't anything to downside on that jump consistenly.
Cool, I'll give these a look. Need to place an order anyway. Should I adjust my pistons too (I run 2.0s right now) and oil to something or just go with what I have initially? (oil is quick so no worries there, just don't have 725cst on hand, up to 700)
Cool, I'll give these a look. Need to place an order anyway. Should I adjust my pistons too (I run 2.0s right now) and oil to something or just go with what I have initially? (oil is quick so no worries there, just don't have 725cst on hand, up to 700)
 (Cain's on carpet not clay)
For everyone else run Red front with 600 and 1.7 piston, pink rear with 2.0 and 550.