


 137Likes
Team Associated RC10 B5m Mid-Motor & Rear Motor Thread

 04-22-2024, 12:09 PM - Wikipost
|
|||
|
|||
 05-11-2014, 09:24 PM
#9691
Tech Adept


 05-11-2014, 10:30 PM
#9694
Having both sides metal was a bit to stiff for my ride , it benefited from the extra grip gain by using a plastic camber mount .
 05-12-2014, 05:58 AM
#9696
05-12-2014, 06:06 AM
#9697
Tech Adept
What hole location are you using with the alloy hubs?
05-12-2014, 06:14 AM
#9698
Attempting this post on my phone with photobucket, bear with me[URL=http://s262.photobucket.com/user/poon311/media/IMAG0547.jpg.html]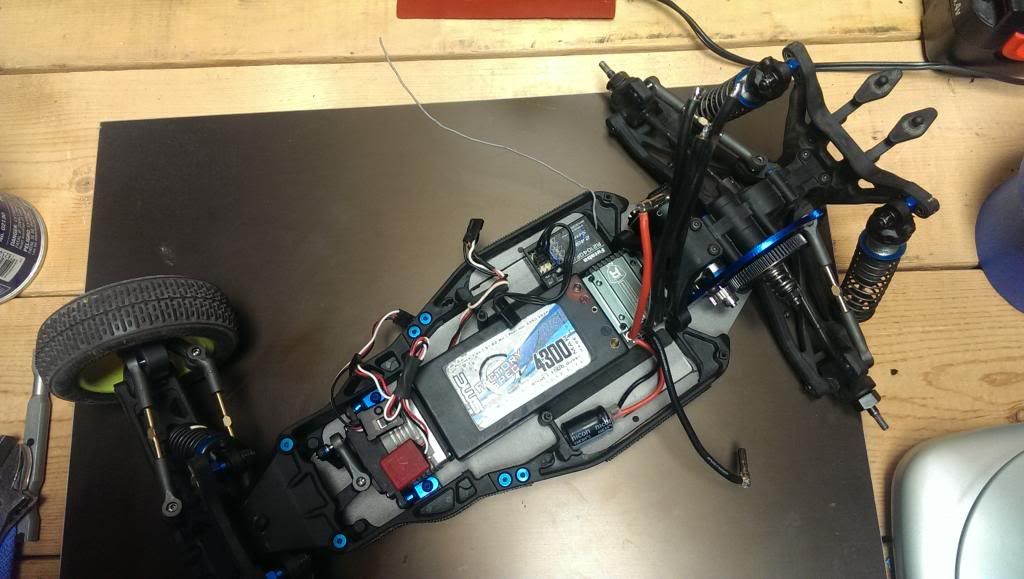 [/URL[URL=http://s262.photobucket.com/user/poon311/media/wildflower/IMAG0545.jpg.html]
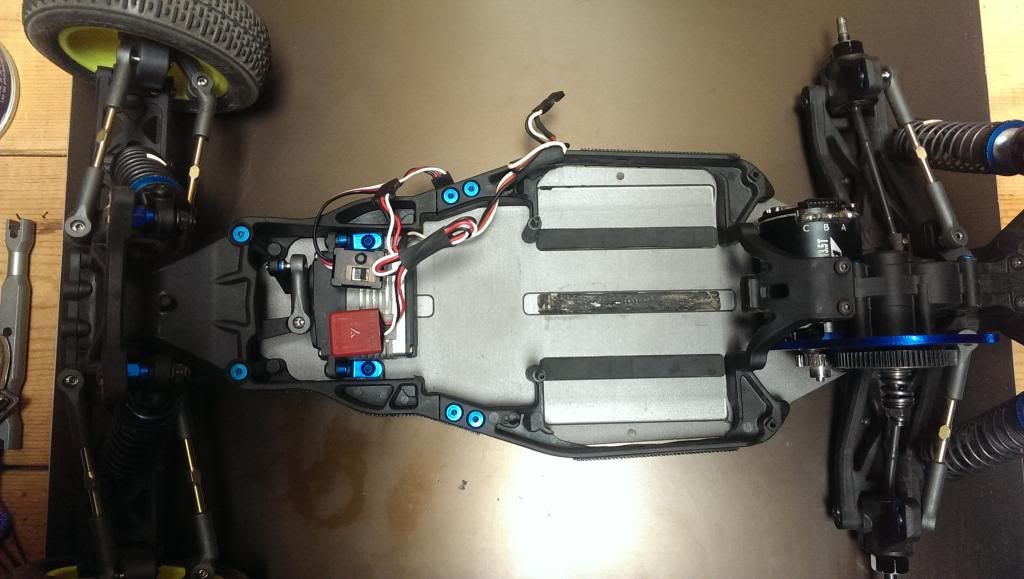 [/URL[URL=http://s262.photobucket.com/user/poon311/media/IMAG0547.jpg.html][/URL[URL=http://s262.photobucket.com/user/poon311/media/wildflower/IMAG0541.jpg.html]
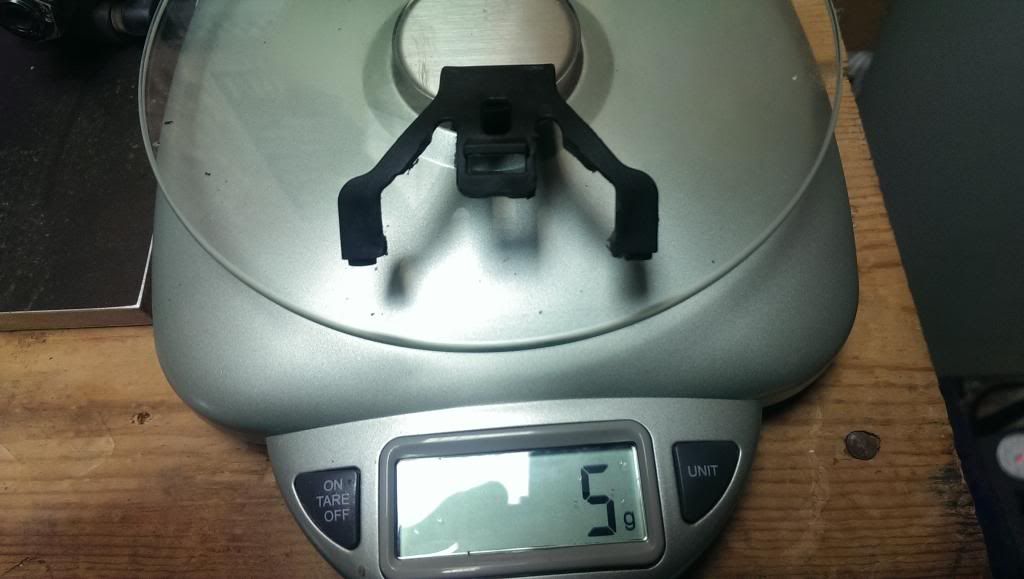 [/URL[URL=http://s262.photobucket.com/user/poon311/media/wildflower/IMAG0540.jpg.html]
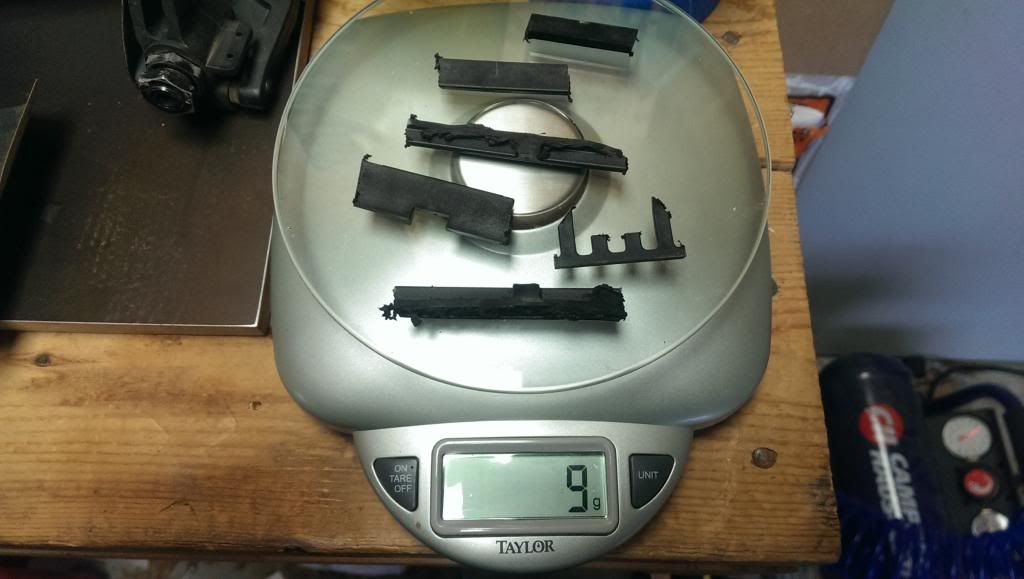 [/URL[URL=http://s262.photobucket.com/user/poon311/media/wildflower/IMAG0542.jpg.html]
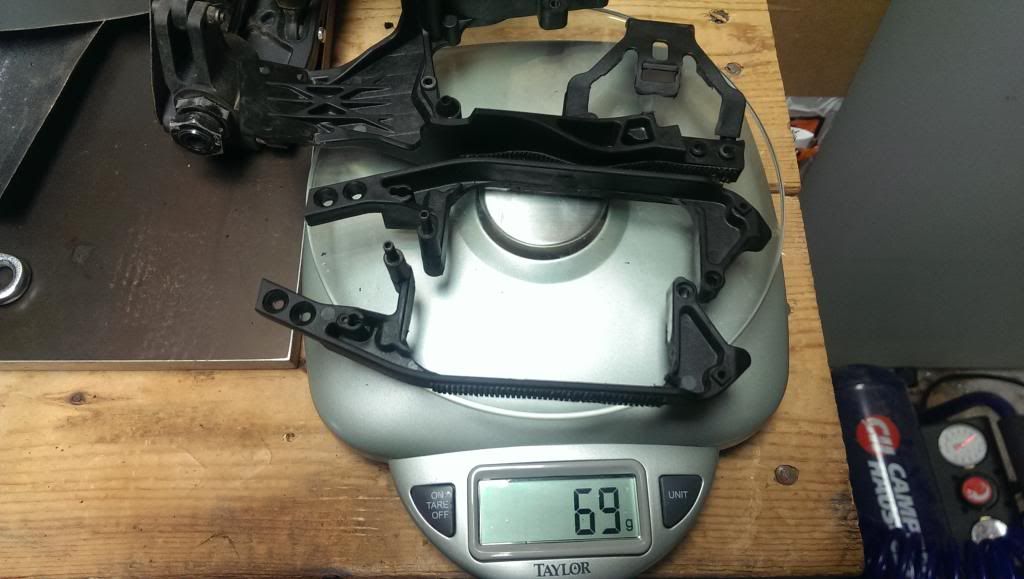 [/URL[URL=http://s262.photobucket.com/user/poon311/media/wildflower/IMAG0545.jpg.html][/URL[URL=http://s262.photobucket.com/user/poon311/media/wildflower/IMAG0546.jpg.html]
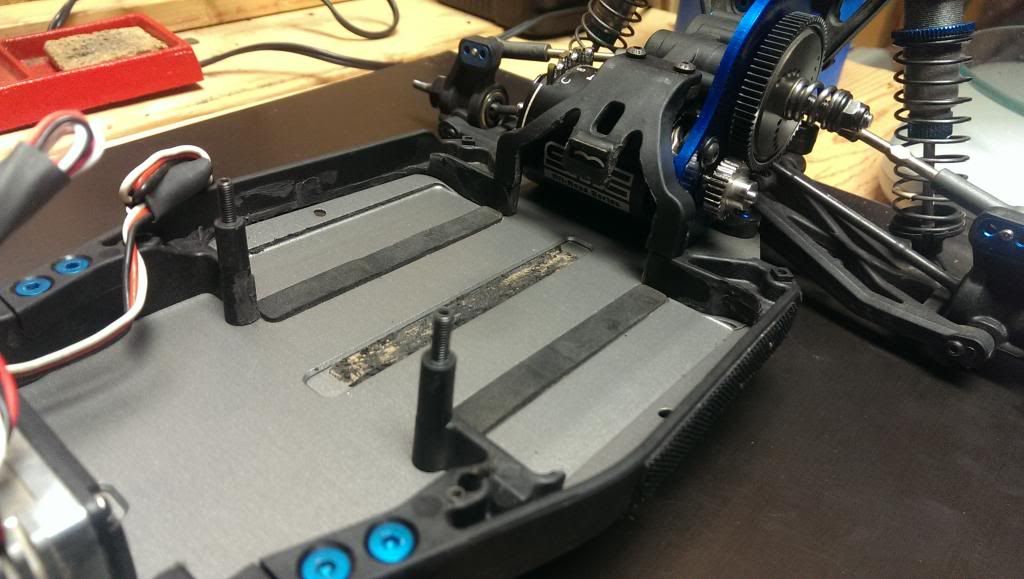 [/URL
[/URL
[/URL[URL=http://s262.photobucket.com/user/poon311/media/wildflower/IMAG0545.jpg.html][/URL[URL=http://s262.photobucket.com/user/poon311/media/IMAG0547.jpg.html][/URL[URL=http://s262.photobucket.com/user/poon311/media/wildflower/IMAG0541.jpg.html][/URL[URL=http://s262.photobucket.com/user/poon311/media/wildflower/IMAG0540.jpg.html][/URL[URL=http://s262.photobucket.com/user/poon311/media/wildflower/IMAG0542.jpg.html][/URL[URL=http://s262.photobucket.com/user/poon311/media/wildflower/IMAG0545.jpg.html][/URL[URL=http://s262.photobucket.com/user/poon311/media/wildflower/IMAG0546.jpg.html][/URL 05-12-2014, 06:56 AM
#9699
Tech Adept
^ great post!!! You have a chance to run it yet?
05-12-2014, 06:59 AM
#9700
Looks just like my RB6.
05-12-2014, 07:53 AM
#9702
Not yet, just finished it up. I suppose I could go to the 8th scale track 7 minutes from my house:nod
[URL=http://s262.photobucket.com/user/poon311/media/wildflower/IMAG0553.jpg.html] [/URL[URL=http://s262.photobucket.com/user/poon311/media/wildflower/IMAG0554.jpg.html]
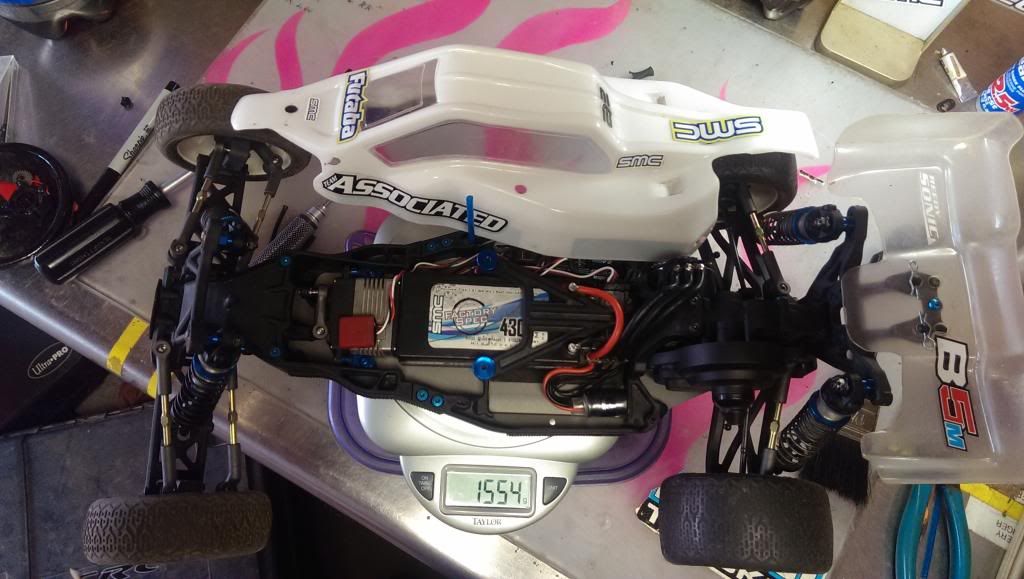 [/URL[URL=http://s262.photobucket.com/user/poon311/media/wildflower/IMAG0555.jpg.html]
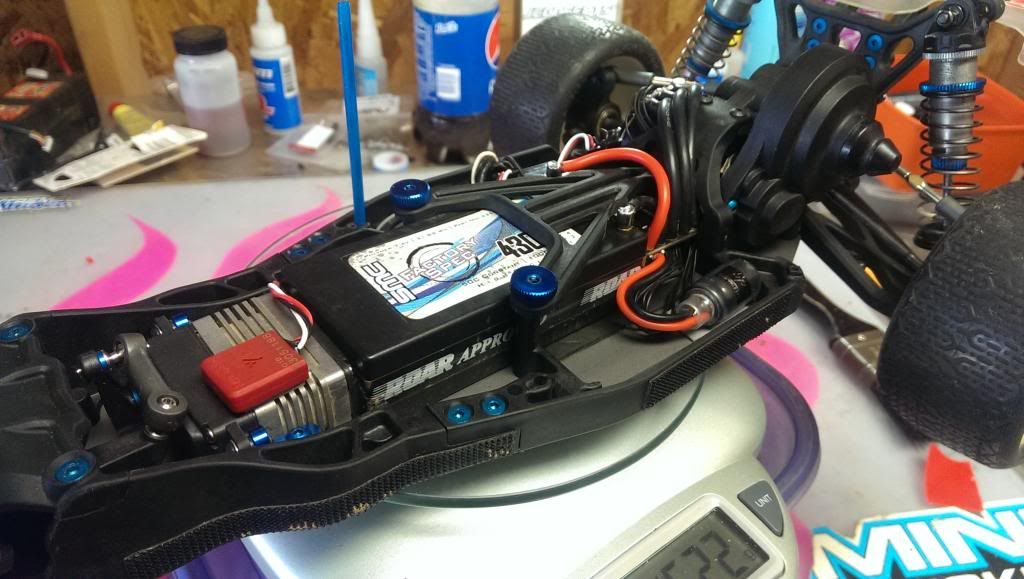 [/URL[URL=http://s262.photobucket.com/user/poon311/media/wildflower/IMAG0556.jpg.html]
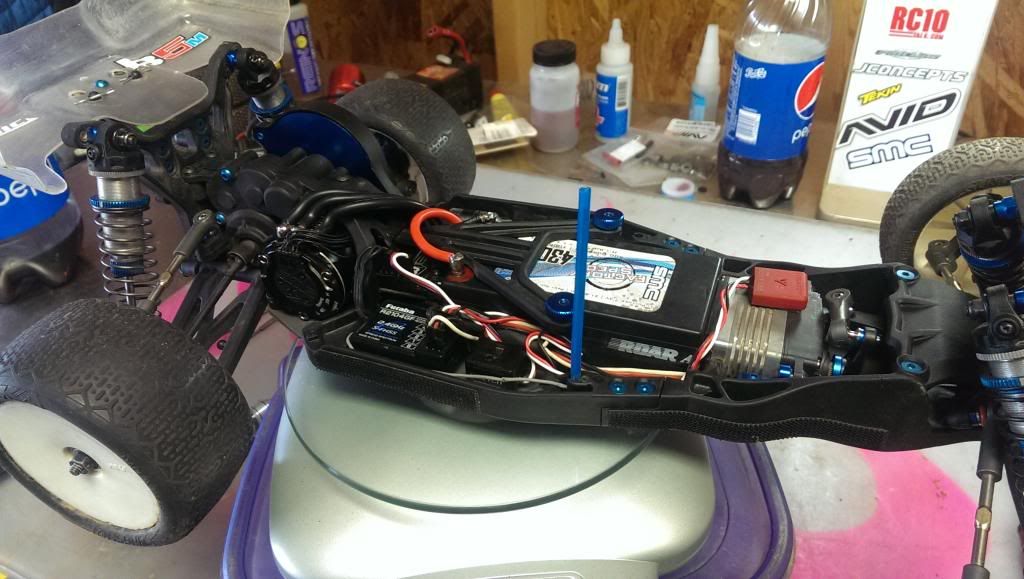 [/URL
[/URL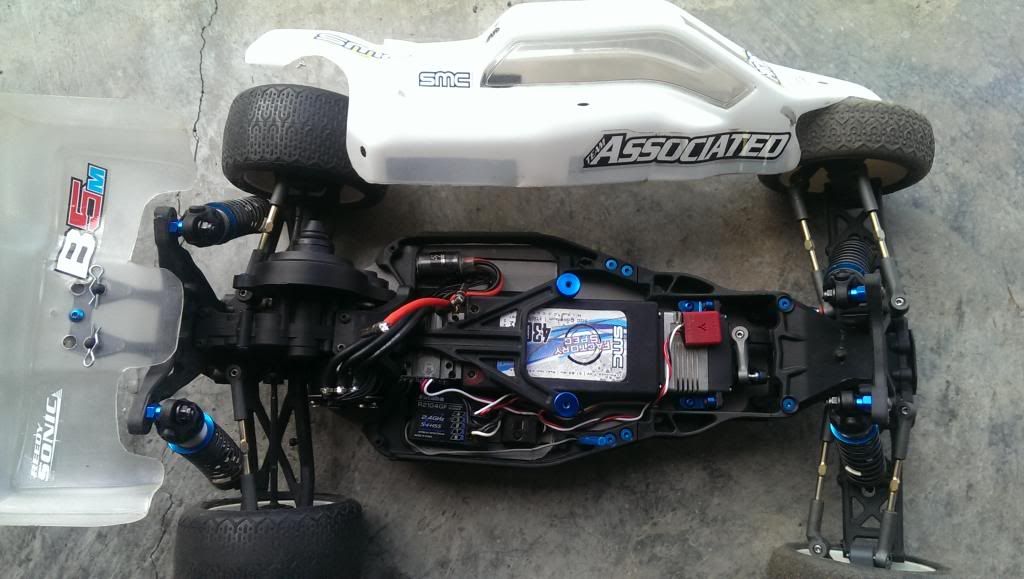
For the record, posting from my phone using photobucket was a pain in the butt, enjoy!
[URL=http://s262.photobucket.com/user/poon311/media/wildflower/IMAG0553.jpg.html]
[/URL[URL=http://s262.photobucket.com/user/poon311/media/wildflower/IMAG0554.jpg.html][/URL[URL=http://s262.photobucket.com/user/poon311/media/wildflower/IMAG0555.jpg.html][/URL[URL=http://s262.photobucket.com/user/poon311/media/wildflower/IMAG0556.jpg.html][/URL
For the record, posting from my phone using photobucket was a pain in the butt, enjoy!
05-12-2014, 08:14 AM
#9703
Mark
Grind all the tray off flush to the vertical sides of the brace . Be careful of the screw locations, don't remove. Cut each thumb screw separate from the tray then remove middle plastic between thumb screws.Each thumb screw is separate and uses the one screw for attachment.
Remove inside legs off water fall.
Slide Esc under water fall, only a 1/4 of Esc fits under the water fall.
Battery in front of Esc.
Receiver on right side of battery.
Note:
Grinding the battery tray is for more flex in front of waterfall to achieve more traction.
Jmoney, test each and tell everyone your results. Prove your theory...
I already done, and posted the results however..LOL
Last edited by Wild Cherry; 05-12-2014 at 08:26 AM.
05-12-2014, 08:22 AM
#9704
Mark
Grind all the tray off flush to the vertical sides of the brace . Be careful of the screw locations, don't remove. Cut each thumb screw separate from the tray then remove middle plastic between thumb screws.Each thumb screw is separate and uses the one screw for attachment.
Remove inside legs off water fall.
Side Esc under water fall, only a 1/4 of Esc fits under the water fall.
Battery in front of Esc.
Receiver on right side of battery.
Jmoney, test each and tell everyone your results. Prove your theory...
I already done, and posted the results however..LOL
05-12-2014, 08:33 AM
#9705
Mark
Easy and fun to do.
Cost nothing as everyone already has the parts.
Not sure if Ae planned on these parts being modified.
But we would of waited way longer for this info if not for our own efforts here at Rctech.
Can't find info like this anywhere else...
Easy and fun to do.
Cost nothing as everyone already has the parts.
Not sure if Ae planned on these parts being modified.
But we would of waited way longer for this info if not for our own efforts here at Rctech.
Can't find info like this anywhere else...