Go Back  R/C Tech Forums > General Forums > Electric Off-Road
Team Durango DEST210R thread >

Team Durango DEST210R thread

Community
Wiki Posts
Search
Like Tree6Likes

Team Durango DEST210R thread

Thread Tools
 
Search this Thread
 
Old 01-20-2013, 07:17 PM
  #481  
Tech Master
iTrader: (16)
 
Join Date: Oct 2008
Posts: 1,578
Trader Rating: 16 (100%+)
Default

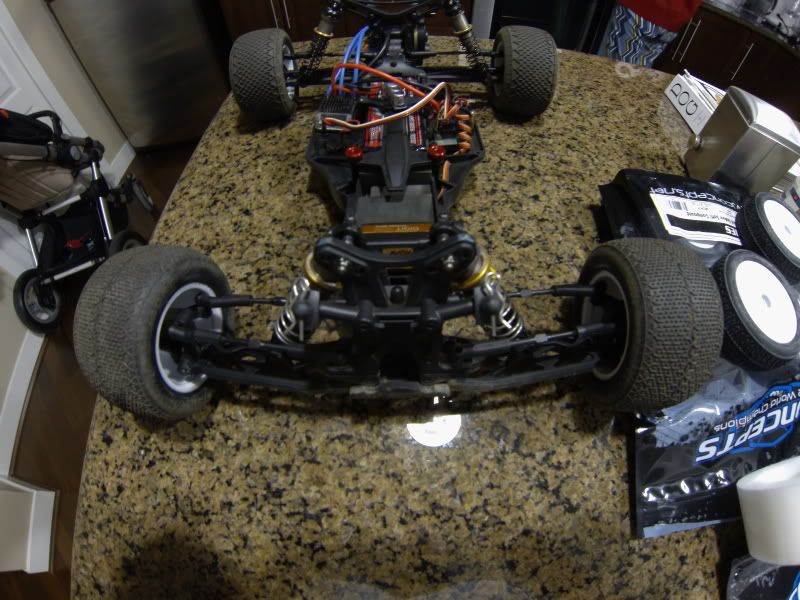
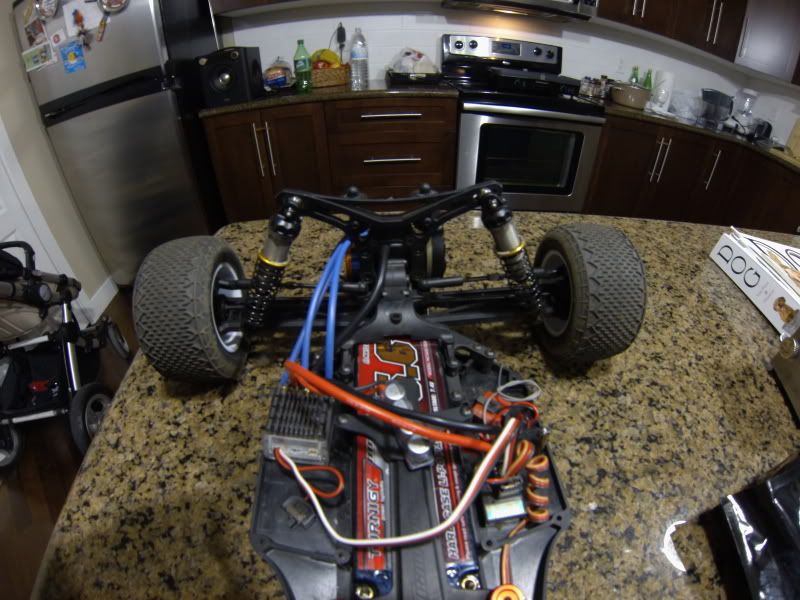
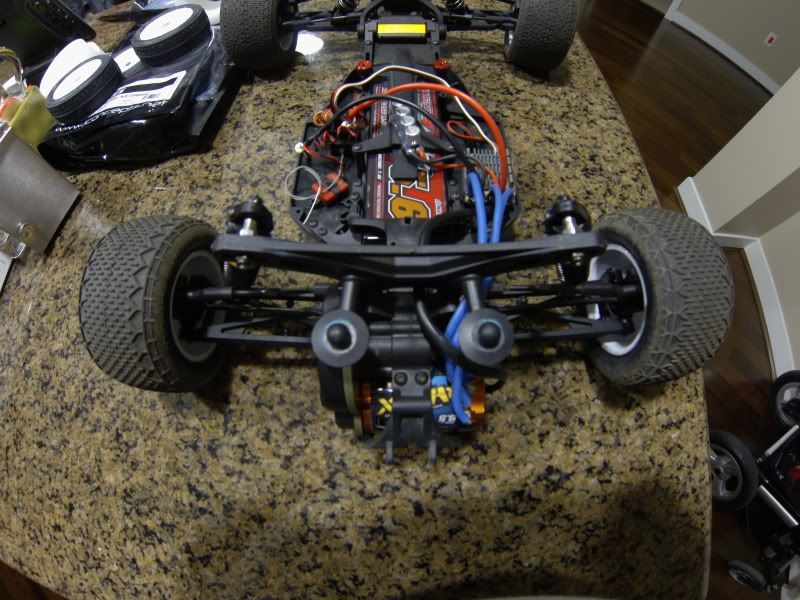
Finished the build,and decided to go 1.3mm, 4 hole pistons with Avid Red Springs all around. All I can say is wow. The truck was planted on a dry, dirt track. I am really impressed with this truck. No weight, shorty pack mounted forward, and it was perfectly balanced. Stock turn buckles and ball cups. Everything worked great, no issues. Went through 3 packs of testing.
zipperfoot is offline  
Old 01-20-2013, 08:12 PM
  #482  
ekt
Tech Master
iTrader: (4)
 
ekt's Avatar
 
Join Date: Jun 2011
Location: Burnie, Australia
Posts: 1,229
Trader Rating: 4 (100%+)
Default

Originally Posted by Panic09
Well I bought a new body in hopes of making it work. The first one was badly chopped in the front to make the body posts work.

So here how it sits right now. Rear holes are lined up perfectly


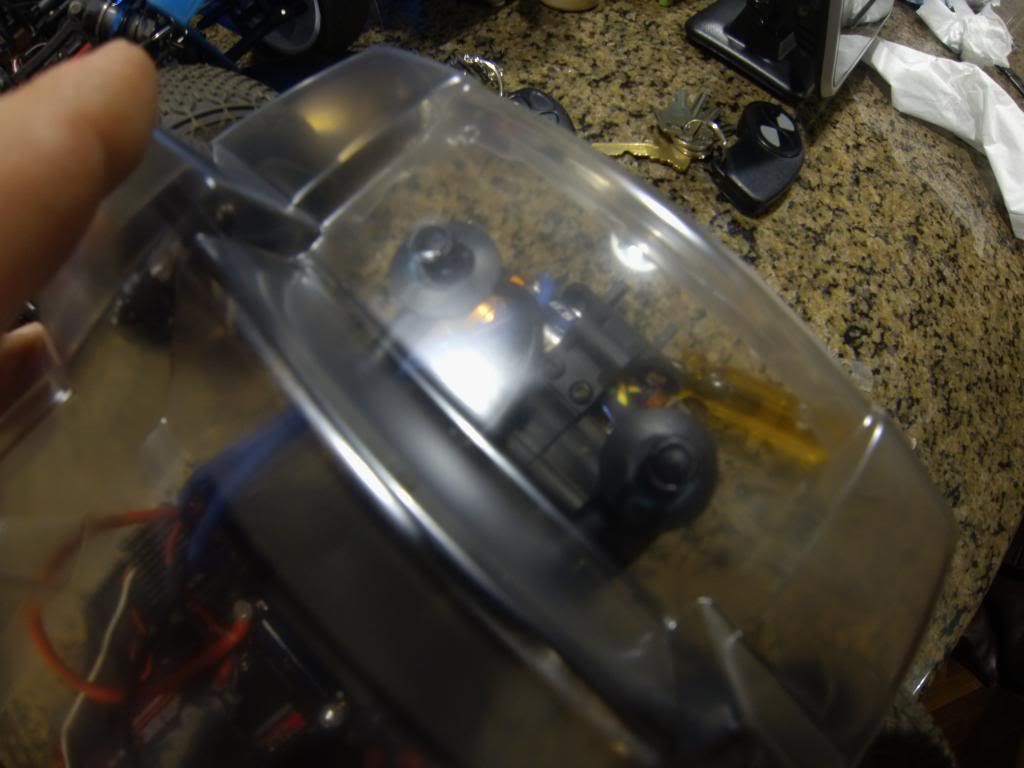
But here is how the front ones look like


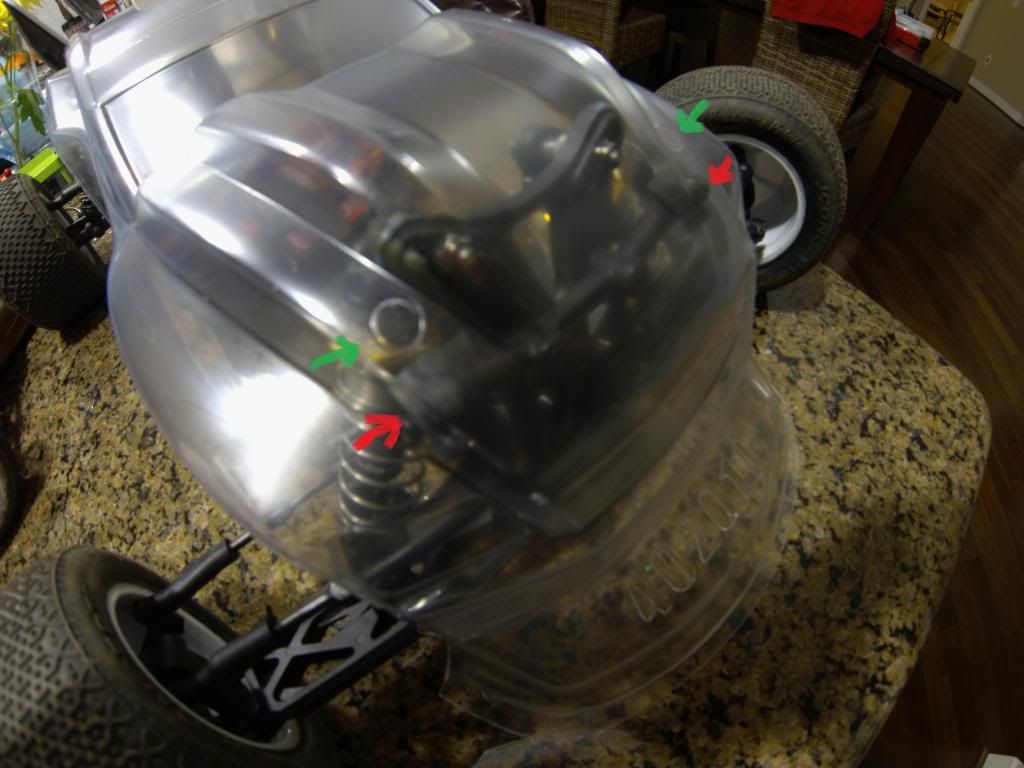
I m moving the front body post back and forth numerous times, trying various positions but it doesnt sit well. Any ideas?
I'll have a closer look at mine tonight. Pretty sure I just reamed the holes out and rotated the front body mounts to fit.
ekt is offline  
Old 01-20-2013, 09:03 PM
  #483  
ajj
Tech Fanatic
iTrader: (18)
 
ajj's Avatar
 
Join Date: Nov 2010
Location: Sydney
Posts: 893
Trader Rating: 18 (100%+)
Default

I'm scratching my head looking at mine trying to figure that out. I'd say just do the fronts first, as once you actually drop the body on the post it'll be much closer than it looks now. So do the fronts as per the guide holes, then rotate the mounts to line up the back mounts as best possible and ignore the back holes if need be. Saying that, mine lined up fine with the guide marks on the body.
ajj is offline  
Old 01-20-2013, 11:48 PM
  #484  
ekt
Tech Master
iTrader: (4)
 
ekt's Avatar
 
Join Date: Jun 2011
Location: Burnie, Australia
Posts: 1,229
Trader Rating: 4 (100%+)
Default

I don't have a spare unpainted body, but did cover the rear holes with tape to try replicate your issue. I couldn't get it to look as bad as your picture, but you may just need to adjust your front body posts. The body needs to be put on front first.

ekt is offline  
Old 01-21-2013, 08:33 AM
  #485  
Tech Addict
iTrader: (6)
 
Panic09's Avatar
 
Join Date: Dec 2008
Posts: 500
Trader Rating: 6 (100%+)
Default

Well followed yr advice - cut the front holes first . Adjusted the body posts and now the front end slides in perfectly. Haven t done the rear body holes yet as the body now hits the rear shock tower. Need to push the body down really hard to make it go in but i don't see any other solution.

After all the attempts and tries I have done i think the above is the best option i have ,without badly hacking the body .
Panic09 is offline  
Old 01-21-2013, 10:32 AM
  #486  
Tech Master
iTrader: (16)
 
Join Date: Oct 2008
Posts: 1,578
Trader Rating: 16 (100%+)
Default

Originally Posted by Panic09
Well followed yr advice - cut the front holes first . Adjusted the body posts and now the front end slides in perfectly. Haven t done the rear body holes yet as the body now hits the rear shock tower. Need to push the body down really hard to make it go in but i don't see any other solution.

After all the attempts and tries I have done i think the above is the best option i have ,without badly hacking the body .
Take some pictures with the body off so we can see your set up. Take a pic from the top down so we can see everything. Also do some measurements like distance between towers , so we can compare. That's really odd, mine fits perfectly
zipperfoot is offline  
Old 01-21-2013, 07:30 PM
  #487  
Tech Addict
iTrader: (6)
 
Panic09's Avatar
 
Join Date: Dec 2008
Posts: 500
Trader Rating: 6 (100%+)
Default

Originally Posted by zipperfoot
Take some pictures with the body off so we can see your set up. Take a pic from the top down so we can see everything. Also do some measurements like distance between towers , so we can compare. That's really odd, mine fits perfectly
Here is a couple more pictures - length from tower to tower is about a foot


Panic09 is offline  
Old 01-21-2013, 07:51 PM
  #488  
ekt
Tech Master
iTrader: (4)
 
ekt's Avatar
 
Join Date: Jun 2011
Location: Burnie, Australia
Posts: 1,229
Trader Rating: 4 (100%+)
Default

I'll check the distances on mine tonight, have you tried rotating the front body holders backwards/forwards?
ekt is offline  
Old 01-21-2013, 08:09 PM
  #489  
Tech Addict
iTrader: (6)
 
Panic09's Avatar
 
Join Date: Dec 2008
Posts: 500
Trader Rating: 6 (100%+)
Default

Originally Posted by ekt
I'll check the distances on mine tonight, have you tried rotating the front body holders backwards/forwards?
Yes did that already - even have a spare front tower and compared the holes were the body posts go - both towers are the same and holes are in the same place.

Well anyways I might be blind and miss something here...have a fellow racer who bought the same truck last week. Will check his car next weekend and will report
Panic09 is offline  
Old 01-21-2013, 08:39 PM
  #490  
ajj
Tech Fanatic
iTrader: (18)
 
ajj's Avatar
 
Join Date: Nov 2010
Location: Sydney
Posts: 893
Trader Rating: 18 (100%+)
Default

From the trailing edge of the rear shock tower brace bit to the leading edge on the top of the front shock tower on mine is 293mm. Looks like yours is 305mm?
ajj is offline  
Old 01-21-2013, 08:46 PM
  #491  
Tech Elite
iTrader: (10)
 
rcjunky1's Avatar
 
Join Date: May 2008
Location: Ottawa, Canada
Posts: 2,202
Trader Rating: 10 (100%+)
Default

I'm looking to see how much interest there is in an aluminum chassis to use the buggy side pods. I had a couple buggy +8mm chassis made for some people to run at some big races and with enough interest I can do a run of chassis (+8mm, +8mmLW, SC and ST) but I'll need 25 pre paid to start the run. Pre paying will get a slight price break as well as buying multiple. I don't have final pricing yet but it will probably be around $75 plus shipping. If there is interest in a lightweight ST chassis like the buggy I'll need to get some testing done to make sure its strong enough. PM me with what you're interested in, I'm now just gauging interest.

rcjunky1 is offline  
Old 01-21-2013, 09:05 PM
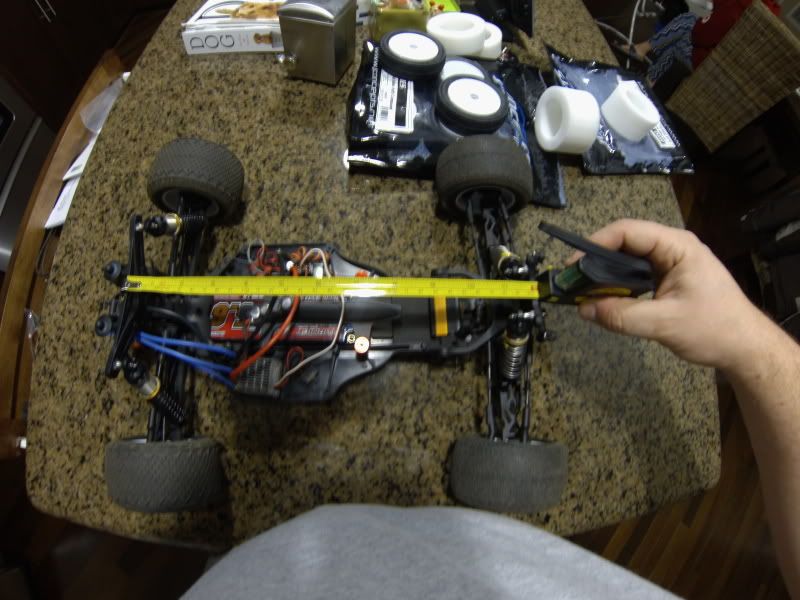
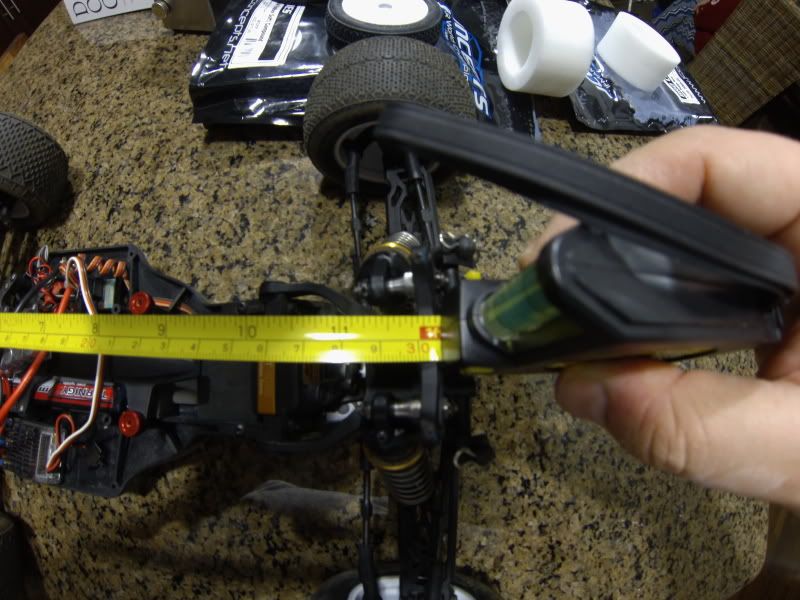
  #492  
Tech Addict
iTrader: (6)
 
Panic09's Avatar
 
Join Date: Dec 2008
Posts: 500
Trader Rating: 6 (100%+)
Default

Originally Posted by ajj
From the trailing edge of the rear shock tower brace bit to the leading edge on the top of the front shock tower on mine is 293mm. Looks like yours is 305mm?
Yup that's right - its 305mm...weird. That could be the issue here hhhmmm

Last edited by Panic09; 01-21-2013 at 09:19 PM.
Panic09 is offline  
Old 01-21-2013, 09:22 PM
  #493  
ekt
Tech Master
iTrader: (4)
 
ekt's Avatar
 
Join Date: Jun 2011
Location: Burnie, Australia
Posts: 1,229
Trader Rating: 4 (100%+)
Default

I may have worked it out, looks like you assembled step 5 from your manual wrong.
The red circle, is how its supposed to look.
ekt is offline  
Old 01-21-2013, 09:54 PM
  #494  
Tech Addict
iTrader: (6)
 
Panic09's Avatar
 
Join Date: Dec 2008
Posts: 500
Trader Rating: 6 (100%+)
Default

Originally Posted by ekt
I may have worked it out, looks like you assembled step 5 from your manual wrong.
The red circle, is how its supposed to look.
Bingo! Woohoo...thats it. I messed up with the pivot links. Now the front tower is leaning backwards ,bringing the front body posts up. Thanks guys for taking the time to sort this out

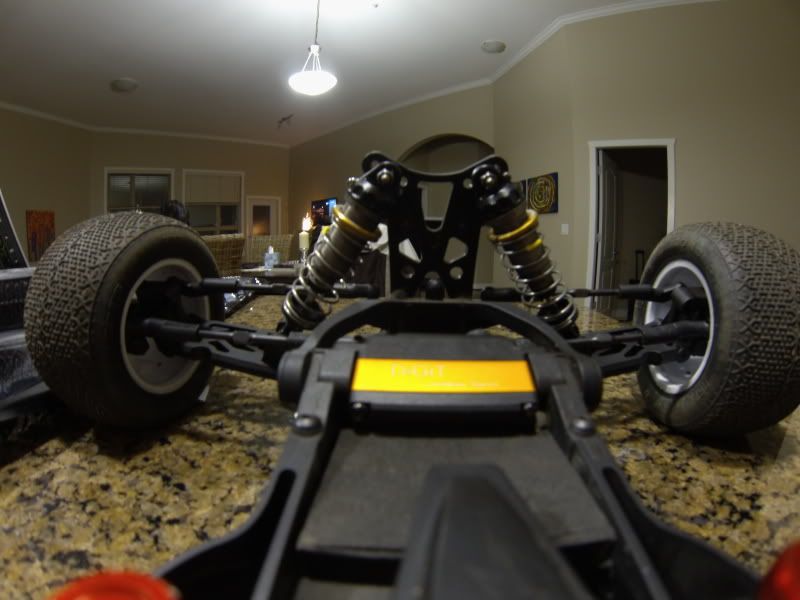
Strange but my truck was handling awesome like this
Panic09 is offline  
Old 01-22-2013, 06:41 AM
  #495  
Tech Master
iTrader: (16)
 
Join Date: Oct 2008
Posts: 1,578
Trader Rating: 16 (100%+)
Default

Originally Posted by ekt
I may have worked it out, looks like you assembled step 5 from your manual wrong.
The red circle, is how its supposed to look.
Good eye!
zipperfoot is offline  


Contact Us - Archive - Advertising - Cookie Policy - Privacy Statement - Terms of Service -

Copyright © 2024 MH Sub I, LLC dba Internet Brands. All rights reserved. Use of this site indicates your consent to the Terms of Use.