


Electric 1:8th - Mods, hacks and home-grown designs
 11-13-2008, 11:51 PM
#1
Why not 'Open source' and discuss your Electric 1/8th scale mods, hacks and home grown designs? Pics, plans and detailed how to's would be a great place to start if you feel like sharing them here.
Remember imitation is a form of flattery so why not help out a fellow modder and share. Also, if you've borrowed ideas or designs why not give credit where it's due and make a note of where you saw the idea or design that inspired you, or who you borrowed it from.
May all your mods look better than factory and have fun posting them for all to see and discuss.
Cheers,
P
Last edited by eXraycer; 11-16-2008 at 04:35 PM.
 11-16-2008, 06:07 AM
#2
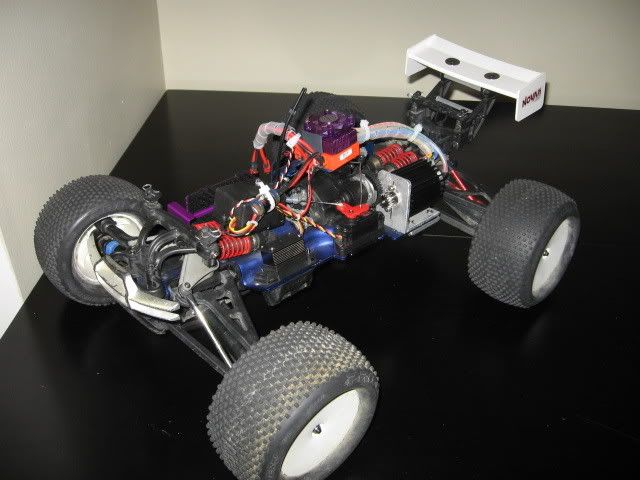
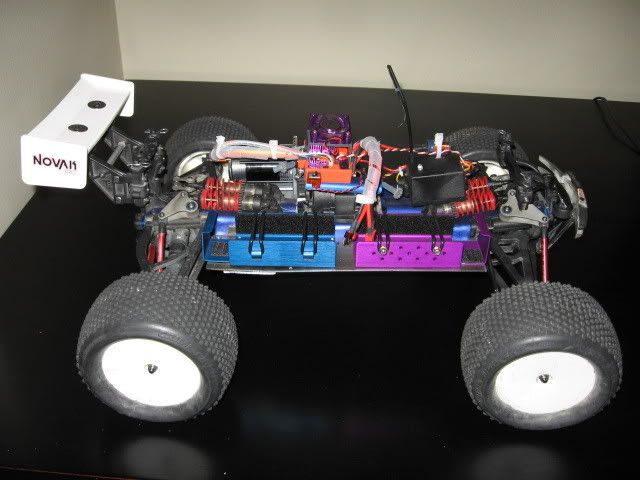
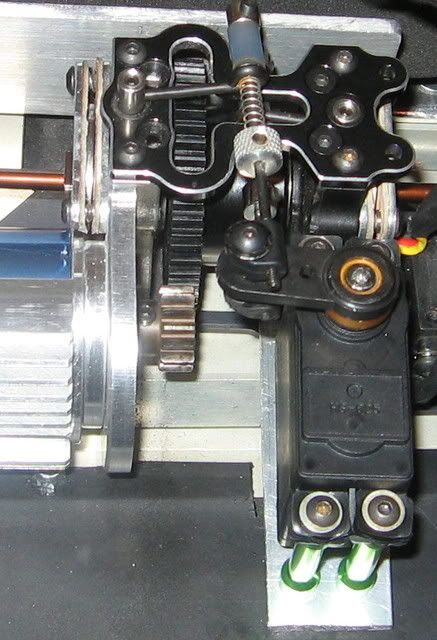
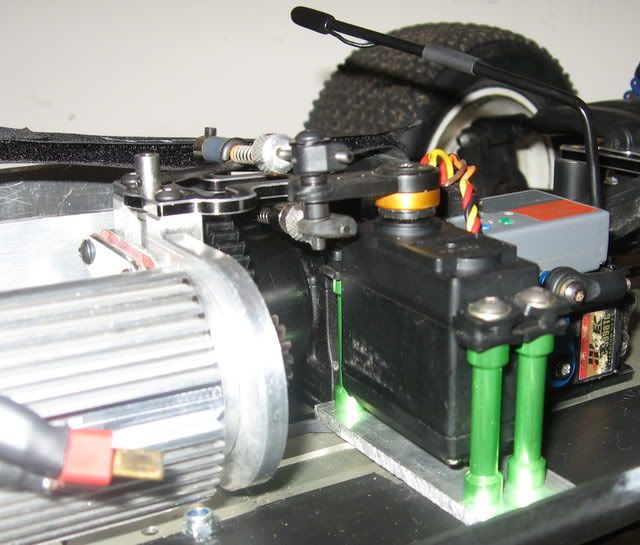
Needed to mount a few things, ie: esc, receiver, wires, antenna and switch but I don't like messy wiring and I wanted it all to be easily removable.
Top plate with angled rear kick down was inspired by RC Product Designs top plate. It allowed more clearance for motor wires under the body shell and lower CG.
I came up with the plastic 'stuff box'. Basically you stuff your wires in it from a slot in the top plate under the esc.
I made it on the mill with plastic and then dremelled the cavity out but you could probably do the same on a belt sander. Also made a nice mount for the switch and the antenna. The antenna is another hack; I could't find an antenna to fit the thick Nomadio wire so I got some hydraulic brake line from a 5th scale car.

See 90 degree motor wires are another hack. Desolder original plugs then drill out the small hole on the side of the plug to accommodate the wire to enter from the side then fill with solder from the top. Heatshrink and you're done.

As you can see, all my electronics can be removed in a minute with four screws. Makes cleaning real easy.

Servo wire guide is an old trick from 20 years ago. Slice some heatshrink down the middle and stick it to the top plate. Allows you to remove the servo wire whenever you need to and keeps it neat whilst running.

Top plate with angled rear kick down was inspired by RC Product Designs top plate. It allowed more clearance for motor wires under the body shell and lower CG.
I came up with the plastic 'stuff box'. Basically you stuff your wires in it from a slot in the top plate under the esc.
I made it on the mill with plastic and then dremelled the cavity out but you could probably do the same on a belt sander. Also made a nice mount for the switch and the antenna. The antenna is another hack; I could't find an antenna to fit the thick Nomadio wire so I got some hydraulic brake line from a 5th scale car.
See 90 degree motor wires are another hack. Desolder original plugs then drill out the small hole on the side of the plug to accommodate the wire to enter from the side then fill with solder from the top. Heatshrink and you're done.
As you can see, all my electronics can be removed in a minute with four screws. Makes cleaning real easy.
Servo wire guide is an old trick from 20 years ago. Slice some heatshrink down the middle and stick it to the top plate. Allows you to remove the servo wire whenever you need to and keeps it neat whilst running.
11-16-2008, 08:57 AM
#3
my first conv.
11-16-2008, 09:01 AM
#4
xt8 top plate
mech brakes
my rc8


 11-16-2008, 09:02 AM
#5
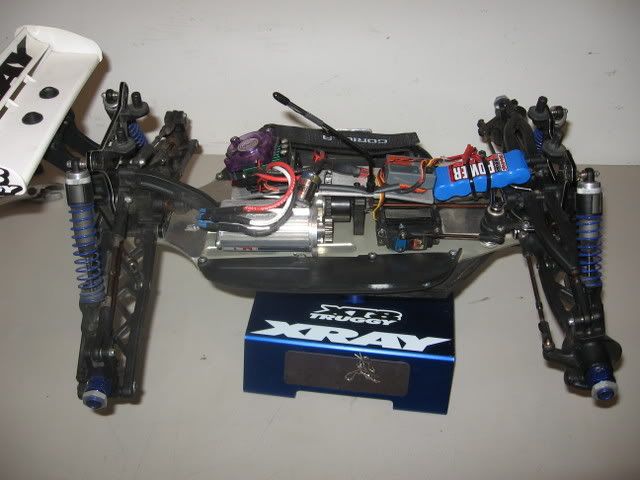
my rc8 now with homemade top plate


 11-16-2008, 01:46 PM
#7
Tech Apprentice
I have yet to see a lipo detonate. I've heard all of these tales of death and destruction but not once have I seen one even smoke. Conventional batteries are a different story. We still have pieces of a Nimh receiver pack stuck to the roof of our pit area. They went off like a string of fire crackers, big ones. You could here it from a hundred yards away. I think it's just down right funny that people are scared of Lipos. Just showing up to a track that has 10lb cars flying around at 30+Mph controlled by a radio is 100 times more dangerous than a lipo pack. LOL Oh well, maybe your track owner will get over his fear and allow normal packs someday. Besides all that does anyone sincerely believe that a plastic box will contain the energy of a 4s 5000 lipo battery if it does decide to go postal? If anything it seems like it would cause a larger bang and it will leave a puddle of molten plastic after its done.
Just venting! Yall have a nice day and enjoy smoking those nitros, I know I am.
Just venting! Yall have a nice day and enjoy smoking those nitros, I know I am.
11-16-2008, 03:53 PM
#8
Hey entjoles,
I have prepped my xb8 setup to run with mechanical brakes if I want to. Not sure if I will though as it seems ok with motor brakes for the moment and it looks real neat. Do you like it better with mech' brakes?
I have prepped my xb8 setup to run with mechanical brakes if I want to. Not sure if I will though as it seems ok with motor brakes for the moment and it looks real neat. Do you like it better with mech' brakes?
11-16-2008, 04:00 PM
#9
I have yet to see a lipo detonate. I've heard all of these tales of death and destruction but not once have I seen one even smoke. Conventional batteries are a different story. We still have pieces of a Nimh receiver pack stuck to the roof of our pit area. They went off like a string of fire crackers, big ones. You could here it from a hundred yards away. I think it's just down right funny that people are scared of Lipos. Just showing up to a track that has 10lb cars flying around at 30+Mph controlled by a radio is 100 times more dangerous than a lipo pack. LOL Oh well, maybe your track owner will get over his fear and allow normal packs someday. Besides all that does anyone sincerely believe that a plastic box will contain the energy of a 4s 5000 lipo battery if it does decide to go postal? If anything it seems like it would cause a larger bang and it will leave a puddle of molten plastic after its done.
Just venting! Yall have a nice day and enjoy smoking those nitros, I know I am.
Just venting! Yall have a nice day and enjoy smoking those nitros, I know I am.
11-16-2008, 05:13 PM
#11
i liked it alot , it was on a xt8 truggy , which really helped make downsiding jumps more consistant , and bring the rear end around in tight corners
if you need a spacer for the brakes , rc-monster has a spacer that allows the use of mech. brakes
heres the link , just select .25" brake spacer when ordering , it looks similar to the one in the pic , but it has a radius cut in it to
allow for brake disk clearance
here is a good thread on the subject
http://www.rc-monster.com/forum/showthread.php?t=10437
part
http://www.rc-monster.com/proddetail...rontmotorcover
Last edited by entjoles; 11-16-2008 at 05:21 PM. Reason: added info
11-16-2008, 08:41 PM
#13
i liked it alot , it was on a xt8 truggy , which really helped make downsiding jumps more consistant , and bring the rear end around in tight corners
if you need a spacer for the brakes , rc-monster has a spacer that allows the use of mech. brakes
heres the link , just select .25" brake spacer when ordering , it looks similar to the one in the pic , but it has a radius cut in it to
allow for brake disk clearance
if you need a spacer for the brakes , rc-monster has a spacer that allows the use of mech. brakes
heres the link , just select .25" brake spacer when ordering , it looks similar to the one in the pic , but it has a radius cut in it to
allow for brake disk clearance
Will take some pics when I pull it apart and show you later.
Last edited by eXraycer; 11-16-2008 at 09:00 PM.
11-16-2008, 08:55 PM
#14
Has anyone done Carbon fibre box?
Or perhaps a box where you drop in your battery and it plugs itself into the circuit, sort of like a cordless drill battery would?
Or perhaps a box where you drop in your battery and it plugs itself into the circuit, sort of like a cordless drill battery would?
Last edited by eXraycer; 11-29-2008 at 04:08 PM.
11-17-2008, 04:38 PM
#15
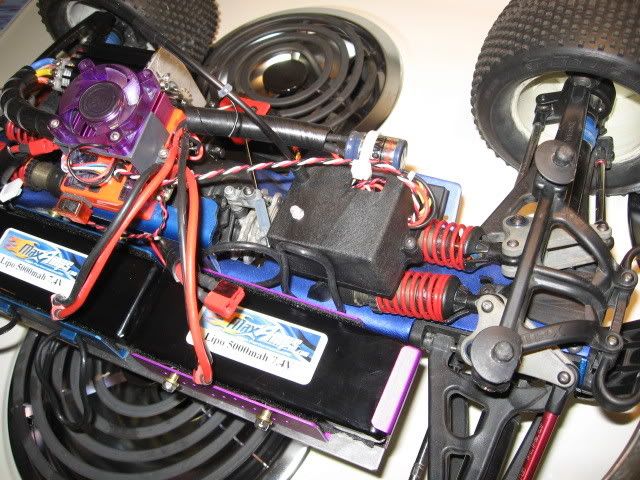
My battery box design came about for three reasons;
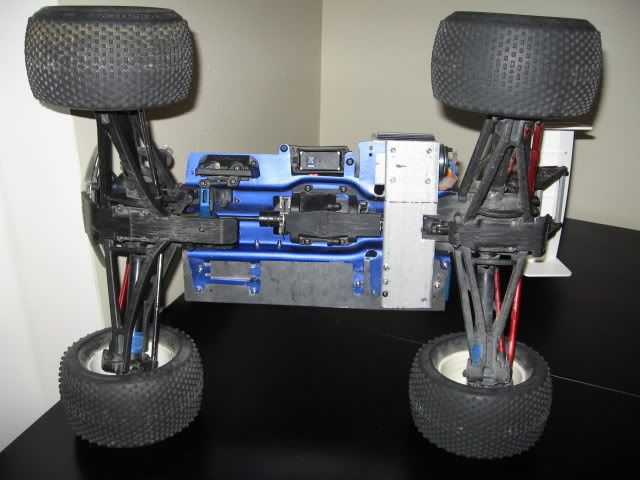
1. I like to strip the car down quickly for cleaning and maintenance
2. I wanted a full height front stop incase I lawn darted the car.
3. I hope to change the batteries quickly and securely if I did race for longer than 15 minutes so I made two identical boxes - one for each battery i own. It's easy to replicate the box now that I have the design sorted.
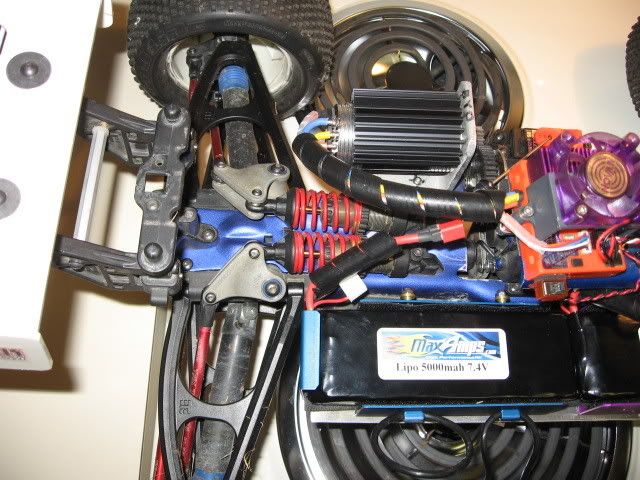
It looks a lot heaver than it really is because I milled out all the central side area and inside base quite thin but the edges are 3mm so it retains a lot of rigidity for heavy hits.

The threaded base washers locate the tray for shear forces because there is a milled out female socket under the tray.

The battery basically sits right on the side bumper. I had to remove two bumper fixing nuts between the bat tray and bumper to lower the cg another 4mm. I replaced it with one countersunk 4mm screw from the top and threaded it into the aluminium chassis


The knurled knobs are only 19g each. They work a treat but I guess you could use nylock nuts if you really want to save weight.

The felt strips are just an idea i had to get some air circulation around the battery and dissipate heat, I will drill some strategically placed holes underneath the tray to create a bit of convection cooling effect.

1. I like to strip the car down quickly for cleaning and maintenance
2. I wanted a full height front stop incase I lawn darted the car.
3. I hope to change the batteries quickly and securely if I did race for longer than 15 minutes so I made two identical boxes - one for each battery i own. It's easy to replicate the box now that I have the design sorted.
It looks a lot heaver than it really is because I milled out all the central side area and inside base quite thin but the edges are 3mm so it retains a lot of rigidity for heavy hits.
The threaded base washers locate the tray for shear forces because there is a milled out female socket under the tray.
The battery basically sits right on the side bumper. I had to remove two bumper fixing nuts between the bat tray and bumper to lower the cg another 4mm. I replaced it with one countersunk 4mm screw from the top and threaded it into the aluminium chassis
The knurled knobs are only 19g each. They work a treat but I guess you could use nylock nuts if you really want to save weight.
The felt strips are just an idea i had to get some air circulation around the battery and dissipate heat, I will drill some strategically placed holes underneath the tray to create a bit of convection cooling effect.