


 100Likes
PROTOform Race Bodies
 02-03-2014, 07:04 PM
#211
Easiest way to prevent tearing of the fenders is to reduce the amount of space between the bumper and the front of the body. If you reduce that space, the body won't flex on impact. The tearing of the lexan in the fenderwells is the result of the body flexing too much on impact, which weakens the lexan and allows it to tear. I typically leave about a 2mm space between the front valance and the bumper mounted on the chassis, and my bodies tend to last for several months.
 02-03-2014, 09:54 PM
#212

yes, i realize that since i run the body 10mm past the front bumper it is more of a risk for body damage but its much better for the steering characteristic that it gives me, can never seem to get enough steering but the ltc is WAY too inconsistent is the p37 the inbetween? or maybe the gx?
02-04-2014, 08:19 PM
#213
Another way is to add or extend the foam on the bumper plate. You can use any high density foam and them form/shape it with a dremel tool or knife. That way you keep the aerodynamic properties where you want it and reduce the front flex and hopefully reduce the cracking.
02-05-2014, 03:42 PM
#214
The GX has a large amount of space between most TC bumpers and the front valance. I use 3 small pads glued to the bumper to remove the excess space, which has proven to be quite effective in keeping the body intact (see picture).
 02-06-2014, 02:06 AM
#216
 02-06-2014, 09:41 AM
#217
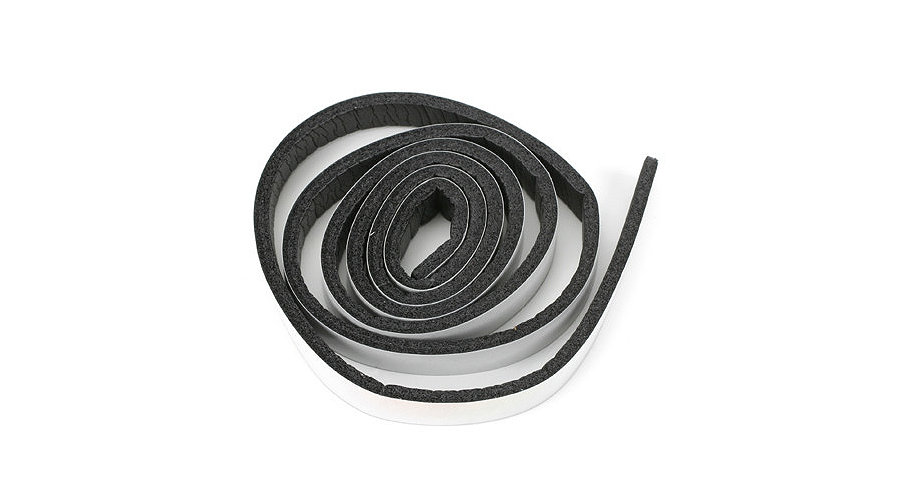
OR go to Home Depot or any of those home improvement places and pick up some door seal tape. They make all types of thickness as well as different densities of foam.........and probably cheaper.
02-06-2014, 09:57 AM
#218
02-06-2014, 06:22 PM
#219
Hm maybe I didnt mount mine forward far enough its probably only a few mm maybe 4mm off of the bumper did you cut the rear of your body after the rear wheels? Or is it the longest?
02-07-2014, 07:44 AM
#220
Another tip to increase the life of your bodies...
Eliminating any sharp edges in the wheel opening by sanding will reduce places for cracks to form. I've found that just using curved scissors can leave sharp edges. Smoothing the cut with sand paper, or better yet a sanding drum, will leave a nice smooth wheel opening with no edges for cracks to form.
PL makes that fancy new sanding drum, but I've made one by gluing sand paper to an old 12th scale wheel and attaching it to a dremel bit.
02-18-2014, 08:25 AM
#221
Tech Initiate
iTrader: (1)
I wanted to paint my AMR-12 to match the original LMP car .
So far I've found decals to match the original LMP car but I can't get my head around the exact colours used as in this presentation picture
http://www.redrc.net/wp-content/uplo...ormamr12-3.jpg
Anybody has a clue what paint or colours were used ?
Thanks,
Erik
So far I've found decals to match the original LMP car but I can't get my head around the exact colours used as in this presentation picture
http://www.redrc.net/wp-content/uplo...ormamr12-3.jpg
Anybody has a clue what paint or colours were used ?
Thanks,
Erik
02-18-2014, 05:21 PM
#223
I wanted to paint my AMR-12 to match the original LMP car .
So far I've found decals to match the original LMP car but I can't get my head around the exact colours used as in this presentation picture
http://www.redrc.net/wp-content/uplo...ormamr12-3.jpg
Anybody has a clue what paint or colours were used ?
Thanks,
Erik
So far I've found decals to match the original LMP car but I can't get my head around the exact colours used as in this presentation picture
http://www.redrc.net/wp-content/uplo...ormamr12-3.jpg
Anybody has a clue what paint or colours were used ?
Thanks,
Erik
I would start with these:
Faskolor Skyblue - http://parmapse.shptron.com/p/faskyblue?pp=15
Faskolor Blue - http://parmapse.shptron.com/p/fasblue?pp=15
Faskolor Orange - http://parmapse.shptron.com/p/fasorange?pp=15
When testing the colors you want to test them with the backing color you will use as well. I would use white. That will help to lighten up the sky-blue and brighten the others.

 02-19-2014, 05:47 AM
#225
I paint my bodies with acrylic paint, not enamel due to the price difference. I have found it holds up better than the enamel and is slightly lighter because you can spray it thinner while still having it cover the same amount. I air brush it on, the only difference i found is that the acrylic is a bit thicker to start with, (you get more in the bottle than way) and so I water it down more when i mix it to spray. I get my paint at Hobby Lobby, or Michael, an artsy store, really the selection in those places is like 15 times more than the selection of the fast colors, and its aprox, a buck a bottle. Anyways you could probably find a color close to the one you wanted without tearing out your hair trying to find it on the internet, at a fraction of the price. For my offroad bodies I use a sealer, as we are cleaning them with water, and getting the dirt off of them. My Short Course body has held up well all summer, cleaning it after each round GENTLY no need for the power washer.... no offense to fast color but 6 bucks for a 2 oz bottle is expensive but they do have some cool colors