


 10Likes
TLR TEN-SCTE 2.0 Kit Thread
 03-06-2013, 02:06 PM
#1366
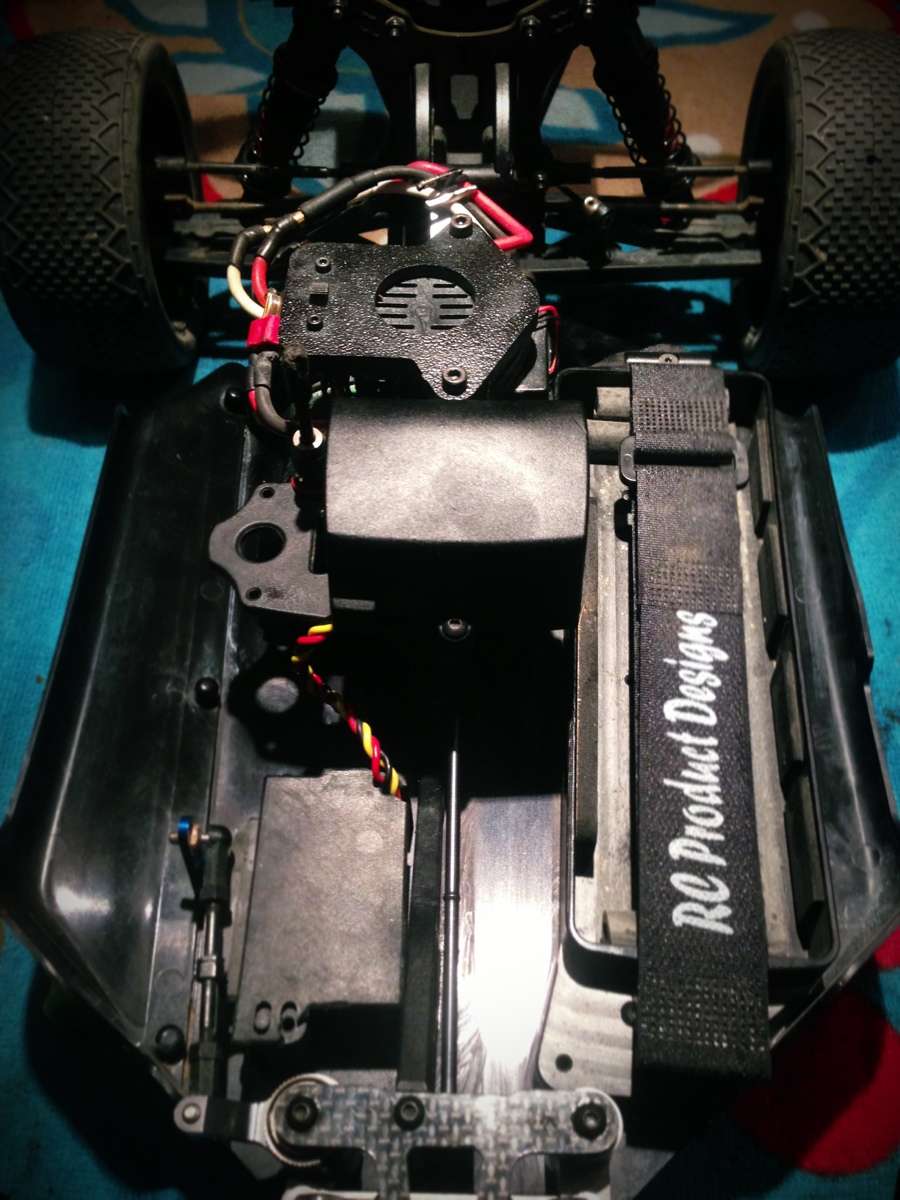
Fair enough on the esc post I'll just leave them exposed, not a big deal anyways
 03-06-2013, 03:25 PM
#1367
Tech Apprentice
Well when I search the RX8 forum this is what I find and I'm sorry to say it conflicts with your statement and that IS from Tekin!

Soldering is an art and one of our biggest concerns on this unit. A bad or cold flow solder joint can allow the wire to break off and weld to the next post. The joints need to be good and take some care to get right. Covering them with shrink wrap is also a good idea. If you preheat the parts and do not have toooo much solder on them it will flow in 2 sec.
In general it is almost impossible to de-solder the post from the circuit board even with direct heat on the bottom of the solder post. The circuit board is such heavy copper and so many layers it just soaks up the heat. You would have to get the entire power board hot enough to also melt the solder on the fets. We are not even able to do this very well with our specialized solder equipment. The solder post actually go thru the reflow oven with all the parts and it is all soldered at once�. for ever.
The post are designed to hold a molten blob of solder in them like a little solder pot. 12awg wire will just fit in the slot. It was designed with 10awg in mind, but they will sit above the slots. We really do not think 10awg is needed for an aggressive race speed setup. 50mph basher setups might justify it.
You can always flow the solder in the slot and bang it upside down on the table to clean it out and start over until they are nice and shiny everywhere and flowed to pin all the way around. It is a lot of mass to heat and cools the tip quickly. We often even us 2 solder irons, 1 to preheat and get close and then hit with a fresh hot iron and it all flows quickly and completely.
The fan needs to be removed when soldering for good access. We will post some video of suggested methods that work well.
The unit is designed to be able to have 4mm female connectors instead of solder posts. We can release this version anytime if there is enough request. For now they all have solder posts.
However in looking at the RX8 design, I could understand the bottom half of the posts benefiting from not having any shrink because the air produced from the fan will flow through the heatsink and hit the posts directly. How much of a difference would make a great science experiment, but either way it sounds like the ESC can take the abuse 
Soldering is an art and one of our biggest concerns on this unit. A bad or cold flow solder joint can allow the wire to break off and weld to the next post. The joints need to be good and take some care to get right. Covering them with shrink wrap is also a good idea. If you preheat the parts and do not have toooo much solder on them it will flow in 2 sec.
In general it is almost impossible to de-solder the post from the circuit board even with direct heat on the bottom of the solder post. The circuit board is such heavy copper and so many layers it just soaks up the heat. You would have to get the entire power board hot enough to also melt the solder on the fets. We are not even able to do this very well with our specialized solder equipment. The solder post actually go thru the reflow oven with all the parts and it is all soldered at once�. for ever.
The post are designed to hold a molten blob of solder in them like a little solder pot. 12awg wire will just fit in the slot. It was designed with 10awg in mind, but they will sit above the slots. We really do not think 10awg is needed for an aggressive race speed setup. 50mph basher setups might justify it.
You can always flow the solder in the slot and bang it upside down on the table to clean it out and start over until they are nice and shiny everywhere and flowed to pin all the way around. It is a lot of mass to heat and cools the tip quickly. We often even us 2 solder irons, 1 to preheat and get close and then hit with a fresh hot iron and it all flows quickly and completely.
The fan needs to be removed when soldering for good access. We will post some video of suggested methods that work well.
The unit is designed to be able to have 4mm female connectors instead of solder posts. We can release this version anytime if there is enough request. For now they all have solder posts.
03-06-2013, 03:28 PM
#1368
Suspended
I've been covering mine with heatshrink for as long as I've had ESC's with exposed posts with no ill effects (I always thought the heatsink was for dissapating heat).
Let me also clarify, I don't do it for appearance purposes, I only do it to the middle wire going to the motor and one of the two battery leads.
Why?
Because the first time I used a ESC with exposed terminals I overgeared my motor (new set-up), for the track I was running and I lost a solder joint (neg battery terminal), and as the car died on the track, and as a marshall reached down to pick it up, the wire fell over against the positive terminal - and needless to say much sparking took place before I was able to get to the car and remove the body and unplug the battery.
I felt lucky that all I did was short out a cheap practice pack, and not an expensive race pack, and didn't kill the ESC.
Have I had anything like that happen since? No.
But the peace of mind the added protection gives me, well, until I start burning up speedos or one of the techs from one of the majors tells me the error in my ways and how bad it is, I'm going to keep on like I have been for the last few years.
03-06-2013, 03:33 PM
#1369

Well when I search the RX8 forum this is what I find and I'm sorry to say it conflicts with your statement and that IS from Tekin!
However in looking at the RX8 design, I could understand the bottom half of the posts benefiting from not having any shrink because the air produced from the fan will flow through the heatsink and hit the posts directly. How much of a difference would make a great science experiment, but either way it sounds like the ESC can take the abuse
However in looking at the RX8 design, I could understand the bottom half of the posts benefiting from not having any shrink because the air produced from the fan will flow through the heatsink and hit the posts directly. How much of a difference would make a great science experiment, but either way it sounds like the ESC can take the abuse
03-06-2013, 03:43 PM
#1370
Tech Master
iTrader: (25)
As for setups in this car here is what i plan on running:
Mamba Max Pro
Castle 1410 3800kv 4-pole
HiTech 7954sh (403oz / 0.12sec)
Spektrum SR3300t with cap
Any issues with that? I know running the cap is going to be a pain since theres no rx box like on the jammin on other cars but ill make due...
I will miss this clean layout though =(
Mamba Max Pro
Castle 1410 3800kv 4-pole
HiTech 7954sh (403oz / 0.12sec)
Spektrum SR3300t with cap
Any issues with that? I know running the cap is going to be a pain since theres no rx box like on the jammin on other cars but ill make due...
I will miss this clean layout though =(
03-06-2013, 03:47 PM
#1371
ok, started on the front last night and built the first diff and i dont know if its me or not, maybe screws are too tight but i tightened down the screws and even backed them off some and it still doesnt "seem like butter" as some say...if i turn the drives i feel the notches of the gears and dont know if this is normal or not. IF i back them out too much more they dont sit flush on the ring gear
Give me a break as this is my first kit and want to make sure i built it right and why im asking before getting too far and find out its wrong
Give me a break as this is my first kit and want to make sure i built it right and why im asking before getting too far and find out its wrong
03-06-2013, 04:01 PM
#1372
ok, started on the front last night and built the first diff and i dont know if its me or not, maybe screws are too tight but i tightened down the screws and even backed them off some and it still doesnt "seem like butter" as some say...if i turn the drives i feel the notches of the gears and dont know if this is normal or not. IF i back them out too much more they dont sit flush on the ring gear
Give me a break as this is my first kit and want to make sure i built it right and why im asking before getting too far and find out its wrong
Give me a break as this is my first kit and want to make sure i built it right and why im asking before getting too far and find out its wrong
Here is a good video to watch on gear diffs.
http://www.youtube.com/watch?v=DbOfV5J5Z0k
Leave the large washers in though. (removing the large washers only works with the 8ight diffs.)
03-06-2013, 04:04 PM
#1373
I don't like covering the solder posts with anything because I've seen so many cold solder joints pop loose and be held in by NOTHING more than the heat shrink causing more damage than it was preventing....
03-06-2013, 04:16 PM
#1374
The diffs should feel real smooth. Do all three feel the same way?
Here is a good video to watch on gear diffs.
http://www.youtube.com/watch?v=DbOfV5J5Z0k
Leave the large washers in though. (removing the large washers only works with the 8ight diffs.)
Here is a good video to watch on gear diffs.
http://www.youtube.com/watch?v=DbOfV5J5Z0k
Leave the large washers in though. (removing the large washers only works with the 8ight diffs.)
03-06-2013, 04:29 PM
#1377
So the transponder is also 'glued' to the side panel of the servo wall? Next to the RX?
Why not a dedicated area for the transponder being TLR now? Can I just use the base with the 3 screws from the transponder or the screws will touch the servo?
I was also thinking on using the plastic shrink that its used when building batteries and then shoo goo'it for dirt protection.
Ohh yeah chassis debate will come in about a month, for now its just receiver mounting LOL
03-06-2013, 04:34 PM
#1378
Tech Master
iTrader: (25)
So the transponder is also 'glued' to the side panel of the servo wall? Next to the RX?
Why not a dedicated area for the transponder being TLR now? Can I just use the base with the 3 screws from the transponder or the screws will touch the servo?
I was also thinking on using the plastic shrink that its used when building batteries and then shoo goo'it for dirt protection.
Ohh yeah chassis debate will come in about a month, for now its just receiver mounting LOL
Why not a dedicated area for the transponder being TLR now? Can I just use the base with the 3 screws from the transponder or the screws will touch the servo?
I was also thinking on using the plastic shrink that its used when building batteries and then shoo goo'it for dirt protection.
Ohh yeah chassis debate will come in about a month, for now its just receiver mounting LOL
Ill pro drill 2 tapered screw holes to mount my esc
03-06-2013, 05:38 PM
#1379
ok, started on the front last night and built the first diff and i dont know if its me or not, maybe screws are too tight but i tightened down the screws and even backed them off some and it still doesnt "seem like butter" as some say...if i turn the drives i feel the notches of the gears and dont know if this is normal or not. IF i back them out too much more they dont sit flush on the ring gear
Give me a break as this is my first kit and want to make sure i built it right and why im asking before getting too far and find out its wrong
Give me a break as this is my first kit and want to make sure i built it right and why im asking before getting too far and find out its wrong
I know your talking about the HD diffs well my wasnt real smooth ethier when they where together but run it a few times and trust me there like butter ! So yea if you can feel the mesh i wouldnt worry about it.