


Pantoura, 1/10 Pan Car, 2S LiPo, Brushless, Tips and Tricks.
 11-17-2008, 06:18 AM
#2116
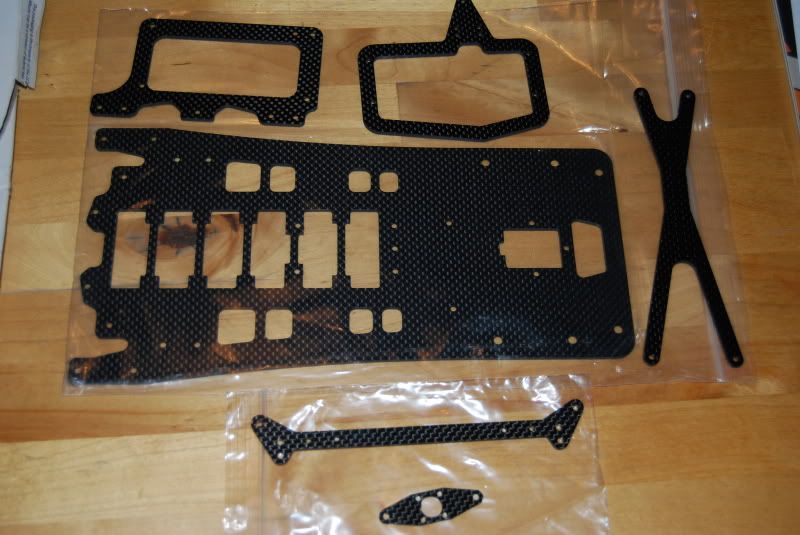
Im letting the pic speak for it self...

 11-17-2008, 03:17 PM
#2117

Hmm, that first word doesn�t sound very much like english. 
Don�t know what you mean with that picture....
wait......finally you have all parts for that graphite puzzle
Don�t know what you mean with that picture....
wait......finally you have all parts for that graphite puzzle
11-18-2008, 10:43 AM
#2118
Thank you Doug!!
11-18-2008, 12:05 PM
#2120
I like it to John. Build pics after newyear..in the middle of moving..
11-22-2008, 04:23 AM
#2121
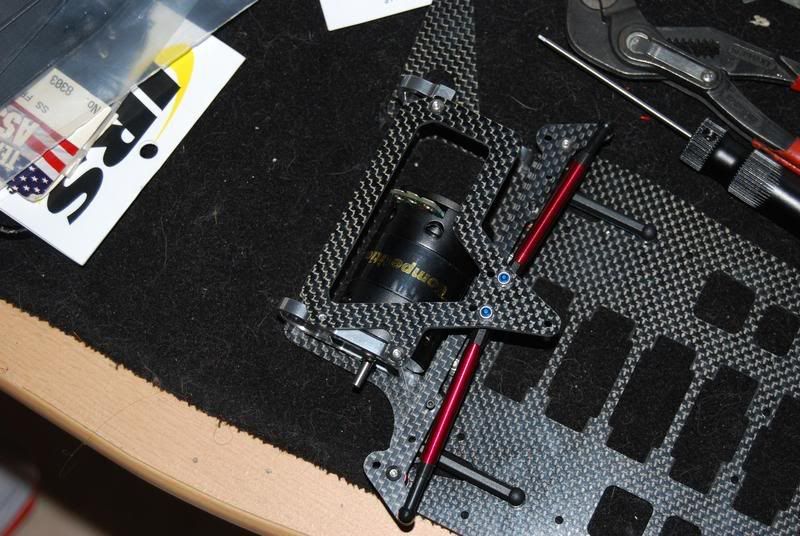
This is the wide Pantoura I did build with the PRC parts.
Some things are different than with the original one.
The rear cross brace is just used for the sidesprings now so springs could be changed after removing 2 screws. Tubes and bodyposts are sitting now on better positions at the triangular pieces looking similar to the nerfbars from the RC10L cars but mounted higher now.
2 standoffs are used for each so this is very strong and stiff, also the nerfbars stay in places when the cross brace is removed for changing sidesprings.
I don�t like sideshocks very much as these always have some rebound, sometimes not, sometimes not even for both. Choosing a good tube, with an optimized position is working better in my opinion. The old Calandra are very good.
An U-shape batteryfixing system is used at the chassis so the battery cannot move sideways. This can�t be seen very good in the pictures.
For the batteryplate the original one wouldn�t work with my Lipo batteries as the connectors are in different places on some of them. The triangular design was choosen because of this also I wanted a little more flex in the chassis as it�s usually when 4 standoffs are used. Maybe I will try using the batteryplate from the Gen X-10 later but anyway I didn�t get one when the car was build.
Actually I had planned using graphite for the "nerfbars" and batteryplate but I got some bad quality graphite so did choose glassfibre as I had this laying around here. Looks a little provisional currently but it works what is the only important. These will be replaced later.
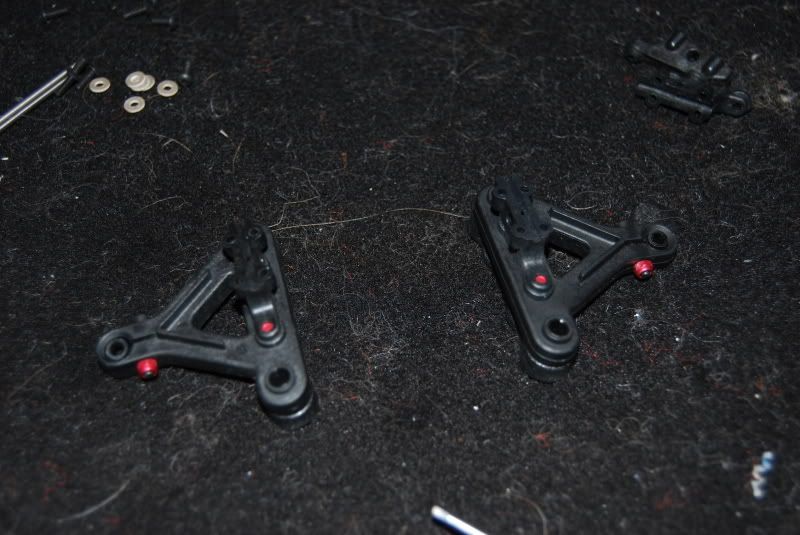
Low rollcenter pivot and different sidelinks were used. I think smoothness and playfree here make a big difference in handling. The original are not that good. If you want the sidelinks as onepiece units as the original I found RPM makes different ones what are much stronger. I did choose 3 piece links what are adjustable.
The centershock is a large size similar to Tamiya. I think works better than the smaller.
For the frontend inline axles were used instead of the usual trailing type. It�s more direct and a little more steering.
Some things are different than with the original one.
The rear cross brace is just used for the sidesprings now so springs could be changed after removing 2 screws. Tubes and bodyposts are sitting now on better positions at the triangular pieces looking similar to the nerfbars from the RC10L cars but mounted higher now.
2 standoffs are used for each so this is very strong and stiff, also the nerfbars stay in places when the cross brace is removed for changing sidesprings.
I don�t like sideshocks very much as these always have some rebound, sometimes not, sometimes not even for both. Choosing a good tube, with an optimized position is working better in my opinion. The old Calandra are very good.
An U-shape batteryfixing system is used at the chassis so the battery cannot move sideways. This can�t be seen very good in the pictures.
For the batteryplate the original one wouldn�t work with my Lipo batteries as the connectors are in different places on some of them. The triangular design was choosen because of this also I wanted a little more flex in the chassis as it�s usually when 4 standoffs are used. Maybe I will try using the batteryplate from the Gen X-10 later but anyway I didn�t get one when the car was build.
Actually I had planned using graphite for the "nerfbars" and batteryplate but I got some bad quality graphite so did choose glassfibre as I had this laying around here. Looks a little provisional currently but it works what is the only important. These will be replaced later.
Low rollcenter pivot and different sidelinks were used. I think smoothness and playfree here make a big difference in handling. The original are not that good. If you want the sidelinks as onepiece units as the original I found RPM makes different ones what are much stronger. I did choose 3 piece links what are adjustable.
The centershock is a large size similar to Tamiya. I think works better than the smaller.
For the frontend inline axles were used instead of the usual trailing type. It�s more direct and a little more steering.
Where did you get that front bumper from ?
11-22-2008, 05:16 AM
#2122
The frontbumper is from the RC10LS or RC10L2. There are different sizes I did choose the medium size. I think you will find that also on the partslist at least on the manual from the RC10L2.
11-22-2008, 11:18 AM
#2123
CRC gen 10 front end...
PRC have done a great job here!!

PRC have done a great job here!!
01-31-2009, 02:13 AM
#2124
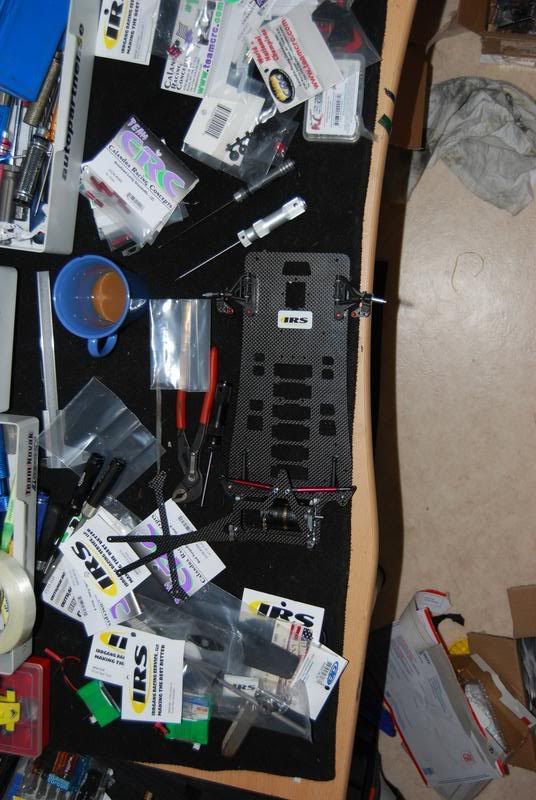
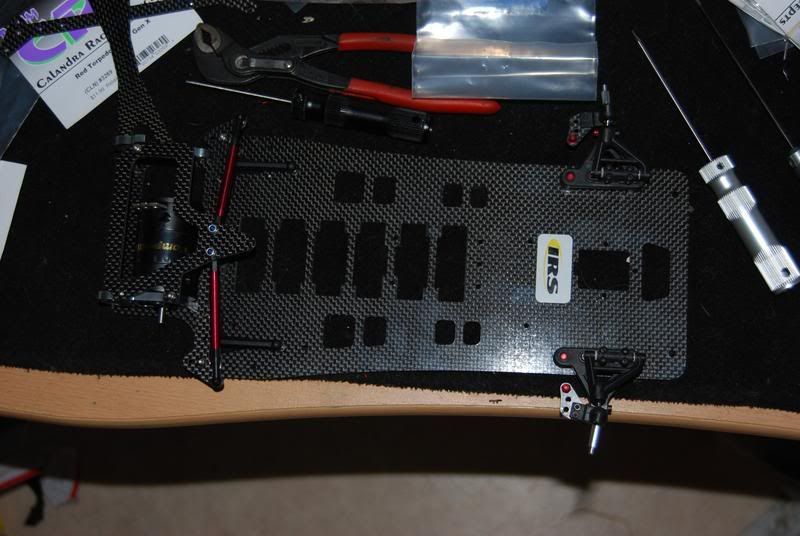
Recived my toppodplates from PRC, thanks Doug!!.just sitting and "playing" witk some mounts...will be needing some nerfwings to get my crossbar higher...
ANy ideas if Kos "best 1:12" servo can handle this car ? (3kg) or is a 2413 the only option...
ANy ideas if Kos "best 1:12" servo can handle this car ? (3kg) or is a 2413 the only option...
01-31-2009, 10:16 AM
#2125
very nice. You are getting close to a test. You can use a couple of washers under the rear posts to raise it up while you hunt down some nerf wings. I did not find the original Pantoura Nerf Wing on the CRC site. Here is a nerfwing from the Darkside that might bolt on. Note that I built up and installed a body on a new wide pan on my CRC thread. There may be some tips there for you.
John
John
02-01-2009, 01:29 AM
#2126
Thank you John, il be "moving" in to ya thread asap. (just finish my breakfast)
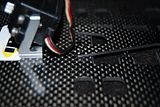
Not sure yet with my batteryplate :/..i have one, but that will perfectly fit for the front holes (batteslots, in pics) and the 2 of the "football" mount...so to use this strap, i have to move it forward a few mm ?
I can ofcourse do a new Mount of my self, but..
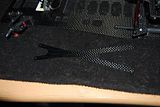
Here is some pics. (click pic for bigger size)

Not sure yet with my batteryplate :/..i have one, but that will perfectly fit for the front holes (batteslots, in pics) and the 2 of the "football" mount...so to use this strap, i have to move it forward a few mm ?
I can ofcourse do a new Mount of my self, but..
Here is some pics. (click pic for bigger size)


Last edited by Thomas P; 02-01-2009 at 01:39 AM. Reason: Adding pictures..
02-01-2009, 08:07 AM
#2127
Hi together
I just uploaded some videos on my youtube portal http://de.youtube.com/user/stecher111 from a Pro10 race held in Metteheim in south Germany. Its in fact a very nice Racetrack with some challenging corners
You can see some Tips & Tricks Videos from me as well, all around Pro10.
Unfortunately the are in German. However when I'm trough with all the Videos I will start to translate them into English to
enjoy
03-14-2009, 12:10 PM
#2128
@Thomas P ....Did you finish the pantoura?
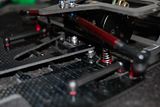
Can someone tell me what length those side links are? I see two holes in Thomas chassis for the side links, thomas is using the first hole for the side links but there is one further away as well. What is the distance of that plastic side link and how far is the second hole from the bottom pod plate's hole? Distance in milimeters would be appreciated :-)
Edit: i have plans to buy the pantoura wide chasis as well an i have some jato links here
03-15-2009, 07:22 AM
#2130
Thanks john,
i have 6 adjustable links from jato. 4 are the same size and 2 are longer. They are the same size as you used in your link car. i see now that they are to big .... 79mm is the smallest size i can make, this is from the middle of the pivotball to pivotball. So i should get some smaller ones then or dril a hole further away. I cant' really see it but if i dril a hole further away say 80mm from the bottom pod plate to the hole on the chasis will that come near the cut out in the chasis?
edit: Maybe it is a good idea to use a strip of carbon and fix that on the chasis with the 2 screws in the original holes and on that piece of carbon i can fix the links further away. In that way i don't need to dril anything on the chasis.
I am quite interested in that link car of yours with the panhardbar and i have plans to build one of my own. I am thinking to use the pantoura chasis for that. I see you used the crc car for that now. You put the side links at an angle on your chasis. Will that not interfere with the working of the links or doesn't that matter to much?
Thanks
Last edited by 2wdrive; 03-15-2009 at 07:43 AM.