


First time ever Airbrushing RC bodies…
 04-21-2013, 06:12 PM
#1

Been doing spray can jobs with relative success and pretty good results. Now I decided to up the anti and challenge myself to do better on my B4.2 and T4.1 as I figured they deserved better. LOL
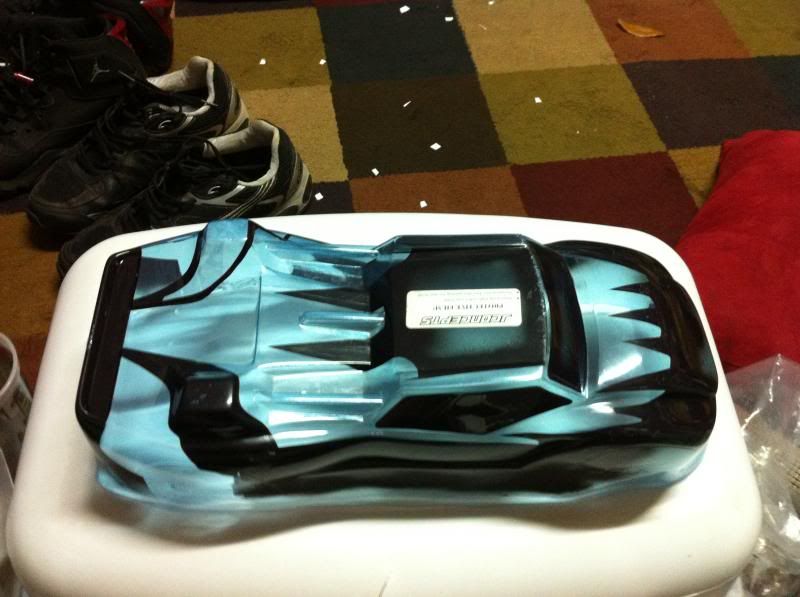
Anyhow, first up is my Truck body… It was a bit tough remembering what masks to pull off when as I lost track a couple of times, and subsequently I did indeed end up pulling one prematurely and has to re-mask that area so as to not botch the job. (2nd pic)
Here is the first shot of my striping. so far so good, nice and sharp and crisp

This is where it got tricky and I pulled off the wrong mask and had to re-mask until it was time today down the white:
Laid down my drawer liner and misted in the pattern and then laid down my blue:


I got a bit busy and it was getting late and O forgot to snap pics of some steps so here's the rest of them with the job completed:

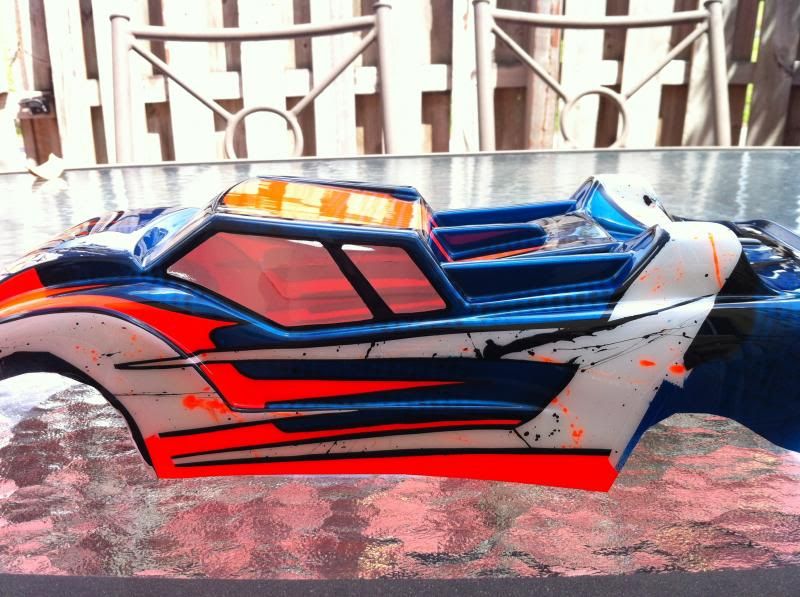
Keep in mind this was my first time EVER airbrushing an RC body but please feel free to critique and tear my work apart. As with anything, I will get better with time. My buddy's B44.2 looks like will be my next one. it's the least I can do as he loaned me his airbrush and compressor for all this.
Buggy pics int he next post!
Anyhow, first up is my Truck body… It was a bit tough remembering what masks to pull off when as I lost track a couple of times, and subsequently I did indeed end up pulling one prematurely and has to re-mask that area so as to not botch the job. (2nd pic)
Here is the first shot of my striping. so far so good, nice and sharp and crisp
This is where it got tricky and I pulled off the wrong mask and had to re-mask until it was time today down the white:
Laid down my drawer liner and misted in the pattern and then laid down my blue:
I got a bit busy and it was getting late and O forgot to snap pics of some steps so here's the rest of them with the job completed:
Keep in mind this was my first time EVER airbrushing an RC body but please feel free to critique and tear my work apart. As with anything, I will get better with time. My buddy's B44.2 looks like will be my next one. it's the least I can do as he loaned me his airbrush and compressor for all this.
Buggy pics int he next post!
 04-21-2013, 06:19 PM
#2
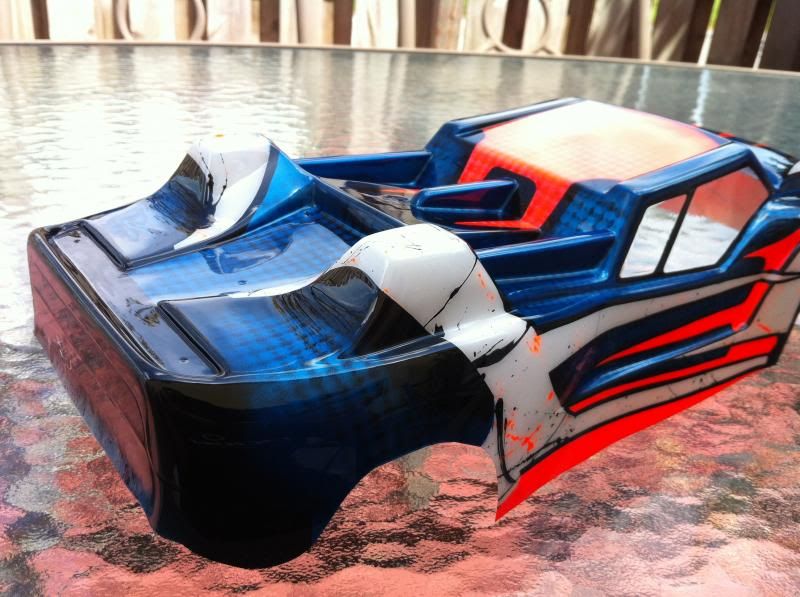
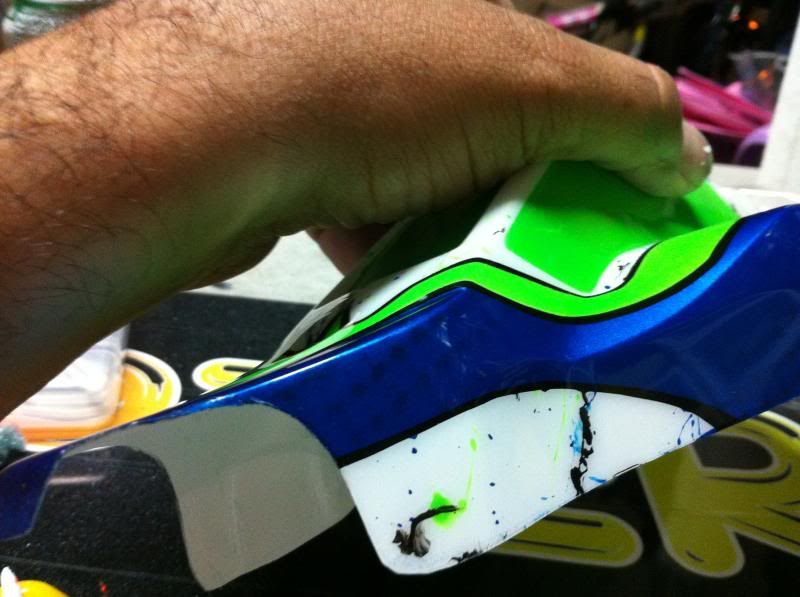
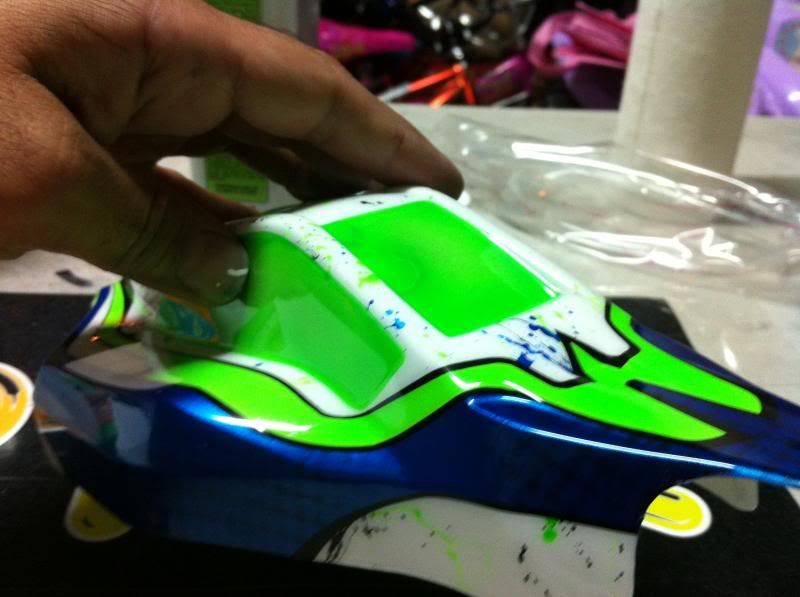
Here's the B4.2 Body.
Forgot to snap pics early on in the job but the design principals are similar.
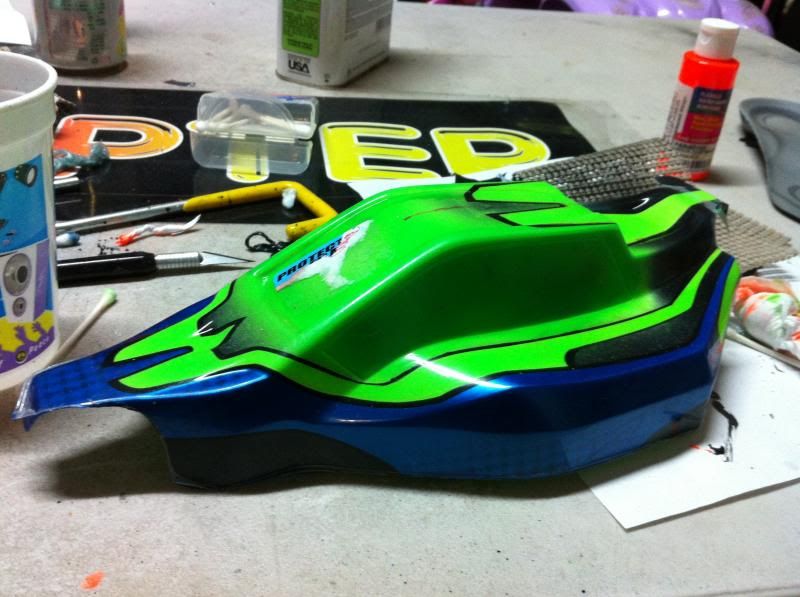
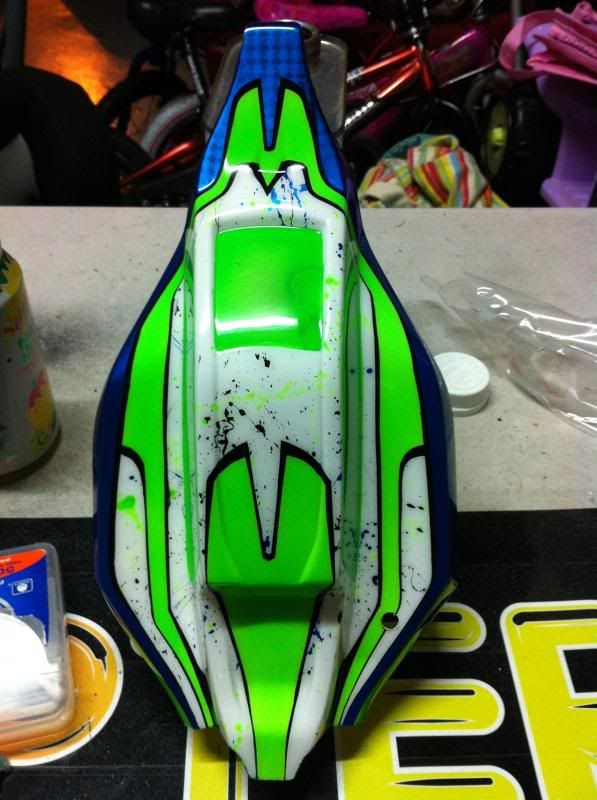
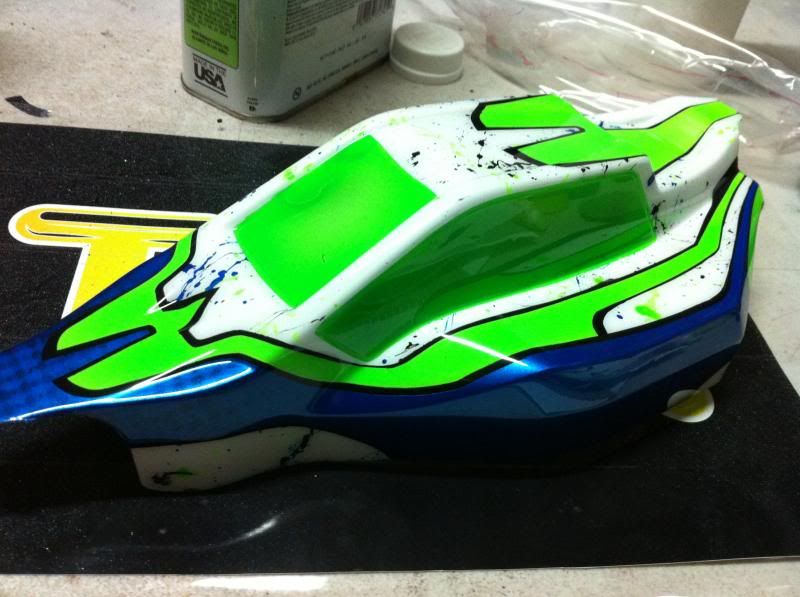
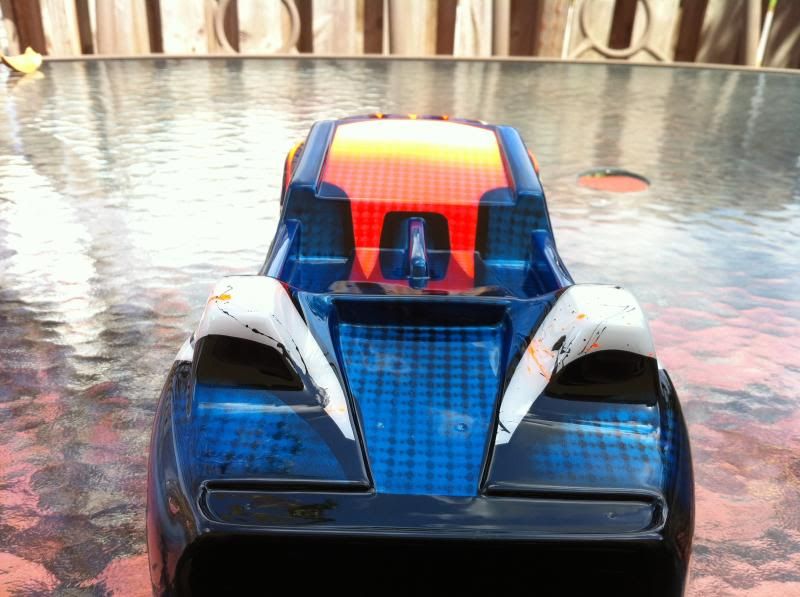
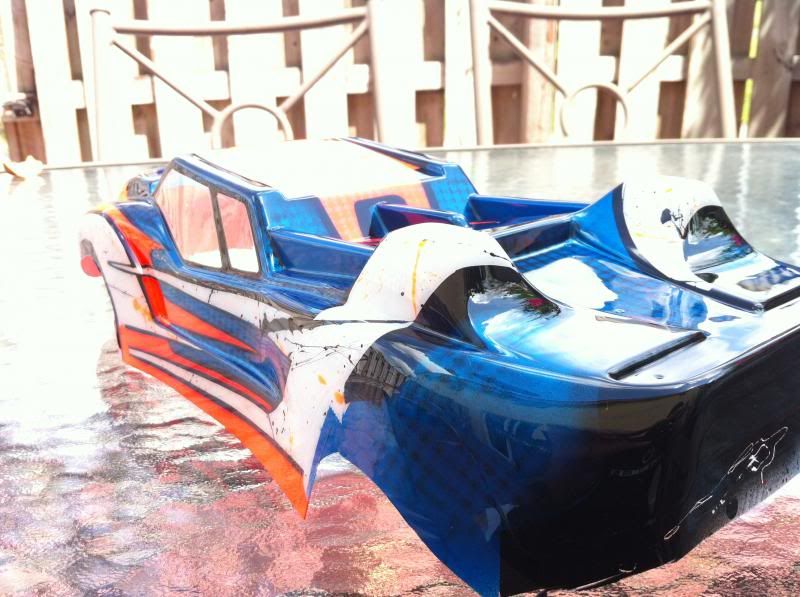
These show the splatter detail a bit better:
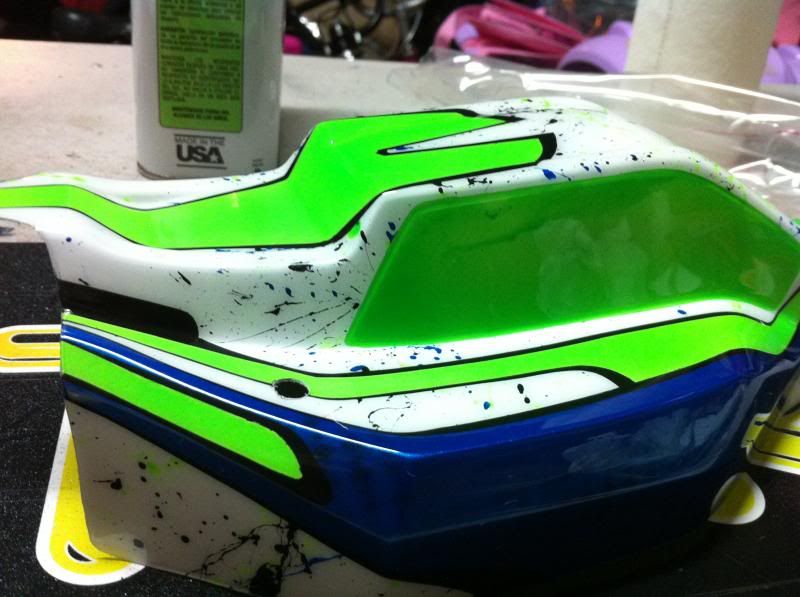
And the finished product with matching wing:
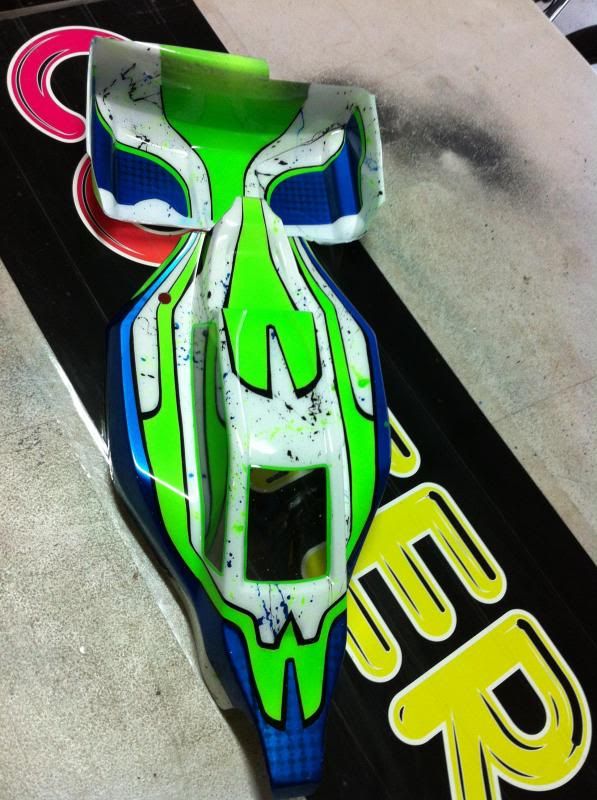
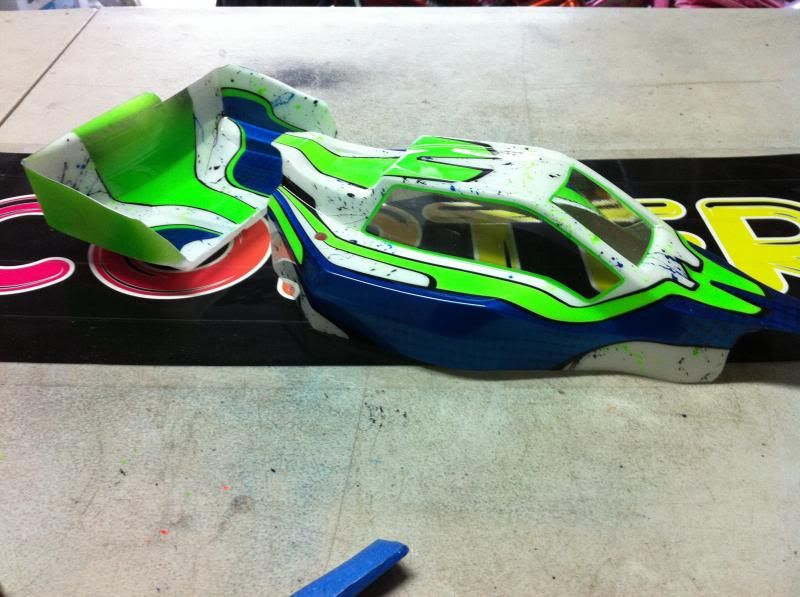
Again, please share your opinion on these. Also, all the lines were cut freehand. In the future I will buy a dual tipped stencil cutter.
Forgot to snap pics early on in the job but the design principals are similar.
These show the splatter detail a bit better:
And the finished product with matching wing:
Again, please share your opinion on these. Also, all the lines were cut freehand. In the future I will buy a dual tipped stencil cutter.
04-21-2013, 08:34 PM
#6
Thanks gentlemen.
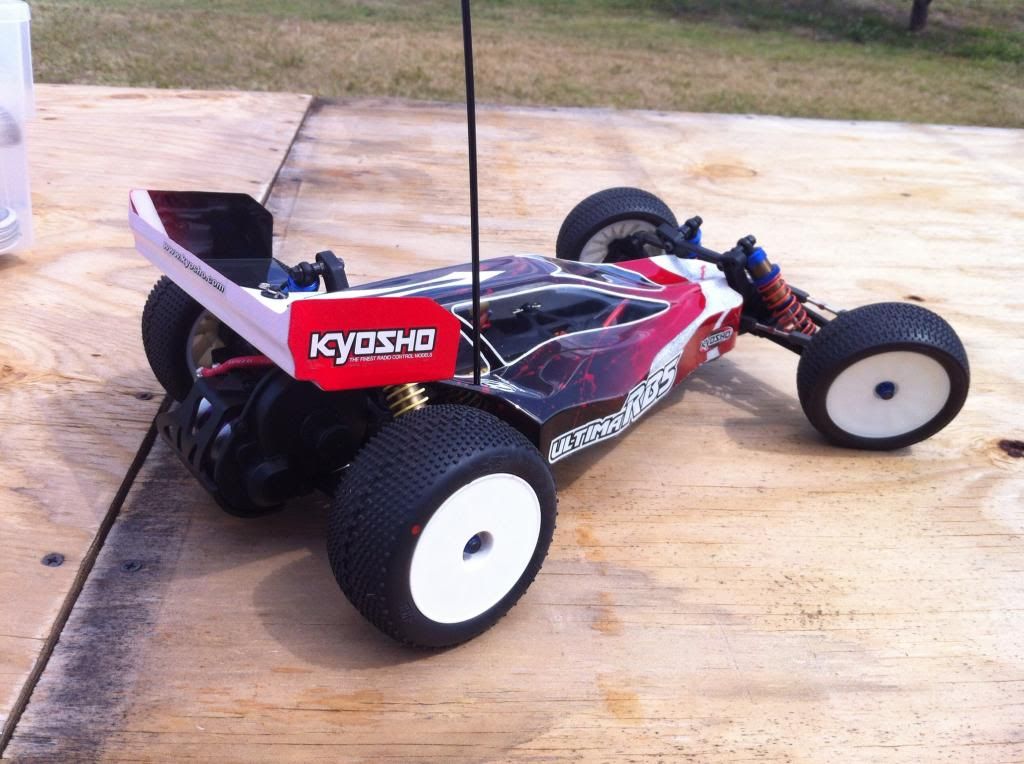
The splatters are an old trick used on paintball guns only I had to scale it way down. I place a drop or 2 of paint in a small plastic cap and I then take a strip of copier paper (approximately .5" wide x 3" long) and twirl it so its fairly firm and I then dip the tip in the paint and then hold it in one hand at an angle that's in line with the direction I want it to splatter and then with my other hand I flick it rather hard. Too little force and you end up with less wild, fine and erratic drips. When you blast it hard even larger drops smack the surface and the velocity causes them to blow outward and create the spider web thin splatters.
You'll want to experiment to gauge how hard you need to flick the paper to get the type of flow you're after. You can also use a thin paintbrush and load I up and whip it in the direction you want the splatter to go. I prefer a plastic spoon since it holds a decent amount of paint.
That's how I do them with spray cans like on my son's RB5:
04-24-2013, 07:06 AM
#7
Went to the hobby shop last night to pick up a couple things and they flipped when they saw these. They couldn't believe it was my first time using an airbrush on RC Bodies.
A couple of the guys even asked if I'd do their lids for them and they have "professionals" doing all of theirs. I don't think I'm ready quite yet to take on such a responsibility but I will be acquiring my own equipment to do more of my own stuff, so when I feel I am ready I will do their lids.
The 4.2 body is already on the car and looks great a but I want to cut the Truck and install before I snap some final pics of them.
Currently Active Users Viewing This Thread: 1 (0 members and 1 guests)
