


Home made laser tweakboard
 07-25-2016, 07:28 AM
#1

I myself have a laser tweakboard from Topcad, it isn't made anymore. Team Integy hase one listed but is also difficult to find.
A fellow racer wanted one so he asked if I could make one, no problem....
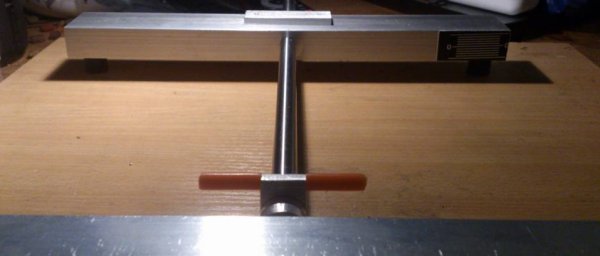
1 meter 40x20mm rectangle aluminium tube from the local hobbystore, a piece of 10mm diameter steel I have, 2 pieces 10x15 bearings, a laser unit and a batery holder is needed.
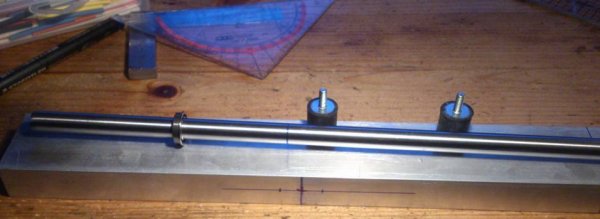
The inside of the tube is 16x36mm so a holder with the 2 bearing can be fitted.
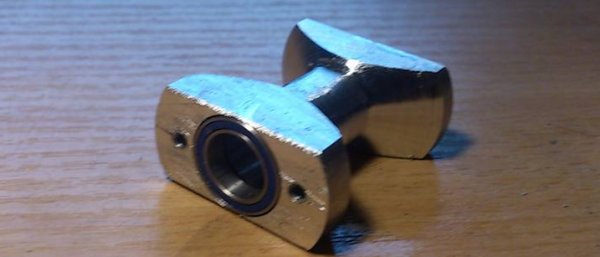
On both sides there is a a bearing, the drilled hole in between is 11mm and at one side of the tube there is a 12mm hole.
At one side of this moving part comes the laser and on the other side the battery.
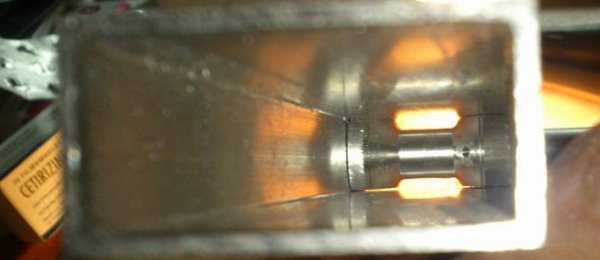
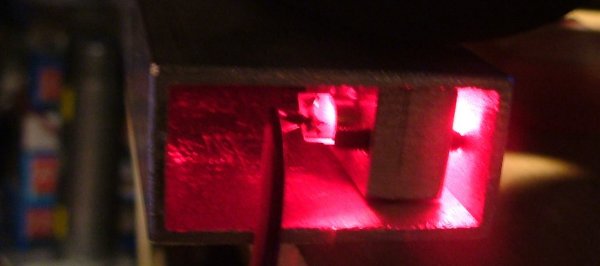
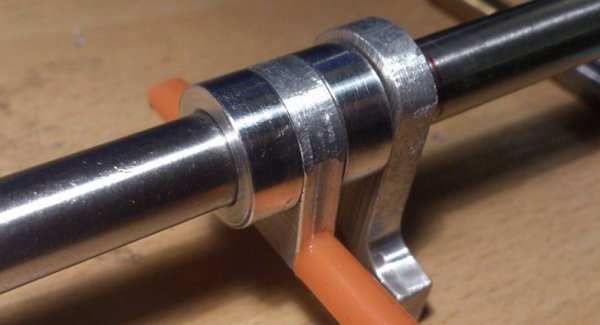
The laser is 3v and just costs 1 euro at dealexrtreme. It is 6mm in diameter so easy to mount in this tripod. All screws have some loctite so they will stay put. The tripod construction is to adjust the laser in the right direction.
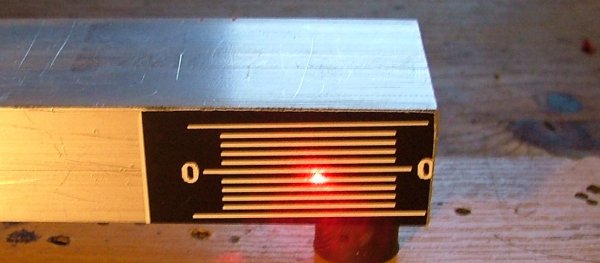
To get a small laser dot the hole for the light is just 0.8mm (smallest I have). Because the huge reflected light I will make a lexan cover on this side.
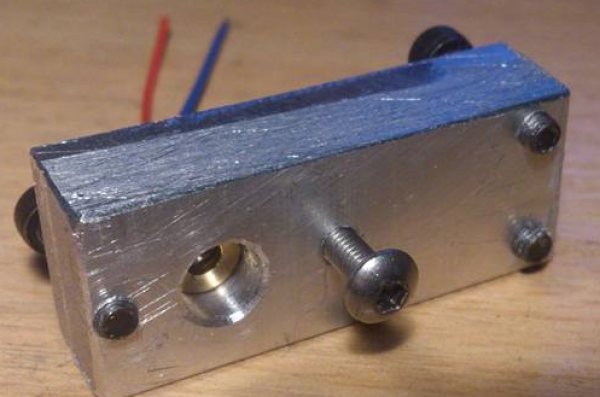
On the other side I made a U shape holder to hold the battery case. this case has also a swich on top.
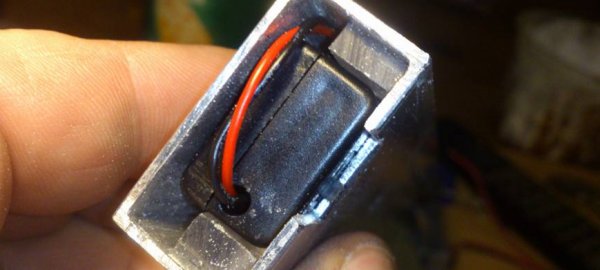
Because this is the moving part it needs to be in balance, a small brass cube was made on the right dimensions/weight and can be moved a bit to setup the balnce, also needed when other batteries are placed.
At my work we have a label printer with plastic sticker labels. A simple paint drawing with a some kind of scale was printed.
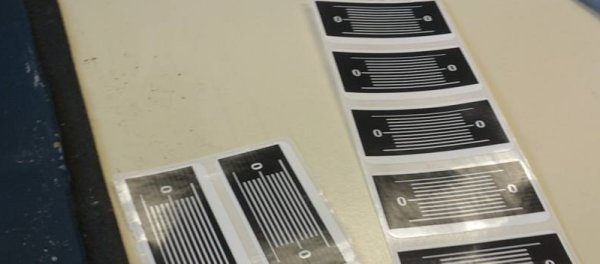
This is how it looks like.
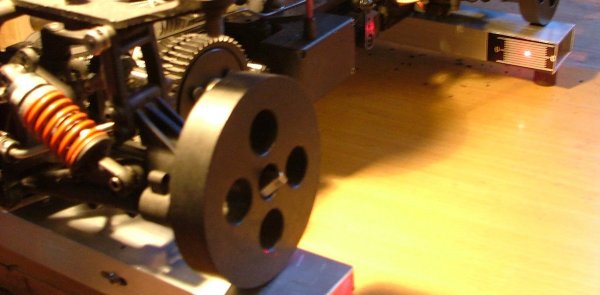
On my system I use 2 snall setup blocks to keep the chassis up so without the shocks and with setup wheels I can see the tweak in the anti roll bars. This makes a fast and easy way to tweak the anti roll bar.
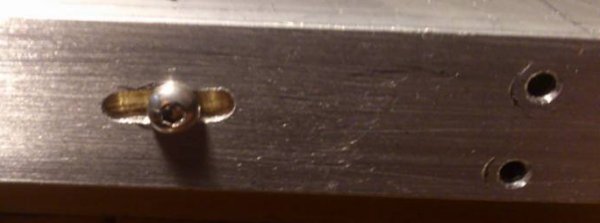
So I made a rotatable chassis holder which kan be pushed up.
On the other side a spacer. To keep it on its place I pressed to pins in it which come in to the holes.

With a car on it:
25 euro parts and some work made it a nice tool to create.
A fellow racer wanted one so he asked if I could make one, no problem....
1 meter 40x20mm rectangle aluminium tube from the local hobbystore, a piece of 10mm diameter steel I have, 2 pieces 10x15 bearings, a laser unit and a batery holder is needed.
The inside of the tube is 16x36mm so a holder with the 2 bearing can be fitted.
On both sides there is a a bearing, the drilled hole in between is 11mm and at one side of the tube there is a 12mm hole.
At one side of this moving part comes the laser and on the other side the battery.
The laser is 3v and just costs 1 euro at dealexrtreme. It is 6mm in diameter so easy to mount in this tripod. All screws have some loctite so they will stay put. The tripod construction is to adjust the laser in the right direction.
To get a small laser dot the hole for the light is just 0.8mm (smallest I have). Because the huge reflected light I will make a lexan cover on this side.
On the other side I made a U shape holder to hold the battery case. this case has also a swich on top.
Because this is the moving part it needs to be in balance, a small brass cube was made on the right dimensions/weight and can be moved a bit to setup the balnce, also needed when other batteries are placed.
At my work we have a label printer with plastic sticker labels. A simple paint drawing with a some kind of scale was printed.
This is how it looks like.
On my system I use 2 snall setup blocks to keep the chassis up so without the shocks and with setup wheels I can see the tweak in the anti roll bars. This makes a fast and easy way to tweak the anti roll bar.
So I made a rotatable chassis holder which kan be pushed up.
On the other side a spacer. To keep it on its place I pressed to pins in it which come in to the holes.
With a car on it:
25 euro parts and some work made it a nice tool to create.
 07-26-2016, 02:44 AM
#2
Fantastic craftsmanship Roelof.
 07-27-2016, 06:38 AM
#3
Thanks!
Next weekend I will hand it over to the guy, lets see if if he also finds it much easier to work with.
I want to make one small change to it. Well it is not really a change but I want to make a mount for the spacer to the side of one of the tubes so it will not get lost. Small parts always gets lost.
Currently Active Users Viewing This Thread: 1 (0 members and 1 guests)
